The AWESOME way to Power Carve Spoons!
I recently got a bandsaw and I knew the first project I wanted to do to test it out… make spoons!!!
I only ever made one other spoon before… cut it out with a jig saw and then carved it using a carving tool. And while that spoon turned out AWESOME, it took forever to complete. So this time we are going to cut the rough shape out with the bandsaw and then test out several of my carving burrs and see which we like best for making spoons!

My 1st Spoon!

The carving tool I used.

I used the jigsaw to cut rough shape.
This post IS sponsored by Saburrtooth Power Carving Tools. All opinions are my own. This post DOES contain affiliate links. For more information on my affiliate programs, see my DISCLOSURES page.
I started by tracing some utencils I already had on hand that I liked the shape of in both 4/4 (1” thick) and 8/4 (2” thick) material. This is just gonna help give me the general proportions of a spoon.

Tracing some spoons as guides… side profile.

Top profile.
Then I grabbed my carving burrs and decided to try carving the spoon portion first. For the first spoon I used a Saburrtooth 1/4” shank Rotosaw 3/4” in fine grit.

Some of my AWESOME Saburrtooth Carving Burrs!
The rotosaw made quick work of hollowing out the ladle portion on the spoon. It was also fairly easy to control the shape and keep it nice and round. I used a pulling motion to control this burr.


Easy to make a circle with this shape.
Once I had the ladle carved I took this spoon to the bandsaw and proceed to remove as much of the waste as possible. And so far, I am loving my new bandsaw. I can’t believe I have lived so long without one in my shop. And I am looking forward to lots of projects to come.

I made several relief cuts so that the blade wouldn’t be stuck deep in the wood.

Doing this also helped cut the curves of the spoons.
Then for the 1st spoon I started shaping the outside of it with a Saburrtooth 1/4” shank Bullnose 2” in fine grit. I really like the length on this burr because you can angle it to create nice tapers.
I also really love the classic hand screw clamp from Pony Jorgensen. It paired with my Kreg clamping track make it easy to hold everything in place while carving.

Adding the 2x4’s under the classic hand screw clamps helped raise the piece and keep the carving burrs from hitting my workbench.
With the first spoon I got a little carried away with carving the backside of it and since the ladle portion was already carved it made the sides kinda narrow. So, for the second spoon I started by cutting the rough shape out on the bandsaw first. Then carving/shaping the backside and lastly the ladle.
Wanna watch me carve these spoons? Check out the video on my YouTube Channel!

Cutting the rough shape of this one in 8/4 alder was fun! I think this will be ladle spoon for soups!
For shaping this one I went with the 2” Bullnose again, but since this spoon was thicker I ended up trying a Saburrtooth 1/4” shank 3/4” Cylinder burr in coarse grit. The coarse grit burr removed the material super fast. So fast, that I quickly switched back to the fine grit burr for final shaping.


Then to carve out the ladle portion on this spoon I tried a Saburrtooth 1/4” shank 1” Sphere burr in coarse grit. I thought the rotosaw burr was great for this but this Sphere burr worked even better. It removes the material quickly and really is easy at controlling the shape of the hole. But once I got close to the depth and shape I was looking for I switch to a Saburrtooth 1/4” shank 1” Sphere burr in fine grit. It isn’t totally necessary to have the different grits of this burrs, but it is nice to be able to remove the material quickly with the coarse grit and then refine the shape with a finer grit later.


This burr makes quick work of hollowing the ladle portion of a spoon.

For spoon #3 I tried and total funky shape. And since I am not that good on the bandsaw yet, my circle wasn’t the greatest. So, I started shaping this one on my belt sander. Once I had more of a round shape I then continued to shape the back side of the spoon using… you guessed it… the 2” Ballnose in fine grit.

Used the belt sander to touch up my circle cut from the bandsaw.

I think the 2” Ballnose is becoming one of my favorite burrs!
For the ladle portion of spoon #3 I wanted to try yet another burr. This time I tried a 2” Cup Rasp in Ex-Coarse Grit. This just like the Rotosaw make it easy to get the round shape. It is one of those burrs that you really have to move your body around the piece while you are carving or keep repositioning the piece in order to get the shape you want.
Oh and I thought the green coarse grit burrs carved fast… this red ex-coarse grit burr made the sawdust fly and was done carving the ladle of this spoon in no time.

Now that I had my three spoons with a rough shape that I liked I ended up using some of my 1/8” whisper burrs (ex fine grit) to clean up some fo the high shots. Using these burrs should help save time sanding.

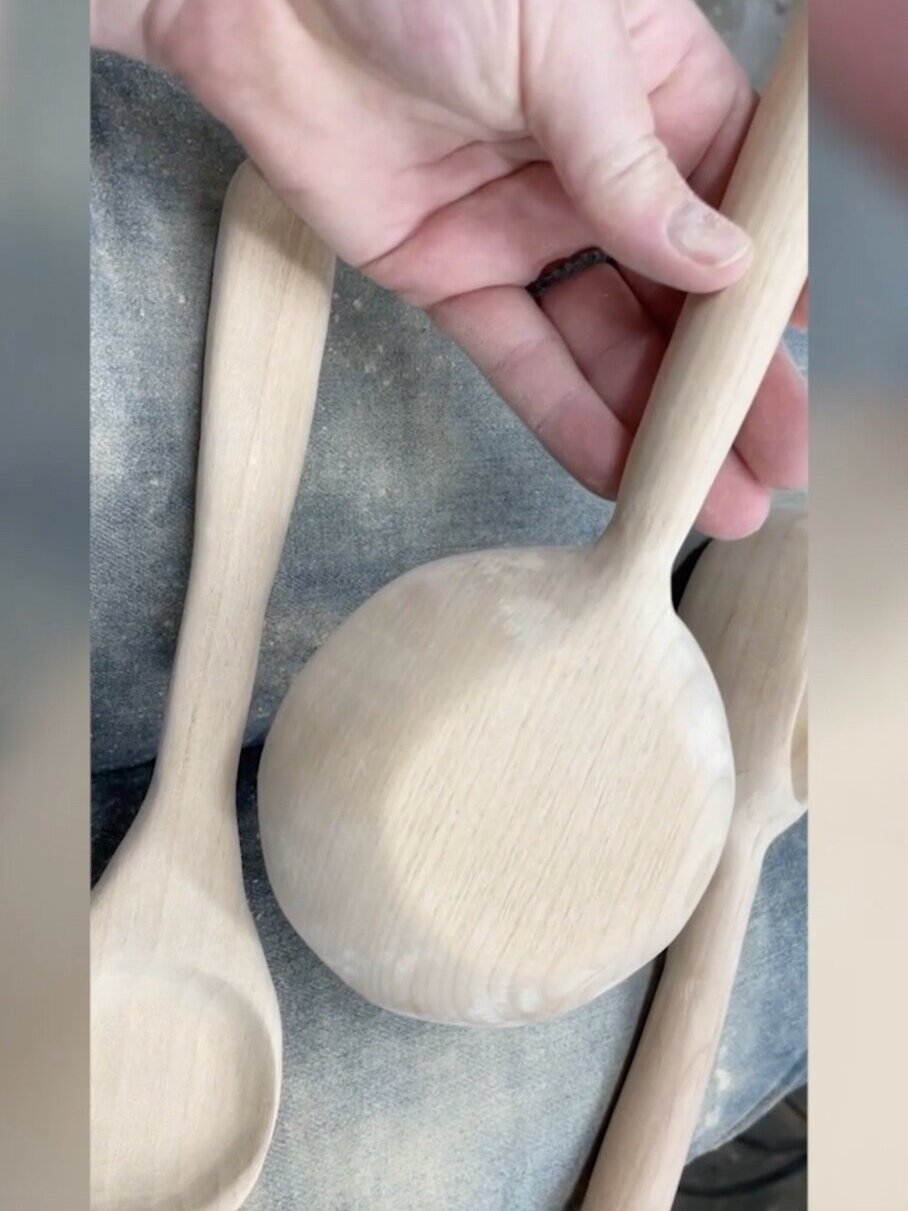
My spoons before sanding.

Whisper burrs to the recuse to save time sanding.
And for sanding you can be there forever! I recommend going thru the grits just like you should on any other project…. 80, 120, 180, 220.. etc.
My spoons weren’t perfect when I was done sanding, but I like to leave a little bit of the rustic carving goodness on them. It reminds me that I made them and I think it looks AWESOME.
They aren’t perfect, but they are perfectly AWESOME!
Be sure to water pop the grain before the last grit fo sand paper. And then seal your spoons with a food safe finish. I used 4-5 coats of some butcher block conditioner on mine.

Love watching these spoons come to life with some finish!
And well, I love them! I learned so much from making these spoons. And had a lot of fun trying out the different carving burrs. And from what I learned… The Awesome Way to Carve A Spoon is….
Cut rough shape out of bandsaw or with a jig saw.
Shape handle and back side of spoon. My favorite burr for this was the Saburrtooth 1/4” shanks Ballnose 2” in fine grit.
Carve the ladle portion of the spoon. My favorite burr for this was the Saburrtooth 1/4” Sphere burr 1” in fine grit. You could go with a coarser grit for this, but you could have more sanding in the end. Or you could use both like I did.

Can’t wait for these to dry and then I can start putting them to work in the kitchen!
I will definitely putting these spoons to work in my kitchen, but first Awesome Oscar and I had to test them out with a little ice cream!

The perfect use cream spoon… straight from the carton to my tummy!

I think they are AWESOME Oscar approved!
I had so much from making these and I hope this post helps give you the confidence to start carving some spoons for yourself. And if you do I’d love to see a picture of them.
Thanks for following my building journey. Remember Build LOUD, Build WILD and have an AWESOME day!
Sadie Mae
Can’t make these right now? PIN it and Save for Later!