

DIY Concrete Coffee Table
I’m so excited to share this build with you. I have always wanted a concrete coffee table, but lifting all those heavy bags and creating a form and waiting for it to cure was just a little too daunting for me. So when I found this concrete feather finish I knew I wanted to give it a try.
This post IS sponsored by Thompson’s Water Seal. All opinions are my own. This post DOES contain affiliate links. For more information on my affiliate programs, please see my DISCLOSURES page.
First step was to gather some materials…
6 - 2x4’s (pressure treated or regular)
1 - 4x8 sheet of 1/4” underlayment
I used pressure treated 2x4’s, but I don’t know that it was really necessary because they end up being completed covered in the end. But for the couple extra dollars if you are going to put your coffee table outside I recommend going with them.

Love having Awesome Oscar in the shop with me!
Step 2: Cut up 2x4’s per the cut list.
If you want to build the same size coffee table that I did, I have complete build plans available here.

Always be sure to wear a dust mask when cutting wood, but especially when working with pressure treated materials. you don’t want to be breathing that nasty stuff.
Step 3:
Assemble top and bottom frames using 1 1/2” pocket holes with 2 1/2” screws. Be sure that your screws are rated for outdoors. The top frame has 4 cross supports and the bottom frame I only put 2 because nobody would be sitting on that side.

I love these Pony | Jorgensen large F-style clamps because they are light and give that extra support when screwing everything together.
Step 4:
Attach the bottom and top frames together with supports and 2 1/2” exterior rated wood screws. I did six supports on the long sides and 4 on the ends. This is probably overkill, but I didn’t want there to be any flex once I added the 1/4” underlayment on top.

Test fitting the frame with the base.
Step 5:
Assemble the base. I used some leftover reclaimed wood from our patio for this and ripped it to width on my table saw. But if you don’t want to do this you can use a 2x3 to create your base. A 2x3’s actual dimensions are 1 1/2” thick x 2 1/2” wide. If you do end up using reclaimed wood, always double check it for metal before running it through your saws.
You wanna see where this wood came from…. check out my old patio here.
Or you want to see what else I made from this wood… check out my DIY Outdoor Dining Table here.
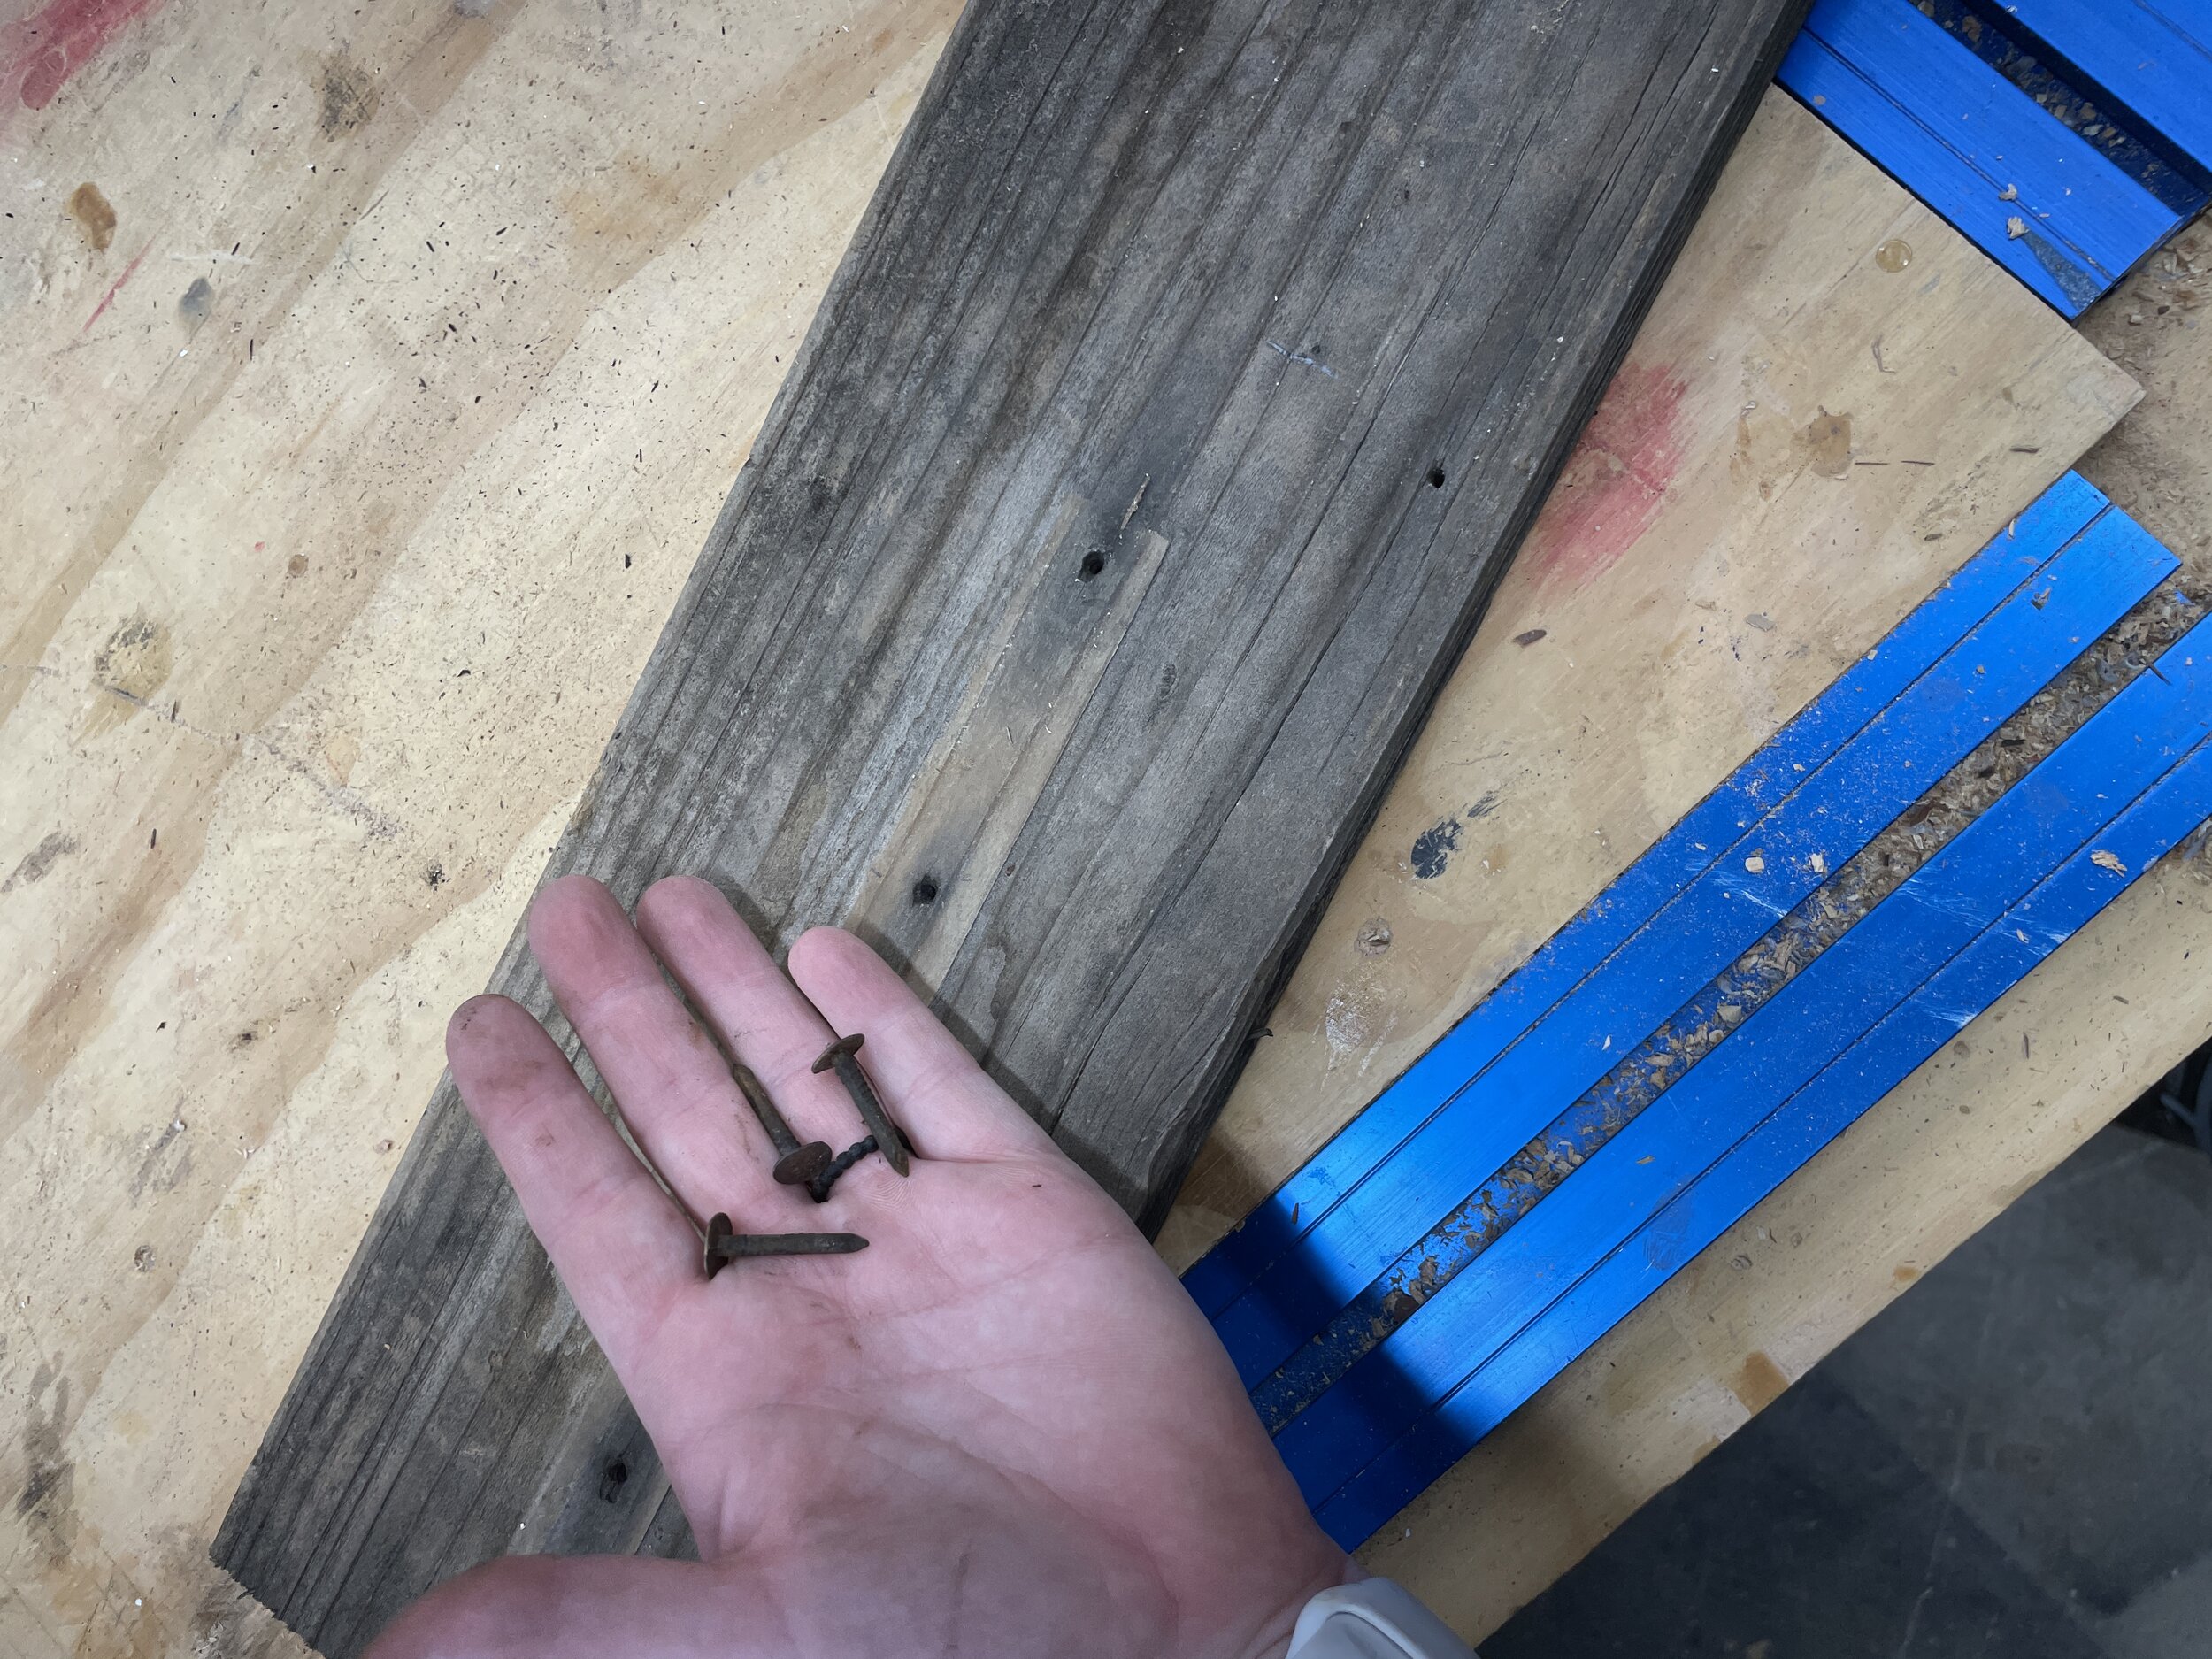
I found several nails still in my reclaimed wood. Glad I caught it before running this through my table saw.
Once you have your pieces cut to size I assembled them using 1 1/2” pocket holes with 2 1/2” exterior rated wood screws. Then I sanded the wood. I did this now because once it is attached to the frame it would be very difficult to get too. If you are going to be painting your base or staining it, I recommend doing that now as well.

I love this reclaimed wood. I find it so cool to be able to reuse something that was going to end up in the landfill.
Here I tested fitted the base to the frame so that I could see where I could attach them together once I had the frame skinned.

The base is inset 2” on all four sides.
Step 6:
Cut 1/4” underlayment to skin all six sides of the frame. If your table is going to be indoors you don’t really have to skin the bottom. But since mine was going to be outside I wanted to close in the box so that no animals or spiders ended up making their home in there.
For big sheet goods like this I like to break them down into smaller pieces with my circular saw before running them to final dimensions on my table saw. And since my shop is a wreck the back of my truck with a piece of foam worked perfect for this.

You can also have the big box stores cut up your underlayment if you don’t have a table saw.

All pieces cut out and ready to be installed.
Step 7:
Attach the 1/4” underlayment to the frame. I use 1 1/4” roofing nails. I was going to use screws… that I thought I had on hand, but didn’t… so I used the roofing nails I did have on hand. Fingers crossed that the roofing nails don’t pop out down the road and mess up the concrete. I figured roofing nails are made for outdoors and roofs, so they should be good. But if I had to do this again I would probably go and buy screws.

I made sure that the 1/4” panels were secured throughout each side. There are plenty of supports that we put in to make sure that there isn’t any flex in the 1/4” panels once they are installed.
Once all the panels except for the top were attached I secured the frame to the base using 2 1/2” exterior rated wood screws from inside the box and into the frame. I measured and marked where the screw should be placed so I didn’t miss the base.

2 1/2” in from the side of the box worked great!

Lots of hammering, so I was happy when that step was done.
WANNA SEE A VIDEO TUTORIAL OF THIS BUILD? CHECK IT OUT ON MY YOUTUBE CHANNEL!
Step 8:
Mix the Henry’s feather finish per the instructions on the box. But mix in really small batches because it dries really fast… especially if you are doing this in summertime like me. I tried to mix enough and do one side at a time. I spread it on the surface of the box with a drywall knife trying to keep it as smooth as possible. There is definitely an art to it and you will get your technique down with a little practice.

Coat 1 of 4!
I also made sure that I had a bucket of water on hand to keep my drywall knife clean throughout the process and between coats.

The paint pail with liner worked well because when the concrete would dry out I could easily remove the leftover and reuse the liner for the next coat.
Below is a reminder to mix small small batches. I didn’t do it here and wasted some concrete. The box says not to add water once it starts drying out so I didn’t do that.

I failed when I tried to mix too much at one time.
On coats 2-3 I really tried to build up the concrete feather finish on the edges.

On this coat you can tell I paid extra attention to the edges.
Coat #4 is where I tried to fill in all the rough spots. I did sand in between coats of the feather finish to knock off any high spots. This helps the next coat go on smoother as well.

Almost imperfectly perfect!
This side below I didn’t like the strips/lines I was getting so I did end up giving this side a 5th coat to cover some of those up.

Not sure what I did differently on this side, but I did end up putting a fifth coat on it.
After a final sand at 180 grit it was time to seal this piece up!

Ready for sealer!

I love all the color variations.

I wish you could feel how smooth this is!
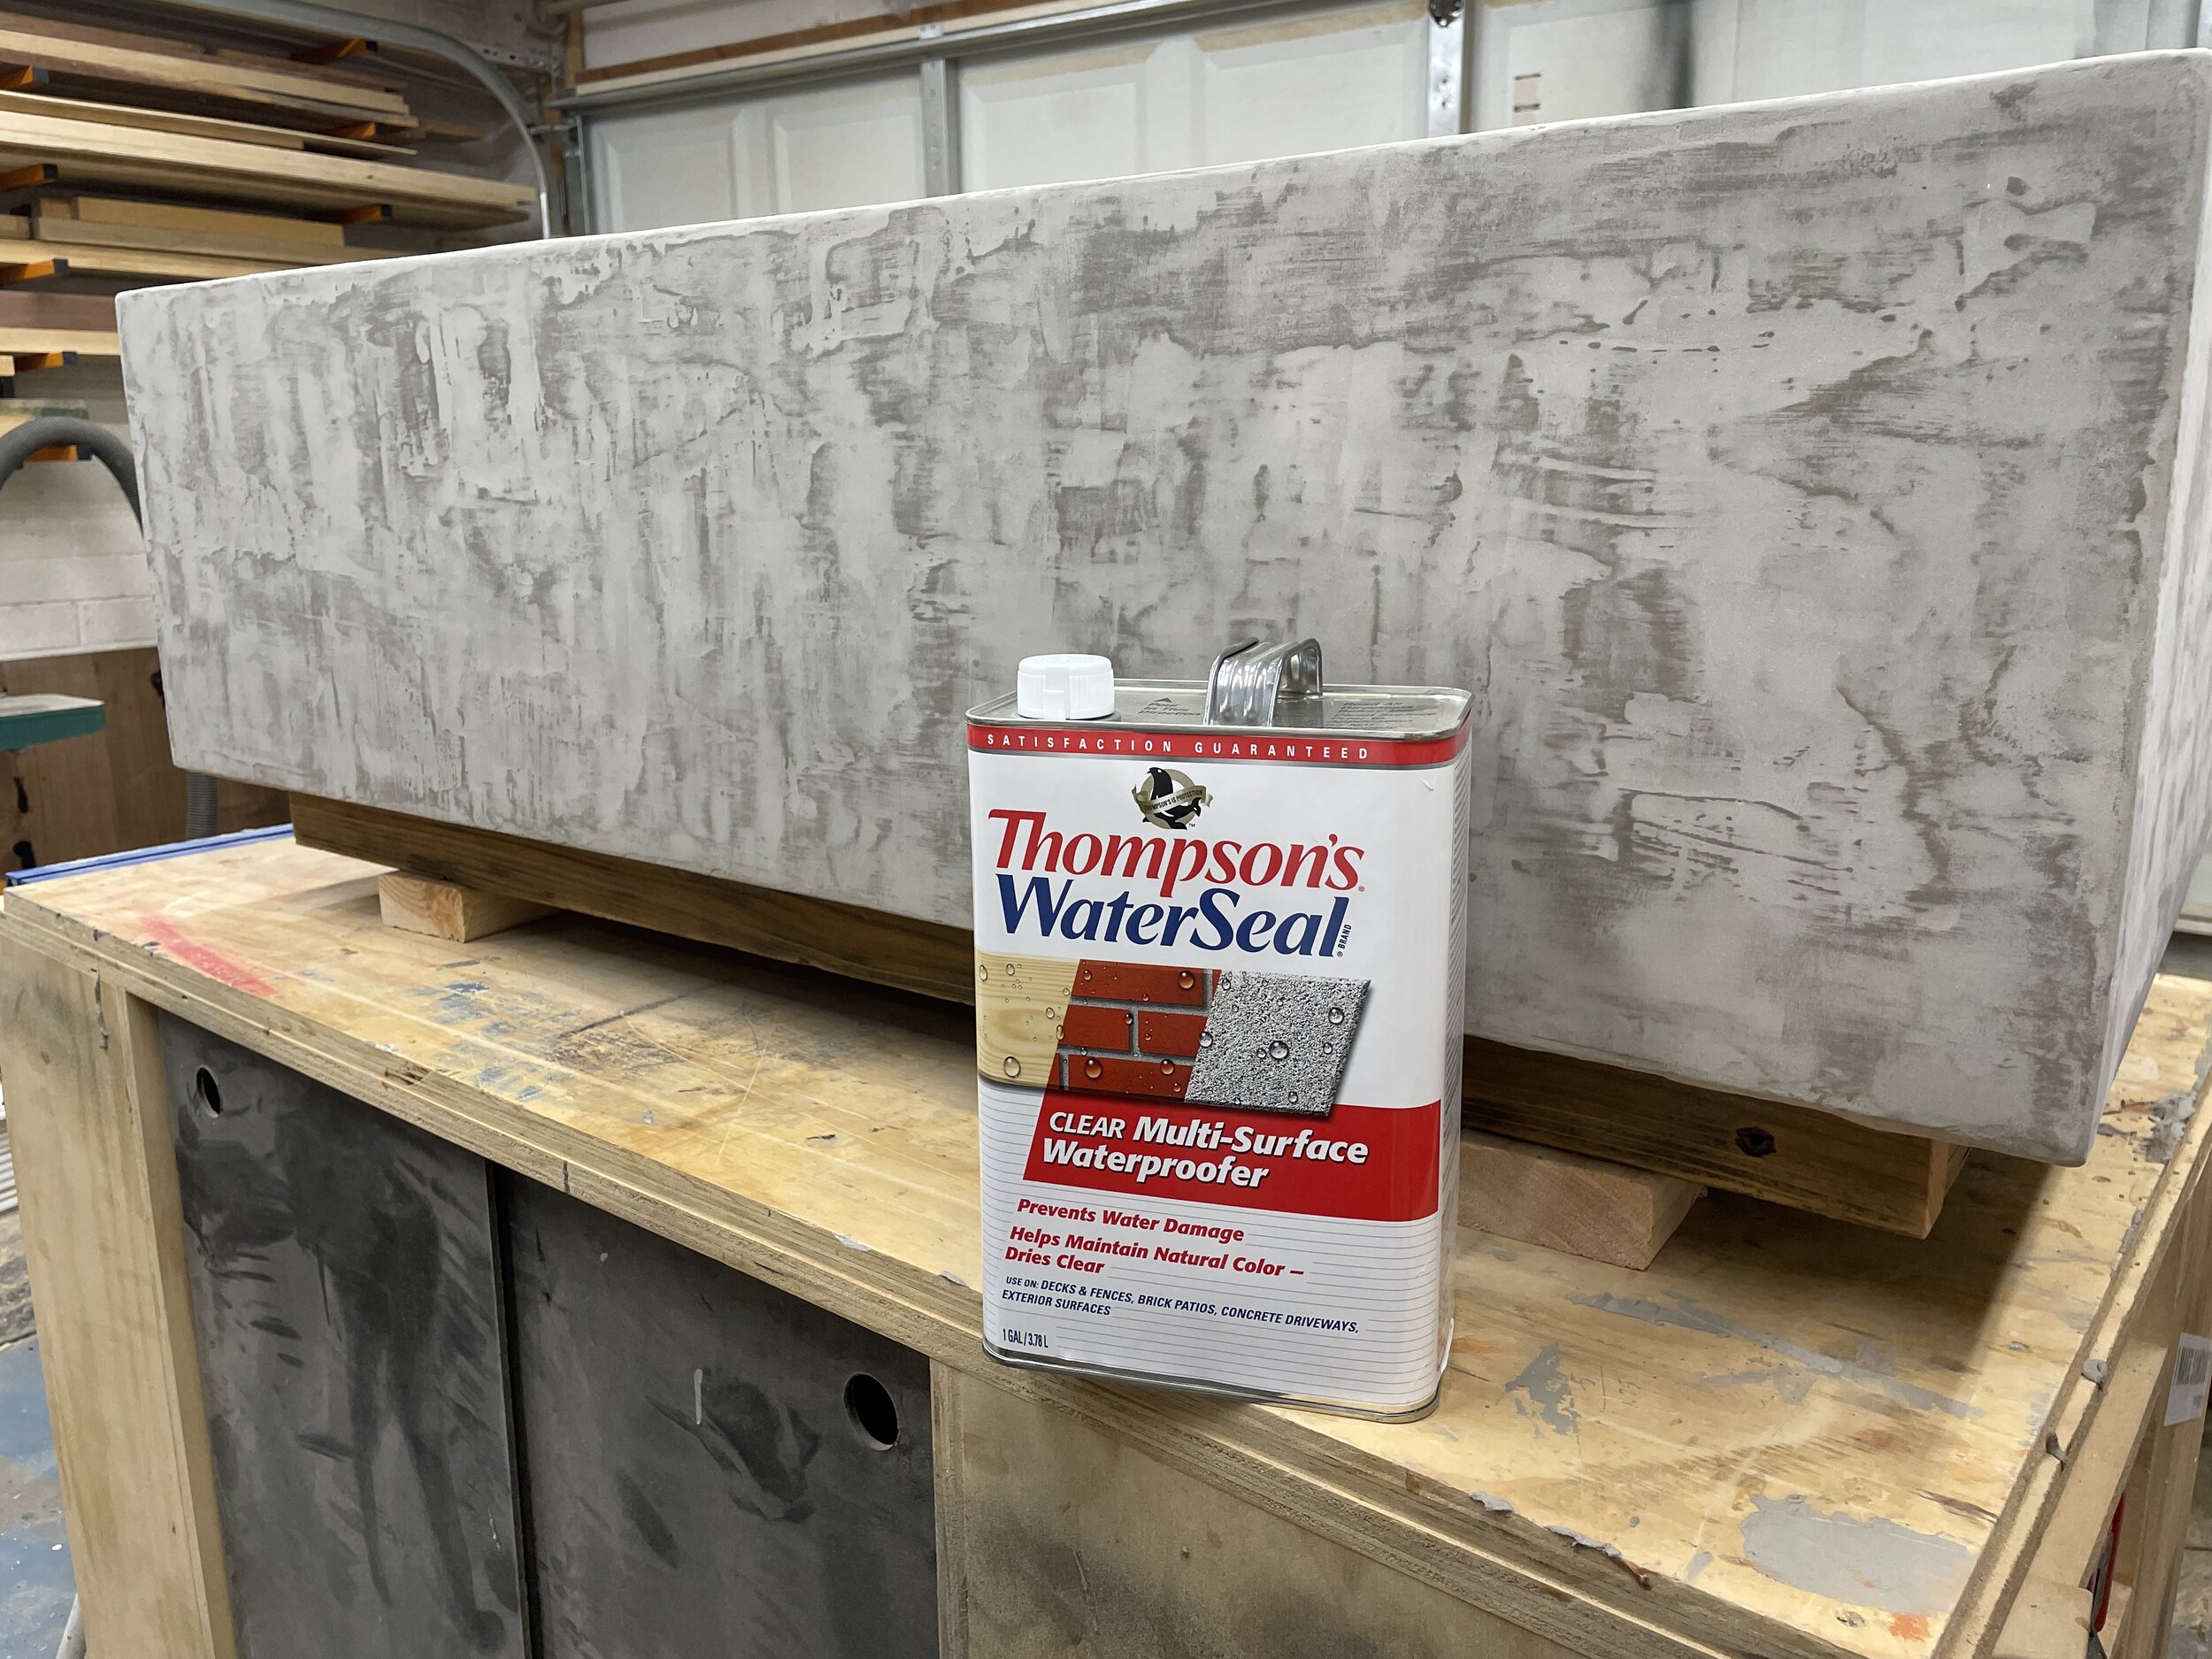
To seal the concrete and the wood base I am using Thompson’s Water Seal Multi-Surface Waterproofer. It goes on milky white and dries clear. You most likely will only need one coat of this on this piece. You also don’t want to apply it too thick or else it can get tacky. Once it has dried for 24 hours I tested it with some water… if it beads up I don’t need another coat. But if in sinks into the piece I know my piece needs a second coat.
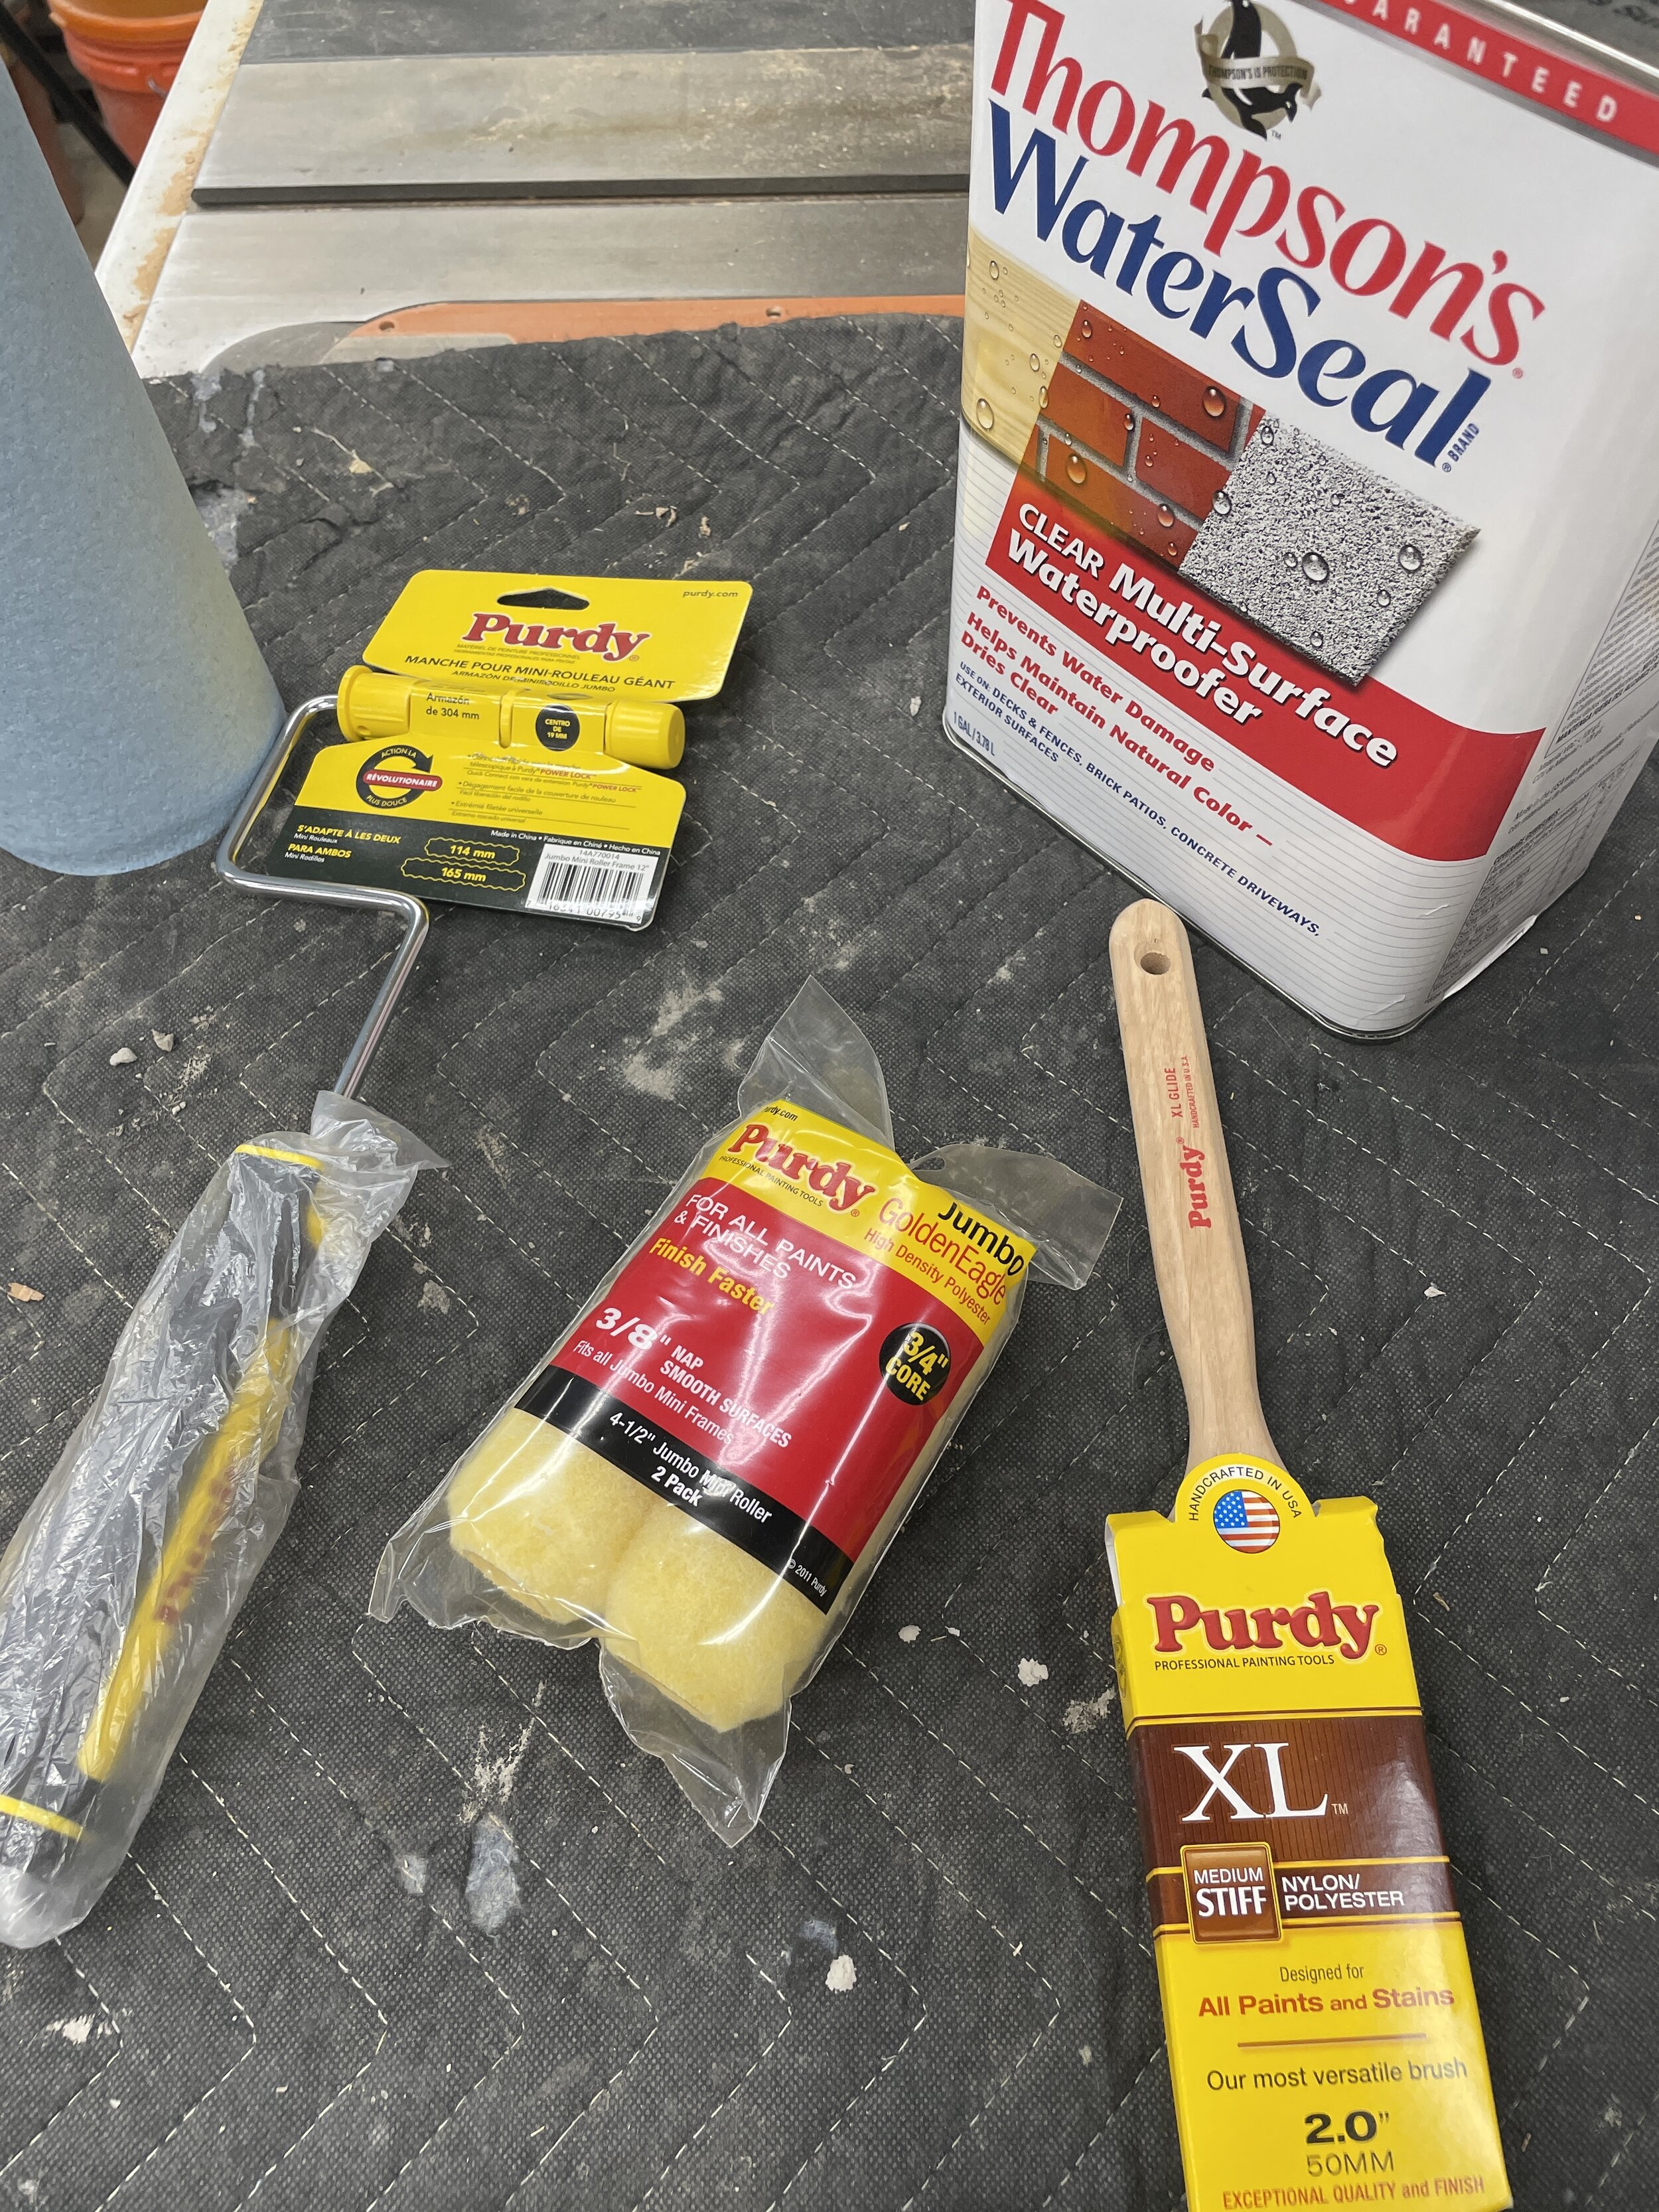
I tried rolling it first, but since the finish is super thin I quickly switched to the brush and brushed the rest of it on.

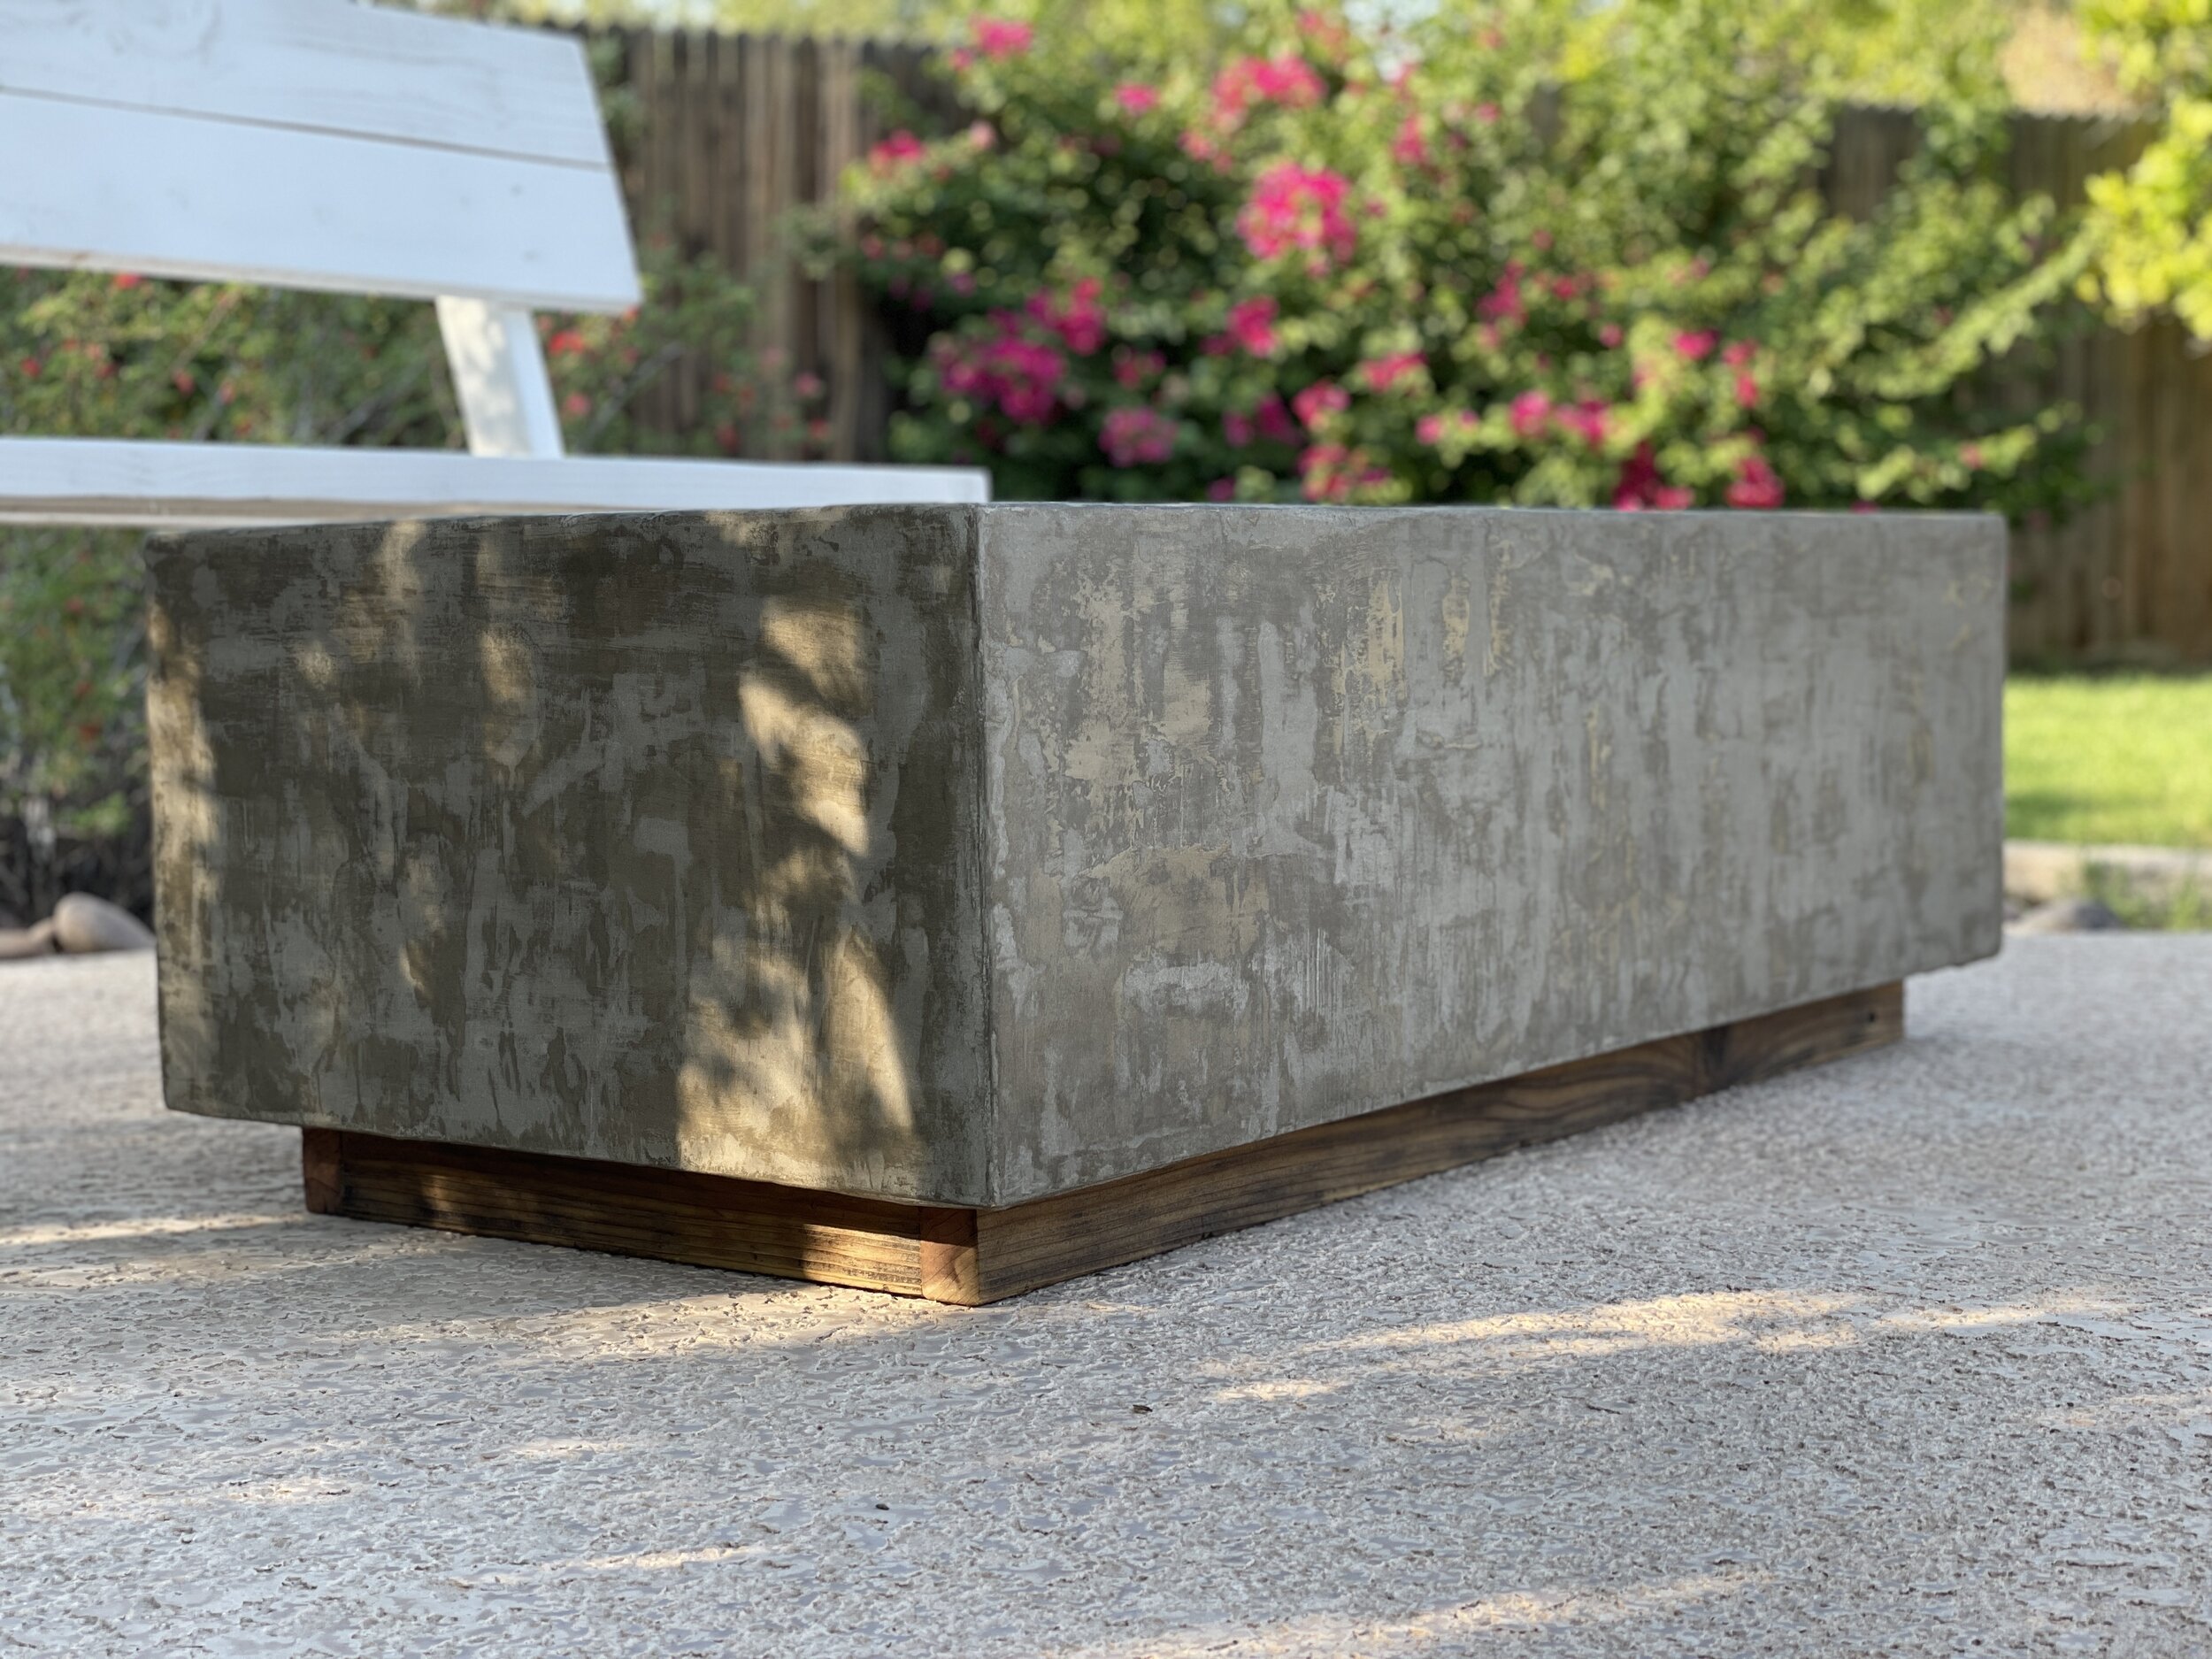
Look at the concrete come to life. I love that you can see the layers of concrete and the different colors it creates. I feel good knowing that this table will be protected from any water damage.

Oh yeah!!! The water beaded up is a good sign.

Awesome Oscar Approved.
I am absolutely in love with how this piece turned out. I finally have the concrete coffee table I have always wanted. Thanks again to Thompson’s Water Seal for sponsoring this project. I hope you enjoyed this project as much as I did and if you end up trying to build one for yourself I would love to see a picture!
Thank you for following my building journey… until next time remember Build LOUD, Build WILD and have an AWESOME day!
Sadie Mae
CAN’T BUILD THIS NOW? PIN IT AND SAVE IT FOR LATER!


