

DIY Modern Scrap Table
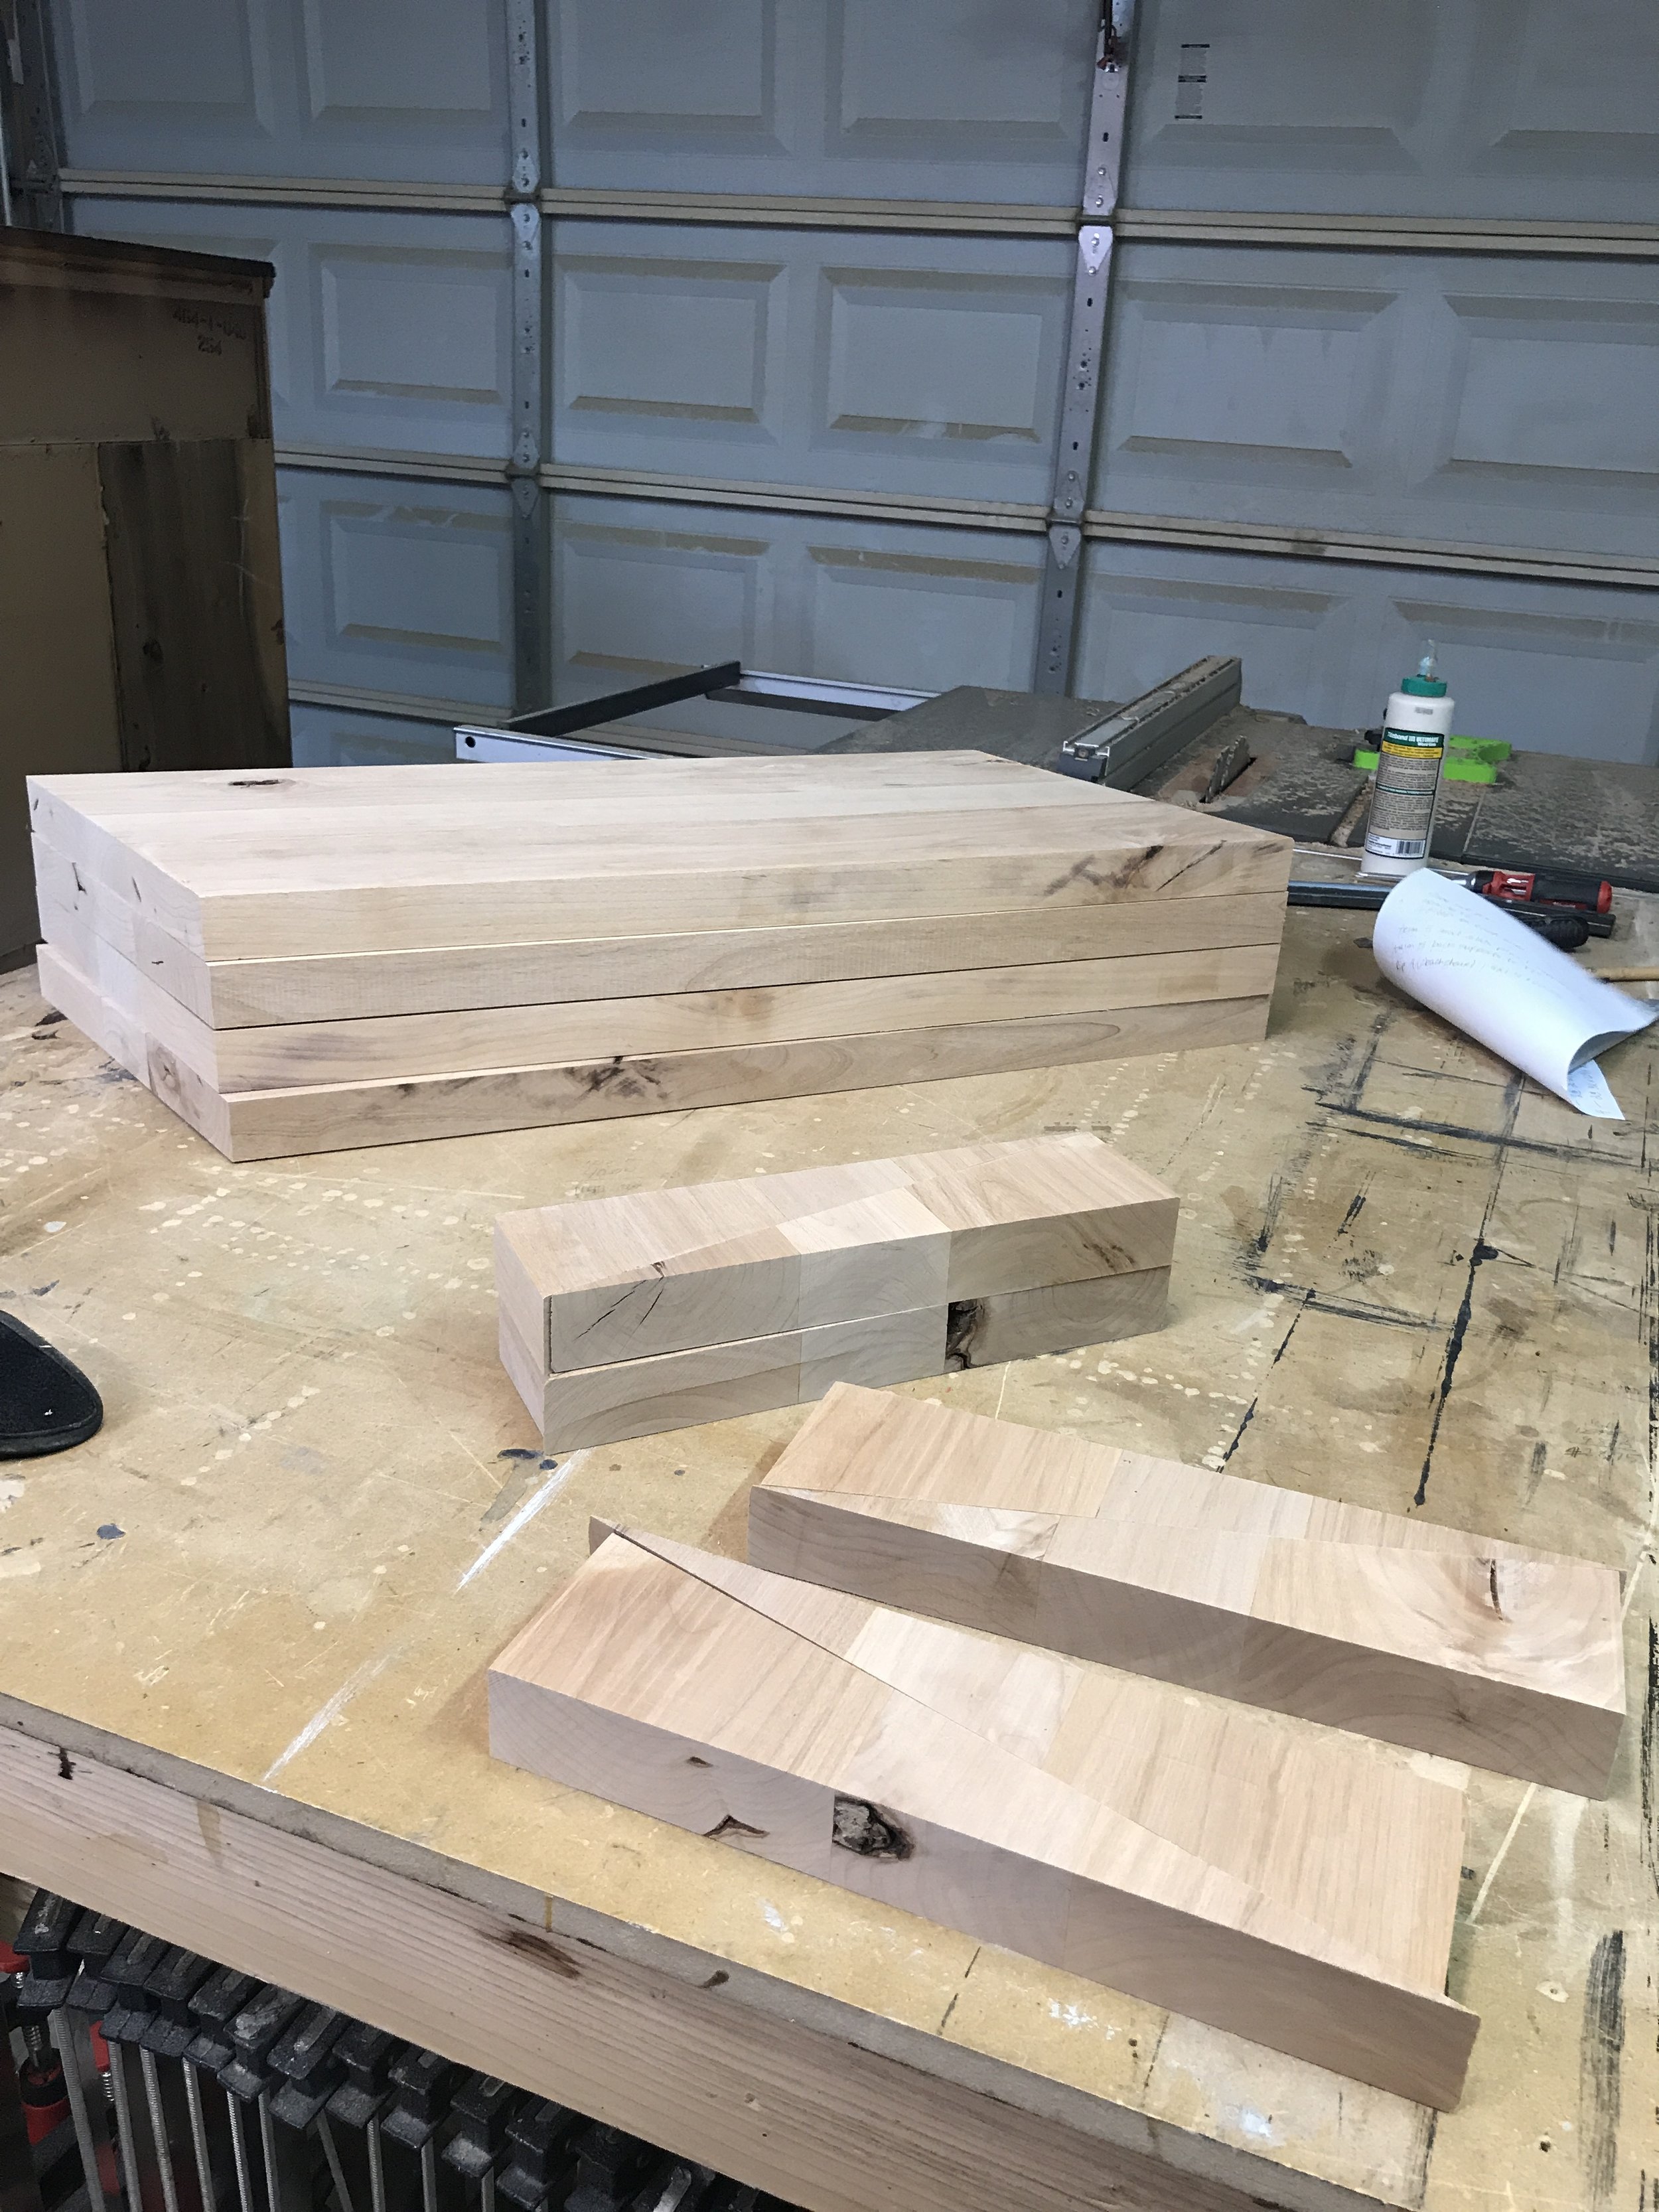
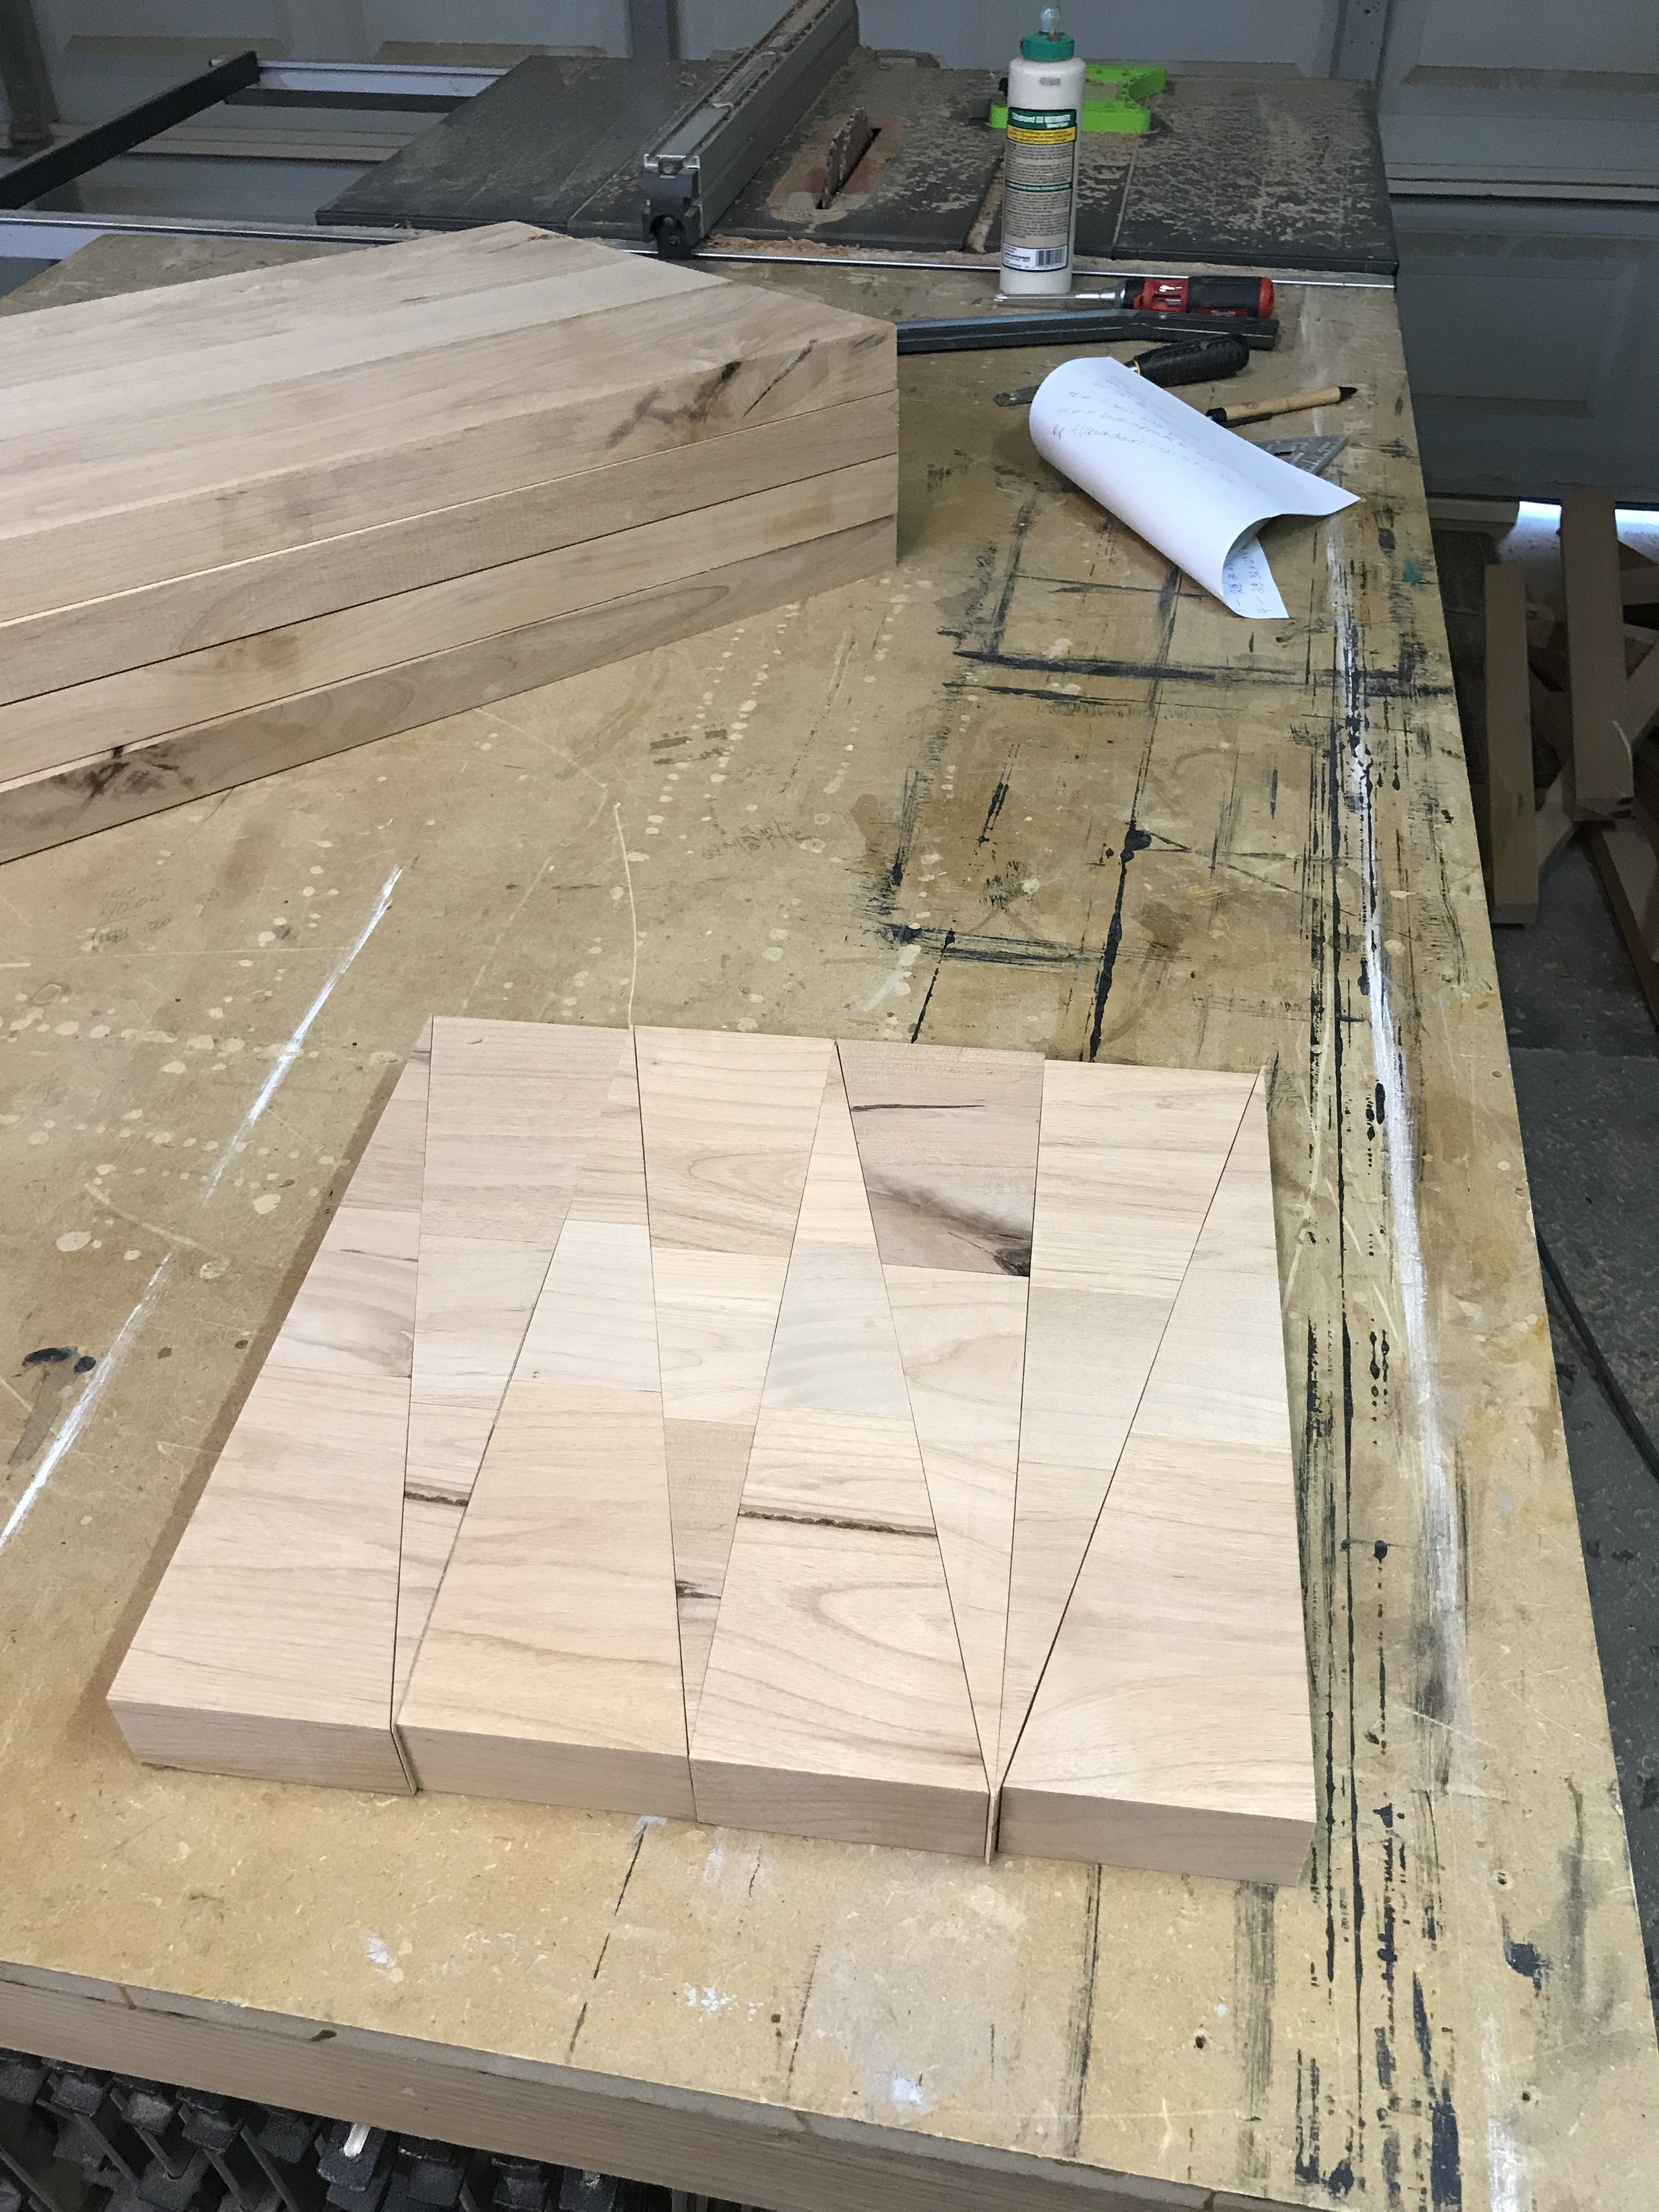
Every time you make a piece you always end up with scraps! And I hate throwing away scraps. So I am always looking at ways to utilize them in some way. Recently I built some DIY Modern Deck Chairs that I absolutely love! And while building them I had to cut this cool angle on the side pieces and was left with some triangles. I knew when I started the DIY Modern Deck Chairs that I wanted to build a side table to go with them to set your drinks and whatever on, but didn't have a plan until I saw these scraps!!!
This post is NOT Sponsored, but does contain affiliate links.

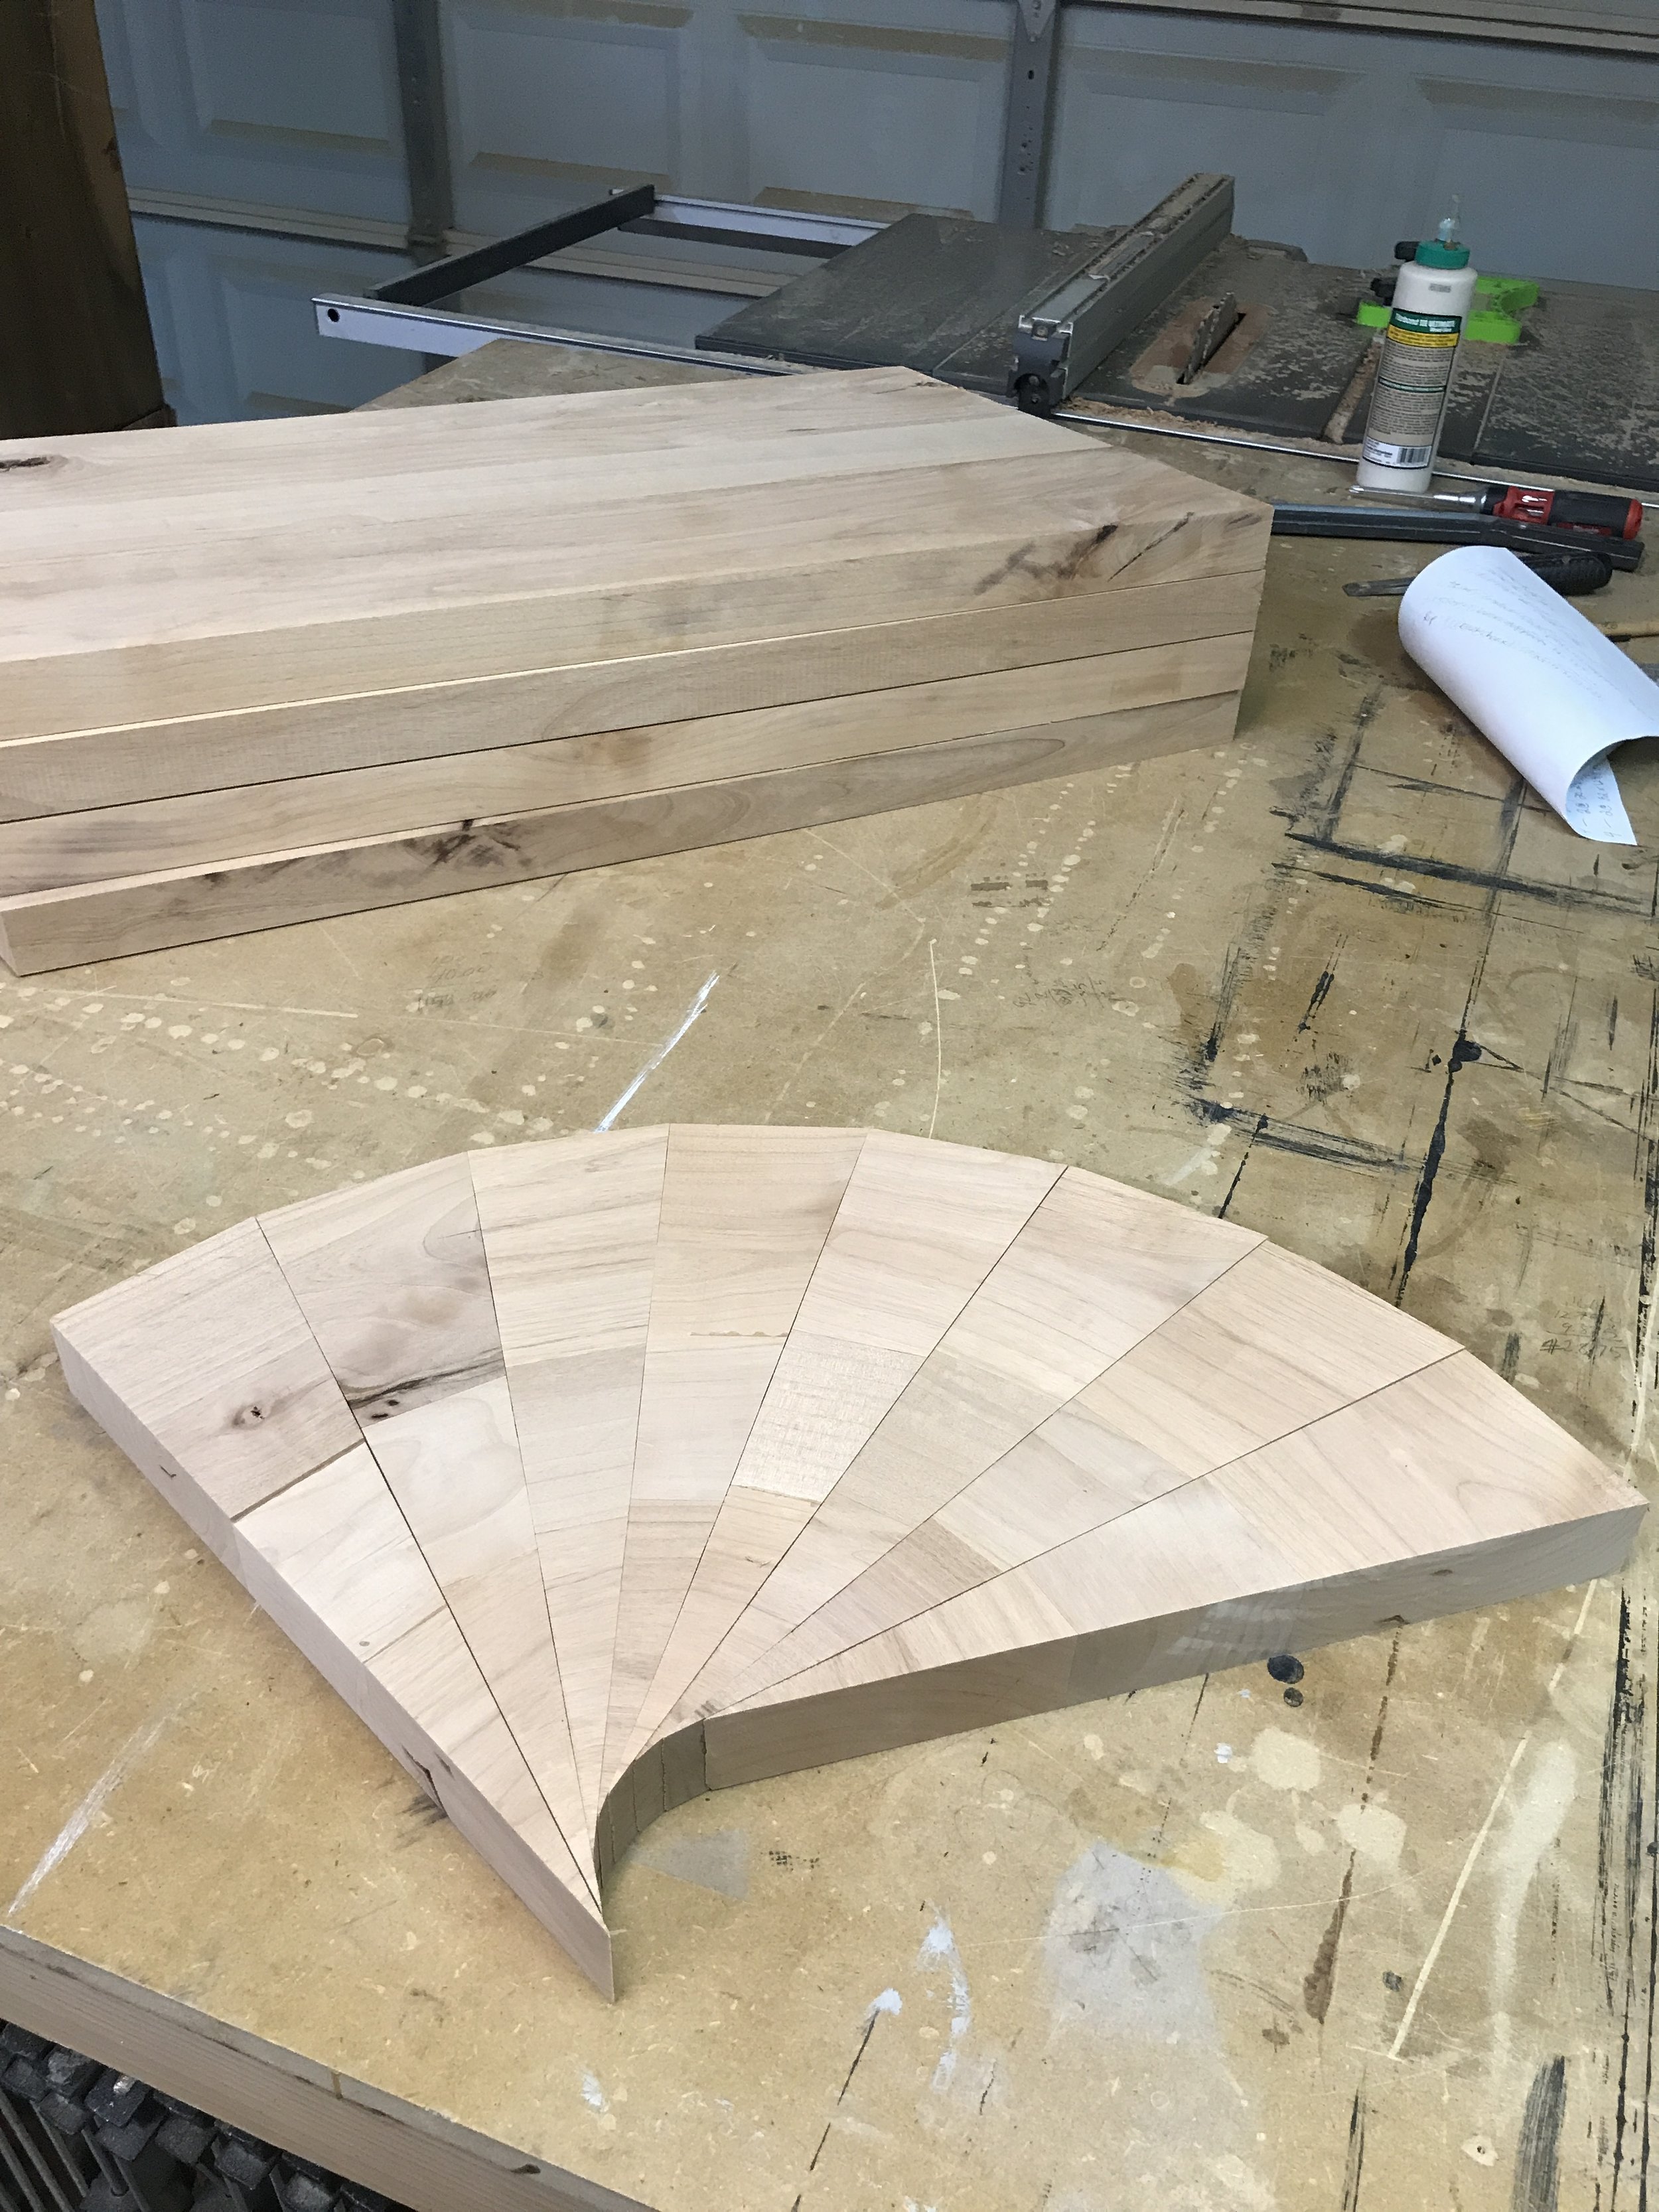
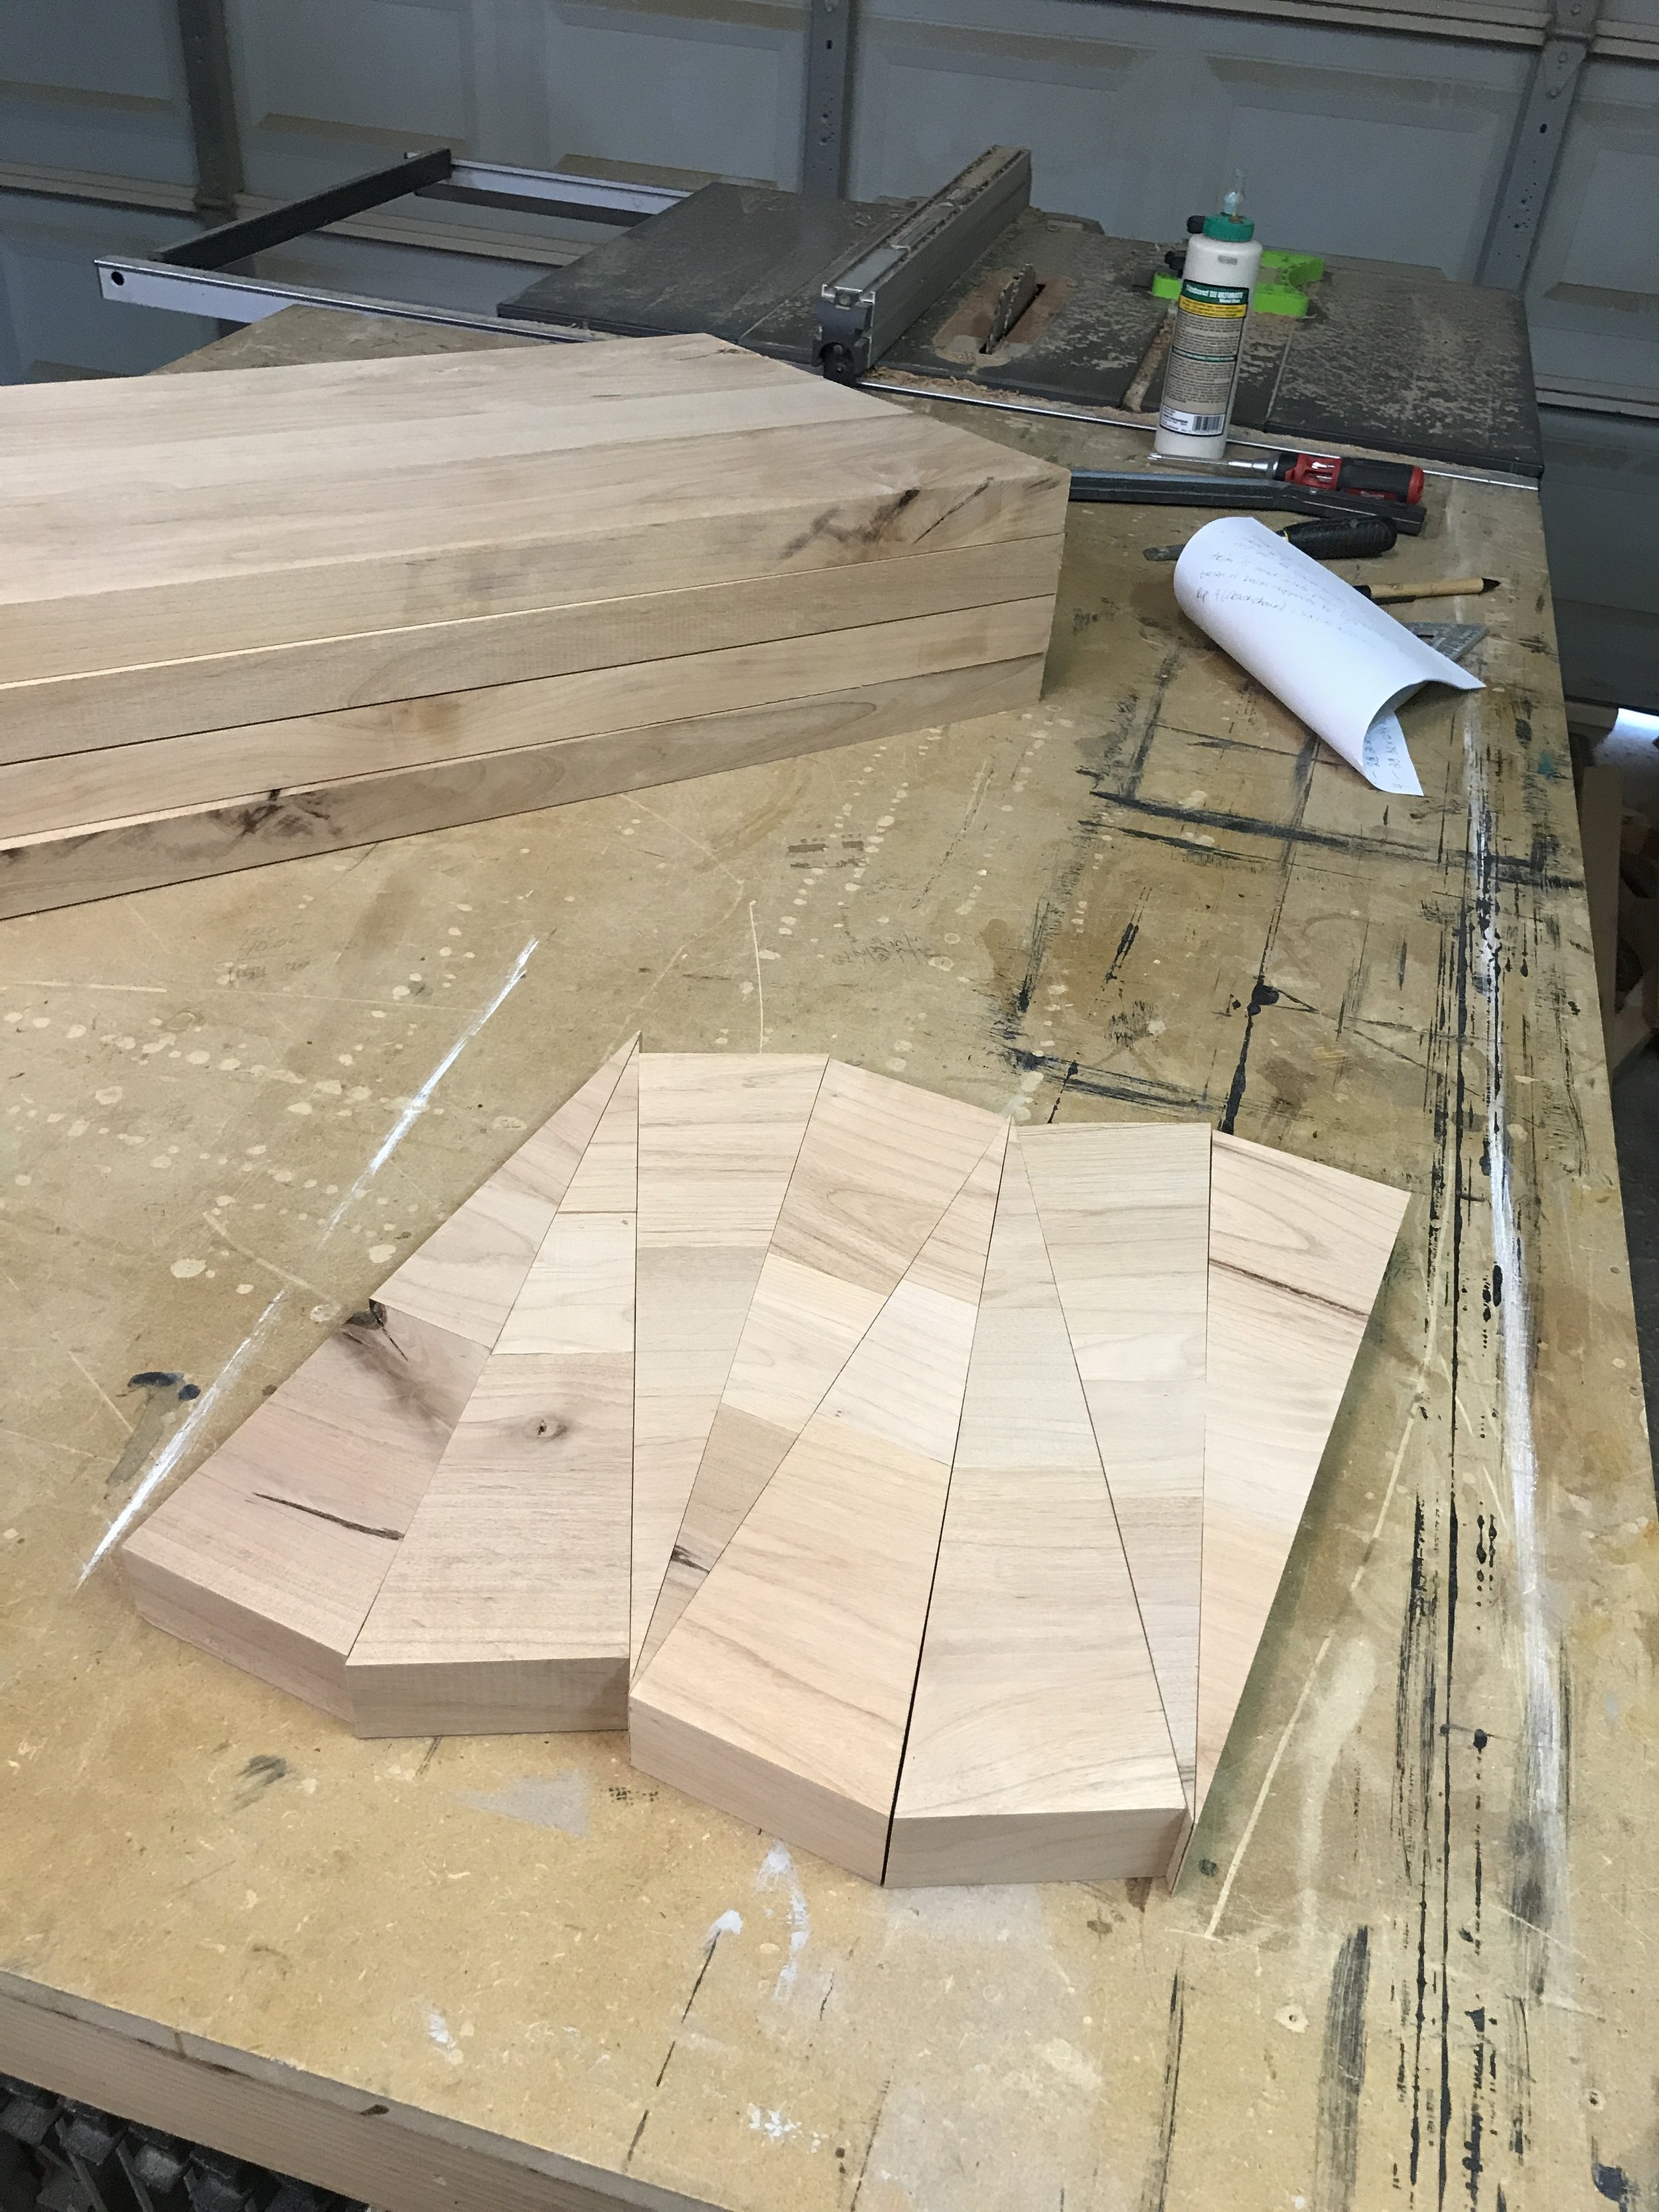
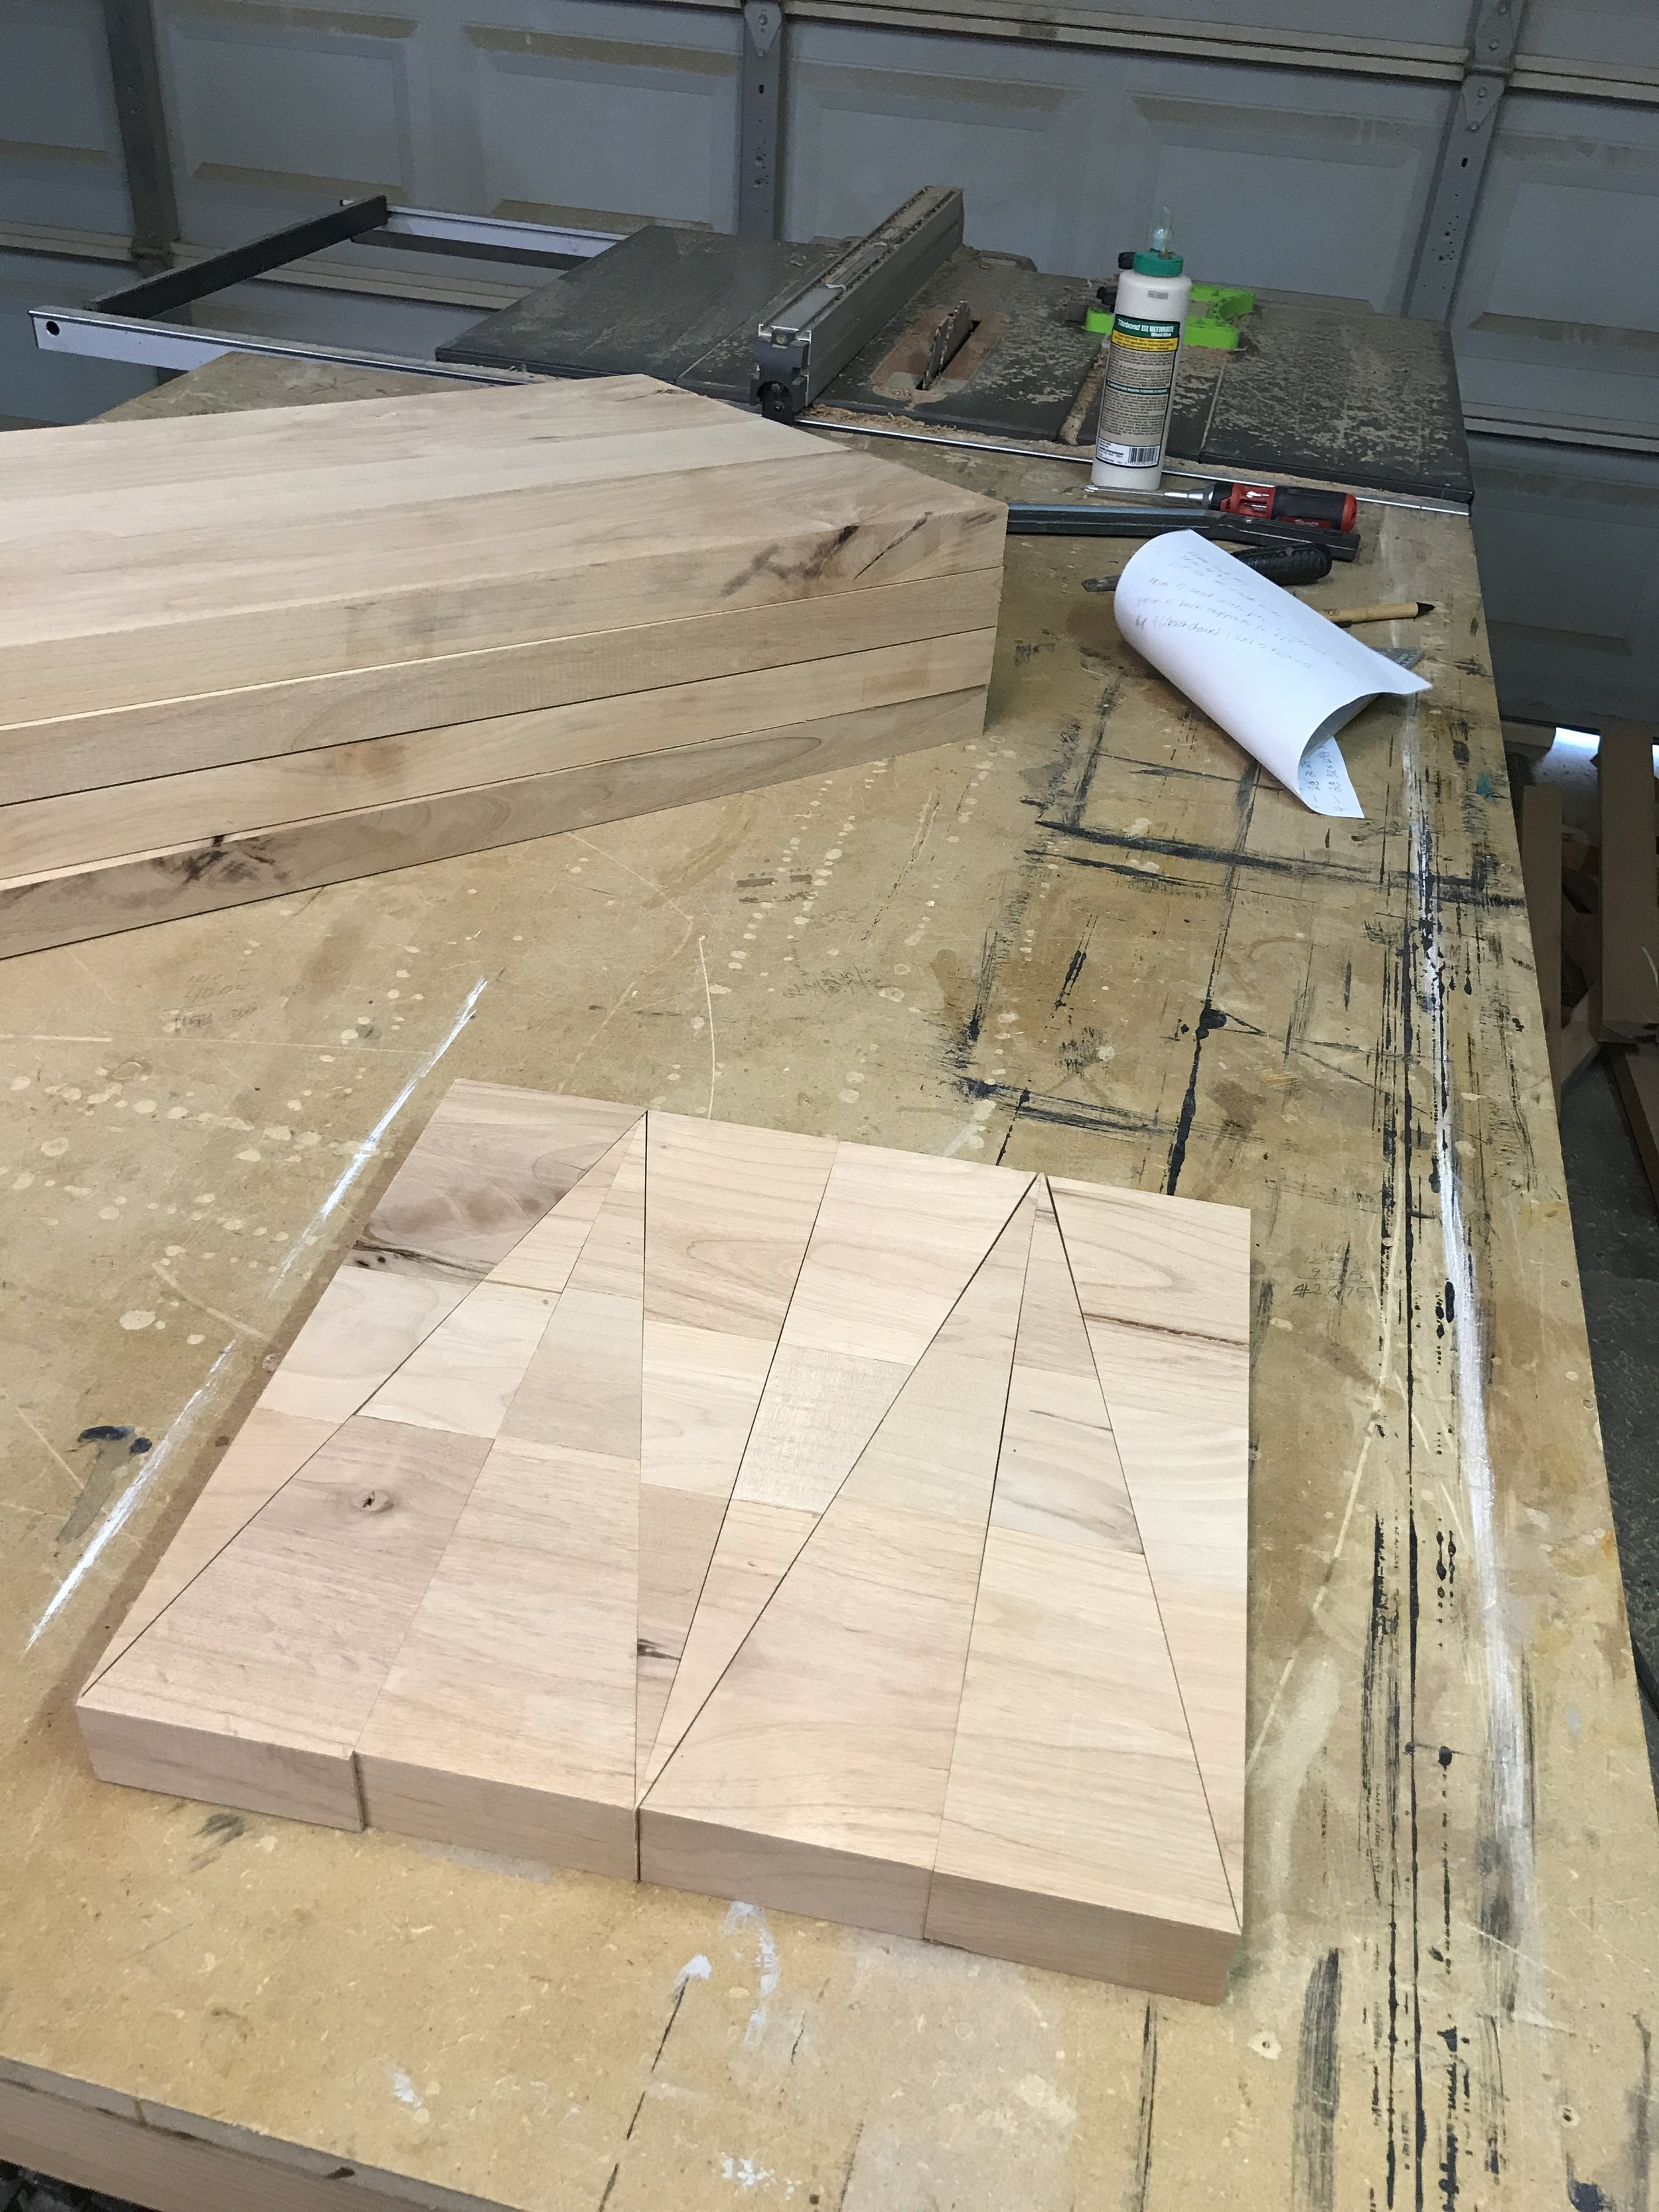
So many possibilities of putting them together. So many angles. And so much fun playing around with all the different ideas. And since the chairs have so many sharp angles and straight lines I thought it would be fun to add some curves to the set. So once I decided on my arrangement I glued the scrap pieces together and let them sit overnight. And then the next day I cut a circle approximately 12" in diameter out of that piece using my router. I then sent it thru my thickness planer and sanded it.


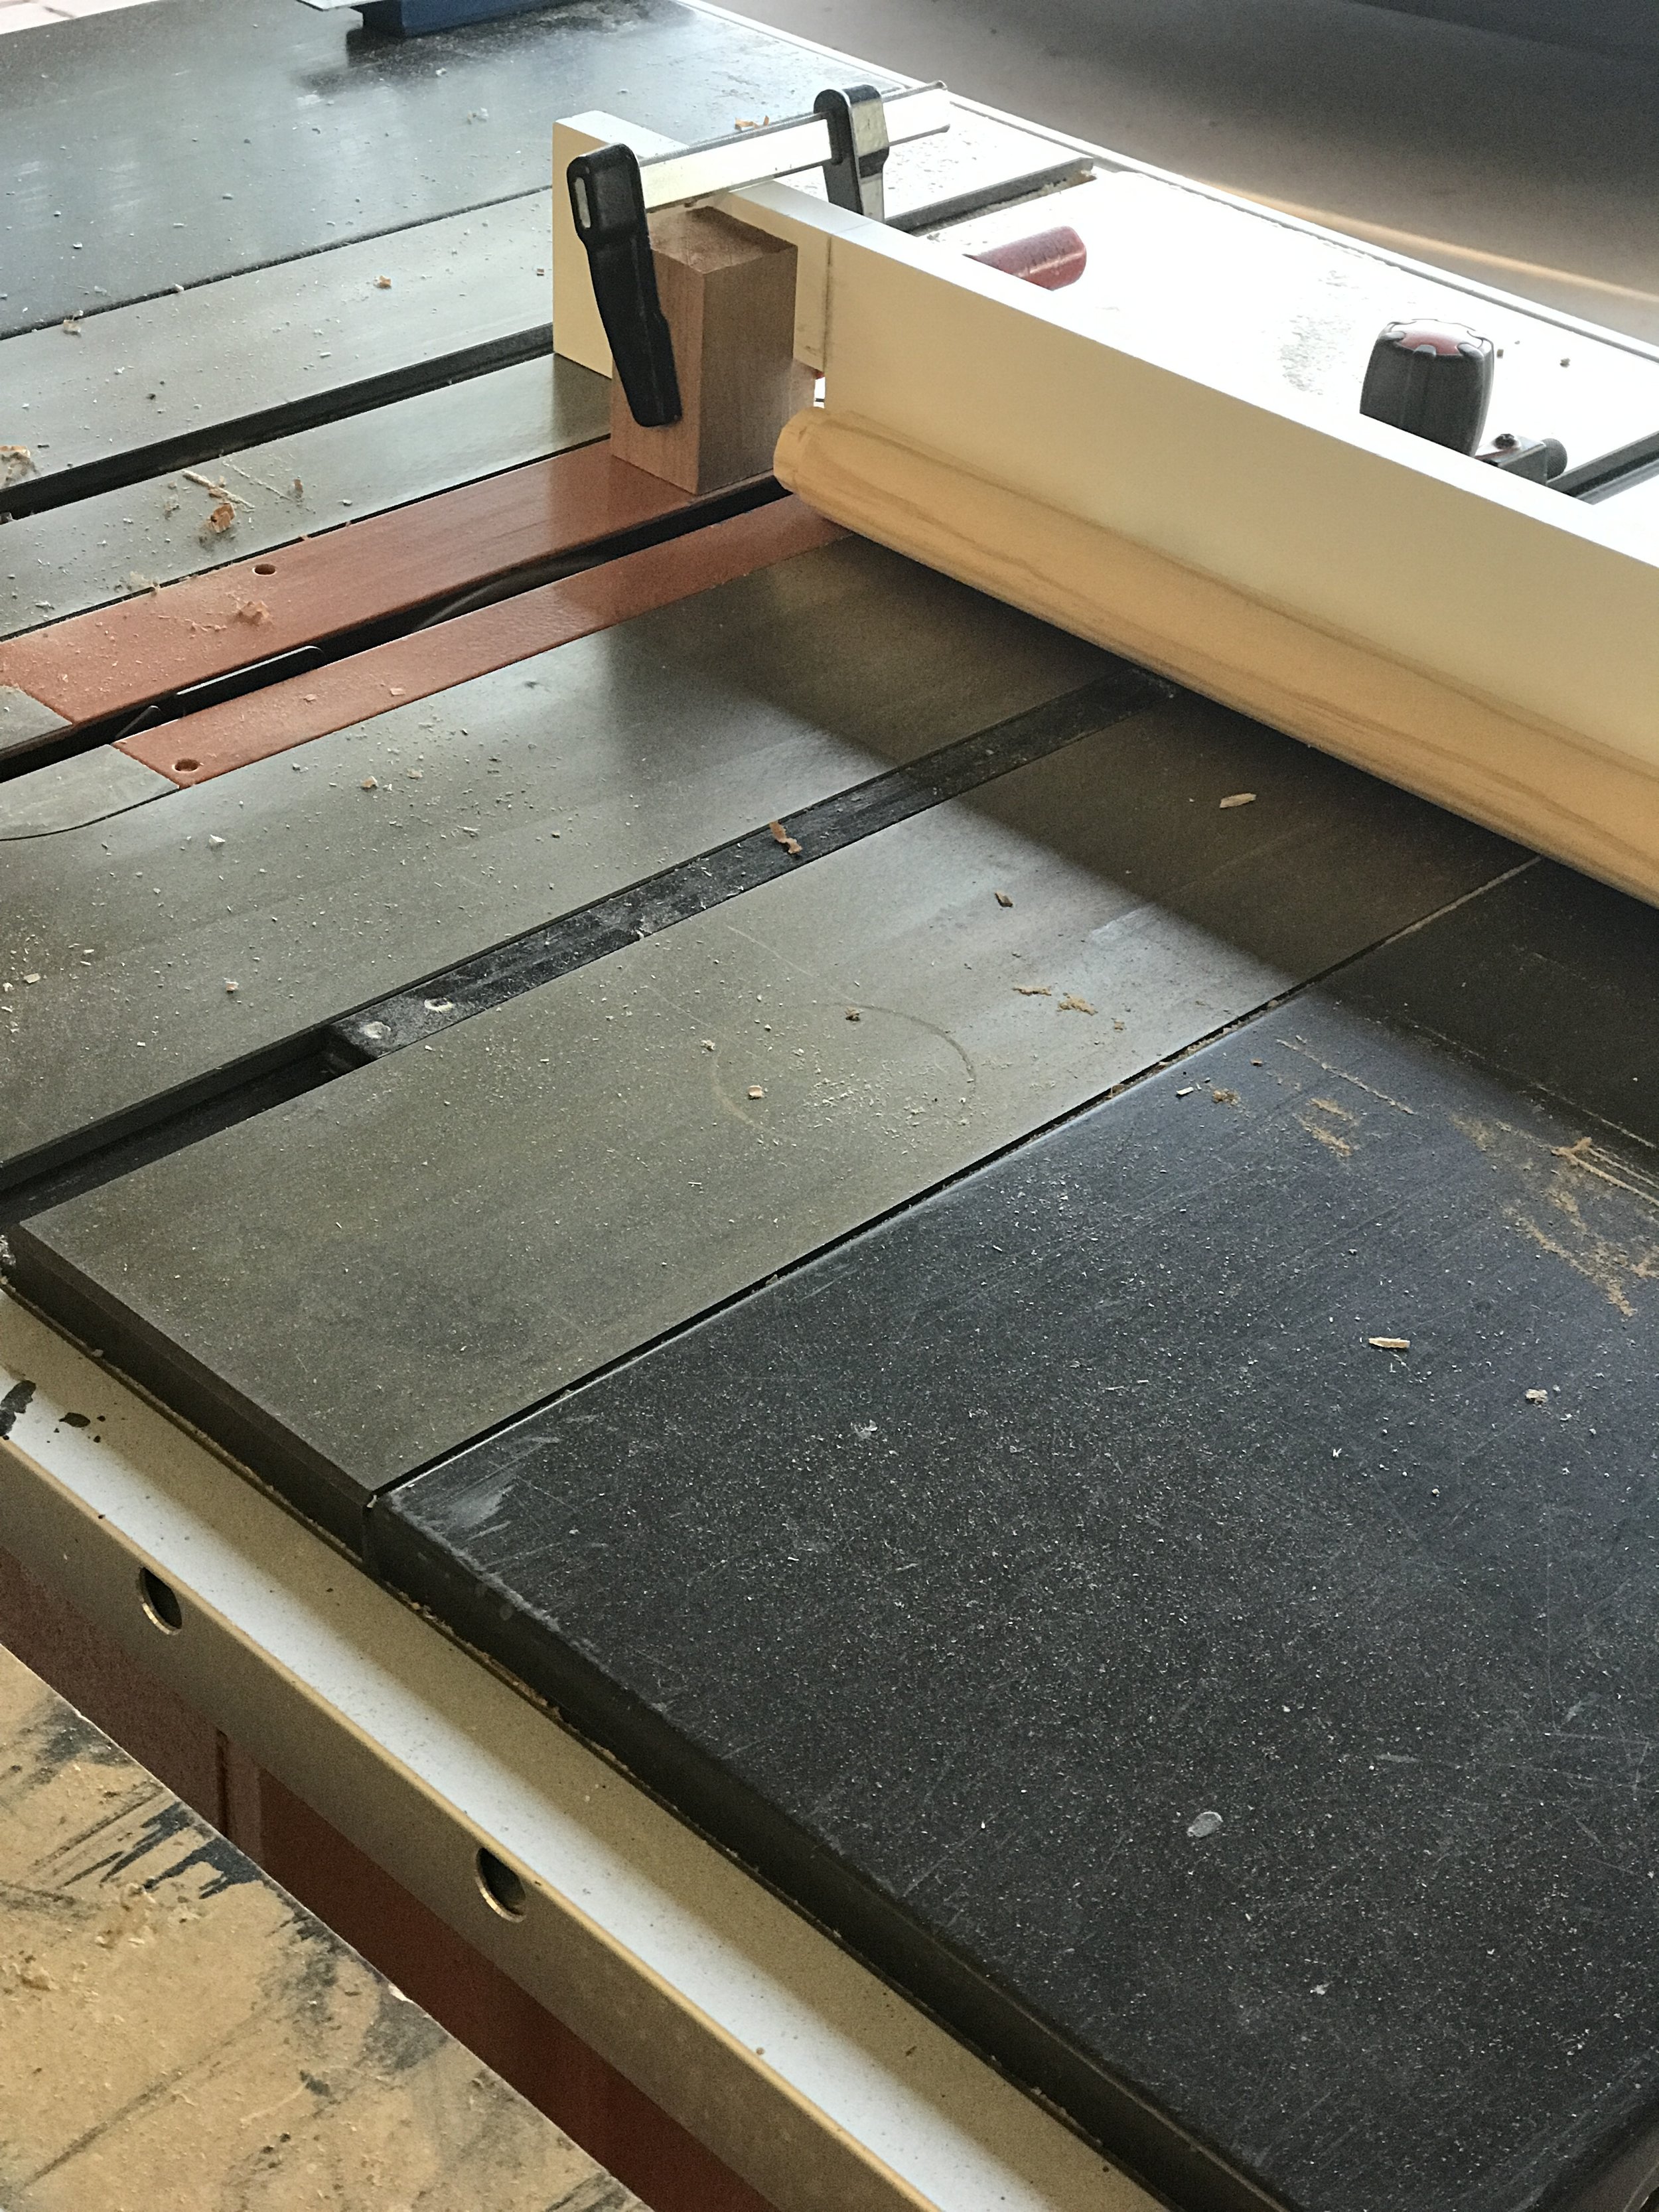
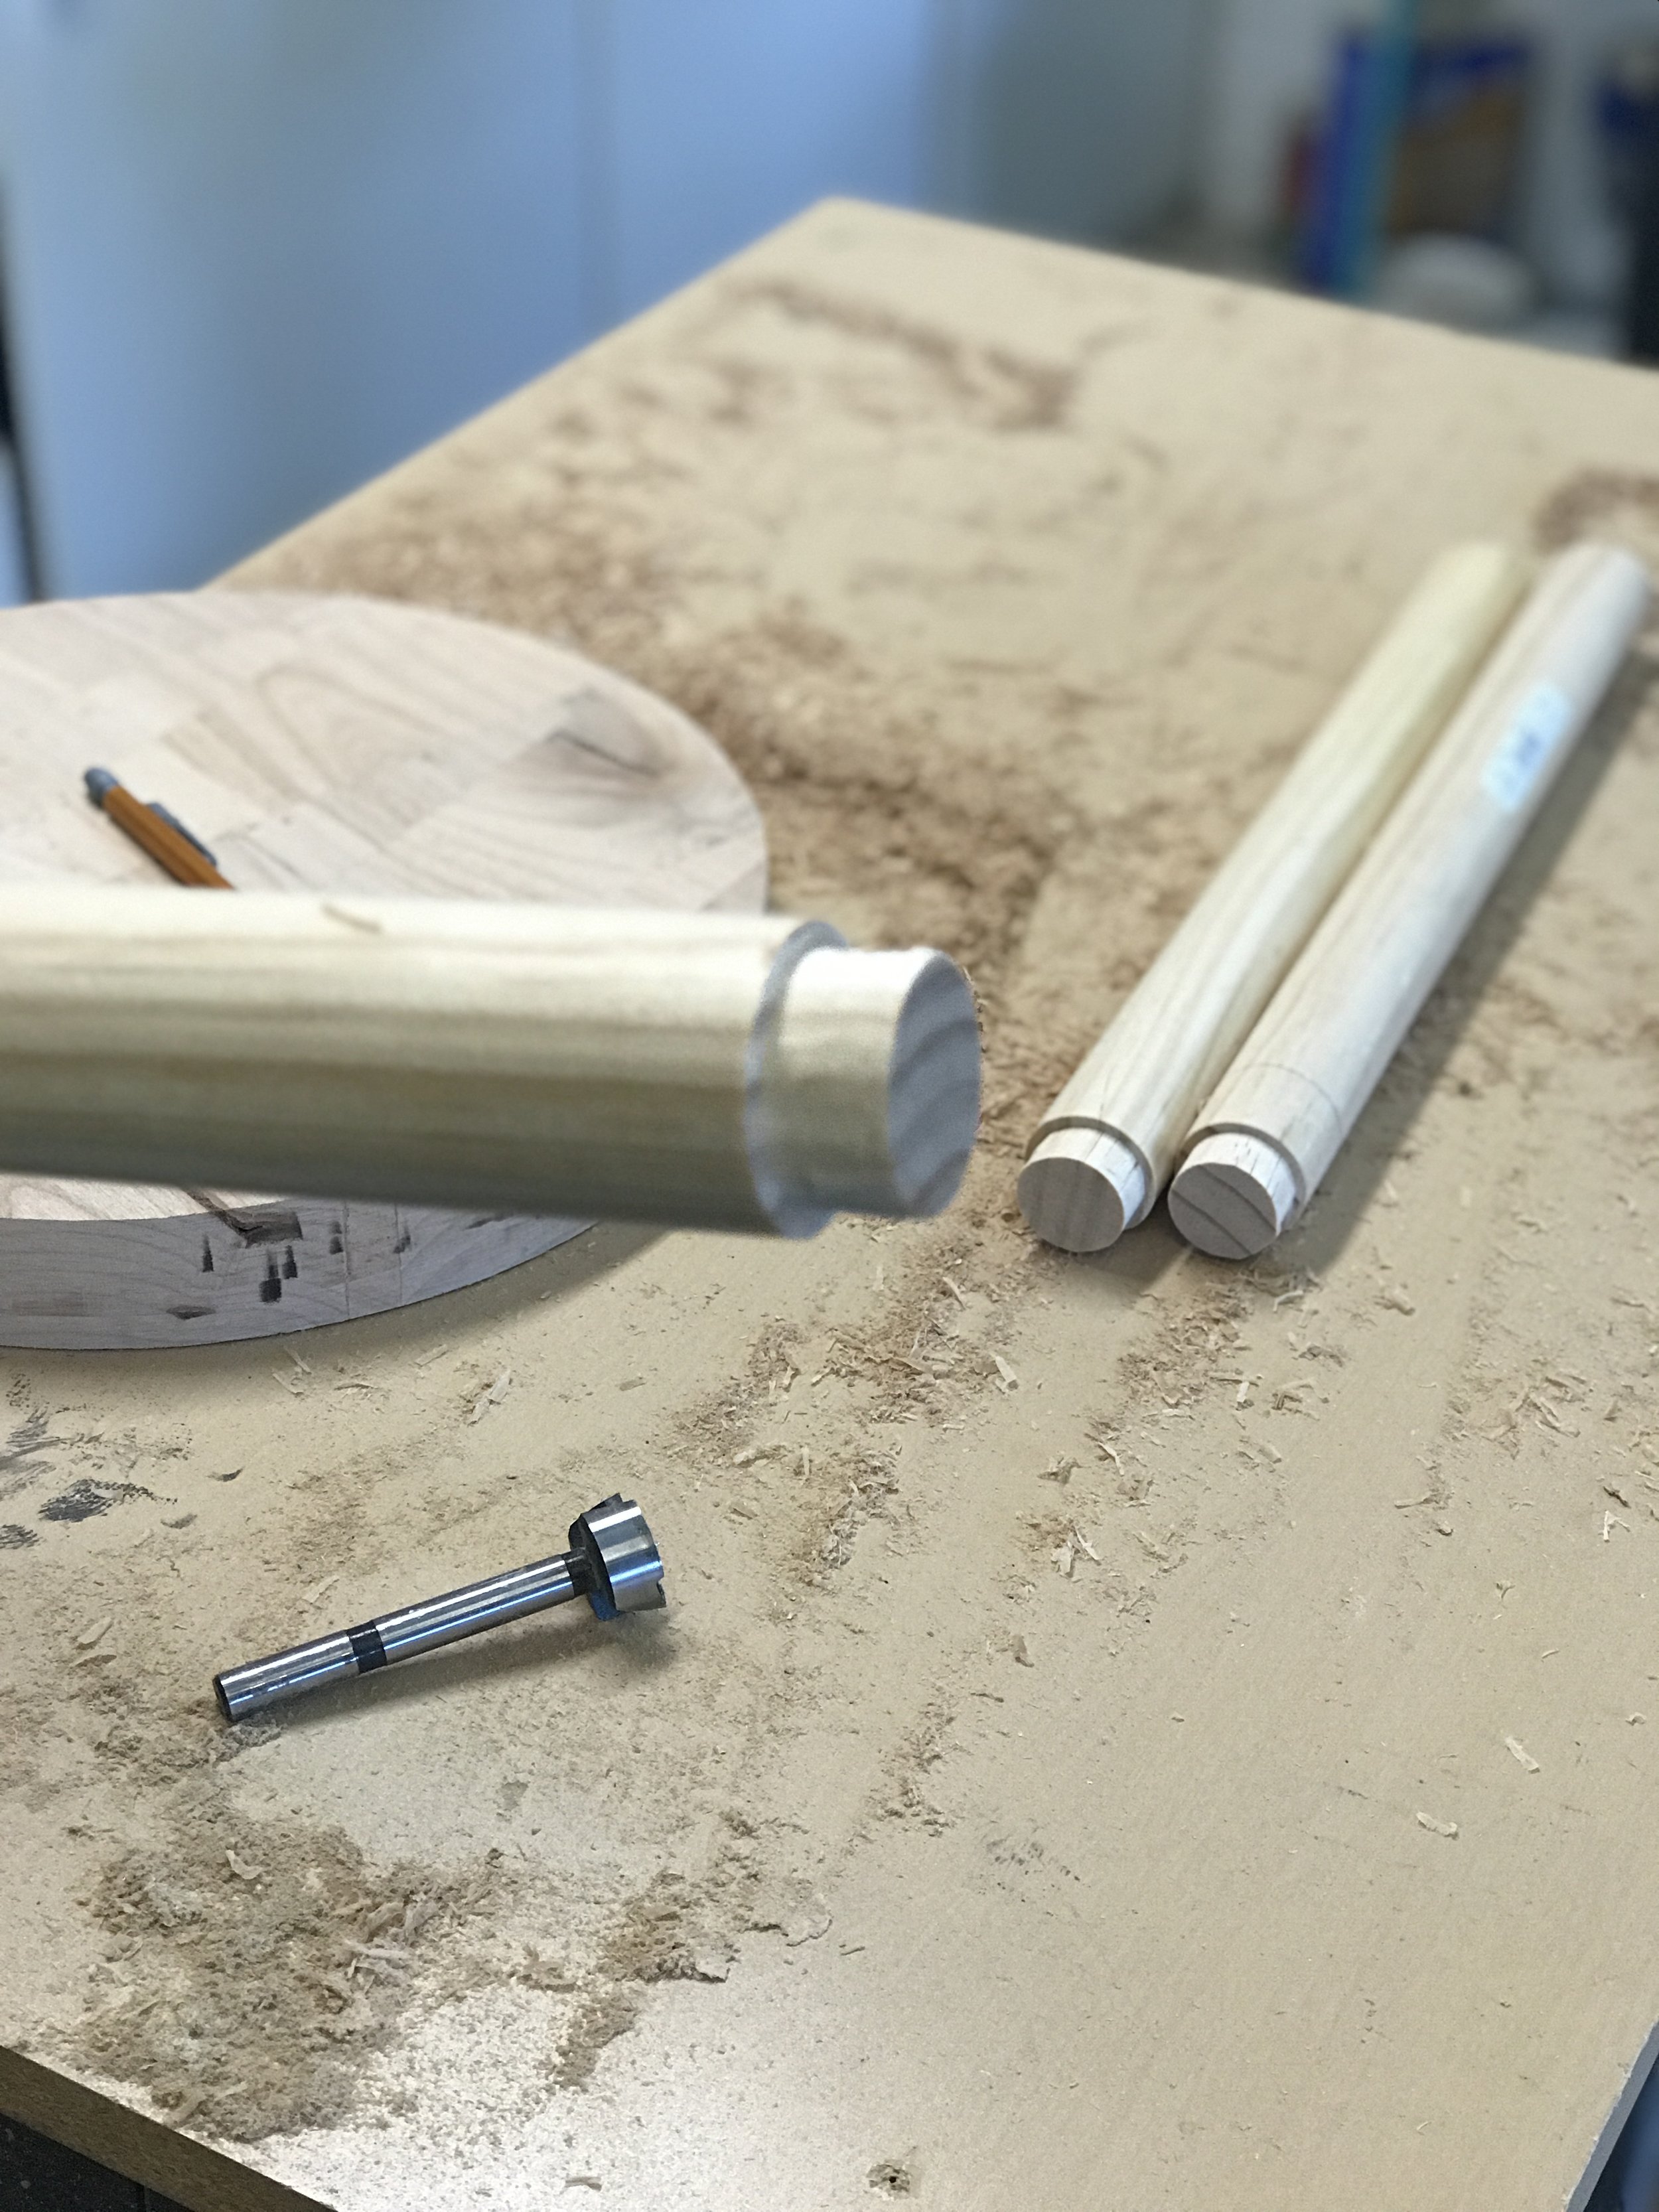
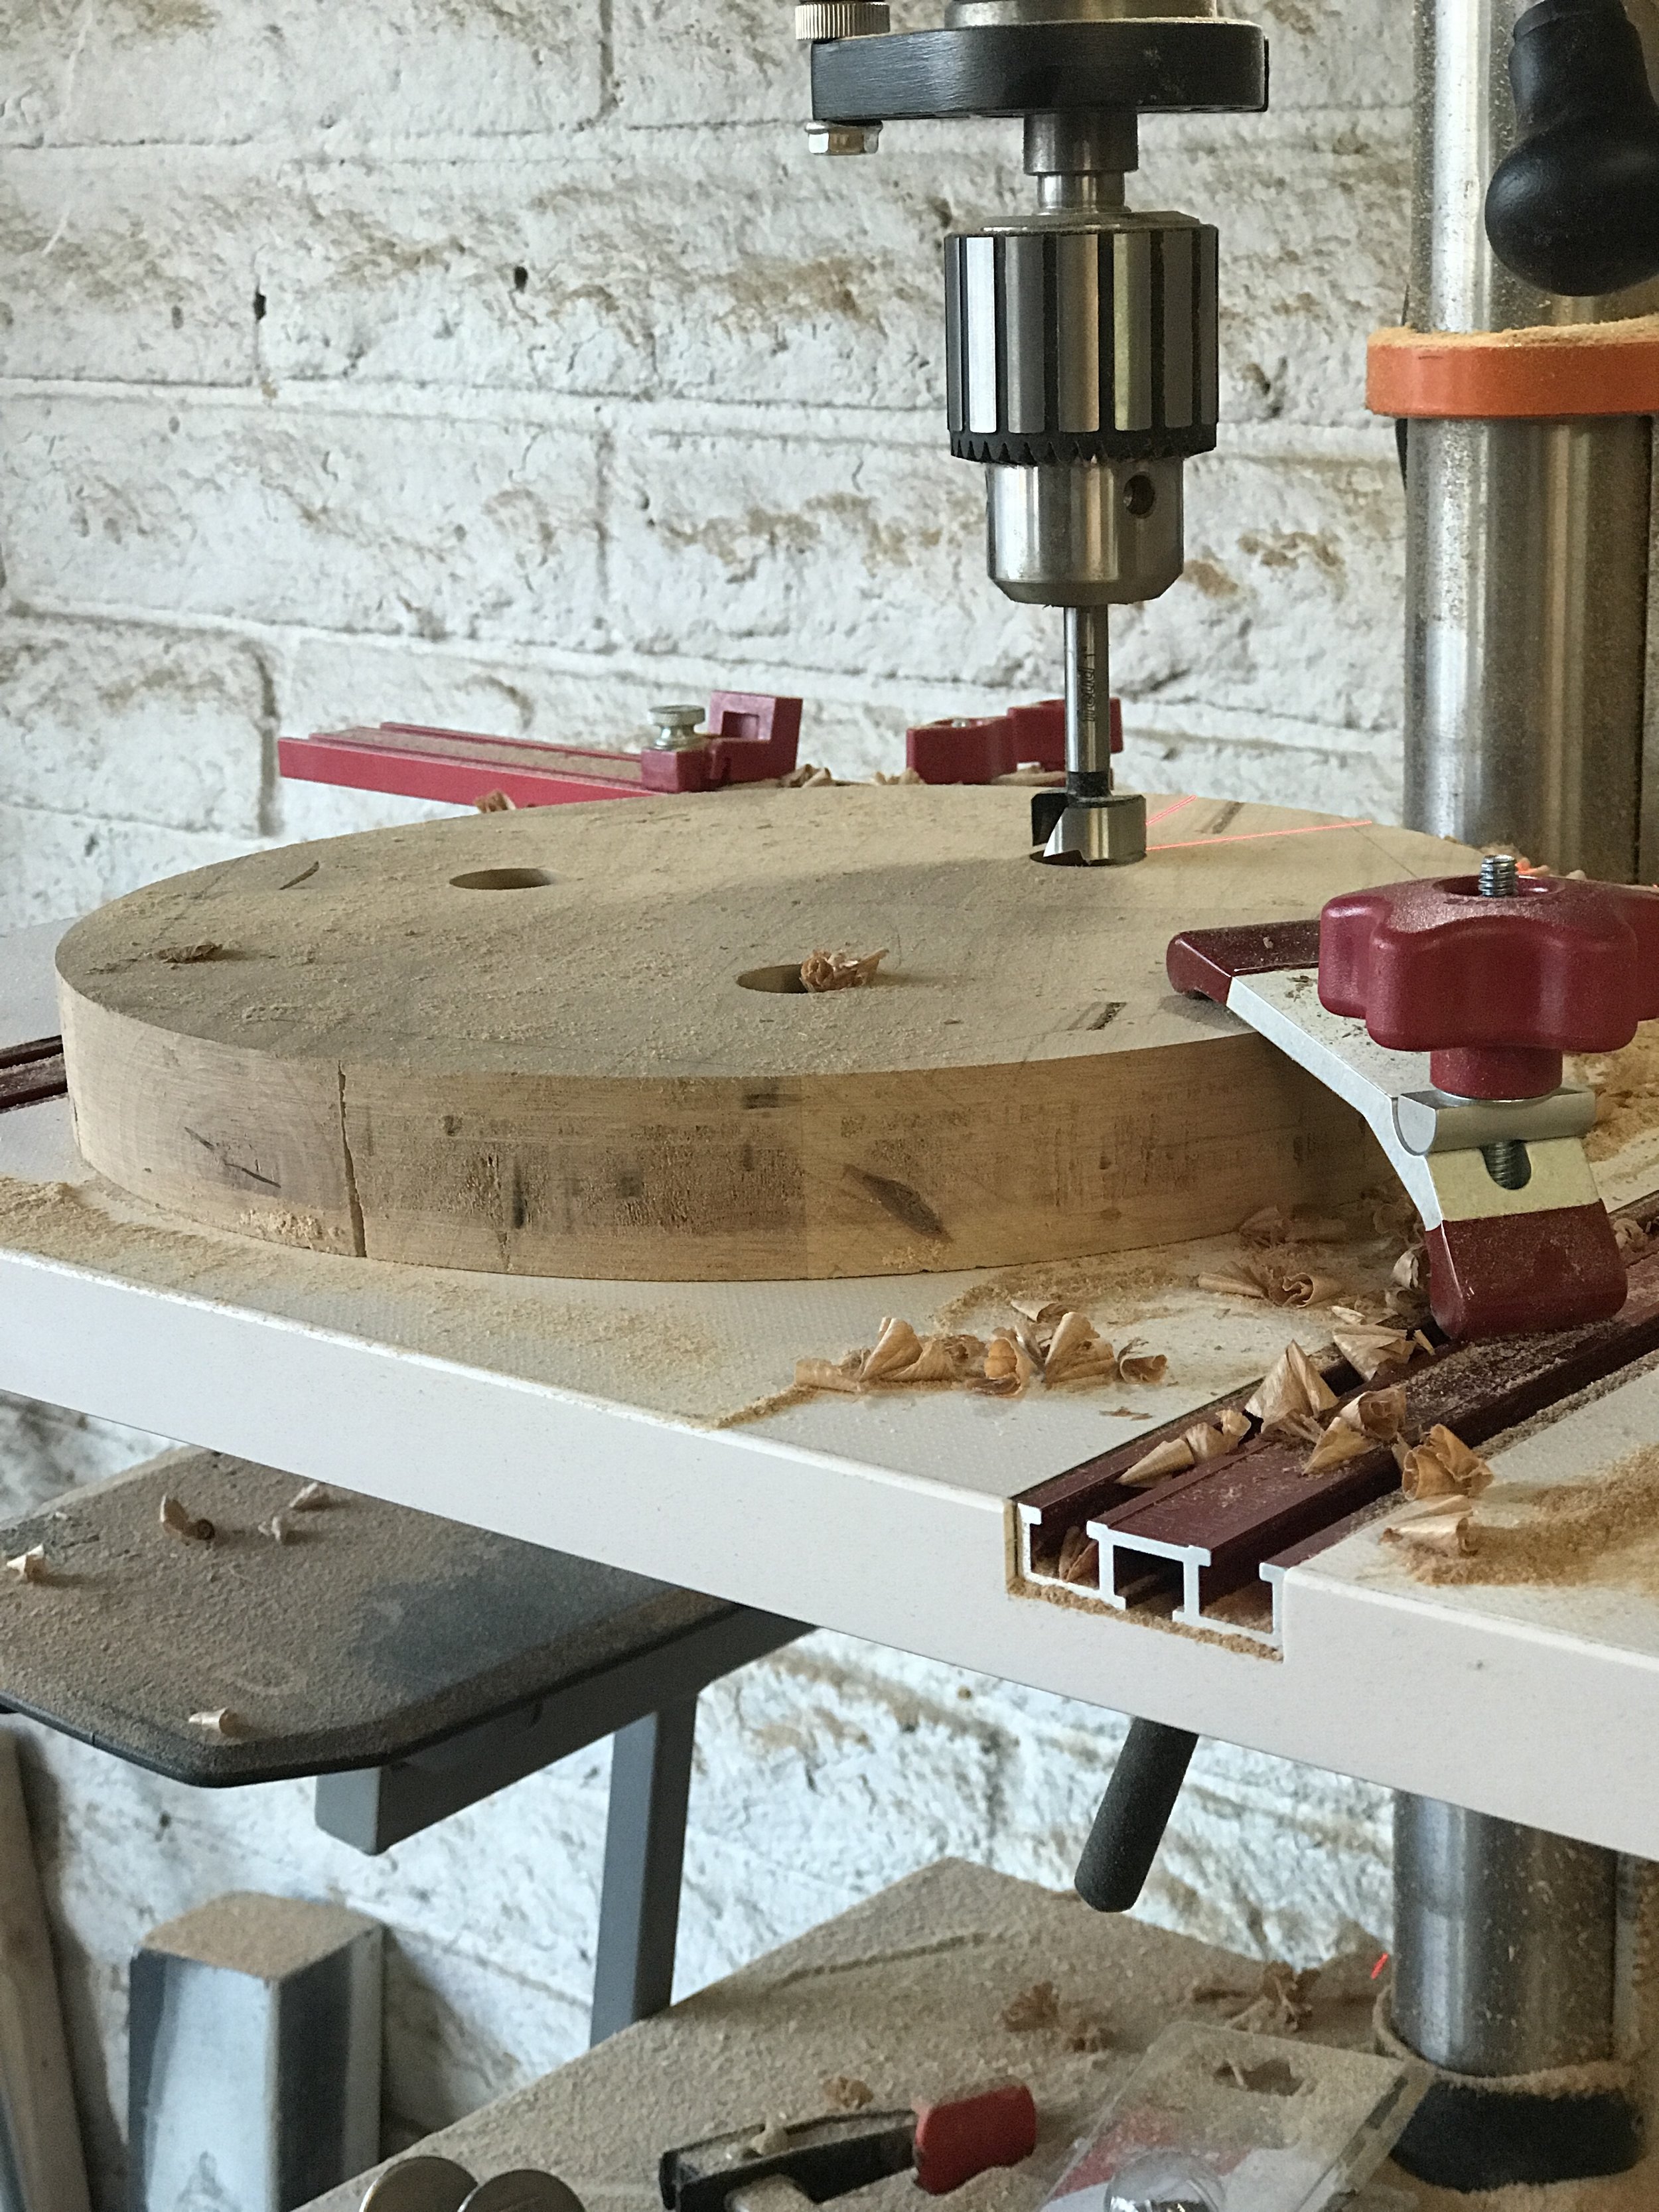
Next up was adding the legs. I really wanted to add splayed dowel legs to this piece, but was having a heck of a time trying to figure out the correct angles and how to make a jig to go on my drill press. And since I was running out of time, I decided to just make the legs straight. I made the legs out of 1 1/2" dowels that I had laying around the shop from a previous ladder I made. The wood type didn't matter to me because I knew I was going to paint them black. So first I laid out where I wanted the legs and drilled a 1" recess (mortise) about 1/2" deep in the top using a forester bit. Then I took the dowels over to the table saw to create a tenon to fit. I did this by using miter gauge and lowering the blade down to 1/4". I also set up a stop block so I knew far down on the dowel to create the tenon (about 1/2", same as recess with the forstner bit). I then took several passes spinning the dowel while over the blade to create a circle tenon 1" in diameter to fit in the 1" recesses I made earlier. Be sure to test fit everything and use a practice piece to make sure your set up is correct before proceeding on your final product.

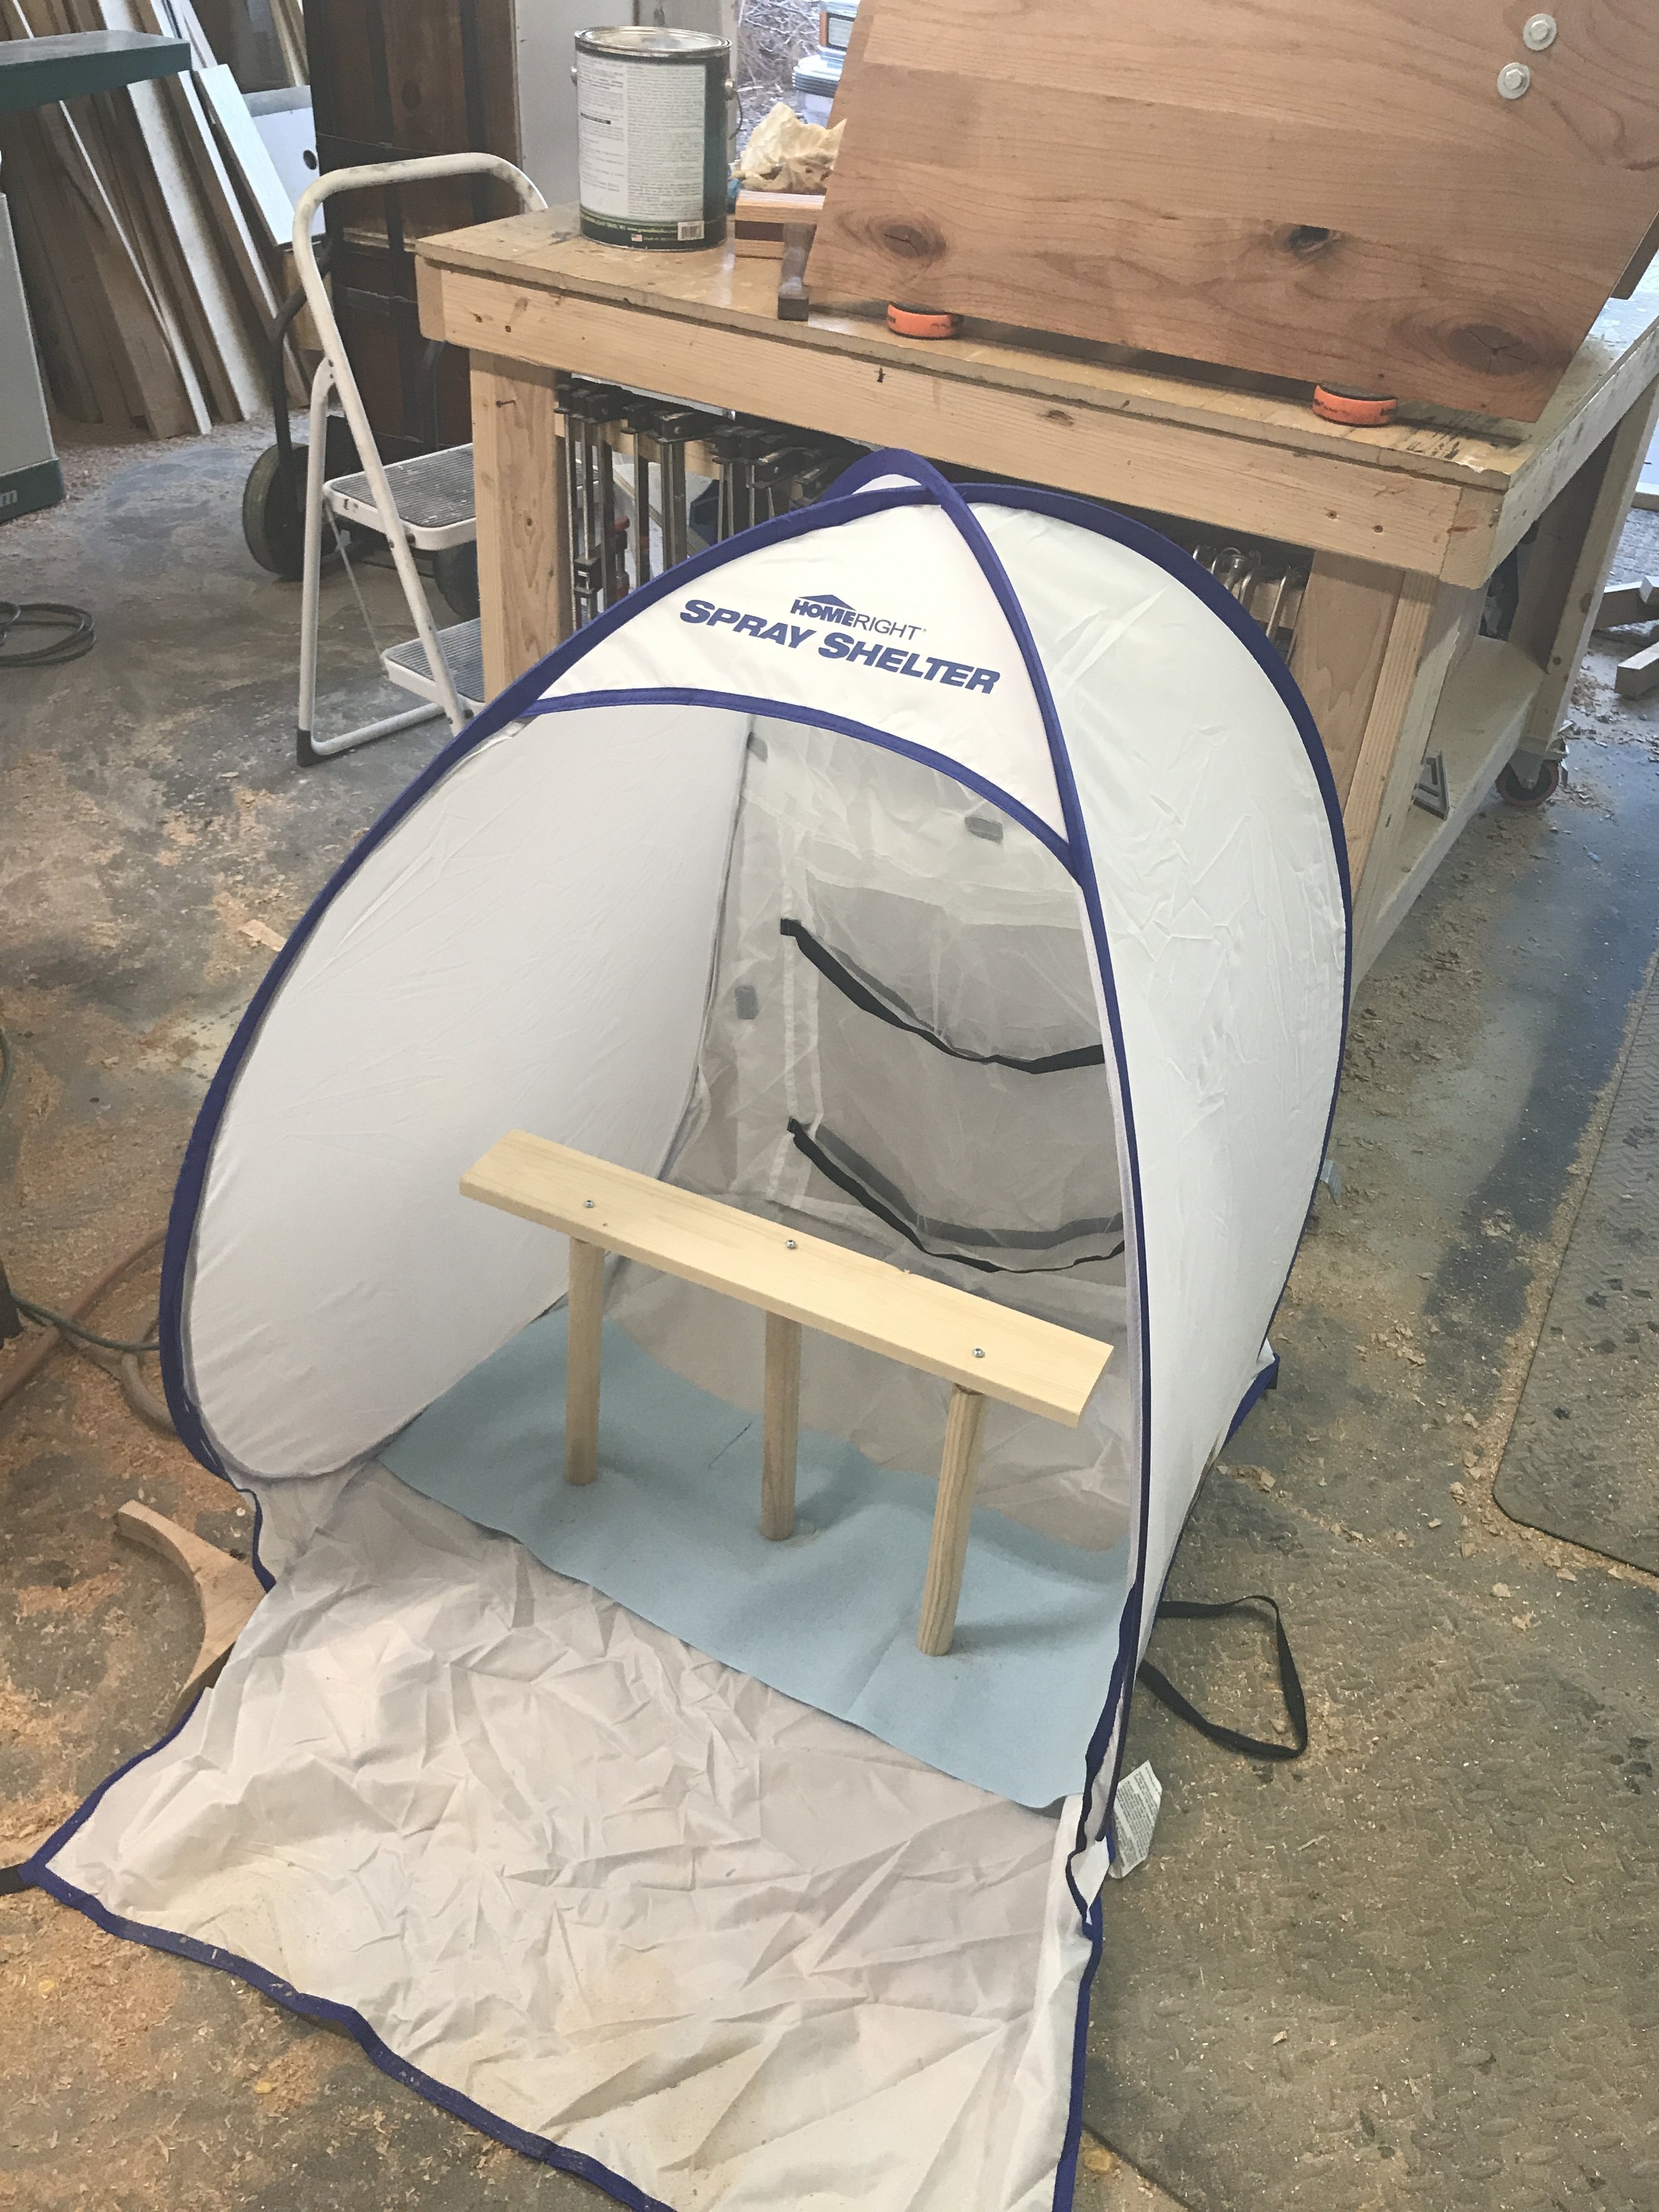
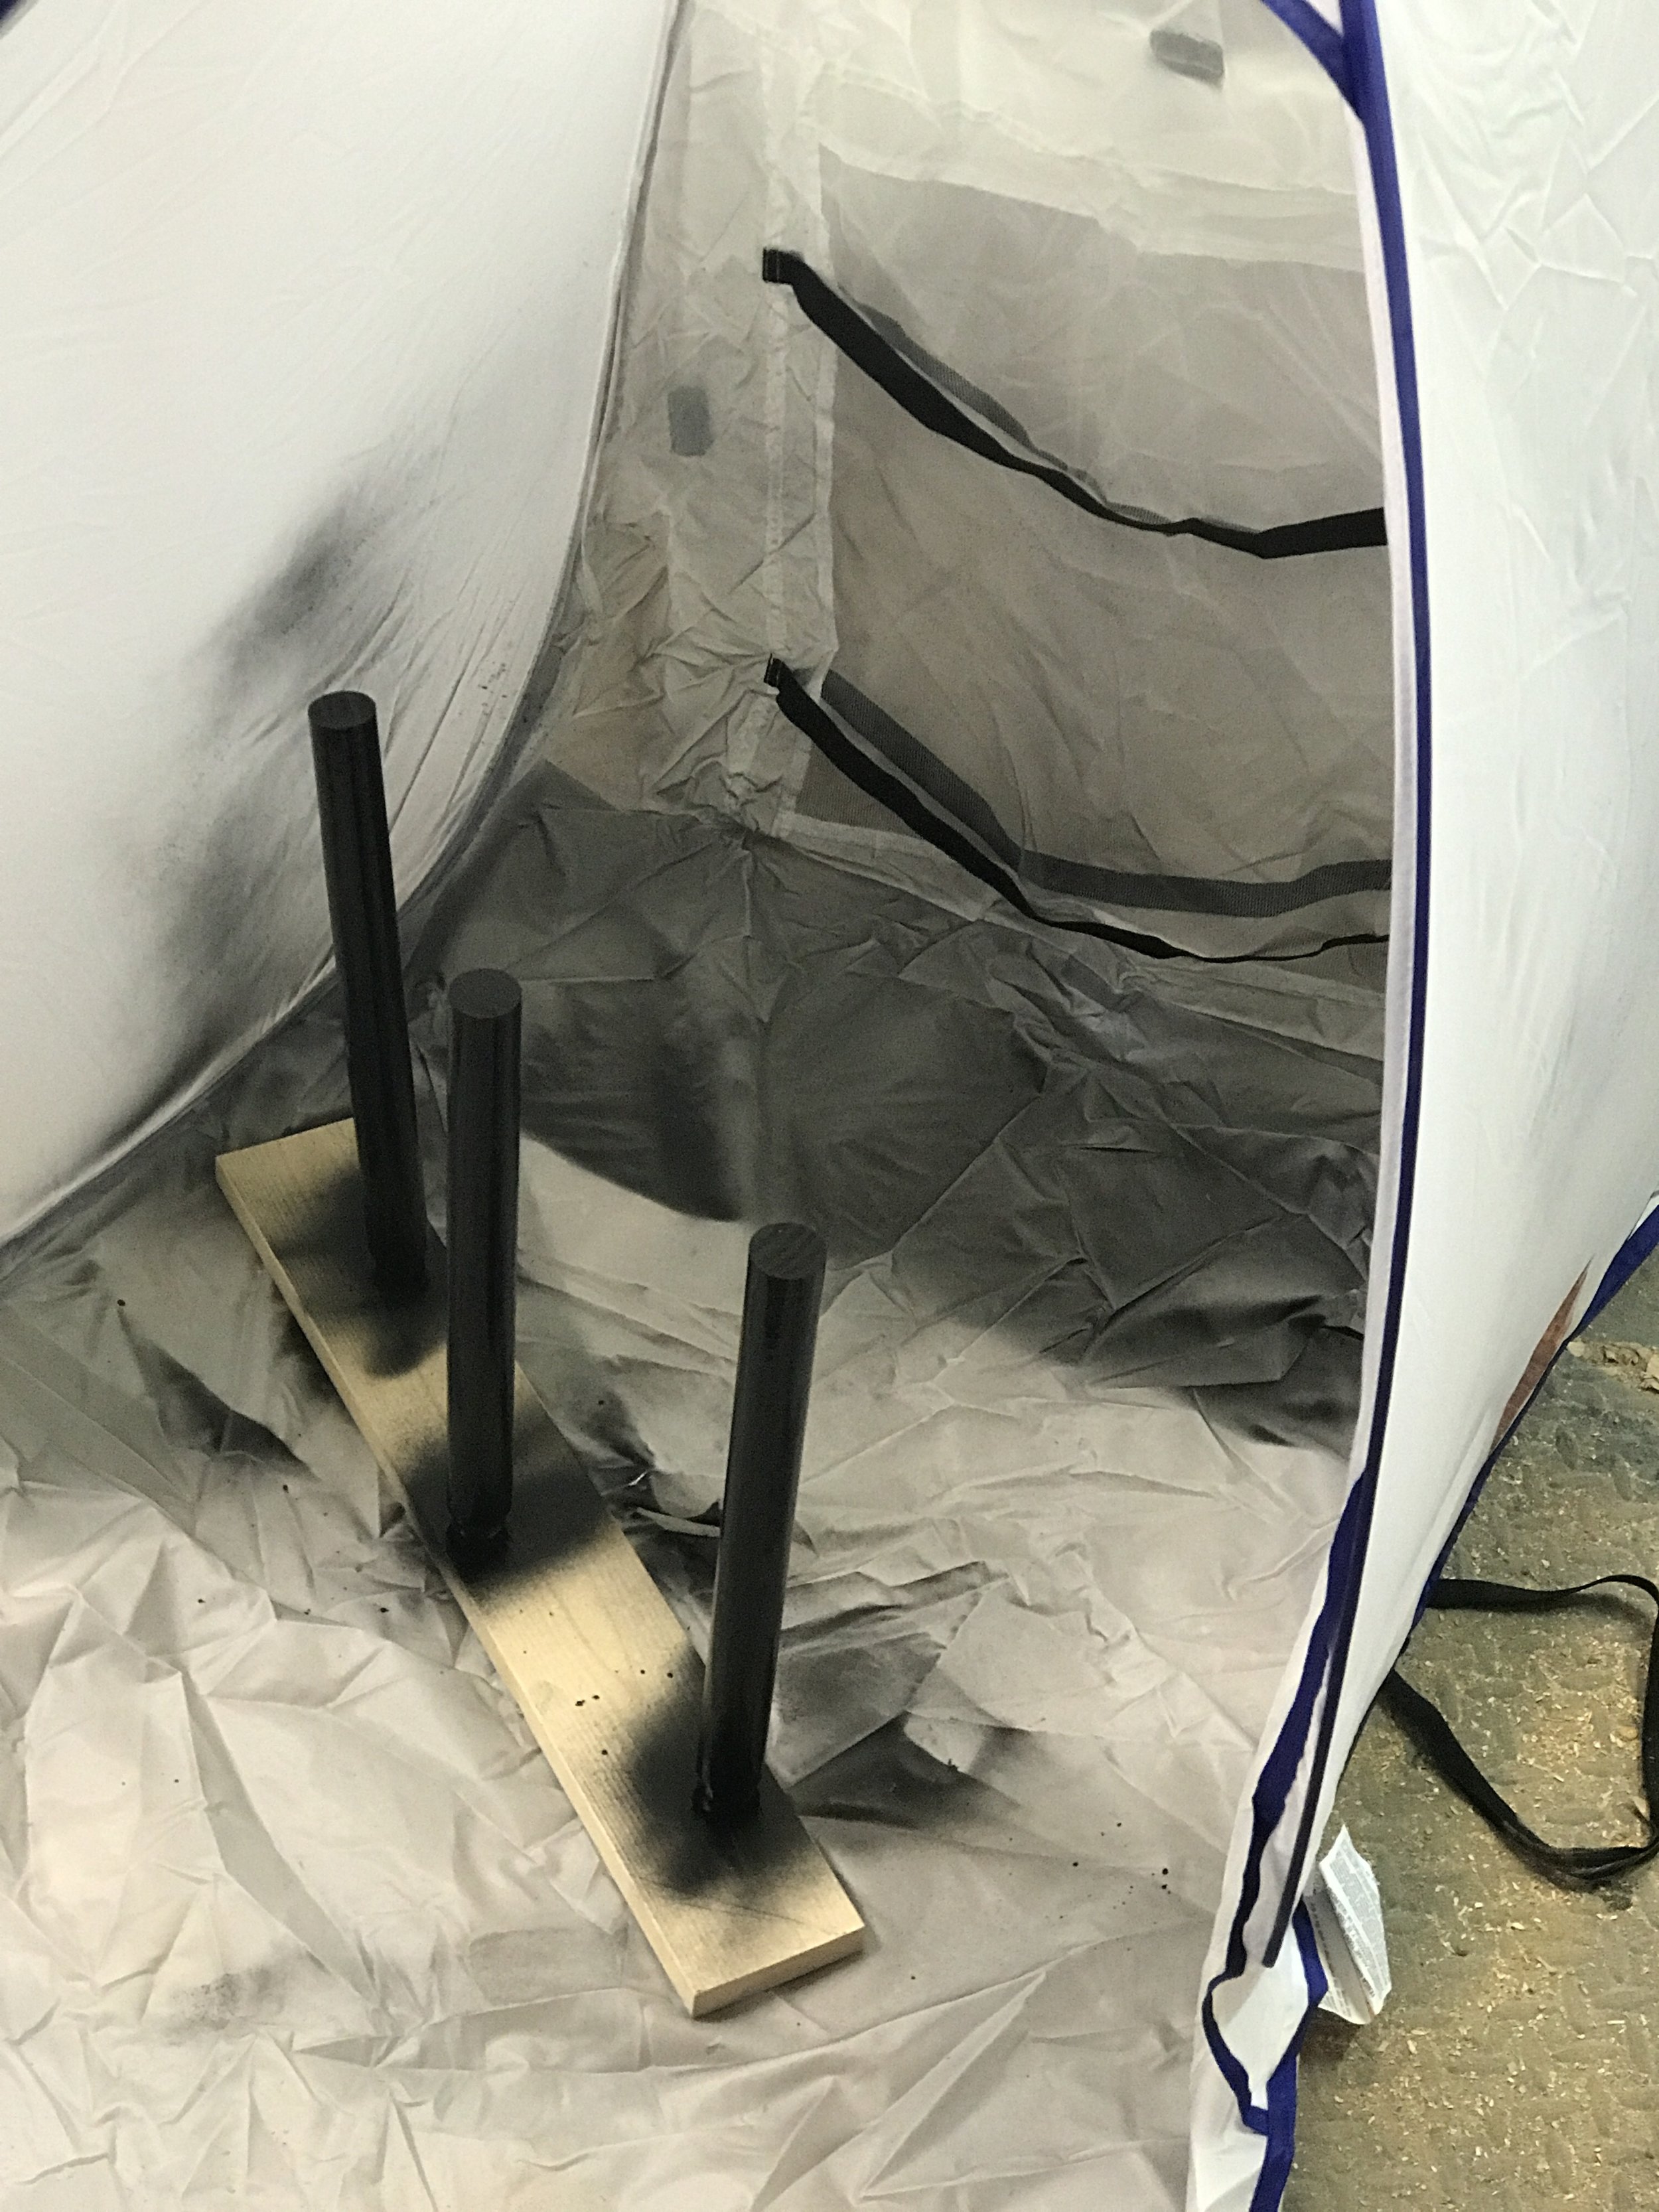
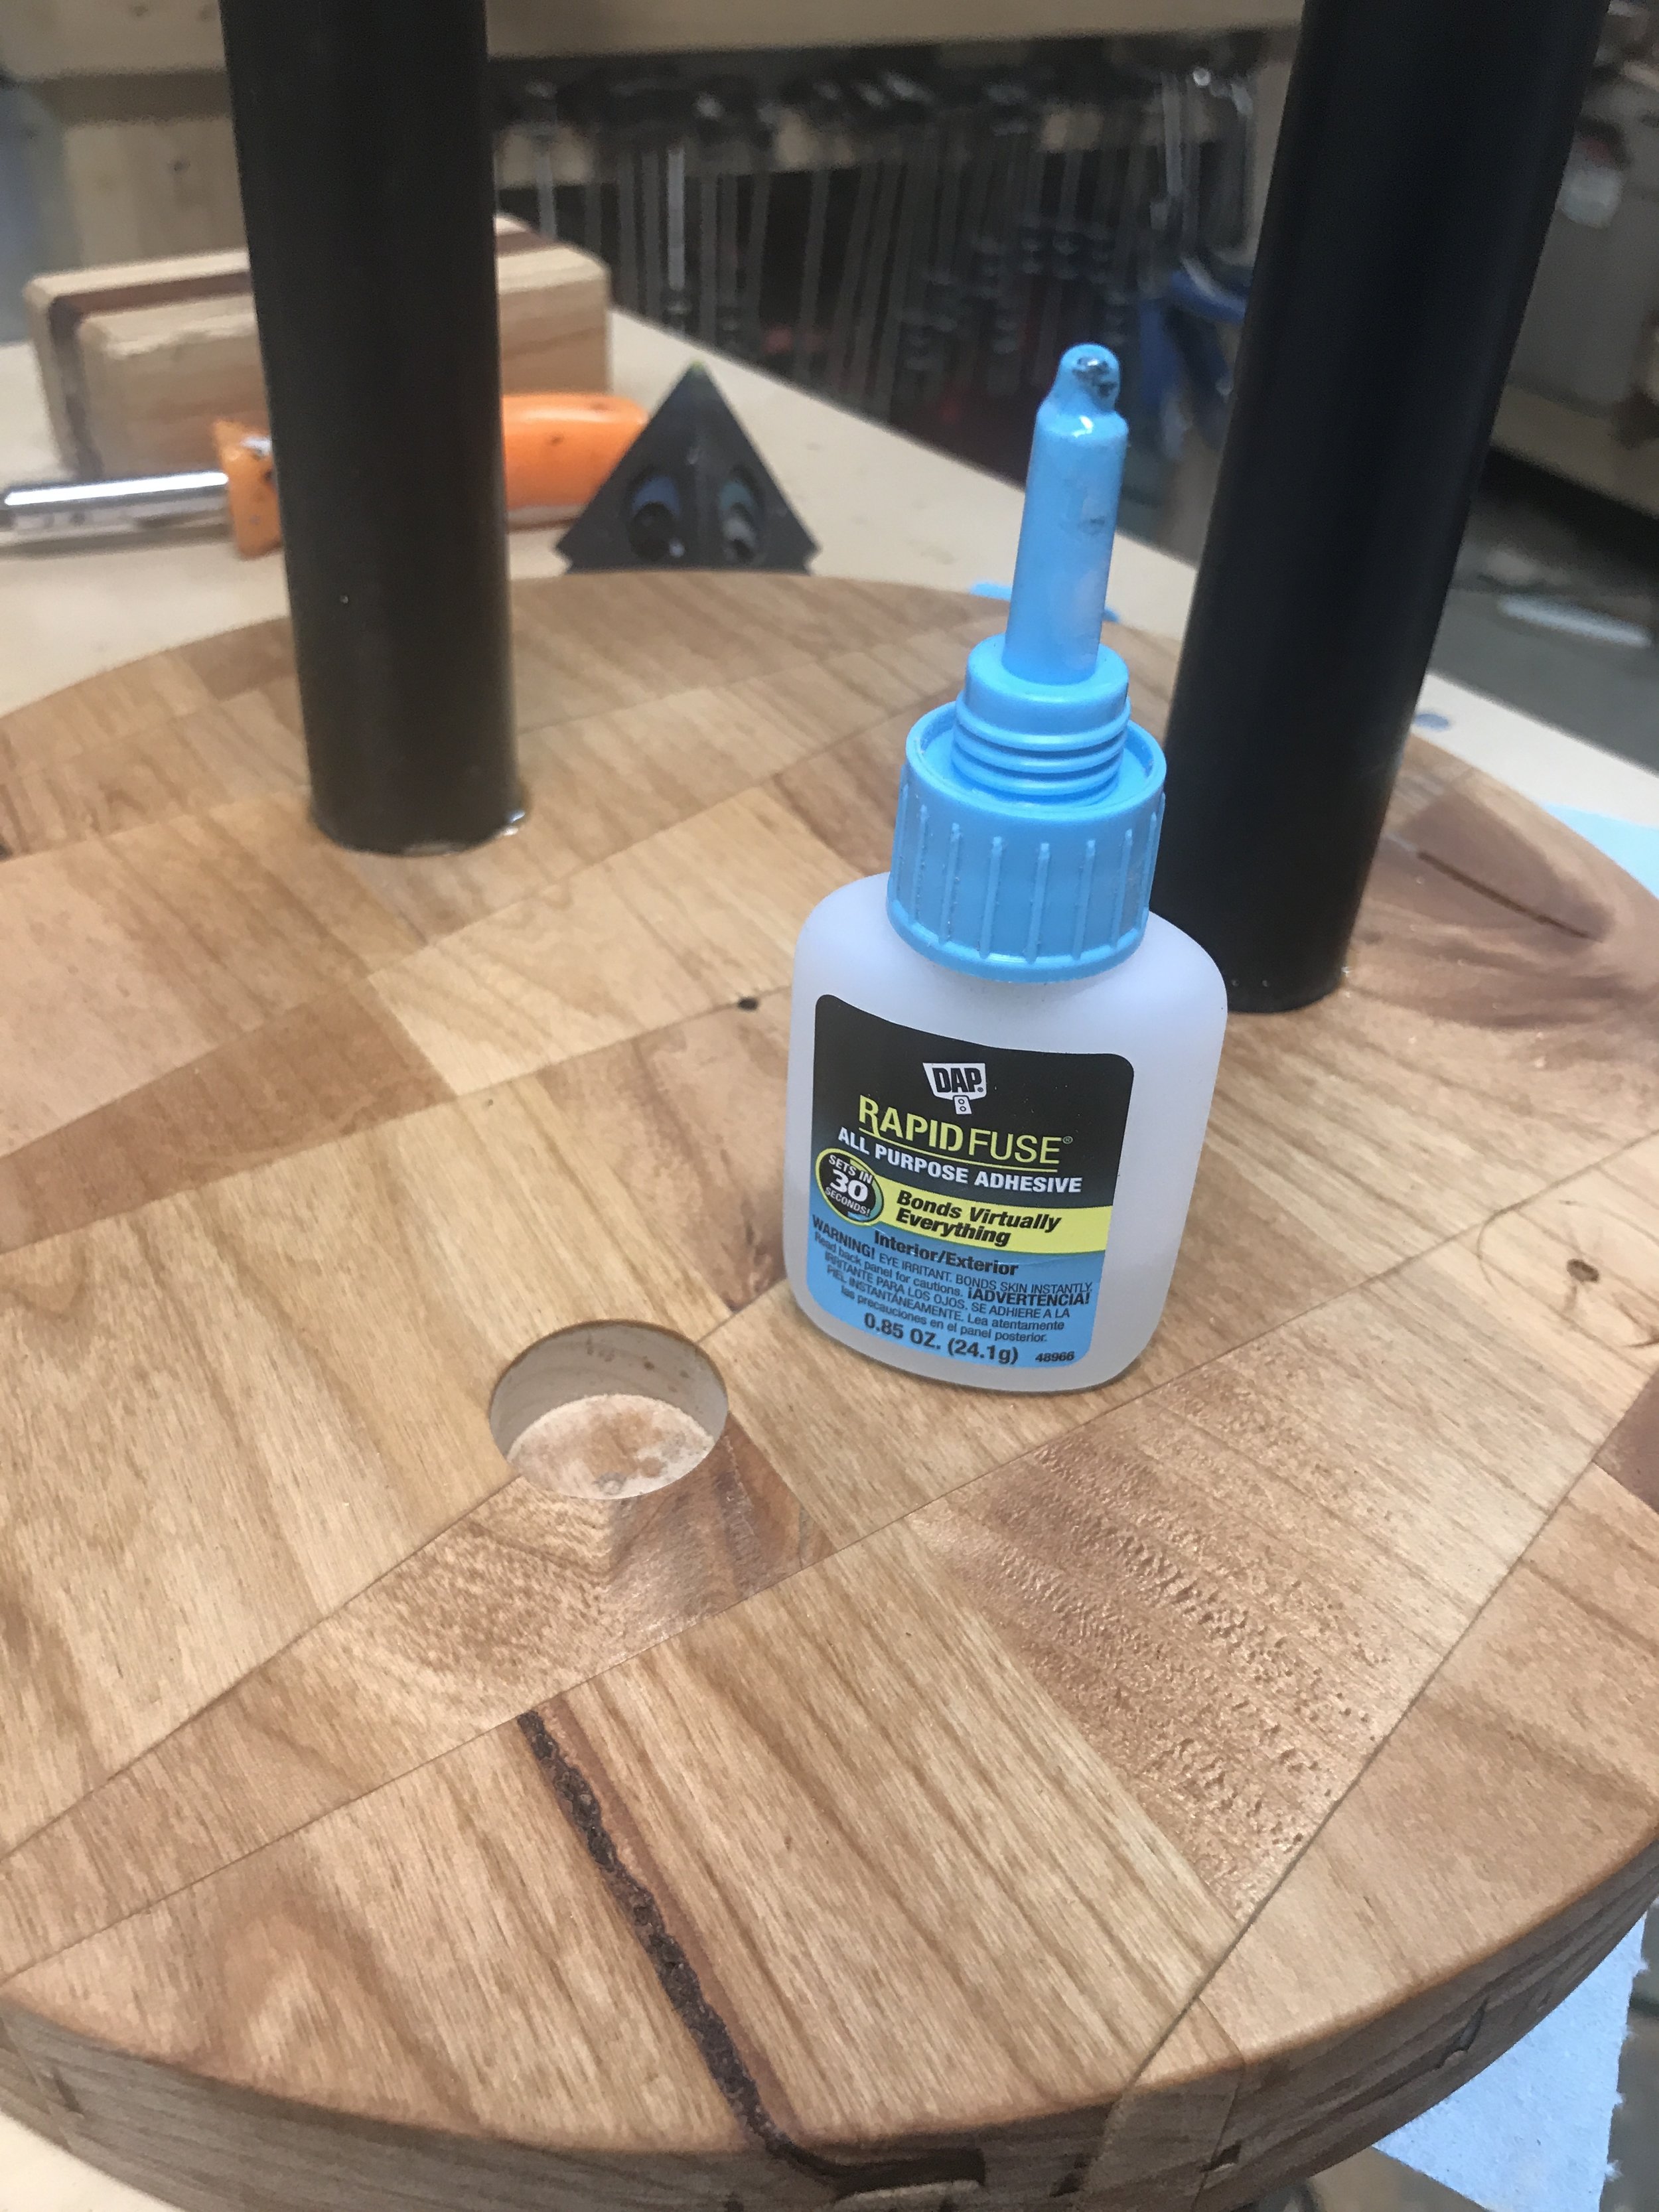
And then I painted the legs black. The Home Rights Medium Spray Shelter comes in super handy for spraying these small projects inside the shop. Super easy set up and take down. Once the paint was dry I glued the legs to the top. I used Dap's Rapid Fuse, because it dries super fast and is rated for interior or exterior. And viola you have a table!
But I do have a recommendation or something that I would like to fix on my table. I originally laid out where I wanted to the legs to go when I was doing the splayed legs. But when I decided not to do the splayed legs I forgot to change the location of the legs. I recommend if you are doing straight legs to move the recesses farther out to the edge of the top so that the table is more stable. I will probably cut my legs off at some point and either splay them or just move them farther out.
Oh and the final final step was to finish the top with some General Finishes Outdoor Oil or whatever your preferred finish is that is rated for outdoors!

Overall super happy with the look and stoked to have some nice furniture to enjoy the backyard in. I love how this outdoor scrap table just completes the set of DIY Modern Deck Chairs I made. If you are interested in making yourself the Deck Chairs, click here. I have a post on tips and tricks of how I made them. And then over on Buildsomething.com I share the actual plans and dimensions and everything you need to get started.
Oh and if you do build this DIY Modern Scrap Table and/or the DIY Modern Deck Chairs I would love to see them!!! Please tag me in your post or use the hashtag #buildingawesome.
Not ready to build this today?
Thats okay, just PIN the photo below and build later!

Thanks for checking out my latest build! Have an AWESOME day! And keep Building Awesome!
Sadie Mae


