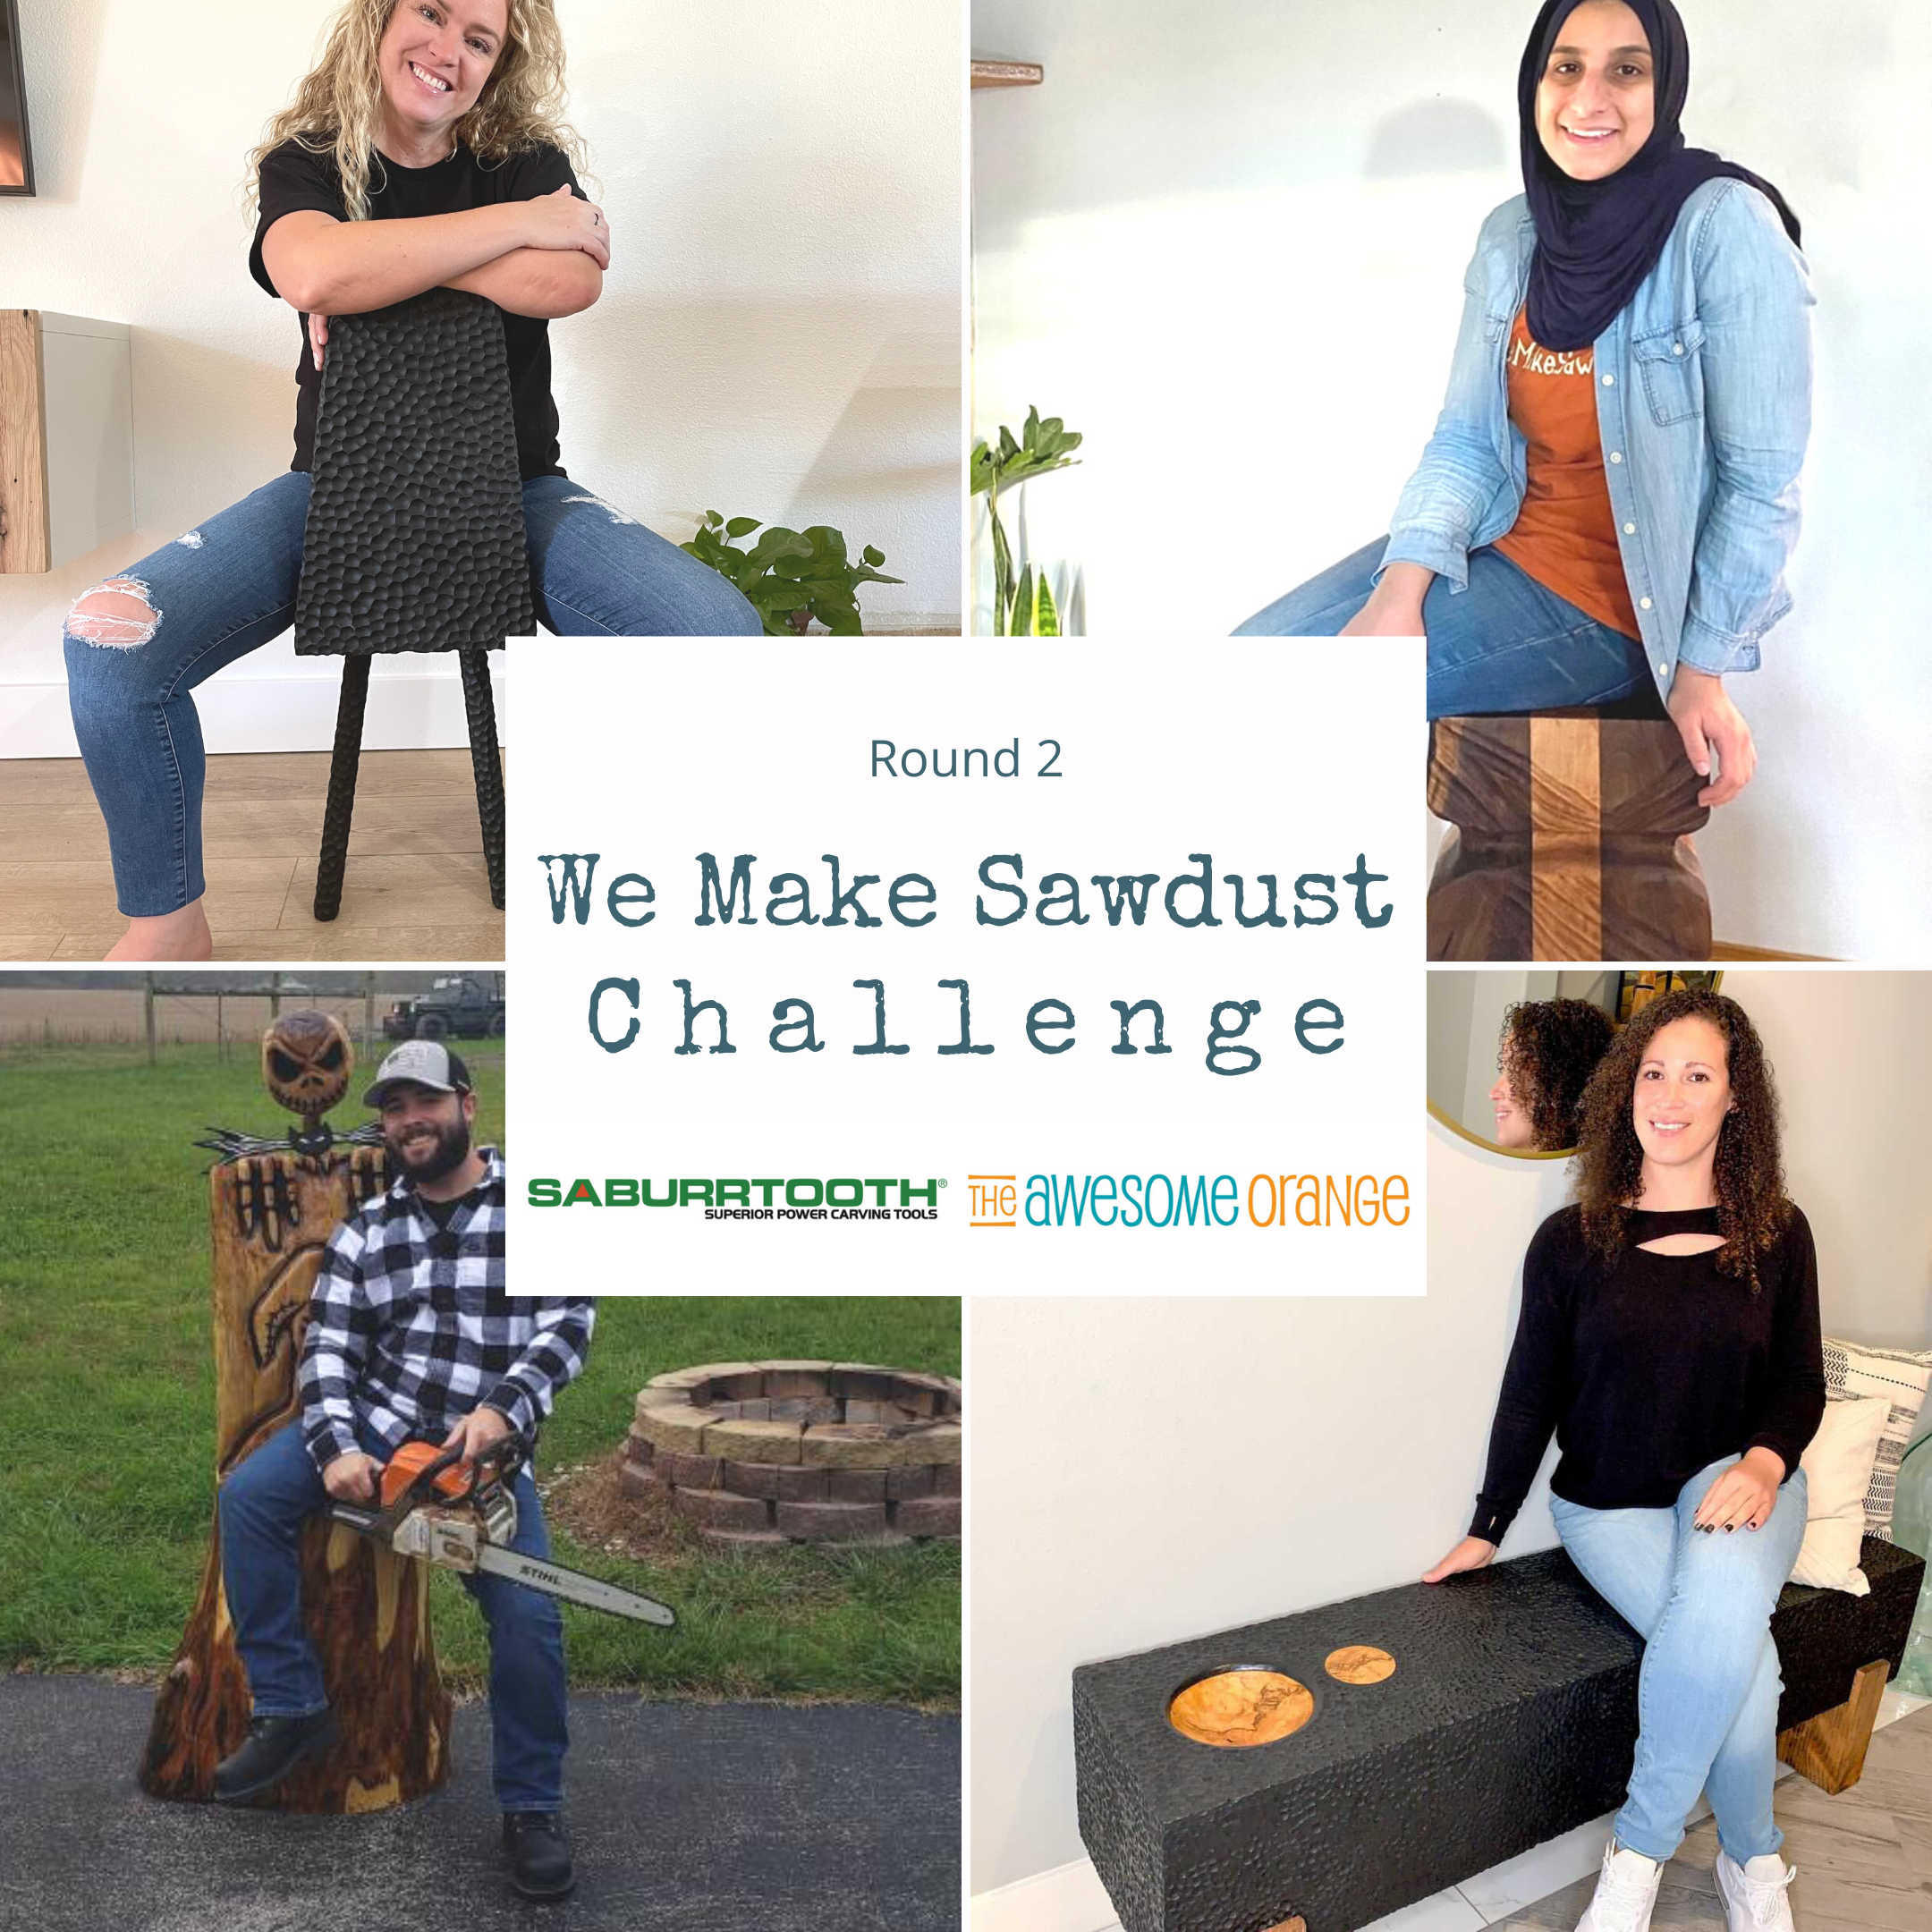
Making a Chair | With Wedged Through Tenons & AWESOME Texture
I am hosting Saburrtooth’s We Make Sawdust Challenge again and this time the challenge was to build “Something You Can Sit On”. And since I can’t win I decided to completely challenge myself to try and bunch of new things on my project….. wedged through tenon chair legs and dramatic texture!
I love how my chair came out, but it’s not perfect and I learned a ton of things… all of which I am going to share with you! That way if you want to build a similar chair you won’t make the same mistakes I did.
This post IS sponsored by Saburrtooth Power Carving Tools. All opinions are my own. This post DOES contain affiliate links. For more information on my affiliate programs, see my DISCLOSURES page.
As part of the We Make Sawdust Challenge we are given 3 Saburrtooth burrs to use. Here are the three we got this time:
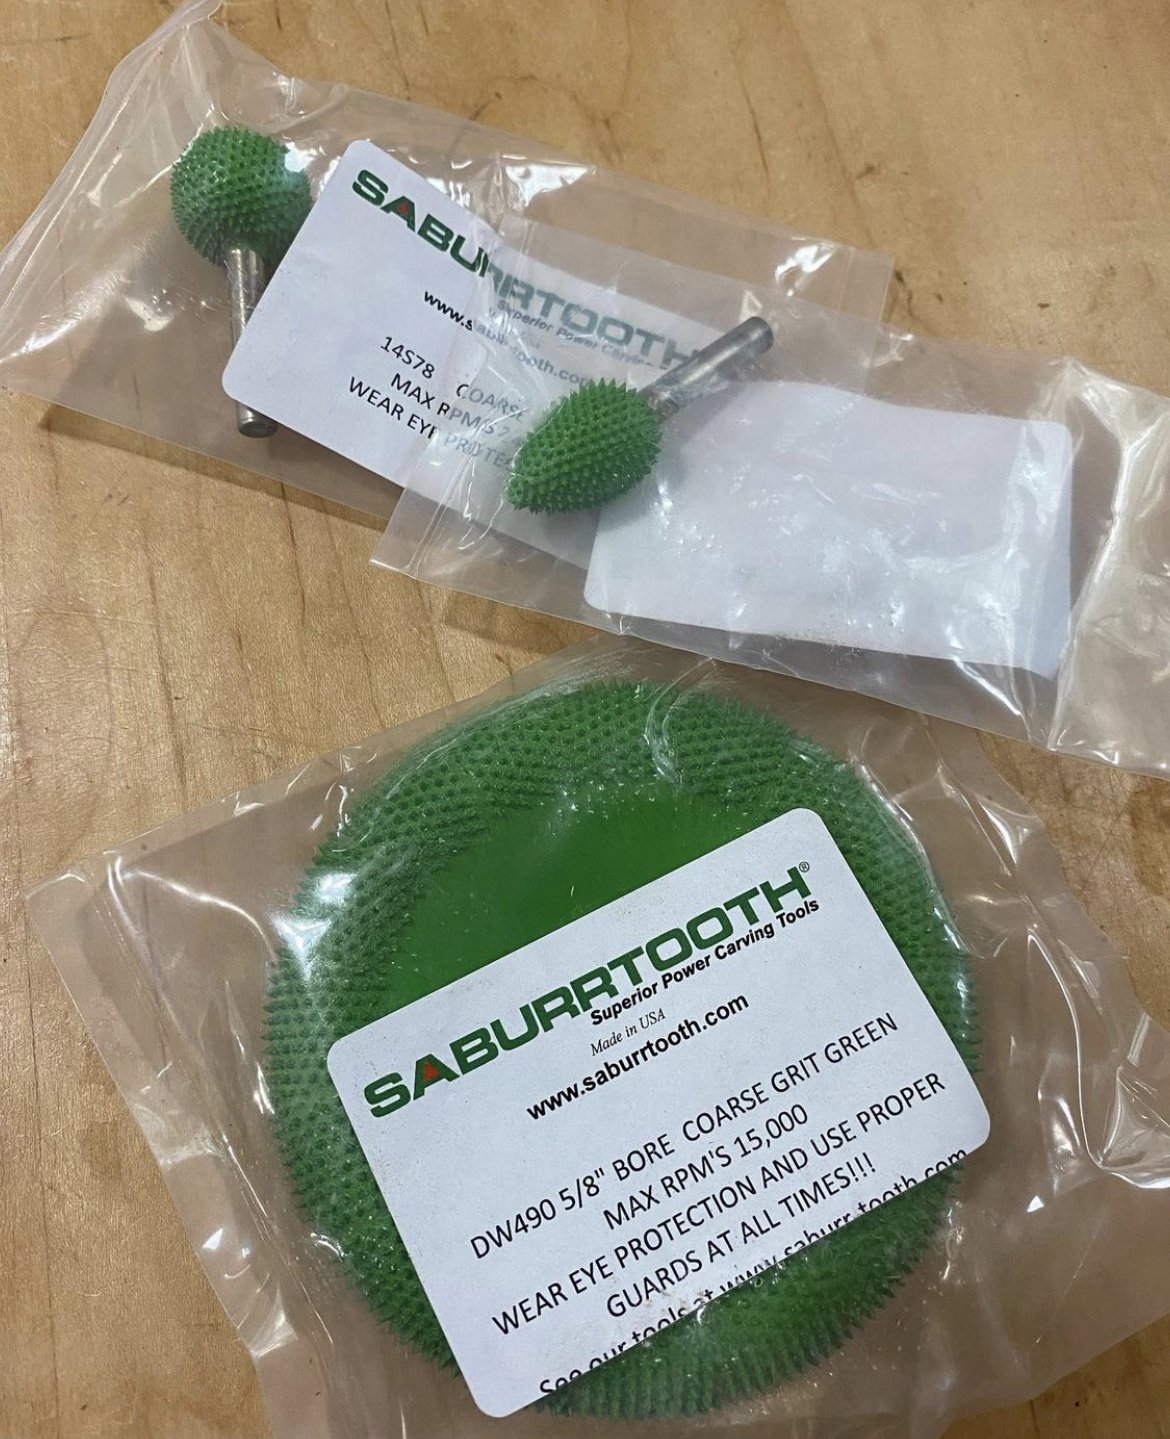
Use code AWESOMEORANGE10 for 10% off Saburrtooth Burrs!
To find out more about this challenge and the participants for Round 2, check out this post… We Make Sawdust Challenge - Round 2.
Now for details of my chair or stool or plant stand!
Step 1: Legs and Tenons
I used 1 1/2” birch dowels to create the legs for my chair. The legs including the tenons were first cut to 18” at the miter saw and then I took them to the table saw where I set up my sled with a blade height of 1/4”. With this blade height it will get a tenon 1” in diameter. I used a stop on my sled and cut a shoulder in the dowel at 2” then removed the stop and proceed to spin the dowel slowly to remove the rest of the material in that 2” span and create the tenon. This is a super fun process, but also a finger workout!

The legs after carving the tenons on the table saw.
The only other way I can think of to do this is on a lathe and I don’t have one of those yet!
With a little bit of sanding the tenons will fit in the seat bottom perfectly.
Step 2: Layout Rest of Chair
I kinda made up this design on the fly based on the materials I had laying around in the shop which included a couple of alder panels. They were already 12” wide so I left that as the width of the chair. Since the legs were going to be about 16” H without the tenons I decided to make the seat back 16” H. To give the chair a little style I added some tapers to the seat back by measuring 2” in from each side and making a mark where the seat back hits the seat bottom and then connecting those with a straight edge. To cut the tapered I used my new favorite tool in my shop… my track saw. It made it so easy just to lay the track on the line and cut! Later I plan on carving a radius on the top seat back corners so I also laid that out by placing the round carving disc over it and tracing it on the seat back.

Layout with tapers on the seat back.
Prefer watching me build? Check it on my YouTube Channel!
Step 3: Seat Bottom and Mortises
Like I said previously I am just winging this build and haven’t ever done wedged through tenon table legs, this is the seat where I learned a lot! I laid out the spots for the tenons at 3” in from all sides which I think will work great, but I didn’t take into consideration that I will be adding the seat back to the back of the seat bottom and therefore increasing the inset of the legs about 1 1/2”. So for the back two legs I should have set them in 1 1/2” from the back and 3” from the sides. You will see why during assembly.
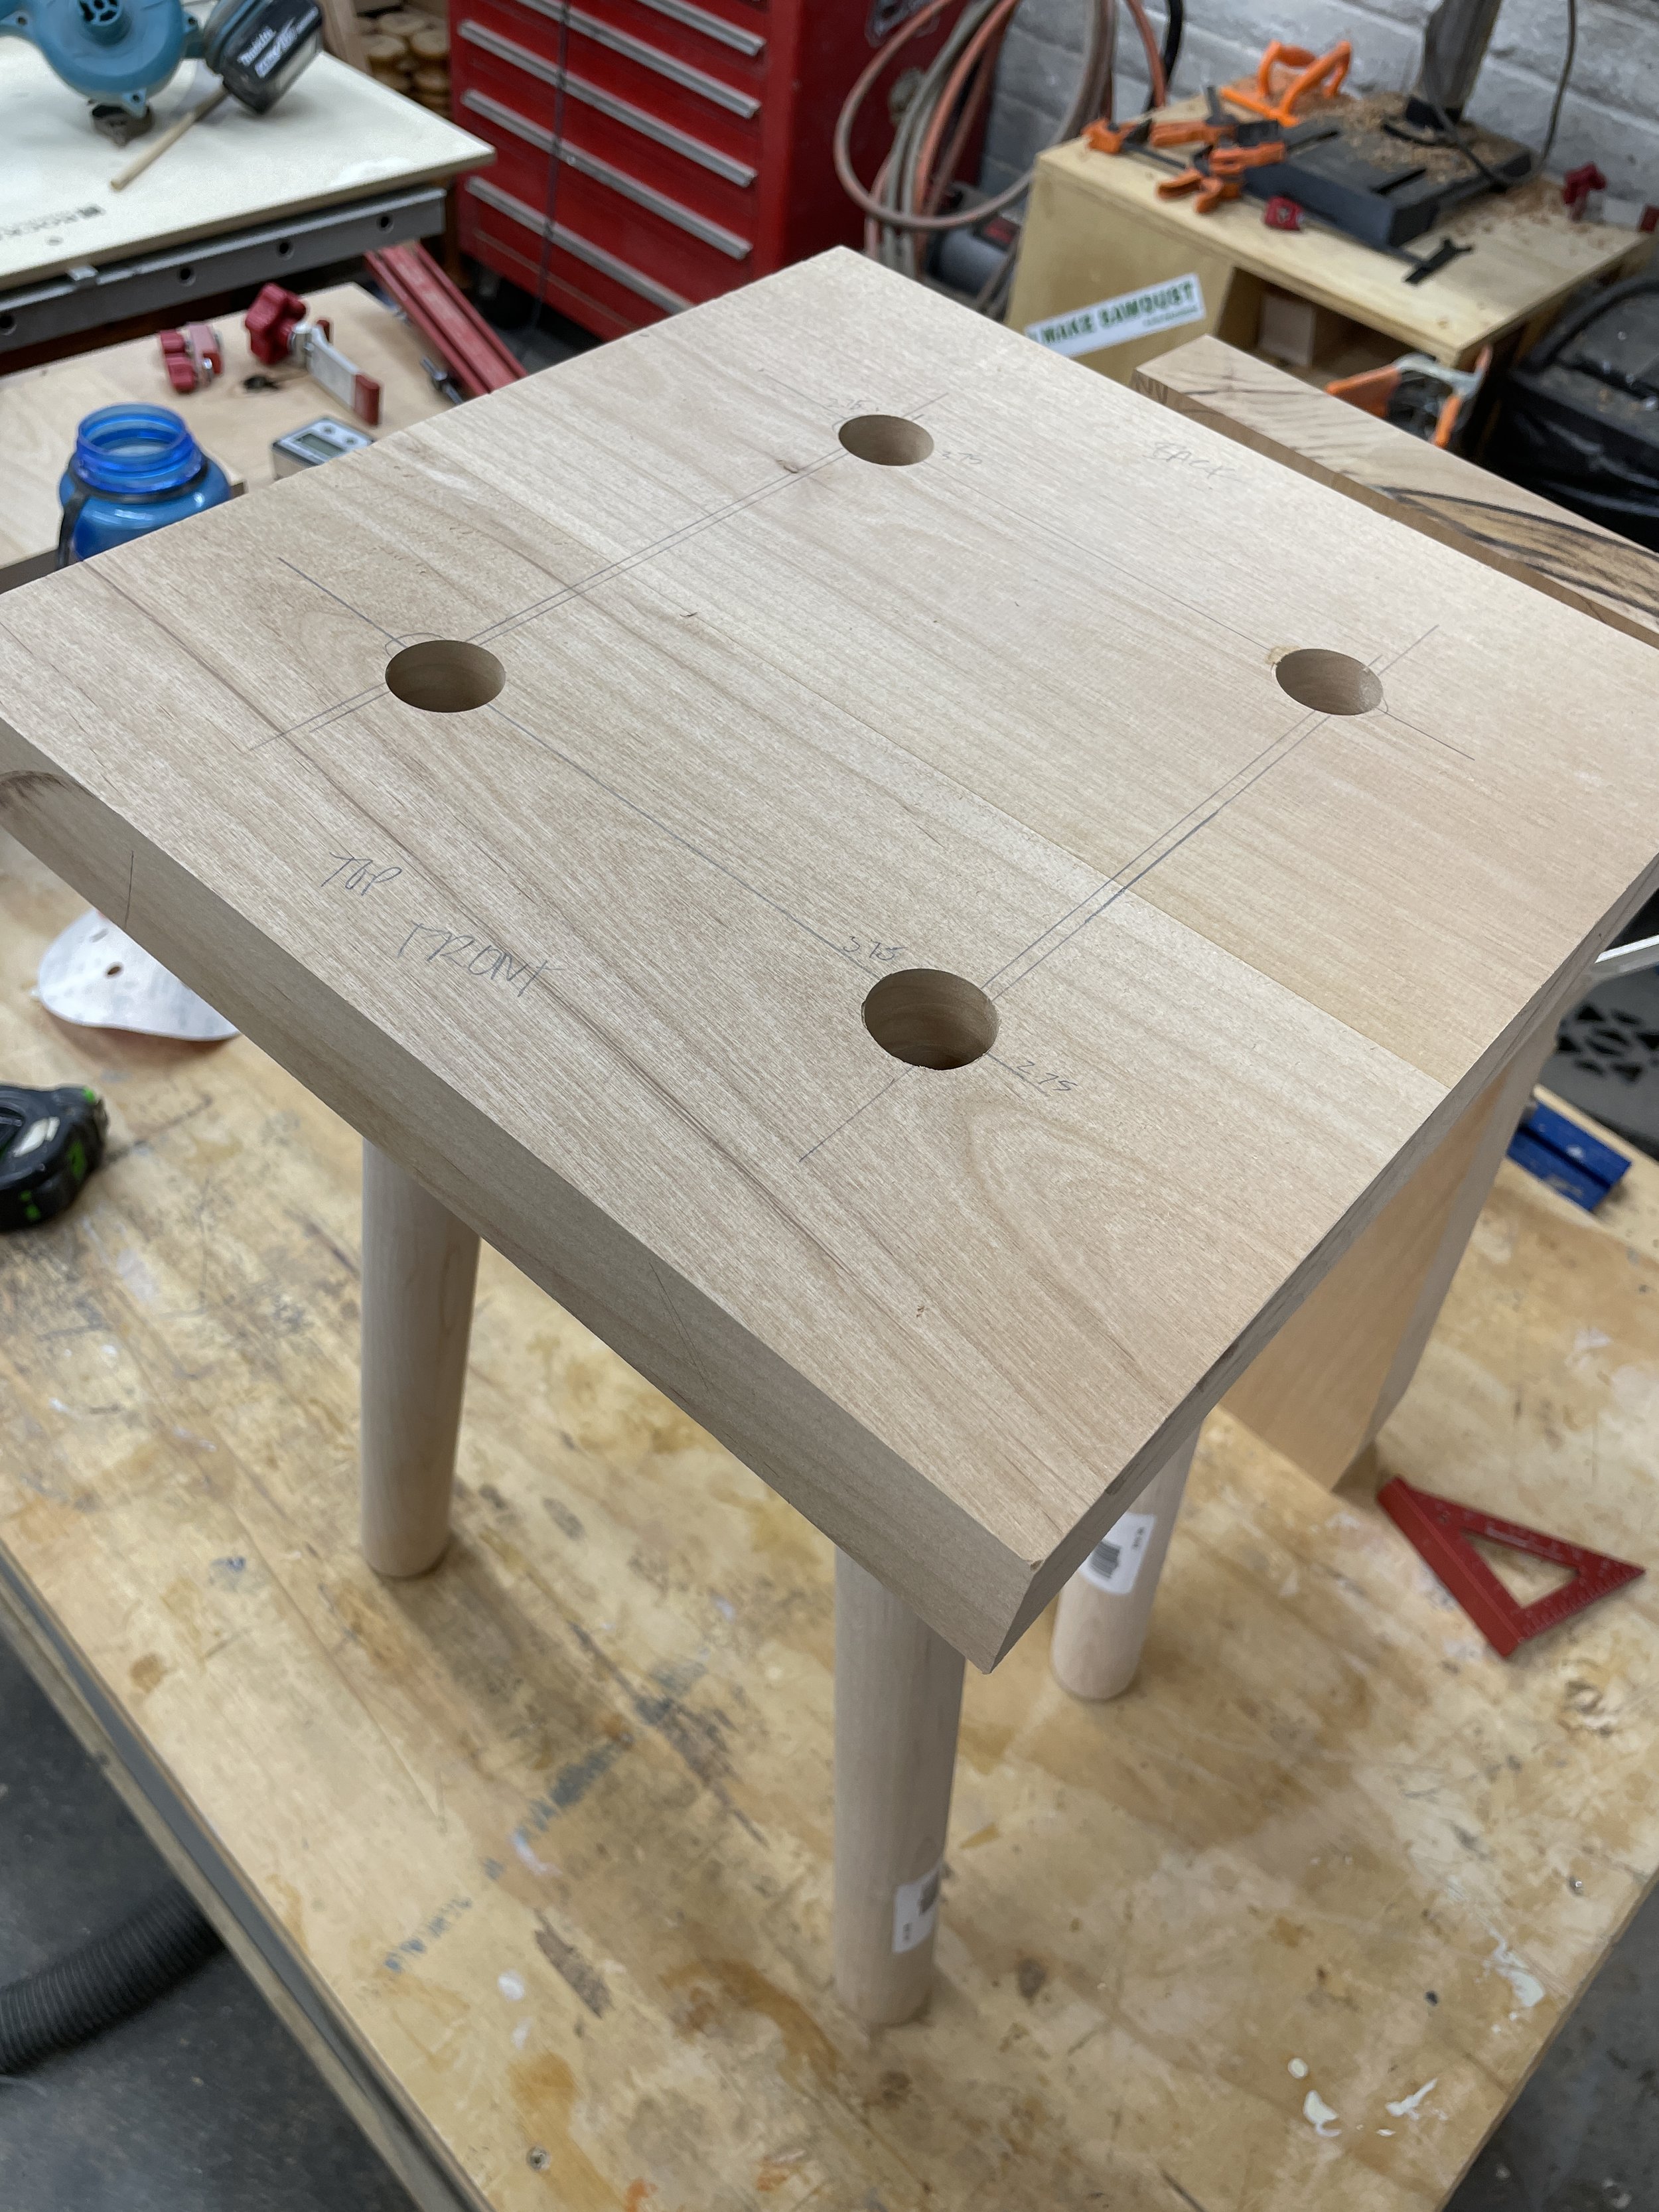
Be sure to mark you seat bottom so you remember how to line everything up.
Now that we have the layout, to cut the mortises I am going to use my drill press. Luckily I figured out my drill press table can be angled so I didn’t have to build a jig to get the angle I was looking for. I needed the angle because I wanted the legs to be splayed rather than straight up and down. The angle that I figured would be good was 7 degrees. I used my digital angle finder to help me set the table in place. But what I didn’t realize was that my drill press table wasn’t big enough to cut all four holes/mortises, so I ended up have to tilt the table in the opposite direction to get the other two holes. I am sure there has to be a better way, but I haven’t figured it out yet. I think doing it the way I did leave a lot of room for human error in setup.
Step 4: Joinery for Attaching Seat Back
Since I would be carving texture onto this piece later, I ended up using 3/8” dowels and glue to attach the seat back to the seat bottom. I decided that 5 of them about 1 1/4” deep into each piece should hold well. So after laying them out I used a 3/8” fortstner bit in my drill press to cut the holes in the seat back. But since the seat was too tall and wouldn’t fit on my drill press I ended up having to drill those by hand. I like using the drill press better because you can ensure you are drilling at a 90 degree angle and that everything will fit together smoothly. You should always do a dry fit before assembling with glue, but especially if you aren’t using a drill press.

I think I have used the drill more on this project than any other!

Always do a dry fit to make sure holes line up well and are deep enough for the dowels.

Dry fit before carving!
Step 5: Carving and Adding Texture
With the joinery and dry fit complete it was time for carving! The next day the weather was beautiful out so I set up outside so Oscar could join and so I wouldn’t have to try and control the sawdust in my shop!

Awesome Oscar likes it when I work outside!
Even though we were given 3 burrs to use on this challenge I decided to just use 1… the 7/8” sphere burr in coarse grit. If you have seen any of my other carving projects you know I love the sphere burrs. But this time I want the texture to be more dramatic. So with my burr in my die grinder I started carving!

This sphere burr is one of my favorites! And this Worx table is great for carving outside.
To get the deeper holes you press the burr against the wood softly and then pull back. I also like to tap the burr several times in one spot rather than just push it in the wood and try and get the depth all at once. Plus, I feel it is safer that way. And doing it slowly it makes it easier to connect the dots without mushing them all together.

So much sawdust! Luckily I don’t have to clean it up because I am outside!
The end grain is always harder to carve and if you rush it you can get burning on the wood. In my case I will be painting this portion so I wasn’t concerned with burning.

I am loving this texture! My Makita Die Grinder and Stealth Mask.
To carve the texture on the legs it was harder to get as big of circles because of the curve of the legs. I can tell they are a little smaller than the seat back, but I am sure most people won’t tell unless I point it out. I also made sure to rotate the leg often so that I didn’t get straight lines down each side of the leg and let the pattern look more random.
Step 6: Assembly
To be honest I was totally nervous at this point and not sure how everything was going to fit together!
For the wedges I used the cut offs for creating the tapers on the seat back. I just cut them with a pull saw to desired shape. Again, not sure how else you would make wedges, but this ended up working for me.
Then I cut a relief cut in the tenons using my bandsaw. You don’t have to use a band saw and could use any hand saw to cut them, but I had one so I used it.

Relief cuts on the tenons for the wedges to go in.
Now time for glue and no turning back! Note: be sure that the seat bottom is upside down so that you are putting the legs in from the underside. I thought I had mine right, but as I put the legs in they were splayed together. Luckily I caught it before the glue started to set and was able to take them out, flip the seat bottom and reinstall.
Once all the leg tenons are through the mortises or holes in the seat, make sure that the shoulder is flush to the seat bottom and that the relief cut on the tenon is perpendicular to the grain on the seat bottom. If you don’t do this you could risk the seat bottom cracking when driving the wedges in.

Make sure each leg is fully seated to the seat bottom.
I used a wooden mallet to drive my wedges into the relief cuts in the tenons until I heard a tone change in the whack of the mallet. To hear what I am talking about be sure to watch my YouTube video of this build.

My 1st wedged through tenons.
Then with the legs installed I used wood glue and the dowels to attach the seat back to the seat bottom. I clamped this overnight using my Pony parallel clamps to ensure a great fit.

My Pony parallel clamps holding everything together while the glue dries.
Step 7: Finishing
The next day I took the chair out of clamps and stood it up and well… it was top heavy and wanted to lean back. Remember when I told you about the layout of the legs… well I don’t think I wouldn’t have had that issue if I would had moved them back the 1 1/2”. But with the slightest amount to weight on the seat bottom the chair will stand no problem… so meet my latest plant stand!
I trimmed the tenons and wedges with the pull saw and touched up the texture on the seat with a wire wheel, gave everything a light sanding to get rid of the sharp edges and then painted the seat back and legs with General Finishes Milk Paint in Lamp Black. I also sealed the seat bottom with General Finishes High Performance Polyurethane…. and then my chair or plant stand was done!

This two-tone look is gonna look AWESOME!
I love how this piece turned out and I learned so much. So much that I might be confident to try these wedged through tenons on a larger scale on a project in the future.

SO EXCITED ON HOW THIS CHAIR… STOOL… PLANT STAND CAME OUT!

The fanciest plant stand of them all!
I hope you learned something and/or enjoyed this build. If so, let me know what you think below. And thank you for following my building journey. Remember to Build LOUD, Build WILD and have an AWESOME day!
Oh and to find out what the other participants build and who won the challenge check out my post… We Make Sawdust Challenge - Round 2.
Sadie Mae