Building a nice solid wood piece of furniture is nice, but adding to texture to it really brings it to life and gives it character. And I have been wanting to try a dramatic deep carve on a piece for a while and this was the perfect opportunity.

All tagged power carving
Building a nice solid wood piece of furniture is nice, but adding to texture to it really brings it to life and gives it character. And I have been wanting to try a dramatic deep carve on a piece for a while and this was the perfect opportunity.
Saburrtooth and I are back for Round 3 of the We Make Sawdust Challenge!
I recently went to a friends house who has a sawmill… which means he has wood all over the place. While I was there is cut me out some chunks of Indian Rosewood that are perfect for power carving.
This time when I started carving I didn’t really have a plan and just let the piece of wood dictate how I carved it. And well, I turned it into an AWESOME dough bowl with feet! Let me show you how I did it.
Okay, okay, okay… with that being said I have a corner in my living room that would look great with more plants in it. So when I heard of these light bulbs you can get that simulate the same rays of the sun…. I knew I needed them!
I don’t currently have a light fixture in this corner, so I thought it would be fun to build a pendant light that I can plug-in because I do have an outlet nearby. So that is where this build starts!
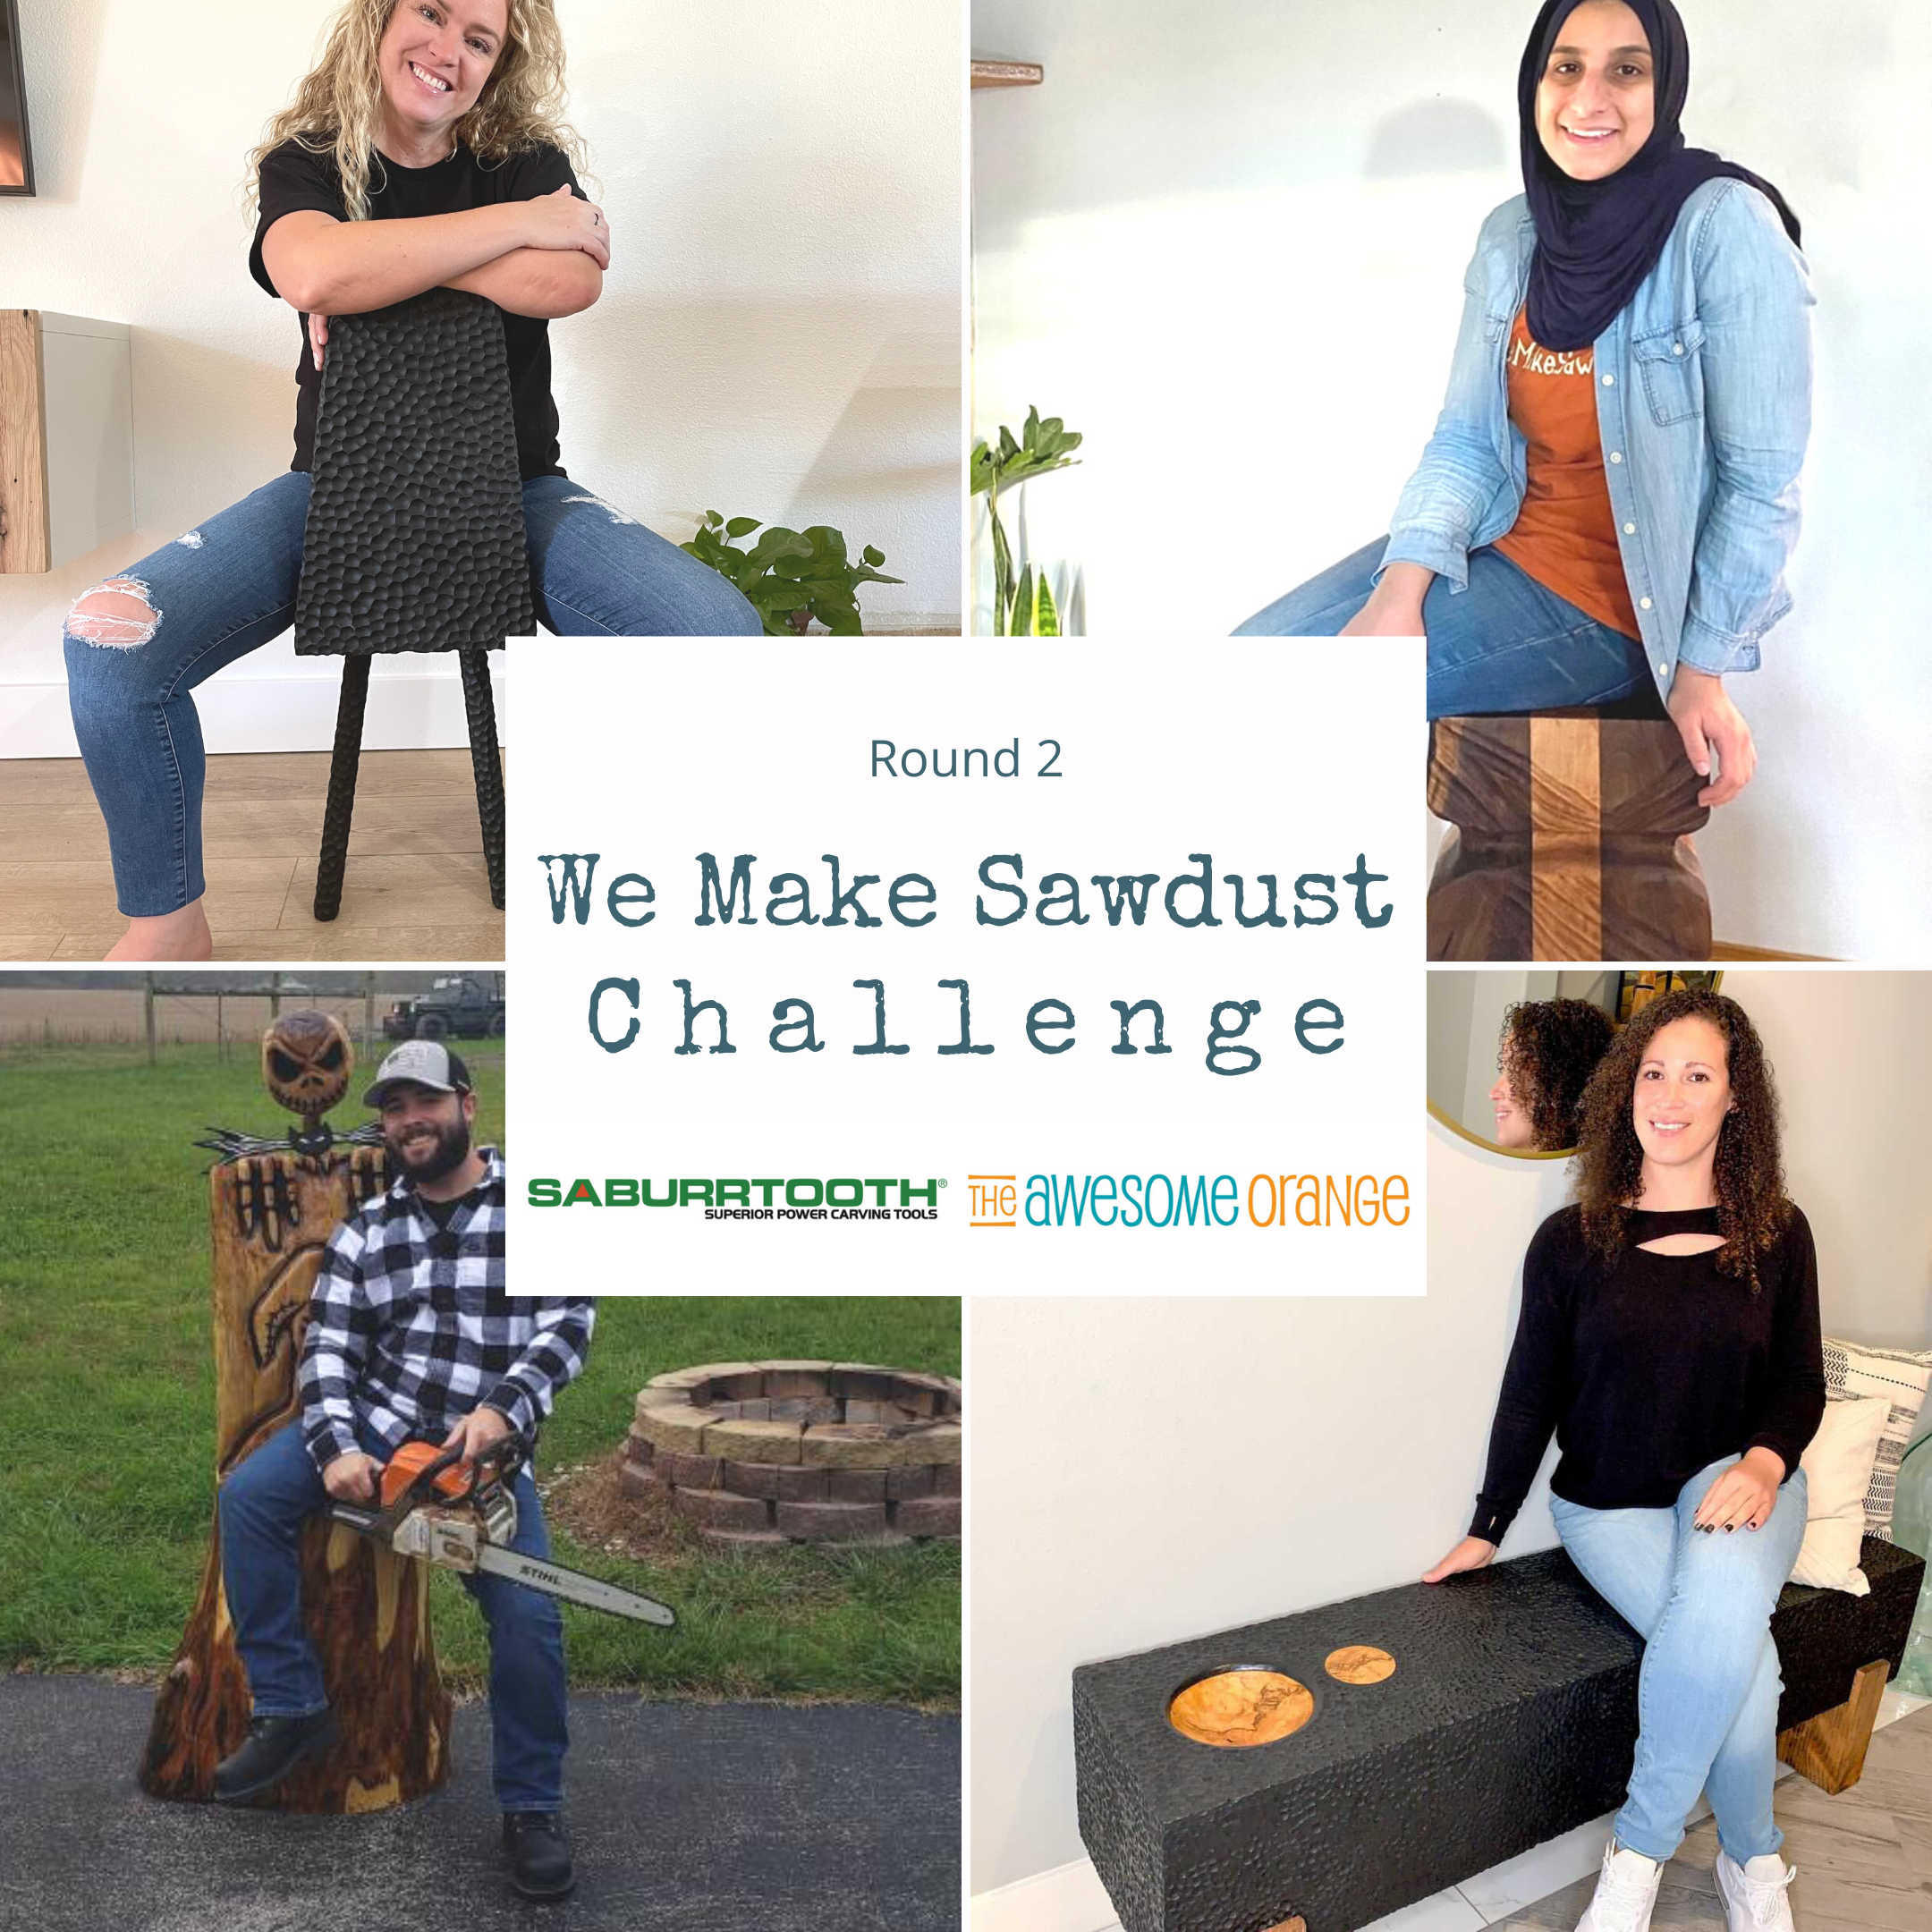
I am hosting Saburrtooth’s We Make Sawdust Challenge again and this time the challenge was to build “Something You Can Sit On”. And since I can’t win I decided to completely challenge myself to try and bunch of new things on my project….. wedged through tenon chair legs and dramatic texture!
Saburrtooth and I are back for Round 2 of the We Make Sawdust Challenge!
I had this old bench I made back when farmhouse was cool. I made it out of some reclaimed beams and finished it with milk paint, distressed it and waxed. Well, it just wasn’t doing it for my anymore… so time for a furniture flip! Or let’s upcycle this bench into a more modern and textured piece!
I recently got a bandsaw and I knew the first project I wanted to do to test it out… make spoons!!!
I only ever made one other spoon before… cut it out with a jig saw and then carved it using a carving tool. And while that spoon turned out AWESOME, it took forever to complete. So this time we are going to cut the rough shape out with the bandsaw and then test out several of my carving burrs and see which we like best for making spoons!
I have a super special project for you today… DIY Candle Holders. But not only that I teamed up with my friend over at Saburrtooth Power Carving Tools and created the “WE MAKE SAWDUST” Challenge. Where I invited three AWESOME makers to join me in making a candle holder using 3 Saburrtooth carving burrs.
4 Makers, 3 Carving Burrs, 2 Weeks and 1 Challenge = 4 AWESOME Creations!
I love gifts that keep on giving. That is why I love making special gift boxes to gift presents in that can be kept and used as a keepsake box. And whomever can keep all their special treasures in. And today I am going to be sharing two ways to build an AWESOME keepsake box… an easy way with butt joints and brads nails and one without any hardware with rabbets and dados… oh my!
My mom recently moved into a new place and was in need of some extra storage in her kitchen and asked if I could help her out. Of course I said yes! That is until she told me she wanted it to be red. Red! Red isn’t my favorite color…. orange is, of course! Haha… but after a little persuasion and time I agreed. But I told her I was gonna put my spin on it and add some power carved texture to make it AWESOME.
One mans junk is another man’s treasure. Recycle, reuse, repurpose…. or like I like to call it Upcycle! When I was first starting out making stuff I did a lot of upcycles. I thought of them as cheap learning experiences. You can usually find cheap pieces on the street, a garage sale, Facebook marketplace or Goodwill. And since they are cheap, if you totally mess them up it isn’t that big of a deal.
Once I found a design I liked I went ahead and laid out a rough sketch of it on the board. The board is made up of glued up pieces of about 2” wide boards, so I decided to use those seams as a natural break in my design. And for the holes I was going to use three (3) different sized forstner bits (1 3/8”, 1” and 1/2”). So as I decided where I wanted them I put a B = Big, M = Medium, and S = Small. That way I would be confused once I got to the cutting process.
I have been itching to try and make some abstract art similar to what I have seen Fromaseed make. He is an AWESOME turner, power carver and artist. If you haven’t seen his work you should definitely check it out. Well, when Diablo sent me out some of there new saw blades to try, one being the Rough In/Scrolling Carbide Reciprocating Saw Blade I knew this would be a great time to try my hand at some abstract art, because I don’t have a band saw this blade should help me cut some curves and radius’ using my reciprocating saw… yup you heard that right!
I have been doing a lot of power carving lately, mostly adding texture to some of the pieces I create. But today I am going to switch it up. You see, I have always wanted a bread bowl so I am going to show you how I completely carved a bread bowl… no lathe required, no special skills! Just a few of my Saburrtooth burrs!
This month my blogger friends and I decided to do a Wall Art Challenge, so I teamed up with my good friends from Bernzomatic to create an AWESOME DIY Tiki Wall Art creation. If you’ve been following along recently you know that I have a couple of new loves… power carving and Shou Sugi Ban and those loves are how I came up with the Tiki idea. I also thought Shou Sugi Ban would be the perfect finish on a power carved piece of wood to really highlight the textures and grain. So let me show you how I did it.
One of my favorite builds in 2019 was my Bubbly Bar Cabinet. It is not only functional, but it looks super awesome and was my introduction into power carving. Ever since that build I knew I wanted to do more of it, so I teamed up with Saburrtooth Powering Carving Tools to create another AWESOME piece. And this time I knew I wanted to add texture to the whole piece. And what better piece to start with than a bench, a storage bench, because everybody could use a bench and a storage bench is even better! So let me start with showing you how I created the bench.
Power carving is something that I have always wanted to try ever since I got into woodworking. It seemed so fun and the textures you could create endless. That is why when my friends at Saburrtooth ask me to team up on a project, I jumped at the opportunity. I knew exactly what I would carve… you see I had been wanting/needing to make myself a bar cabinet. My pantry is small, so I figured by making one I could free up some space in there. And since it was gonna hold all the bubbly, I decided to carve bubbles on the front like champagne or beer bubbles.