

DIY Abstract Wall Art
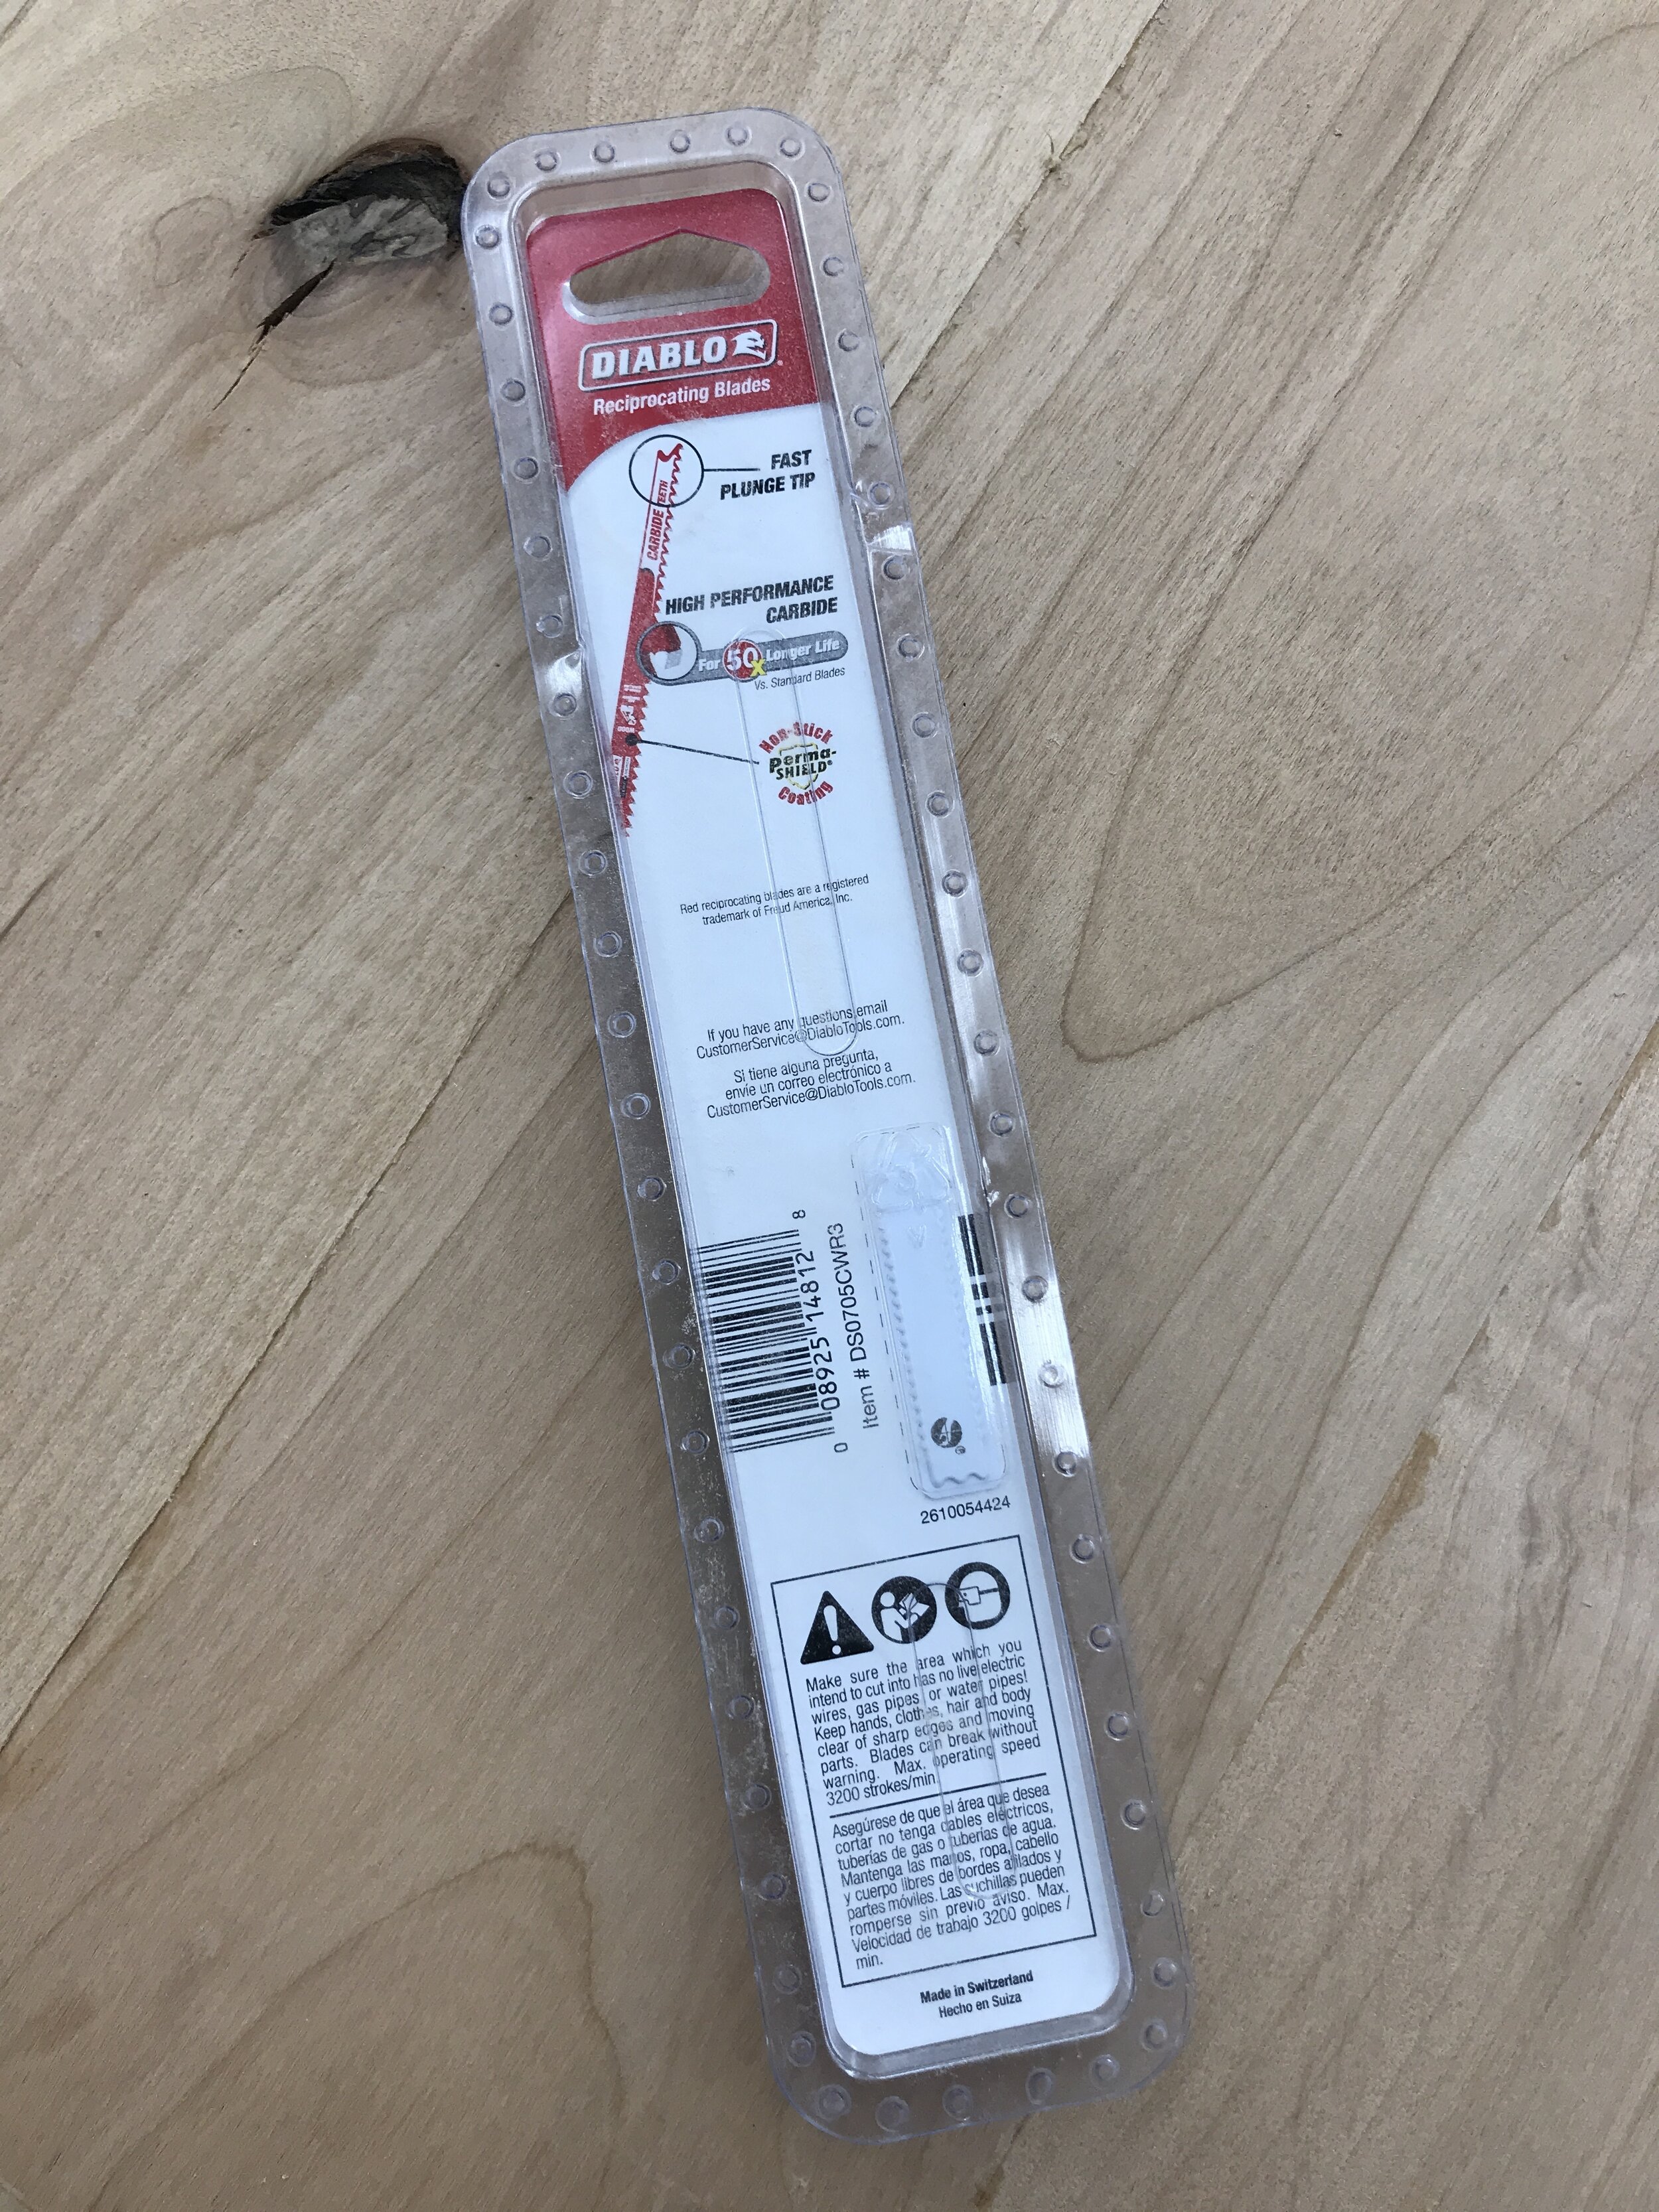
I have been itching to try and make some abstract art similar to what I have seen Fromaseed make. He is an AWESOME turner, power carver and artist. If you haven’t seen his work you should definitely check it out. Well, when Diablo sent me out some of there new saw blades to try, one being the Rough In/Scrolling Carbide Reciprocating Saw Blade I knew this would be a great time to try my hand at some abstract art, because I don’t have a band saw this blade should help me cut some curves and radius’ using my reciprocating saw… yup you heard that right!


My inspiration from Fromaseed.net.
This post IS sponsored by Diablo Tools. All opinions are my own. This post DOES contain affiliate links. To learn more about my affiliate programs please see my DISCLOSURES page.
This saw blade is made for cutting in curves and radius’ generally on a job site setting, so material thickness is generally 3/4” to 1 1/2”. Well I decided to push my luck and try this blade out on some 8/4 Knotty Alder. Eight quarter means that it is 2” thick and Knotty Alder is a little bit harder/denser of a wood that the standard 2x material fir is.

To get started I first glued up several pieces of scrap Knotty Alder I had laying around. I love using these parallel clamps because them helps distribute even clamping pressure throughout the piece leaving me with the best and flattest panel.

Pony parallel clamps are awesome for gluing up panels like this.
TIP: I recommend waiting about 30 minutes after glue-up and then scraping the excess glue off your piece. The glue should be tacky and come up rather cleanly. If you wipe off right away you can have a mess on your hand and push some of the glue into the fibers of the wood that will be hard to sand out later. And if you wait until the glue is completely dry when you go to chisel it off you risk getting tear out along the seams.

Let’s get cutting!
The next day after the glue was dry I traced out a rough shape of what I wanted my pieces to look like. I then used my Diablo hole saw to cut a starter hole in the wood. The Scrolling Reciprocating Saw Blade does have a plunge tip to help get your hole started, but since I had my hole saw handy I decided to use that instead.

See what I did there… a nice clean starting point.

Practicing!
Once the hole was cut, I made sure my piece was clamped down to my workbench and started cutting. It did take me a second to figure out the right angle and technique to cut with my reciprocating saw… I don’t use it very much. But once I got the hang of it the blade cut thru the 2” material way better than I thought it would. My workbench was light, so I did end up pushing it around some. I think if my workbench was heavier or I added wight to it I could have got a cleaner cut.

Once the inside was cut out, I drew a line that was roughly 2” wide that matched it. That was going to hopefully be my outside guide line. I then clamped it down again and proceeded to cut the outside leaving me with this abstract ring. I am happy with the shape and how it came out, but I do realized that if I did this on a regular basis a bandsaw would probably be much easier and get a cleaner cut. But yeah, you work with what you got.
Wanna see this project in action? Check out my YouTube video of the build!

Using my pinky as a guide to draw an even line for the outside of the ring.

Love this Worx Pegasus folding workbench for carving projects.

Now it was time for sanding…. and boy was there a lot of sanding!!! I used my belt sander for most of the outside. I tried little sanding tips on my dremel. I used mine sanding sleeves from Saburrtooth. I used my micro zip from Gator. I used my Diablo reuseable sanding block. I used my orbital sander… basically I used every sanding thing I own!!! Not fun, but in the end I am happy with the smooth result.

Mid Sanding

Sanding Complete!

Admiring my work before starting to add texture…. I hope I don’t mess it up!
But this project is not done…. now is for the fun part… adding texture!!! I tested out several different burrs and decided to go with old faithful and my favorite 3/8” sphere burr. But before I did that I drew a guide line in about a 1/4”. I only wanted to the texture to be on the inside of the frame.

I used my Kreg multi-tool to help try and draw a line with the same setback all away around.
Once that was done, I proceed to add texture! I started with the outside line and then the inside line and then filled it in. The sphere burr gives a hammered textured to the piece.

Carved the border first and then filled it in to get a nice clean edge.

I love this hammered texture look.
I then decided to help make the texture stand out I wanted to paint it white! So I taped off as much of the piece as I could and then used some white spray paint. I did have a little over spray, but it easily sanded off. Just be sure that the textured sections is lower than the edges if you are going to sand over the whole section with your orbital like I did. Since mine was all lower I ended up having to carve it a little lower and repaint it. So either carve it lower to begin with or just hand sand the excess of the edges and you will be fine.

BEFORE paint!

AFTER paint!

Tried to sand with orbital, but not all the textured area was below the edges so I had to go back and touch up.
Once that was dry all that was left to do was to add finish to the rest of the piece. I decided to use a clear wax. I figured it would be the best thing not to yellow the white paint. And it is super easy to apply… wipe on… wait 30 mins… buff off!

Clear wax for the win! I like how it makes the pieces feel, but also it doesn’t yellow the white paint.

TA-DA!
And ta-da, I have an AWESOME abstract wall piece. I am still searching where I want to put this in my house. If I end up hanging it on the wall I will cut a key hole in the back so the piece will lay flat against the wall. Or I might add a stand to the bottom so that I can set it on a shelf. But either way it is going to add so character and texture to whatever space it end up in.

It’s not perfect, but it is AWESOME and I am super proud of how it turned out. I learned a lot!
So what do you think? Please leave your thoughts in the comments below. And if you try your hand at some abstract wall art, I’d love to see it so please tag me! Thank you for following my building journey! Remember Build LOUD, Build WILD… and have an AWESOME day!
Sadie Mae
Can’t Make It Now? Pin It and Save For Later!


