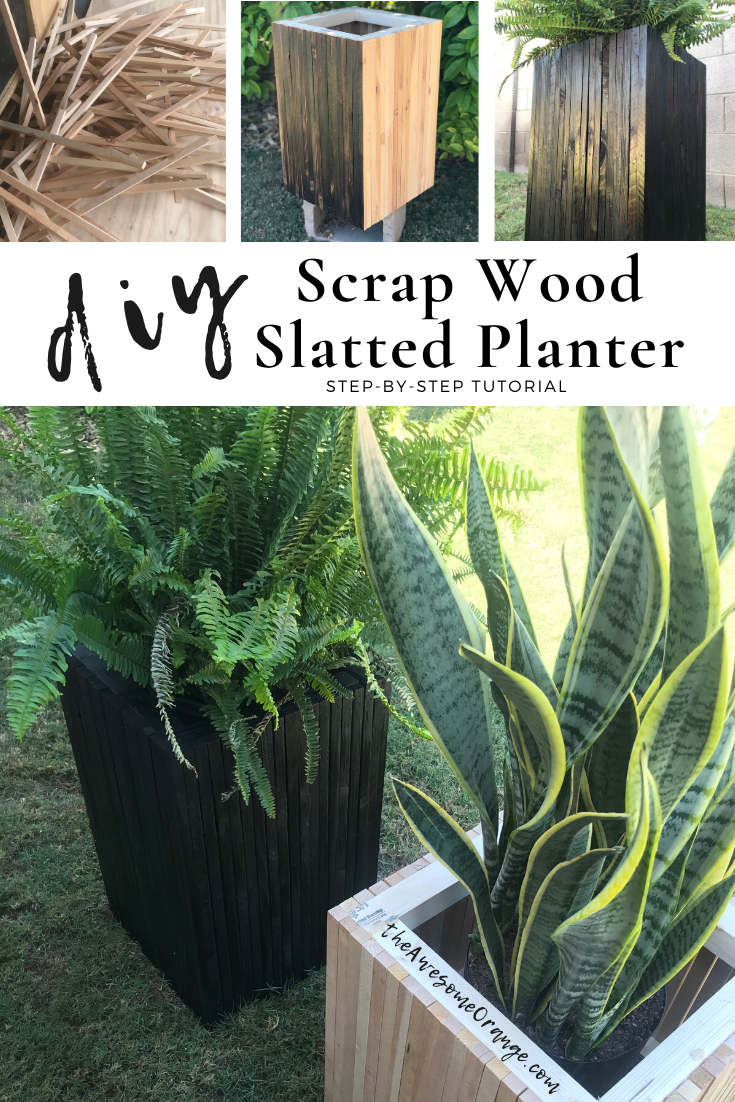
DIY Slatted Scrap Wood Planter
The world is kinda crazy right now and life as we know it has seen some changes… from social distancing to toilet paper shortages to a lot of people getting sick. And those of us who don’t have an essential job (Thank you 1000% to those who do!) we might be going a little stir crazy. So I teamed up with my friends over at Bernzomatic to create a #STAYHOMESCRAPPROJECT with the hopes of inspiring you to use what you got and make something AWESOME. Not only to have that awesome piece when you are done, but to keep you and your mind occupied during quarantine. This plan can easily be modified in size and shape to fit your scraps and your favorite plant. Yup, it’s a planter! I choose a scrap wood planter because plants are awesome. They not only clean the air around our house, but the make me happy to look at. I call that a win/win especially in this crazy time. So lets get started…
This post is sponsored by Bernzomatic. All opinions are my own. This post contains affiliate links. For more information on my affiliate programs see my Disclosures page.
Step 1:
Gather or rip some 2x material into 1 1/2” x 1 1/2” strips. You will need twelve (12) 12” long pieces for each planter if you make them the same size as me. But again you can modify the dimensions to match your scraps. So, to keep it easy you need twelve (12) of the same length 2x2’s for any size square planter.

I ripped 2x6’s into 1 1/2” x 1 1/2” strips for the frame pieces.
Step 2:
Rip a ton of 3/4” strips of any wood material you have. I used some left over cedar fence pickets I had from making my DIY Outdoor Privacy Screens and made them 23 1/4” long, because that worked for the majority of my scraps. And if you make the same size planter I did you will need about (75) 3/4” strips at 23 1/4”.

So many slats! I estimate you need 75 for each planter!
Step 3:
Using wood glue and 2 1/2” wood screws assembly three (3) frame pieces end to end or in a circle like. This way all four size will be the same. I used some screws from Power Pro because they are exterior rated, don’t require any pre-drilling and have a no strip star head. I also used Titebond III, because it is rated for exterior use.
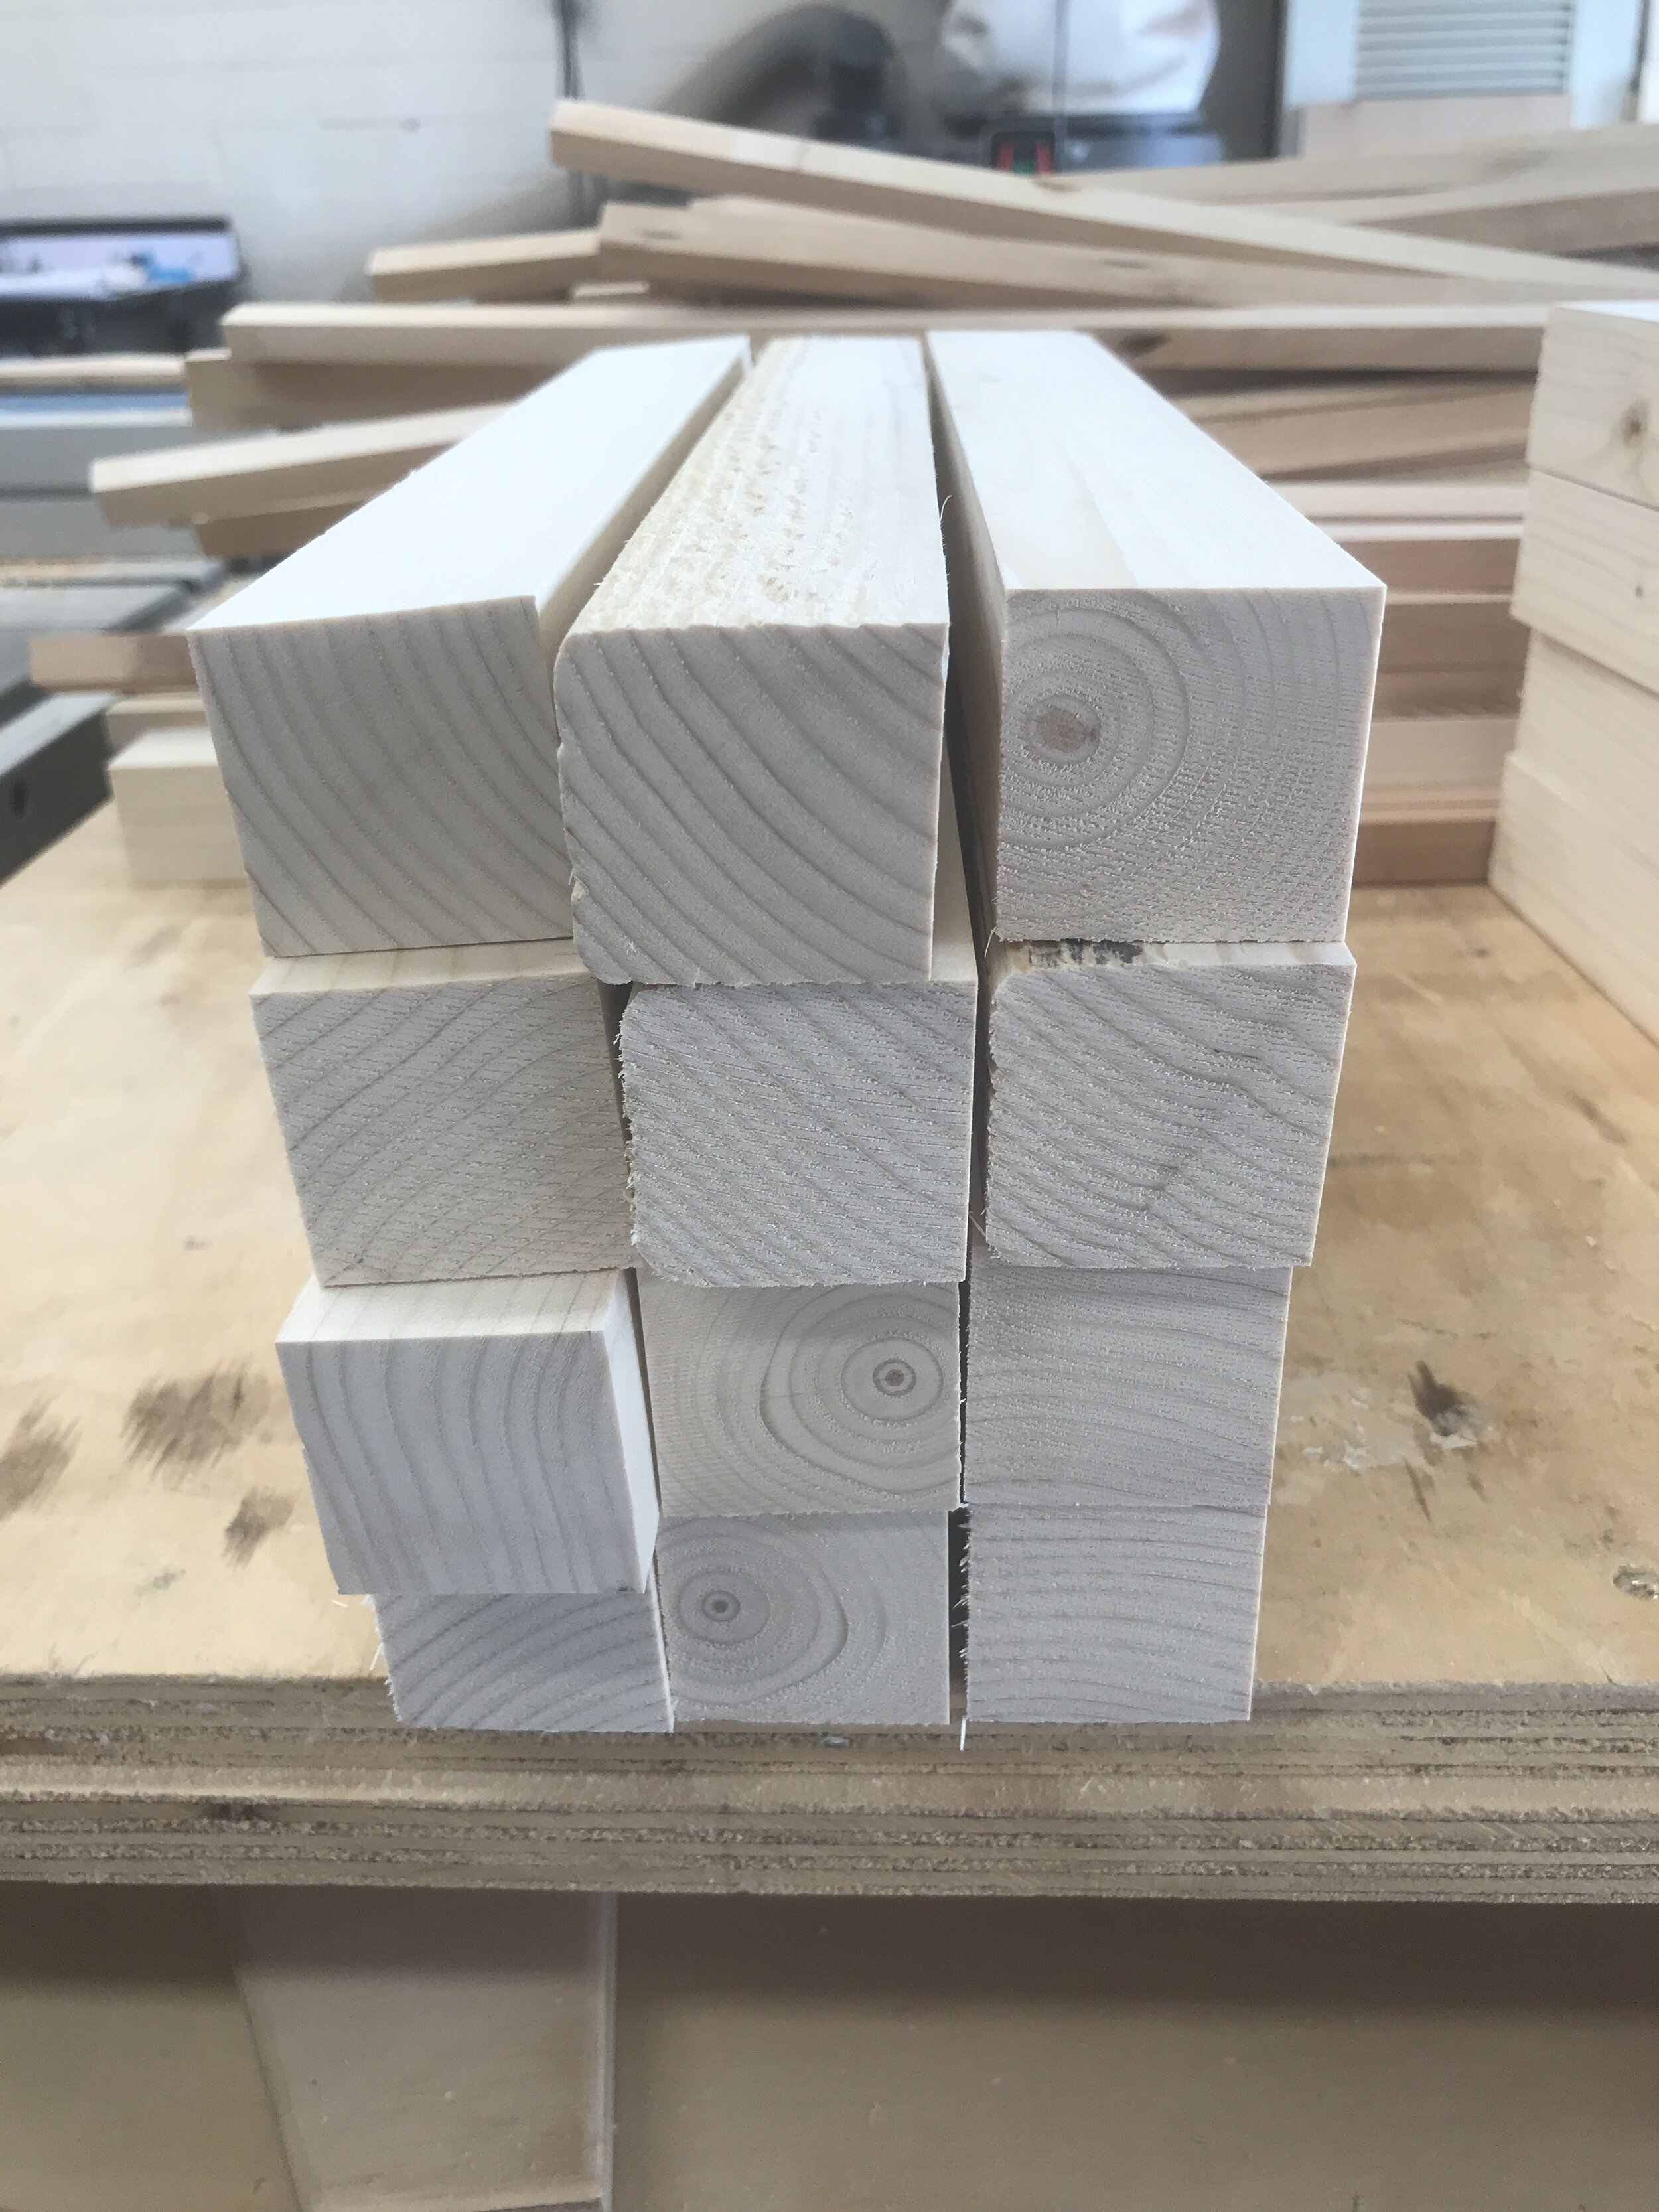
You need twelve (12) same size 2x2’s for the frames.

I used Power Pro screws and wood glue to hold mine together. Each side should be the same length.
Step 4:
Attach slats to top frame first starting with the both outside pieces using wood glue and 1 1/4” 18ga brad nails. I then proceeded to place the remaining slats. The first side will take 17 of the 3/4” slats. There will be some minor gapping between the slats and I just eye balled it. I like the randomness of it.

Once I had the end slats attached and the middle I just randomly spaced the others.
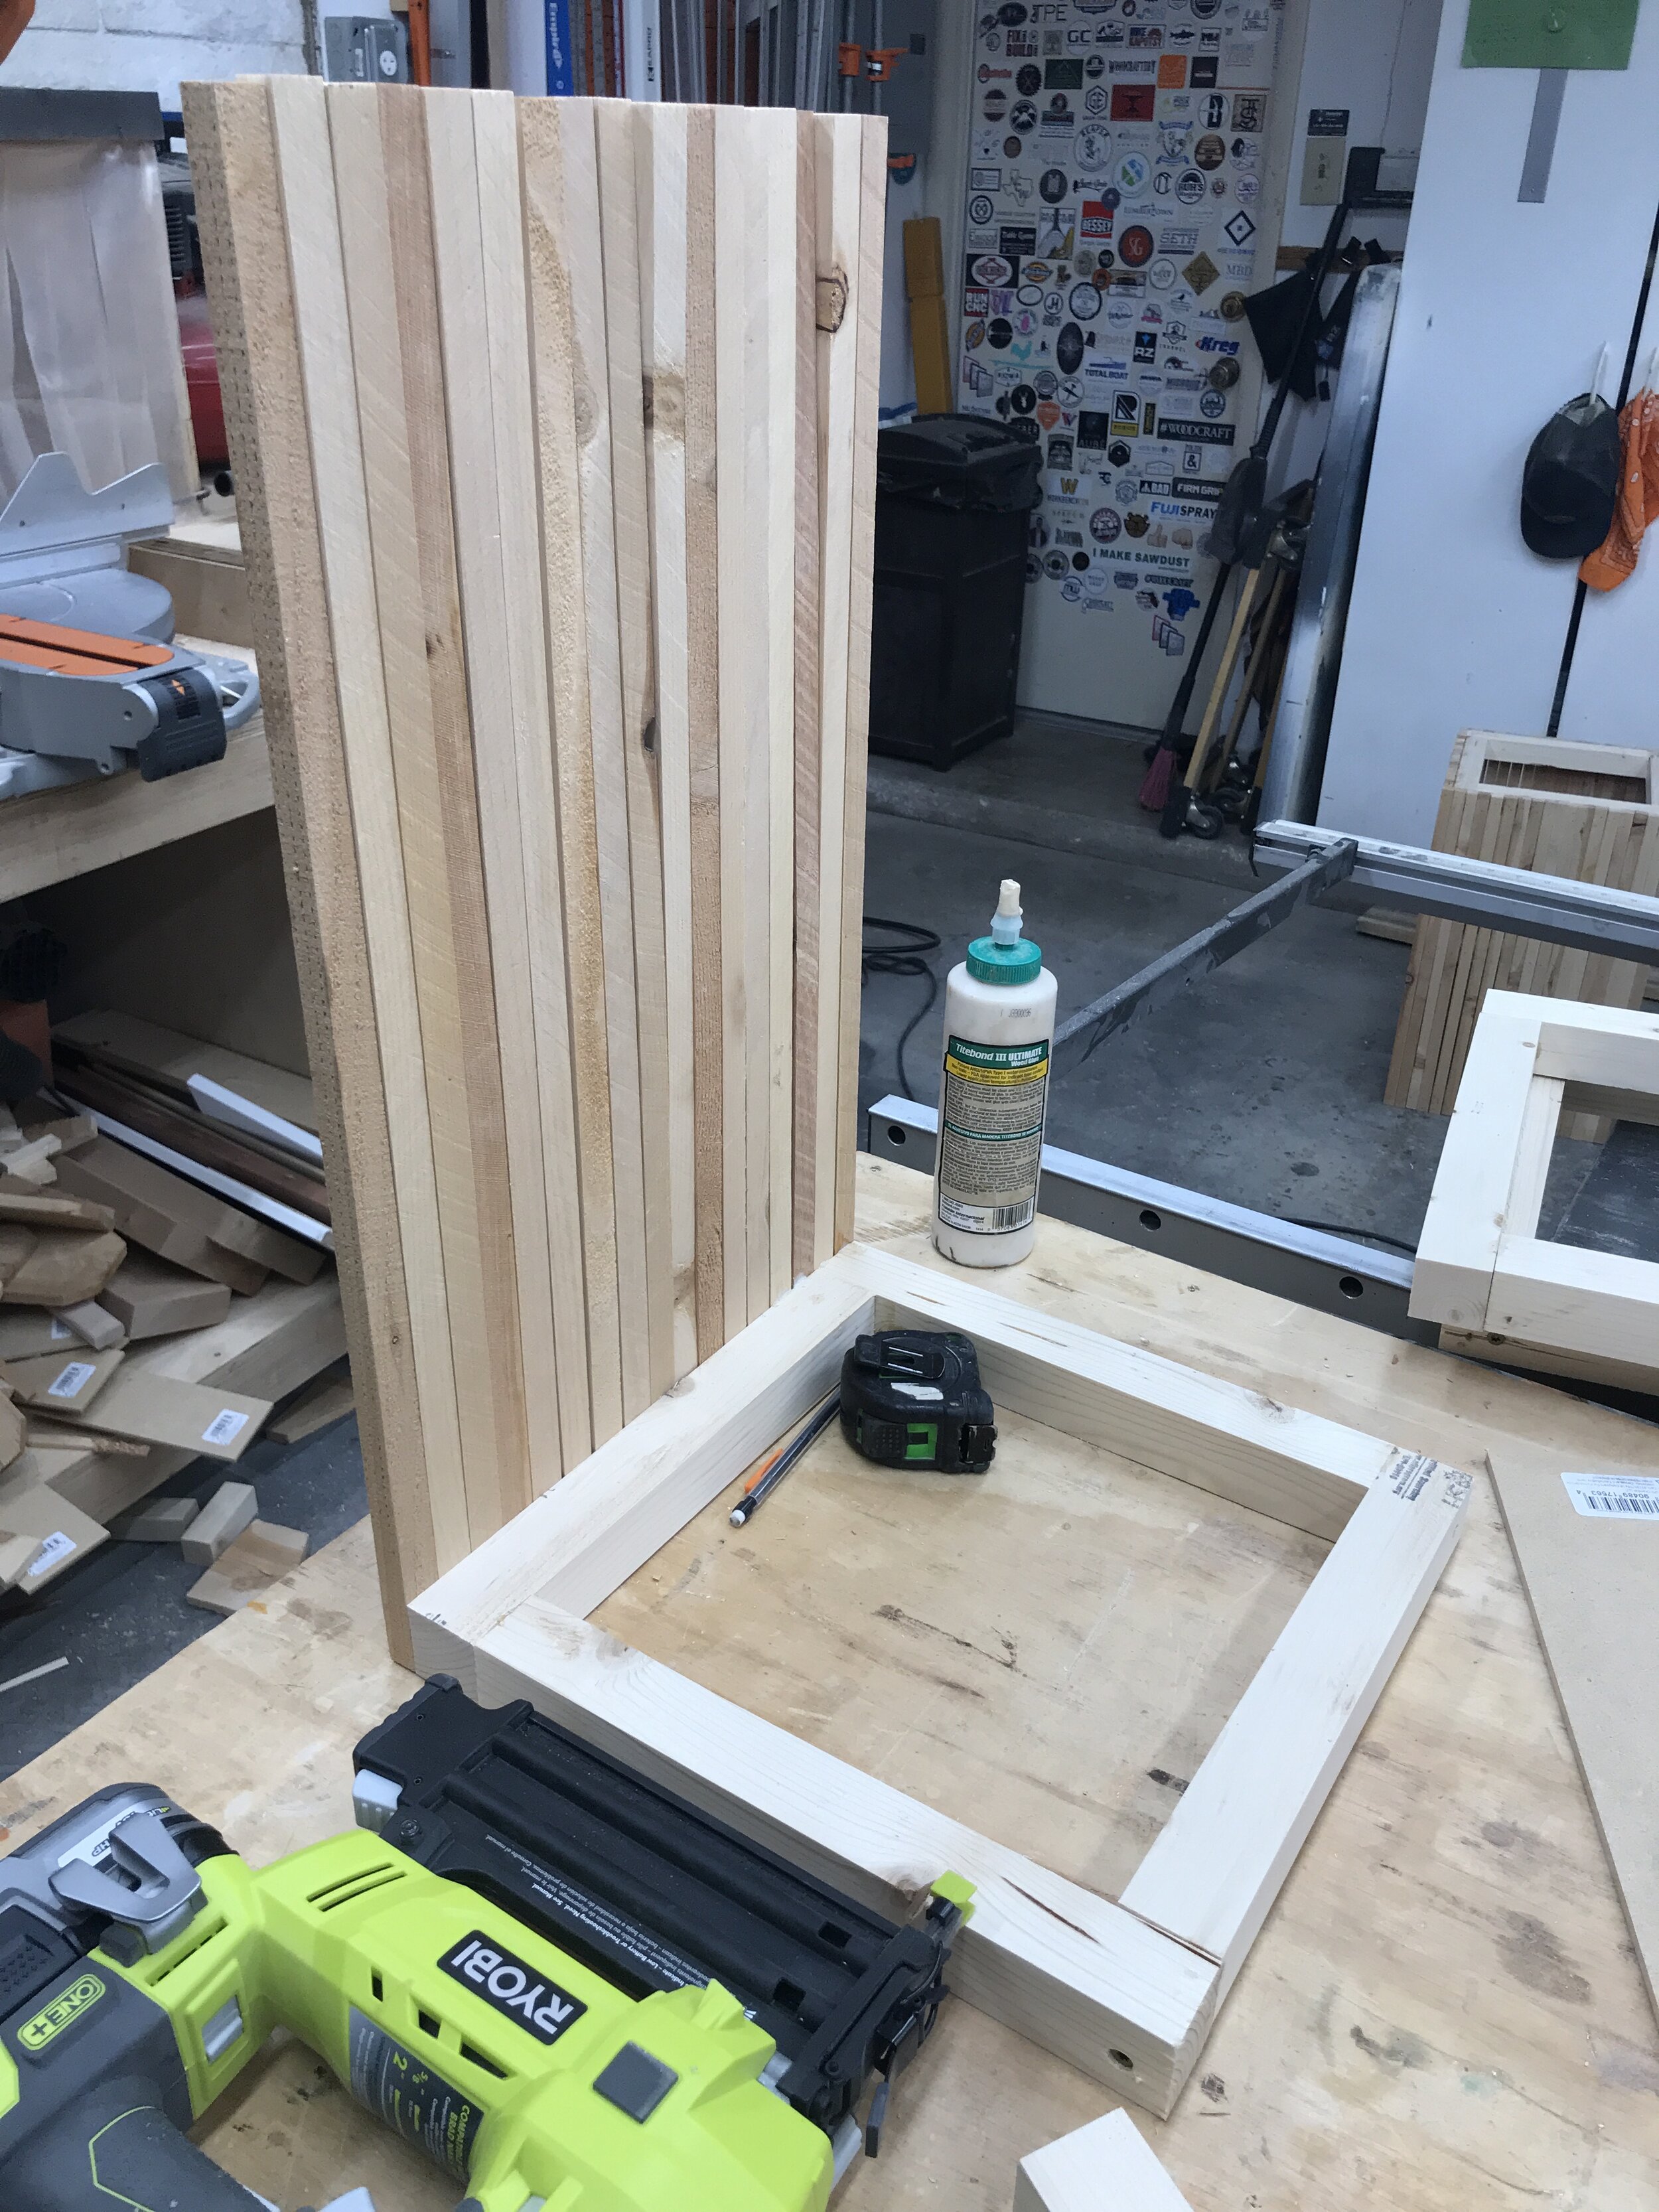
My Ryobi Cordless brad nailer was awesome for this project!
Step 5:
Cut some scrap spacer blocks to help install the middle, or shelf, frame piece. I cut mine to 9”. Then rest the second frame piece on top of them and proceed to nail the slats to the piece one at a time. And then do the same with the bottom frame piece.
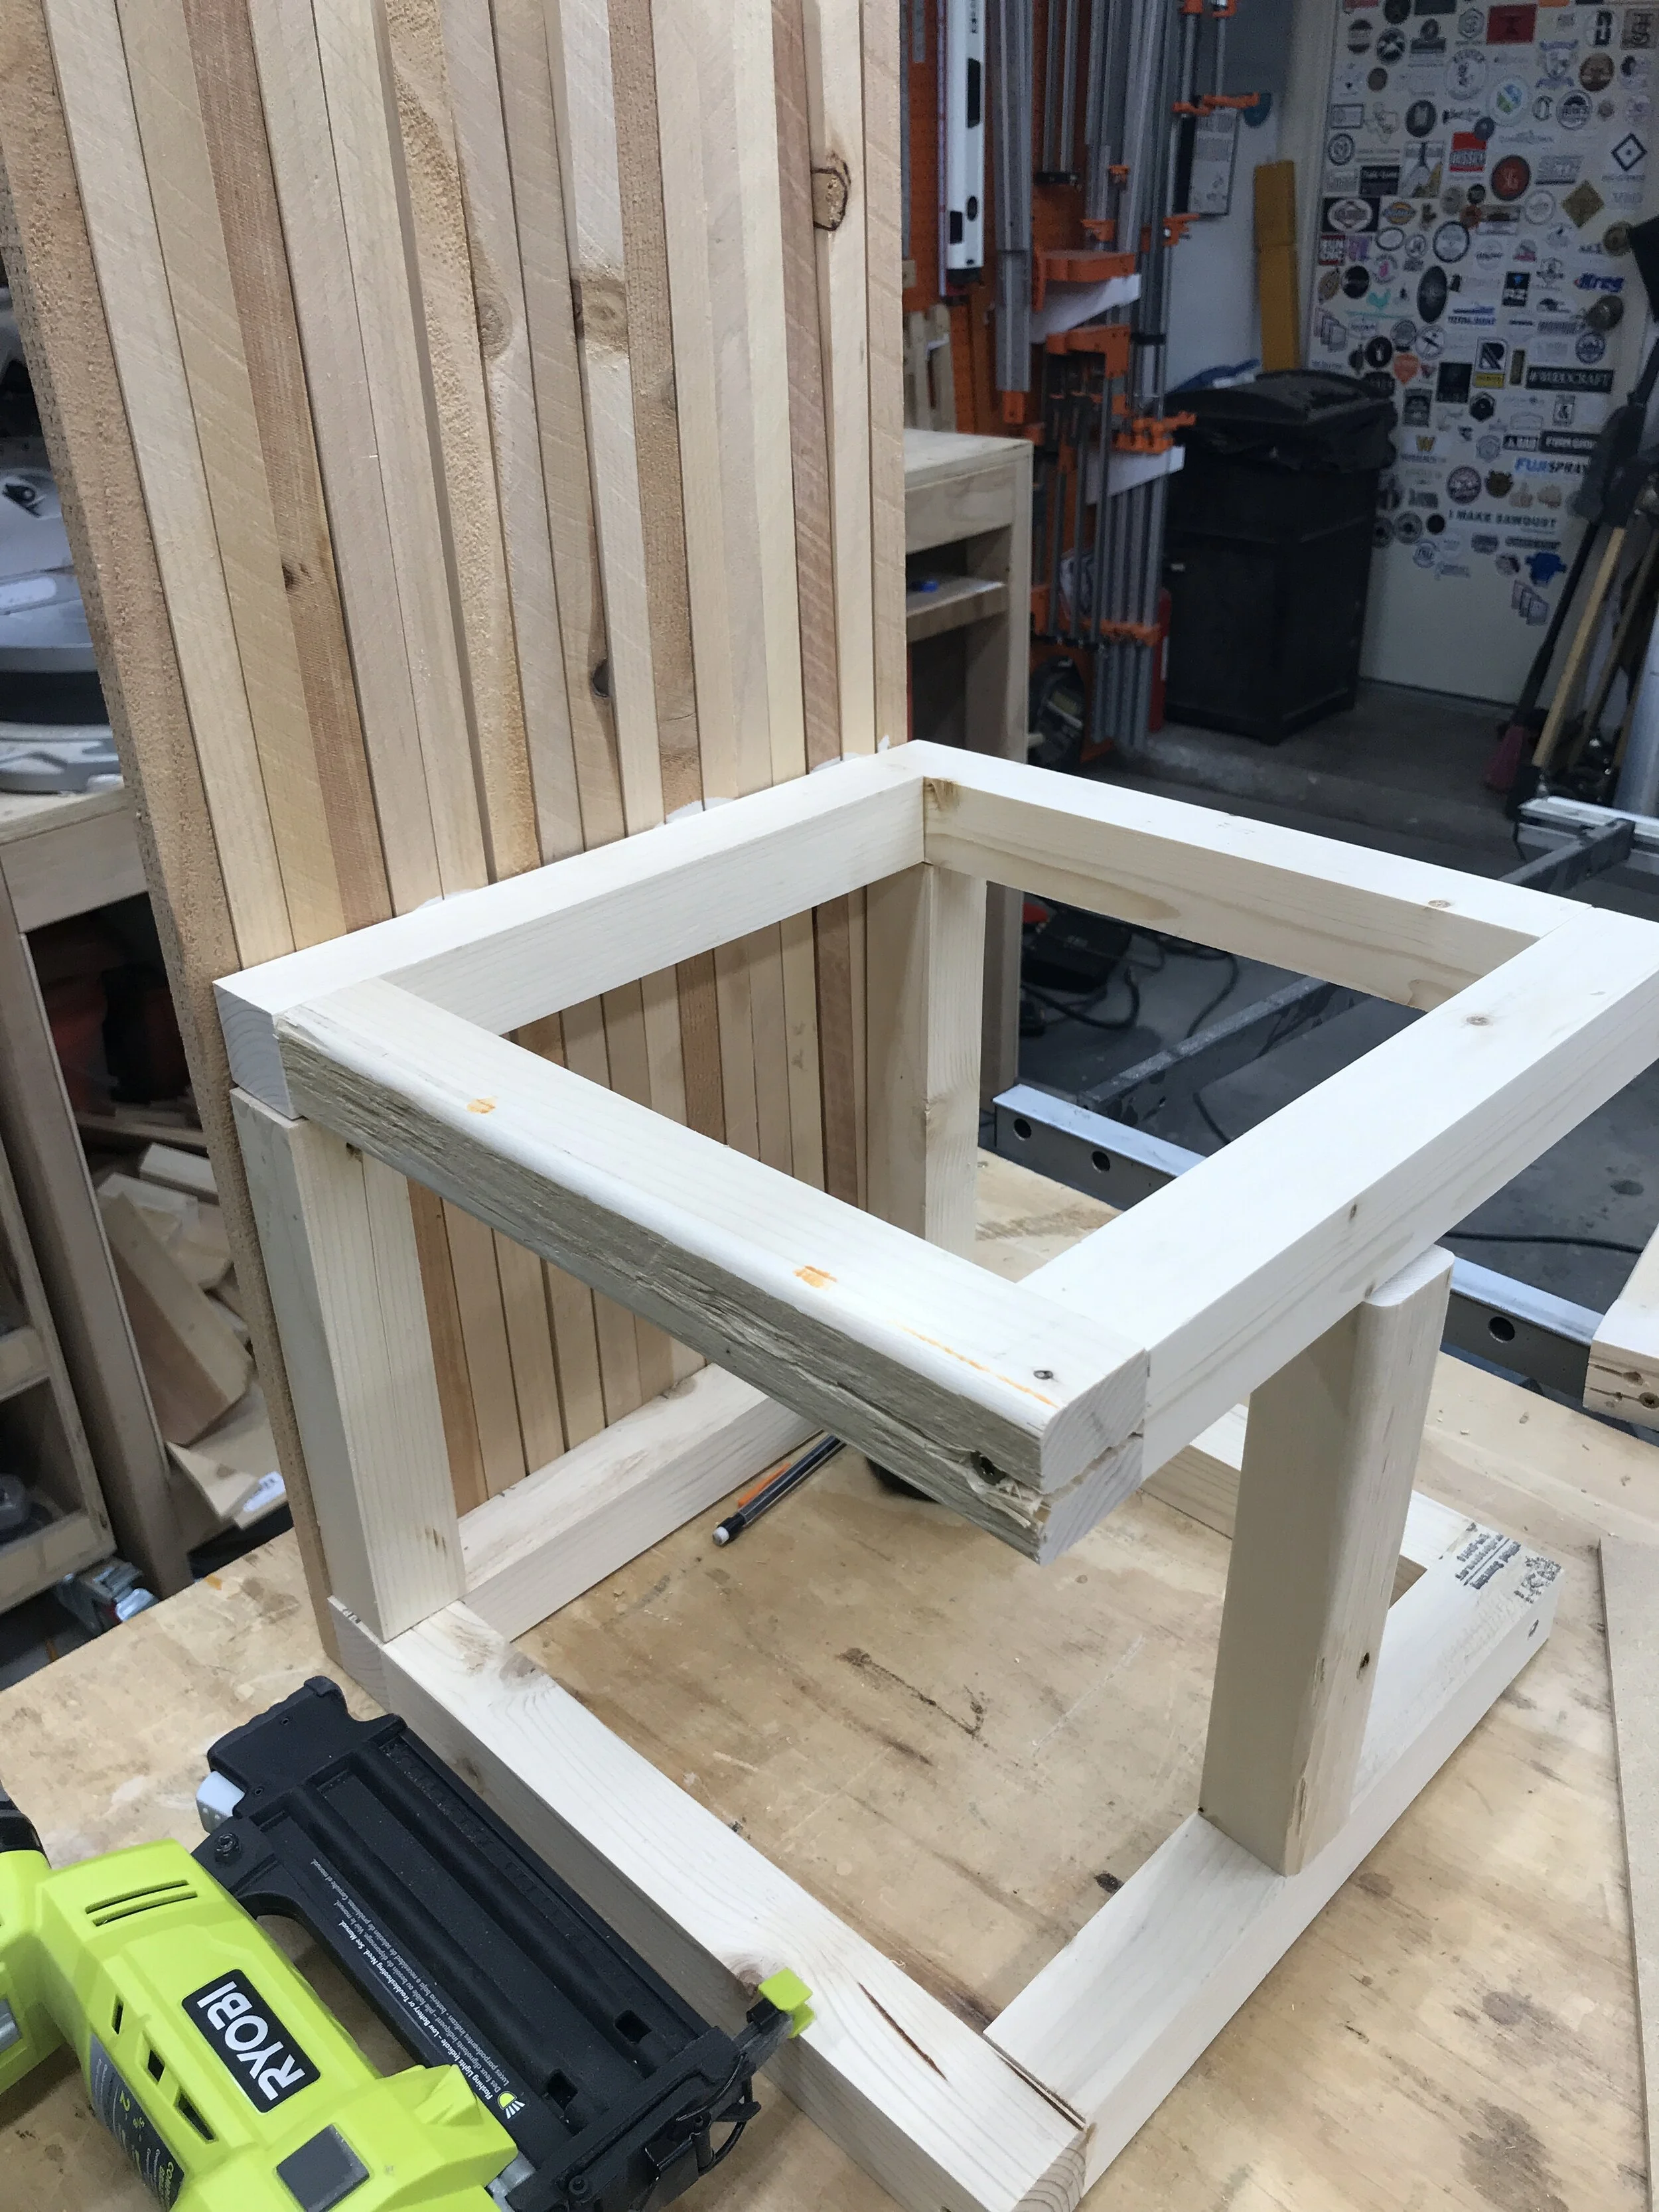
Make spacer blocks to hold shelf in place while attaching to slats. This will be how deep your planter is.
Step 6:
Repeat on opposite side.
Step 7:
Install 6 slats on the middle shelf using wood glue and 1 1/4” 18ga brad nails. I like the gapping to allow for drainage. I plan on putting my plants in the planter inside of a different potting dish, that way I can easily remove or change out the plants. If you want to plant something permanent inside these planters you will need to staple in some planting plastic to hold the soil in.

Shelf with hold plant and allow for drainage.
Step 8:
Attach slats to the last two sides using wood glue and 1 1/4” 18ga brad nails starting with the outsides first. Once I had the two outside slats flush and installed I laid all the other slats (19 total on these sides) down and just nailed way.

Feeling good!
Step 9:
Finish your planter. And in this case I wanted to do something special and something that would last a really long time for an exterior or interior planter… so I choose Shou Sugi Ban! Shou Sugi Ban is the ancient Japanese art of preserving wood. I used my Bernzomatic TS8000 High Heat torch and Map-Pro for this job because I have found that they make really quick work of burning a piece. But they also give me direct control to where is getting burnt or charred. I like to give extra burn time to the knots to help them achieve the same dark brown/black color as the rest of the piece.


I have made several other projects using this method and you can find out more about them here:
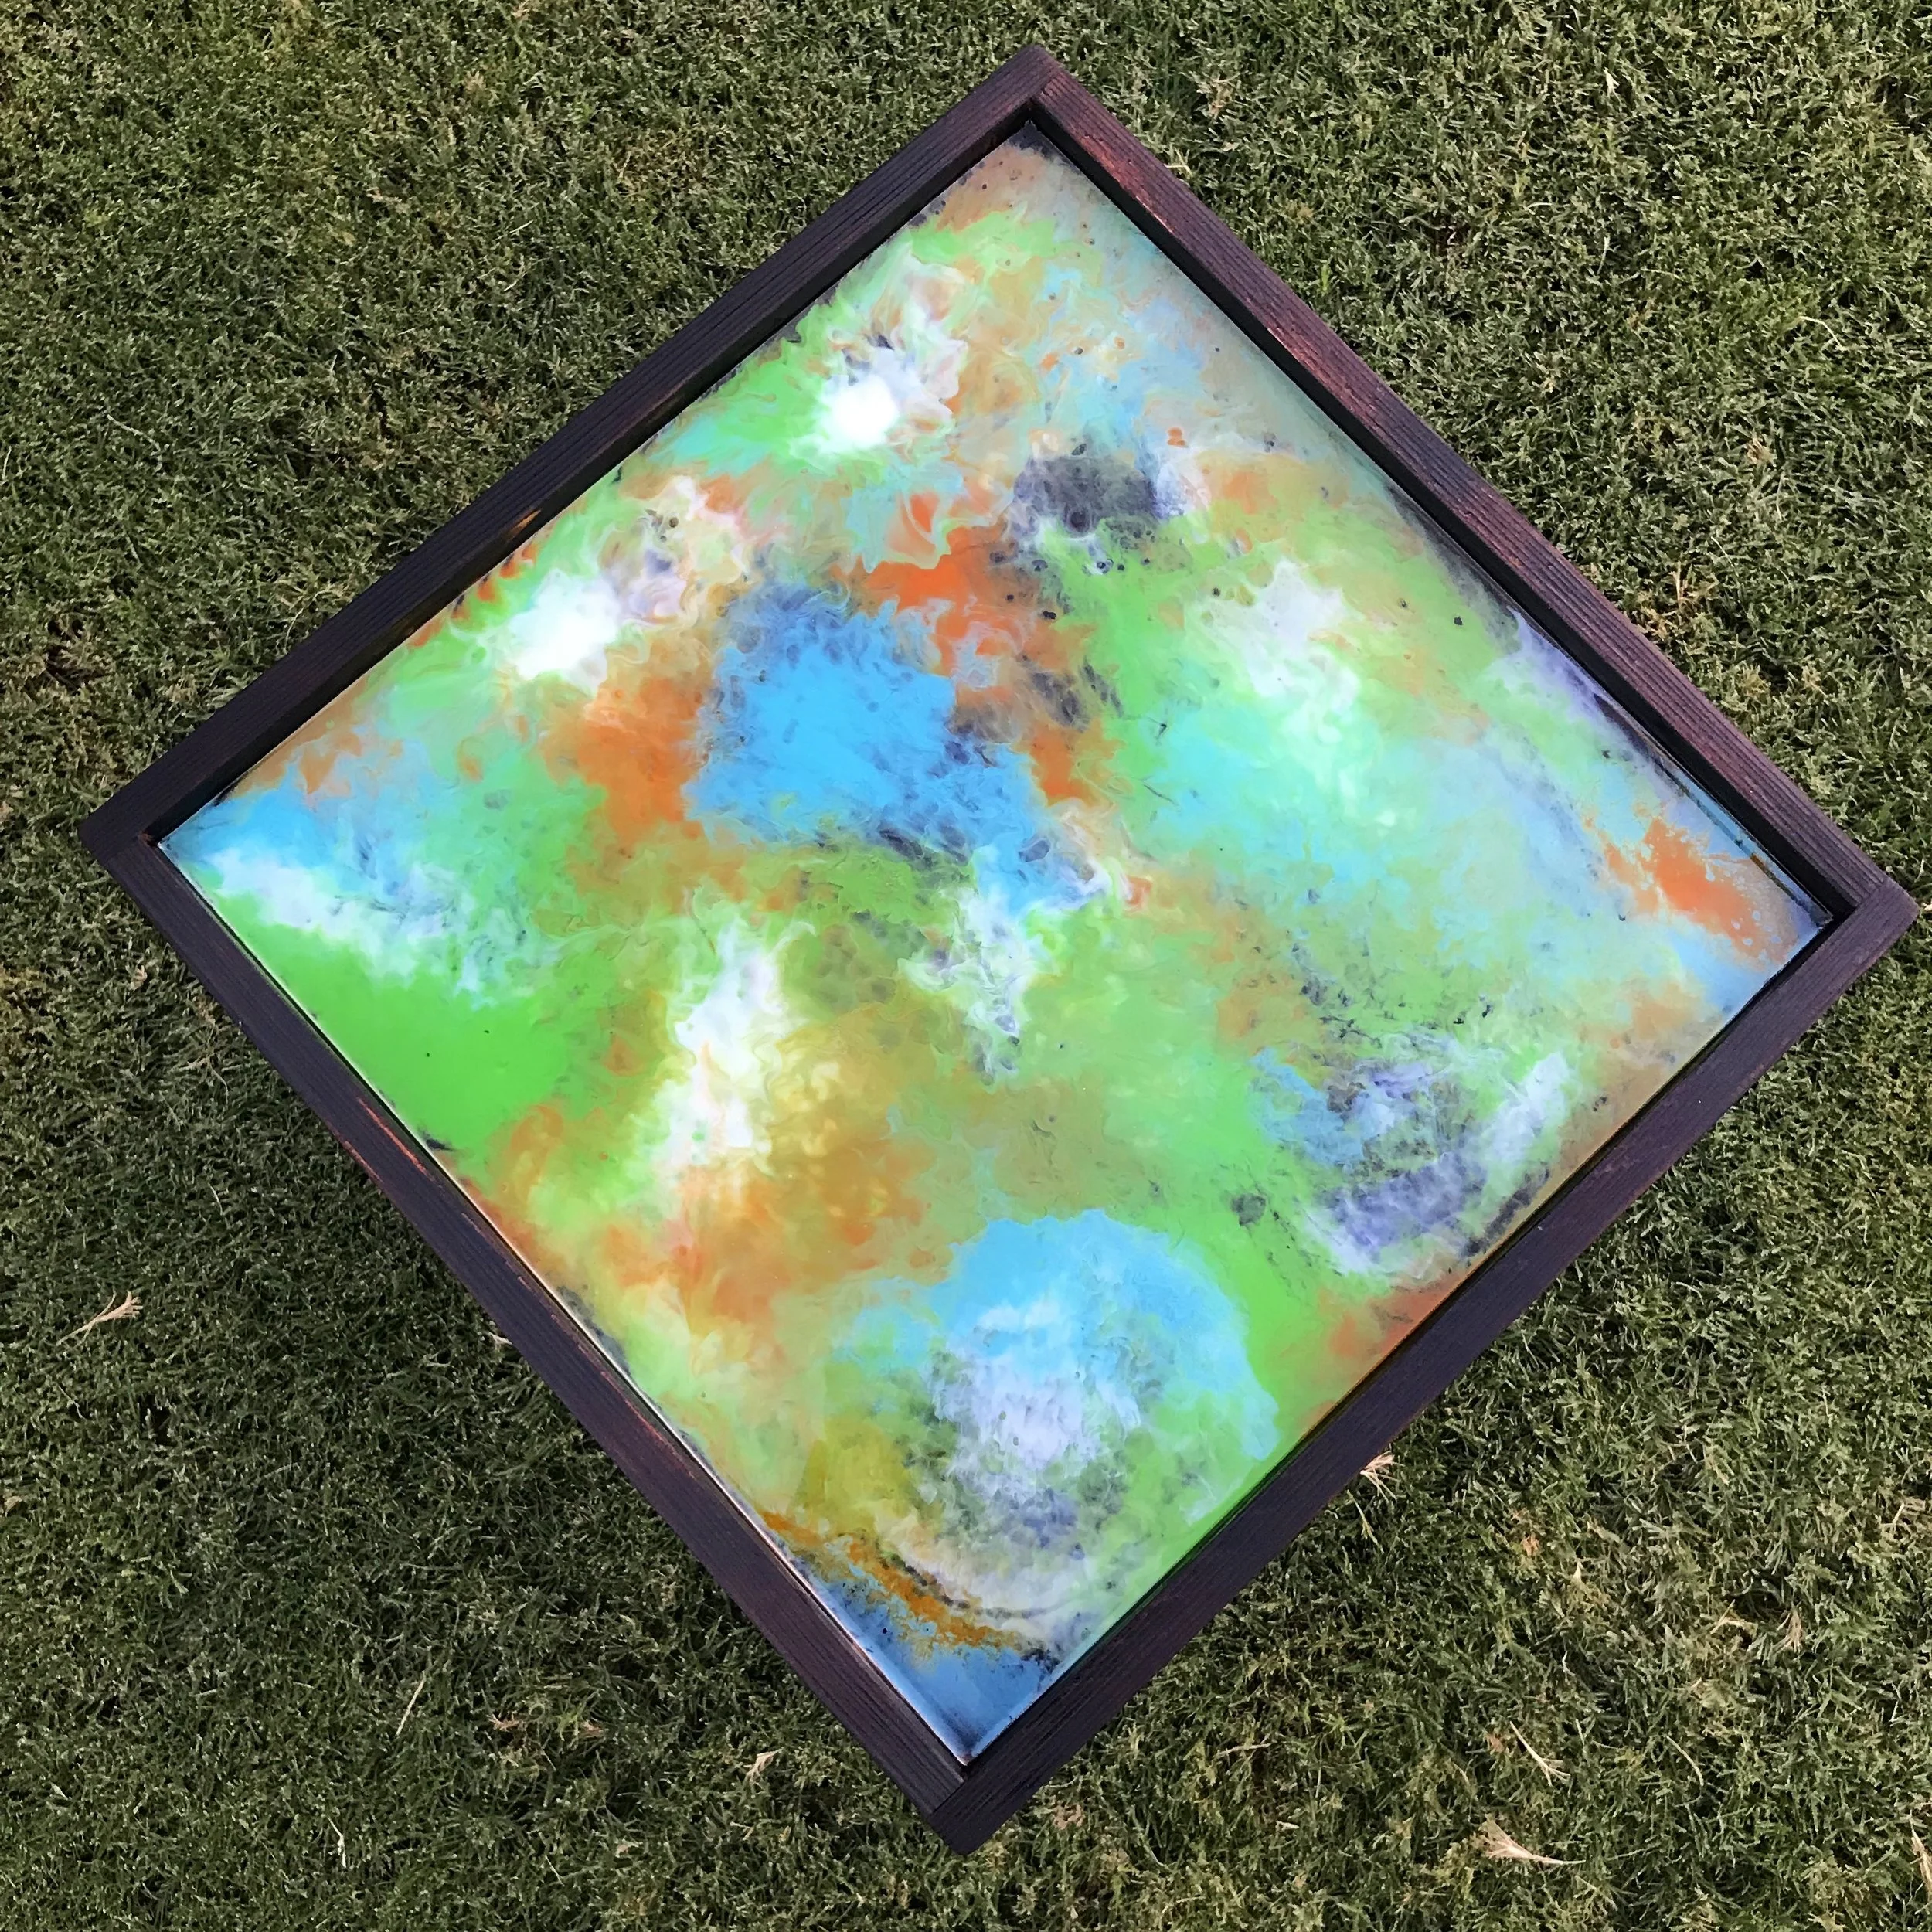
Burnt Live Edge Wall Clock Made From Wood and Epoxy
Step 10:
Once I had them at the charred level I like, I light brush off any of the loose material and liberally apply two coats of General Finishes Outdoor Oil. I love this stuff on Shou-Sugi-Ban pieces because it really enhances the color and once the oil hardens the sot won’t rub off. Also, if you planters are gonna be outside it is easy to apply another coat of oil for maintenance down the road.

Brush off any loose soot.

Love this stuff on Shou-Sugi-Ban pieces. Get some here.
I added a fabulous fern and snake plant to my planters and absolutely am in love with how they turned out. So what do you think? And AWESOME use of scraps? Can you believe these were scraps ready for the burn pile and now they are Awesome DIY Slatted Planters?

Before and After Shou-Sugi-Ban.

Love! Love! Love!

Awesome Oscar approved!
I would love to see you build some of these for yourself. And if you do I want to see them. So please tag me in your posts or use the hashtag #BuildingAwesome. Thanks for following my journey, stay safe and healthy, and have an AWESOME day! Oh and we will get thru this together! #strongertogether
Sadie Mae