Painting A Tile Tub Surround - Do's & Don'ts
I recently did a complete mini budget friendly makeover in my guest bathroom and the biggest impact had to be painting the tub surround! Yup… I said paint! Well… actually it is an epoxy acrylic, but it goes on pretty much like paint. Today I am going to share everything I used with you and give you all the do’s and don’ts I learned doing this project, so that your tub surround comes out even better then mine!!!
This is NOT a sponsored post. This post DOES contain affiliate links. For details on the affiliate programs i am a part of see my DISCLOSURES page.
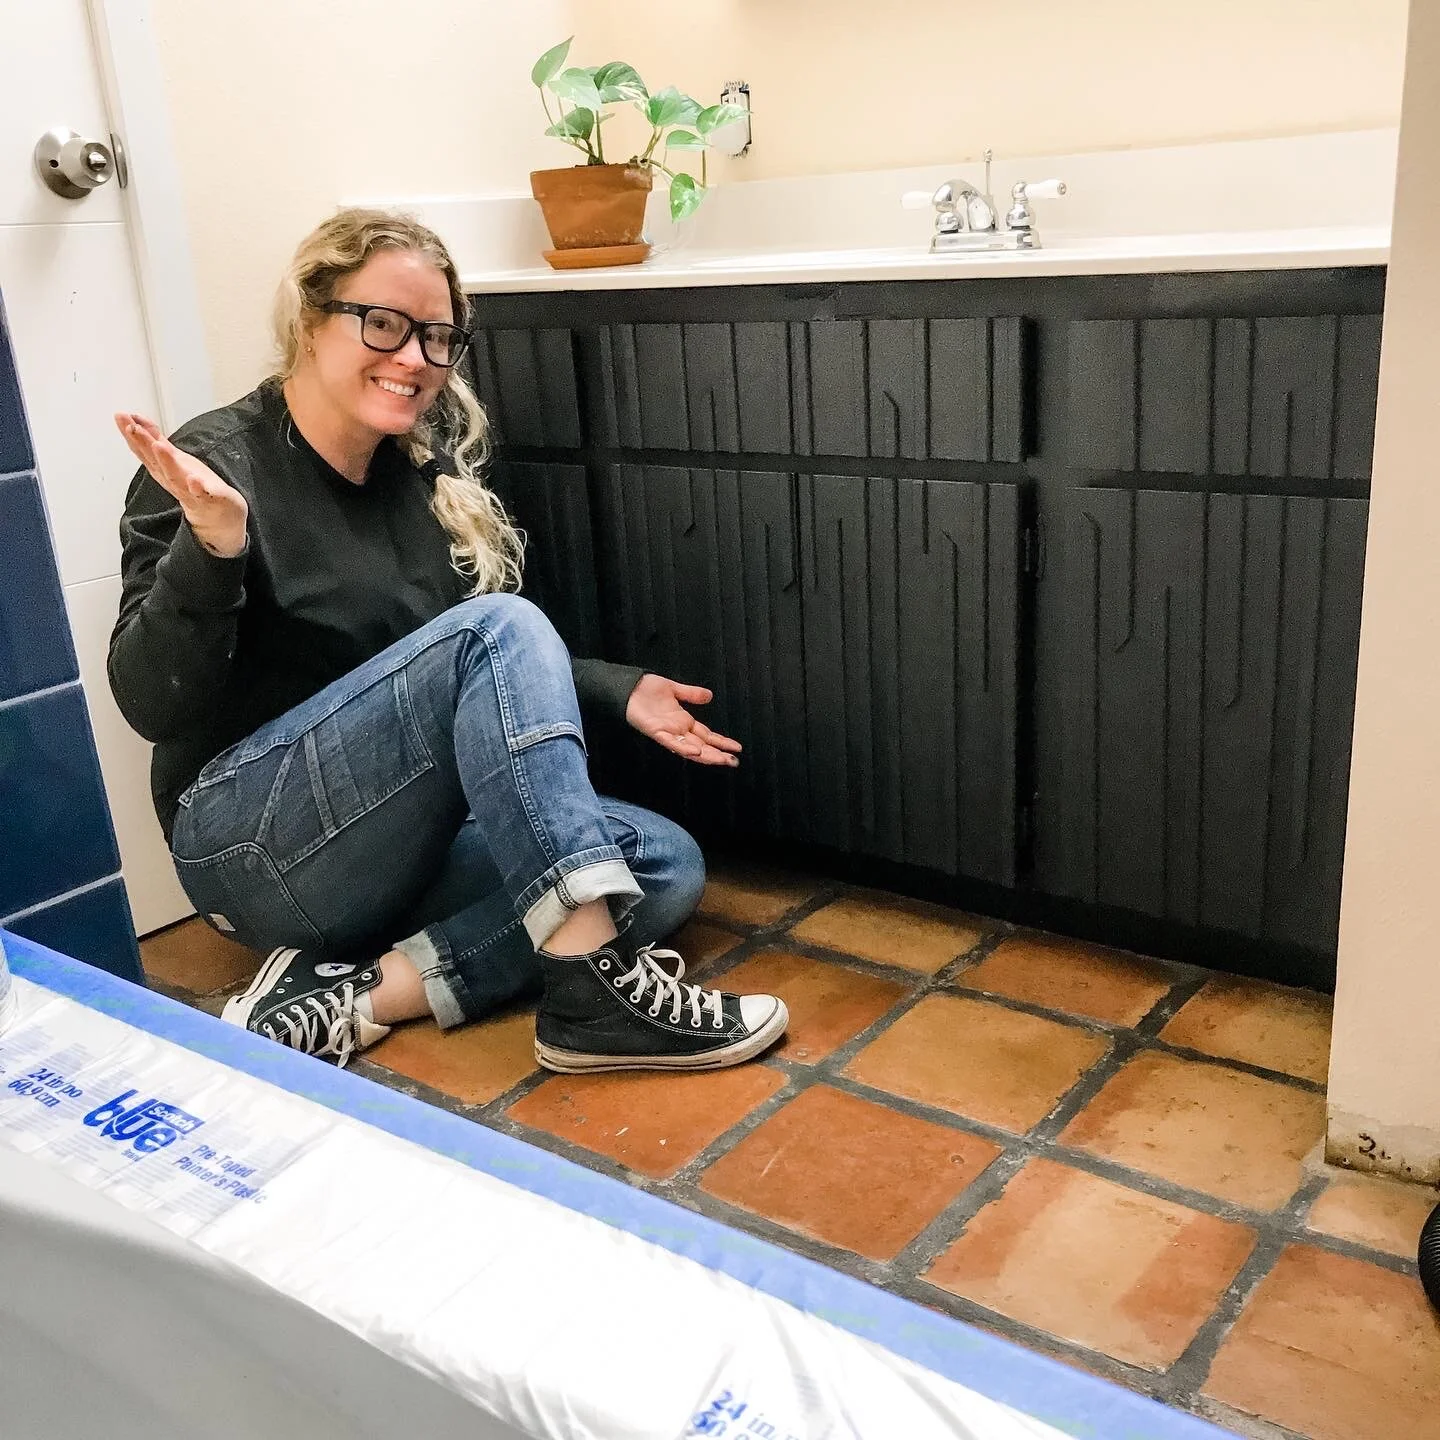
So this is what I lived with for the past 5 1/2 years! I hadn’t done anything to this room since we moved in because I always planned on doing a big remodel to it… new tiles, paint, new vanity, new window, new trim, etc…. so I didn’t want to waste time or money doing something I was going to change later. Well, now that I am done with my mini budget friendly makeover I totally wish I had done it sooner. So, if you are on the fence… don’t wait! You will be so happy with the effort!

Navy & Gray Tiles with Peach Paint and Saltillo Tile Floors - Why!?!
Here is what you are going to need:
Tub & Tile Refinishing Kit (mostly likely 2 of them)
Bleach & Water
Lime Away (I didn’t use this because I didn’t have it on hand. Instead I used TSP)
Paint Brush(es) - I used 1 each day and threw it away after
Roller(s) - I used 1 each day and there it away after
Paint Tray(s)
Painter’s Tape
Some sort of drop cloth
Respirator - THIS IS A MUST!!! Here are the filters I got to go with it.
Goggles - I only used safety glasses and would have loved some goggles!

Let’s Do This!
Step 1:
Clean your tub surround/tile per the instructions on the box… bleach & water, then rinse… comet, then rinse… Lime Away, then rinse.

So much cleaning! When I replace the plumbing fixtures in here, I definitely will be adding one that has a sprayer hose!
I found this to be the hardest part, because my tub doesn’t have a hose to rinse the cleaning products. So it became a chore with having to rinse it by hand and a cup.
Step 2:
Remove any and all caulk. If you don’t remove it the epoxy paint does’t mix well with it. I had a spot that I missed in one of the cubbies and the paint made the caulk kind up curdle.
Step 3:
Remove plumbing hardware. I only unscrewed mine a little way from the tile and decided to tape around it. This wasn’t a good idea because it was hard to brush the epoxy paint and I ended up having a few light spots around the hardware. So if you can remove it, I suggest removing and making it easier on yourself.
When brushing the epoxy paint, you can only brush it in one direction for it gets tacky and almost like won’t stick on itself… if that makes sense.

The cubbies were the hardest to get coverage on because I had to use the brush. You can see light coverage on the left side.
Step 4:
Sand the tile with 400 grit sand paper, rinse and then let dry for at least 90 mins.
Step 5:
Tape off wall, tub and/or an areas you don’t want to get the epoxy paint on.
Step 6:
Mix Part A and Part B of the epoxy paint per the instructions… or really well (like 5 mins or so) and then start applying in sections. BE SURE TO WEAR A RESPIRATOR WITH THE PINK FILTERS!!!
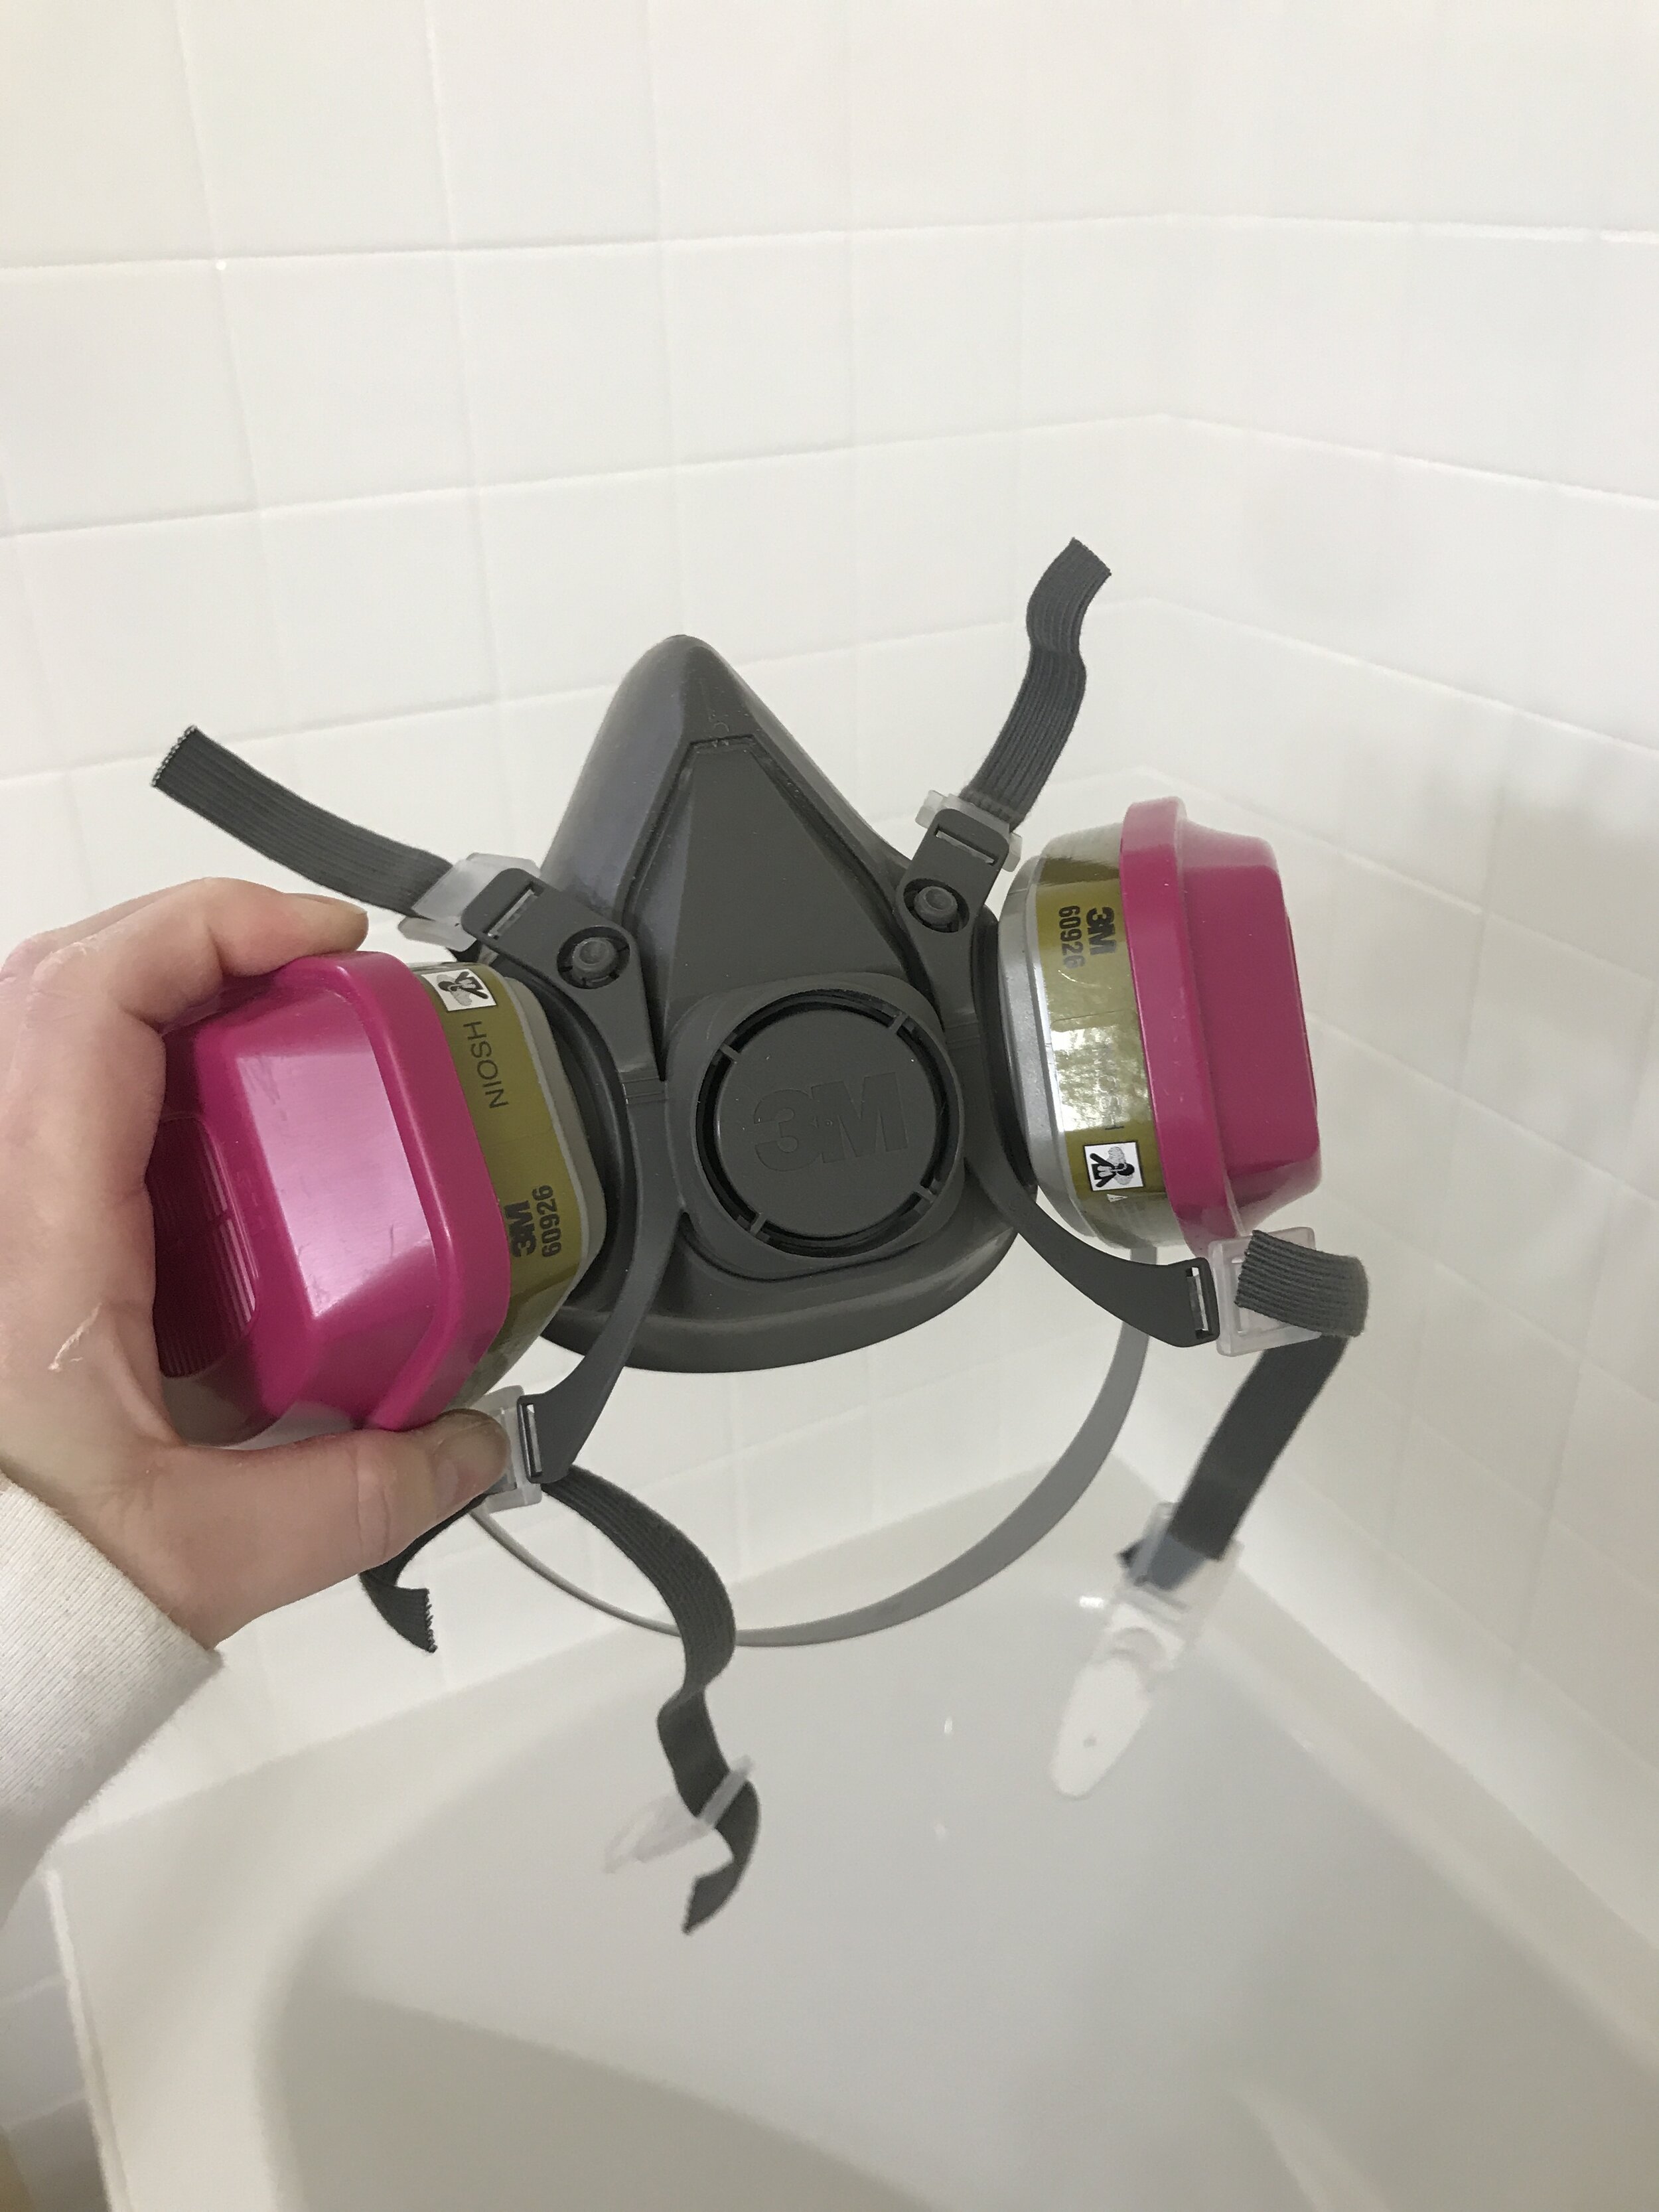
I got my respirator and filters here.
Brush edges and then roll. The roller is more forgiving… just be sure to make sure you have your roller loaded with epoxy paint and apply with even pressure. The epoxy paint starts off runnier and as it sits it does get a little thicker, so just be mindful with applying. And the even pressure is really important on the second, third and fourth coats… if you need them. The epoxy paint is self-leveling so it is very forgiving… you will get a feel of it as you go, just be sure not to over work it.

After 1 Coat

After 2 Coats
My tile was dark navy and gray, so I did end up needed 4 coats. I think if you tile is lighter you could get away with three. The box says two, but I say the minimum is three.
The box recommends doing two coats one day and if needed the third coat the next day. That is way I did and why I need to brushes and two rollers. There was no way I was going to try and clean them… even though it is possible. The box tells you how.
Step 7:
Remove tape, re-installed plumbing hardware, re-caulk tub where needed and then adore your work!
See it wasn’t that bad! Okay the smell was horrible…. definitely open windows and keep door to the bathroom closed to save the rest of your house. You could smell it thru-out the house, but it wasn’t so bad you needed a respirator like you did in the bathroom itself.
Do’s
Do wear a respirator!
Do remove all caulk before starting!
Do get two boxes of the Tub & Tile Epoxy Paint
Do remove plumbing hardware, if possible.
Don’ts (so weird spelling that word, haha)
Don’t Wait!!! - The hard work will be worth it!
Don’t skip cleaning… starting with a really clean surface is going to ensure that the results last.
Don’t reapply before last coat is dry! If you do, it will be very tacky and start pulling the fibers off the roller.
I hope this tutorial helps you not be afraid your fix up your outdate bathroom like I did. And if it did, I would love to see pictures of the before and after of your bathroom makeover.

Before
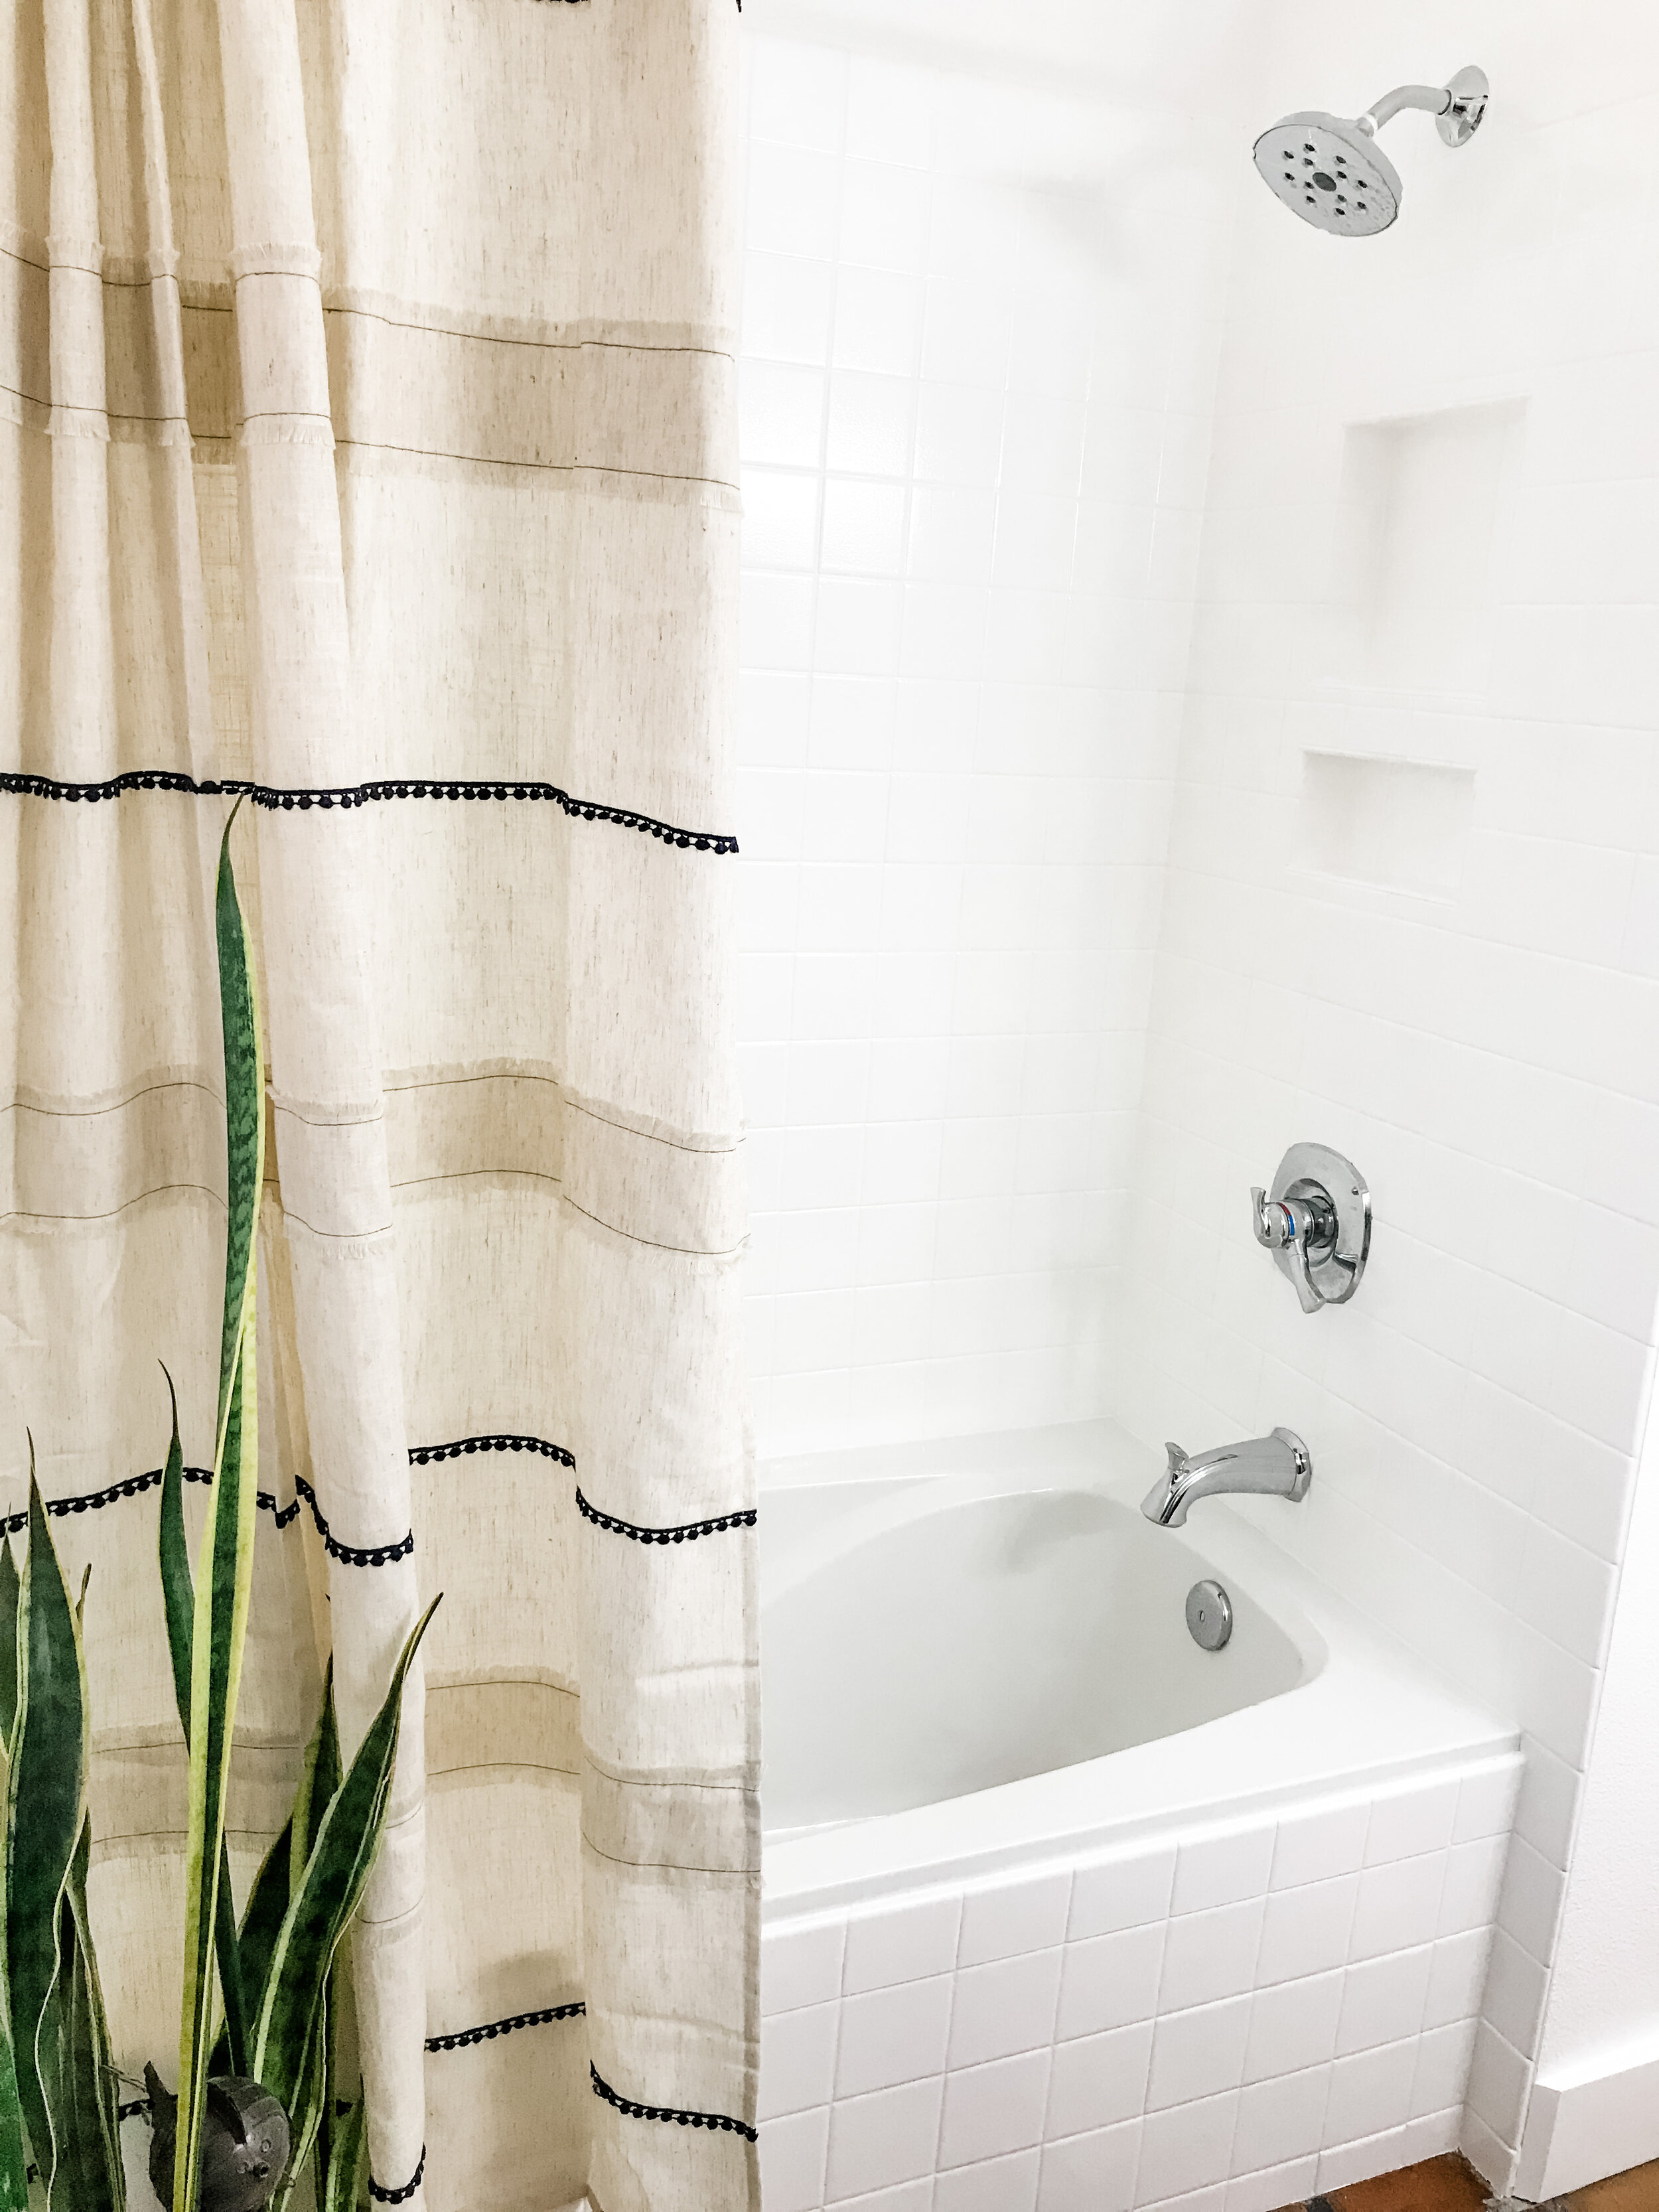
After!
Thanks for following my journey! If you would like to see all the Before & Afters of this space check out the blog post for the full bathroom makeover…. Complete Bathroom Refresh on a Budget!

BEFORE of the rest of the bathroom… check out the rest of the budget friendly makeover here!
Remember Build Loud, Build Wild and have an AWESOME day!
Sadie Mae
Can’t Do This Now? PIN It and Save for Later!