

How We Raised Our Ceilings
We have been in our house for about 3 1/2 years now and have slowly been remodeling as time and money allow… well over Thanksgiving weekend we were able to tackle one big job that I have been wanting done since we moved in. Raising the ceilings in our entryway!!! This project has been part of the overall plan since the beginning. It will give our 1970’s ranch house a much more updated and modern feel… plus it makes it feel bigger!

BEFORE

BEFORE
We have some experience in raising the ceiling because we have done it in a couple of different spots of our house already… the master closet and the pantry renovation.
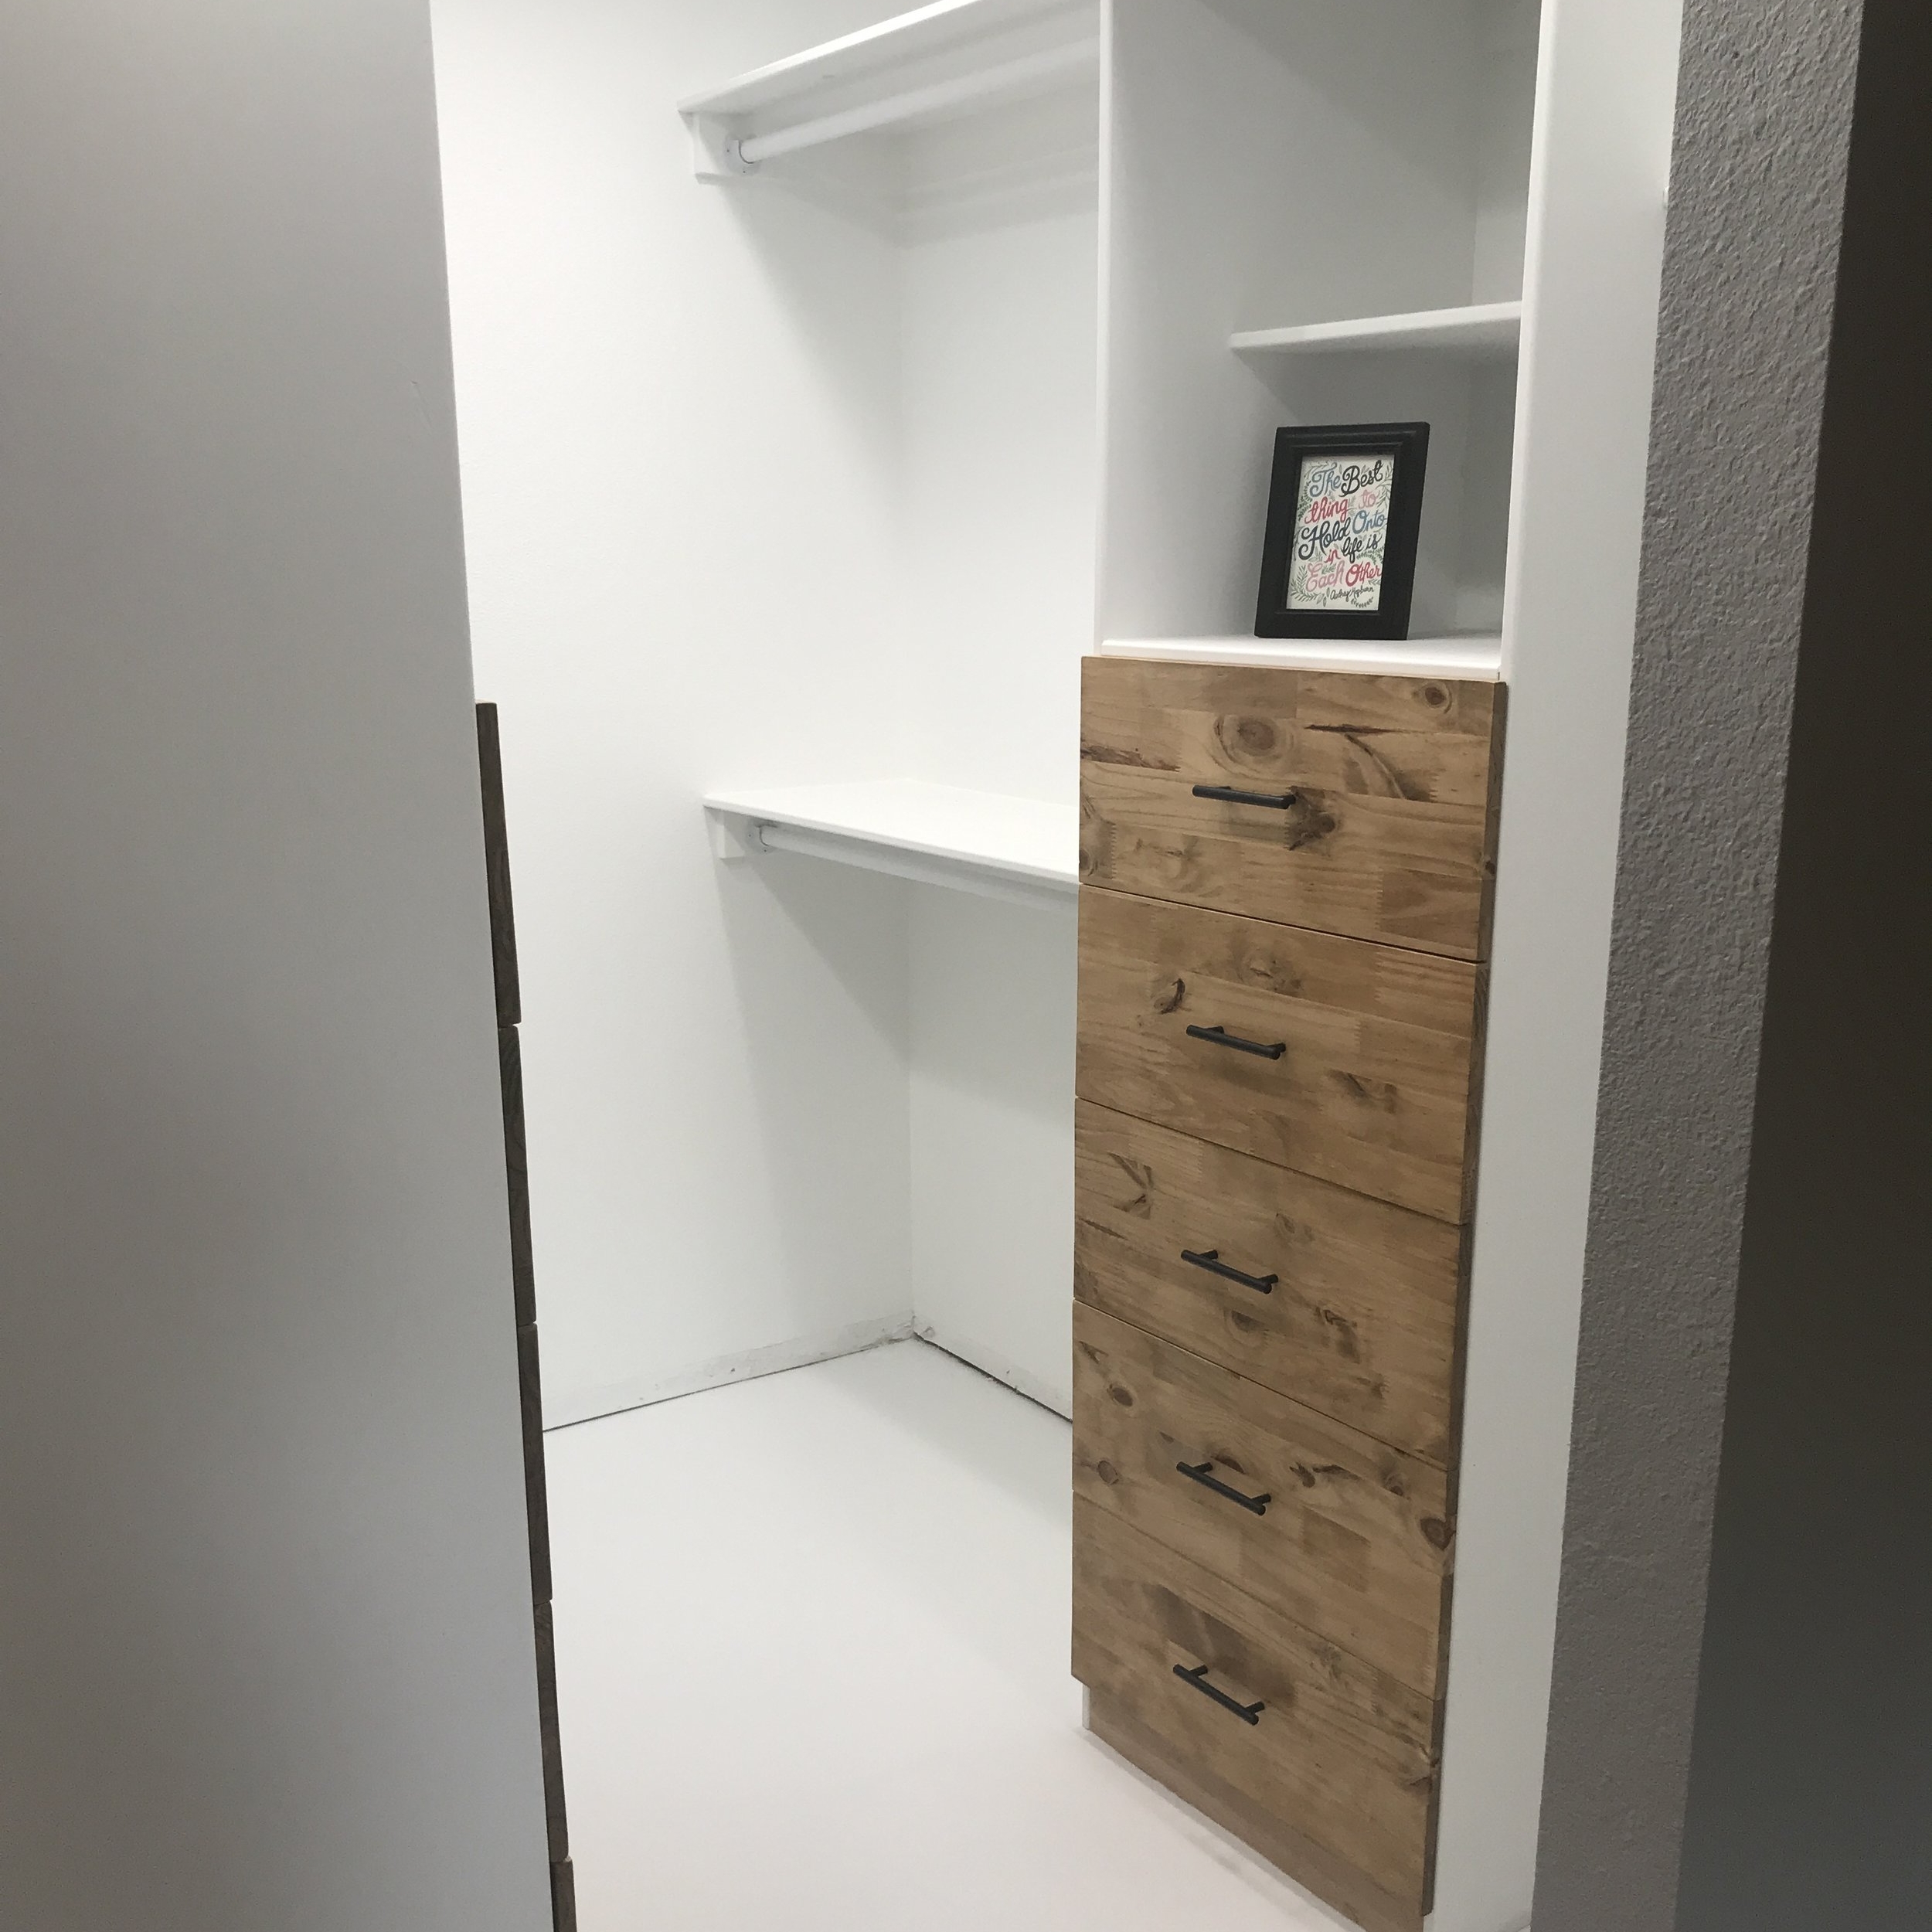
Master Closet After - Walk-in!!!

Master Closet Before - Low Ceilings and just an open on useable space.
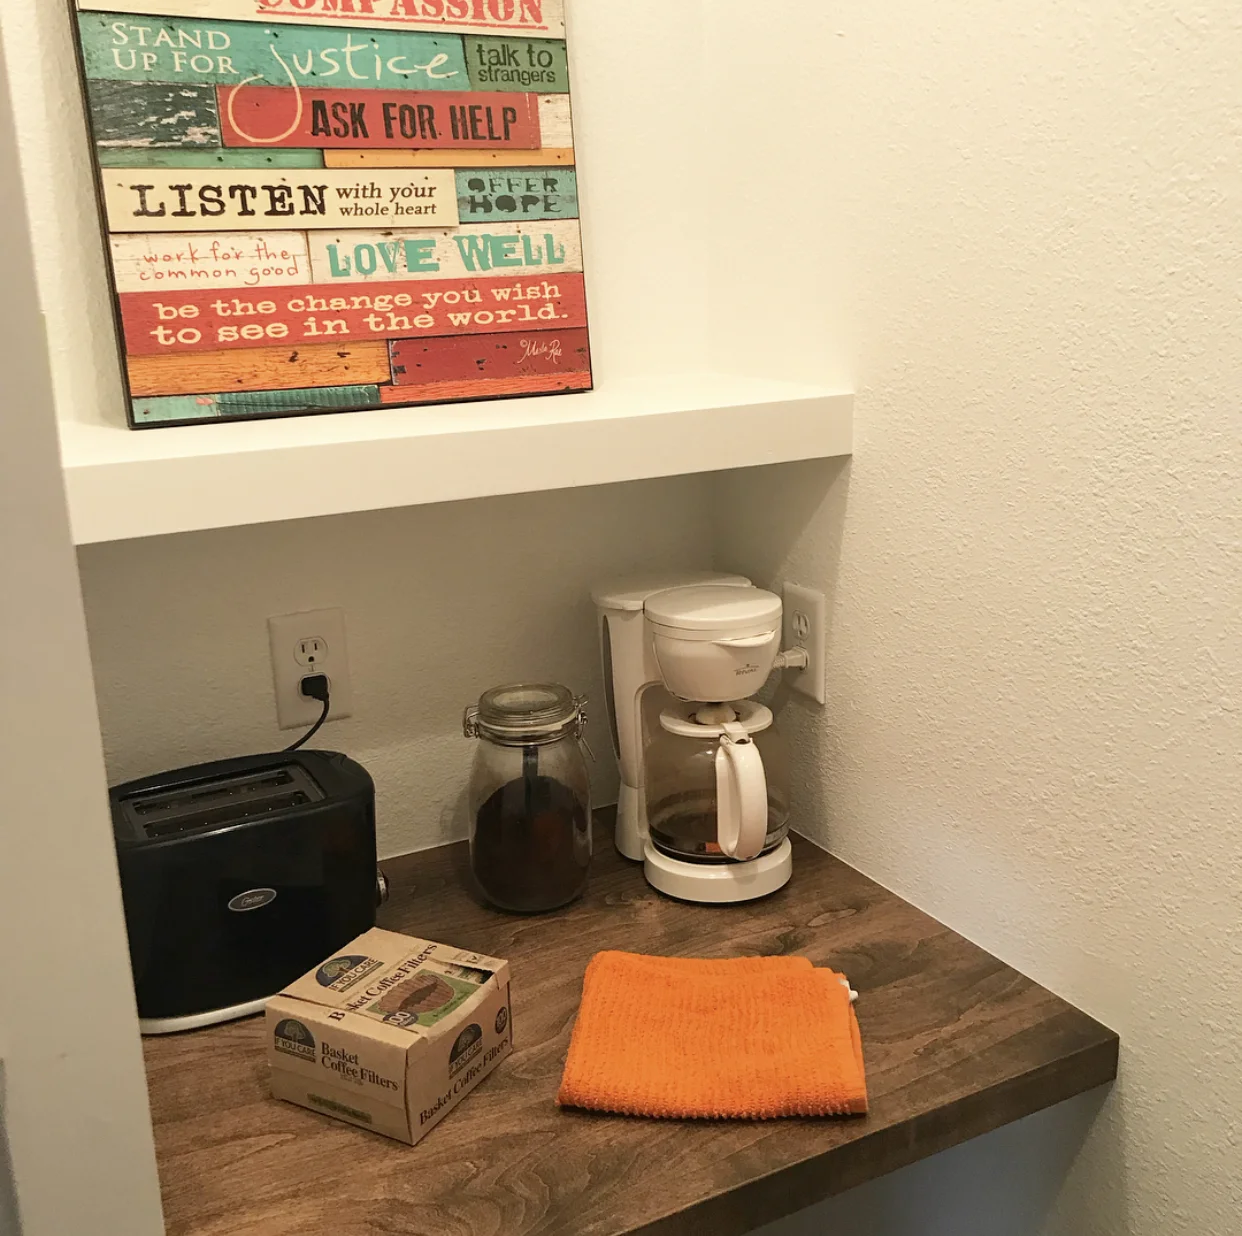
Pantry After - Hidden Coffee Station

Pantry After - Small and Mighty!

Pantry Before - Yes there was a microwave in the wall. And pantry door on left and right with door to master in the middle.

Pantry Before - So many doors and closet. with pantry moved it is bigger, has one door, and master bedroom has a proper entry.
The first place to start was knowing why the ceilings are lower in some sections of our house. My husband and I used to work in the HVAC industry so we knew. They lower section of the ceiling house the a/c trunk line that distributes the air to all the rooms. So back when we raised the ceilings in the master closet we ran a lot of new flex ductwork thru-out the attic to replace the trunk line. We also added new returns. I highly recommend you talk to an HVAC professional before trying redo your ductwork, because it needs to be sized and sealed properly to work efficiently.
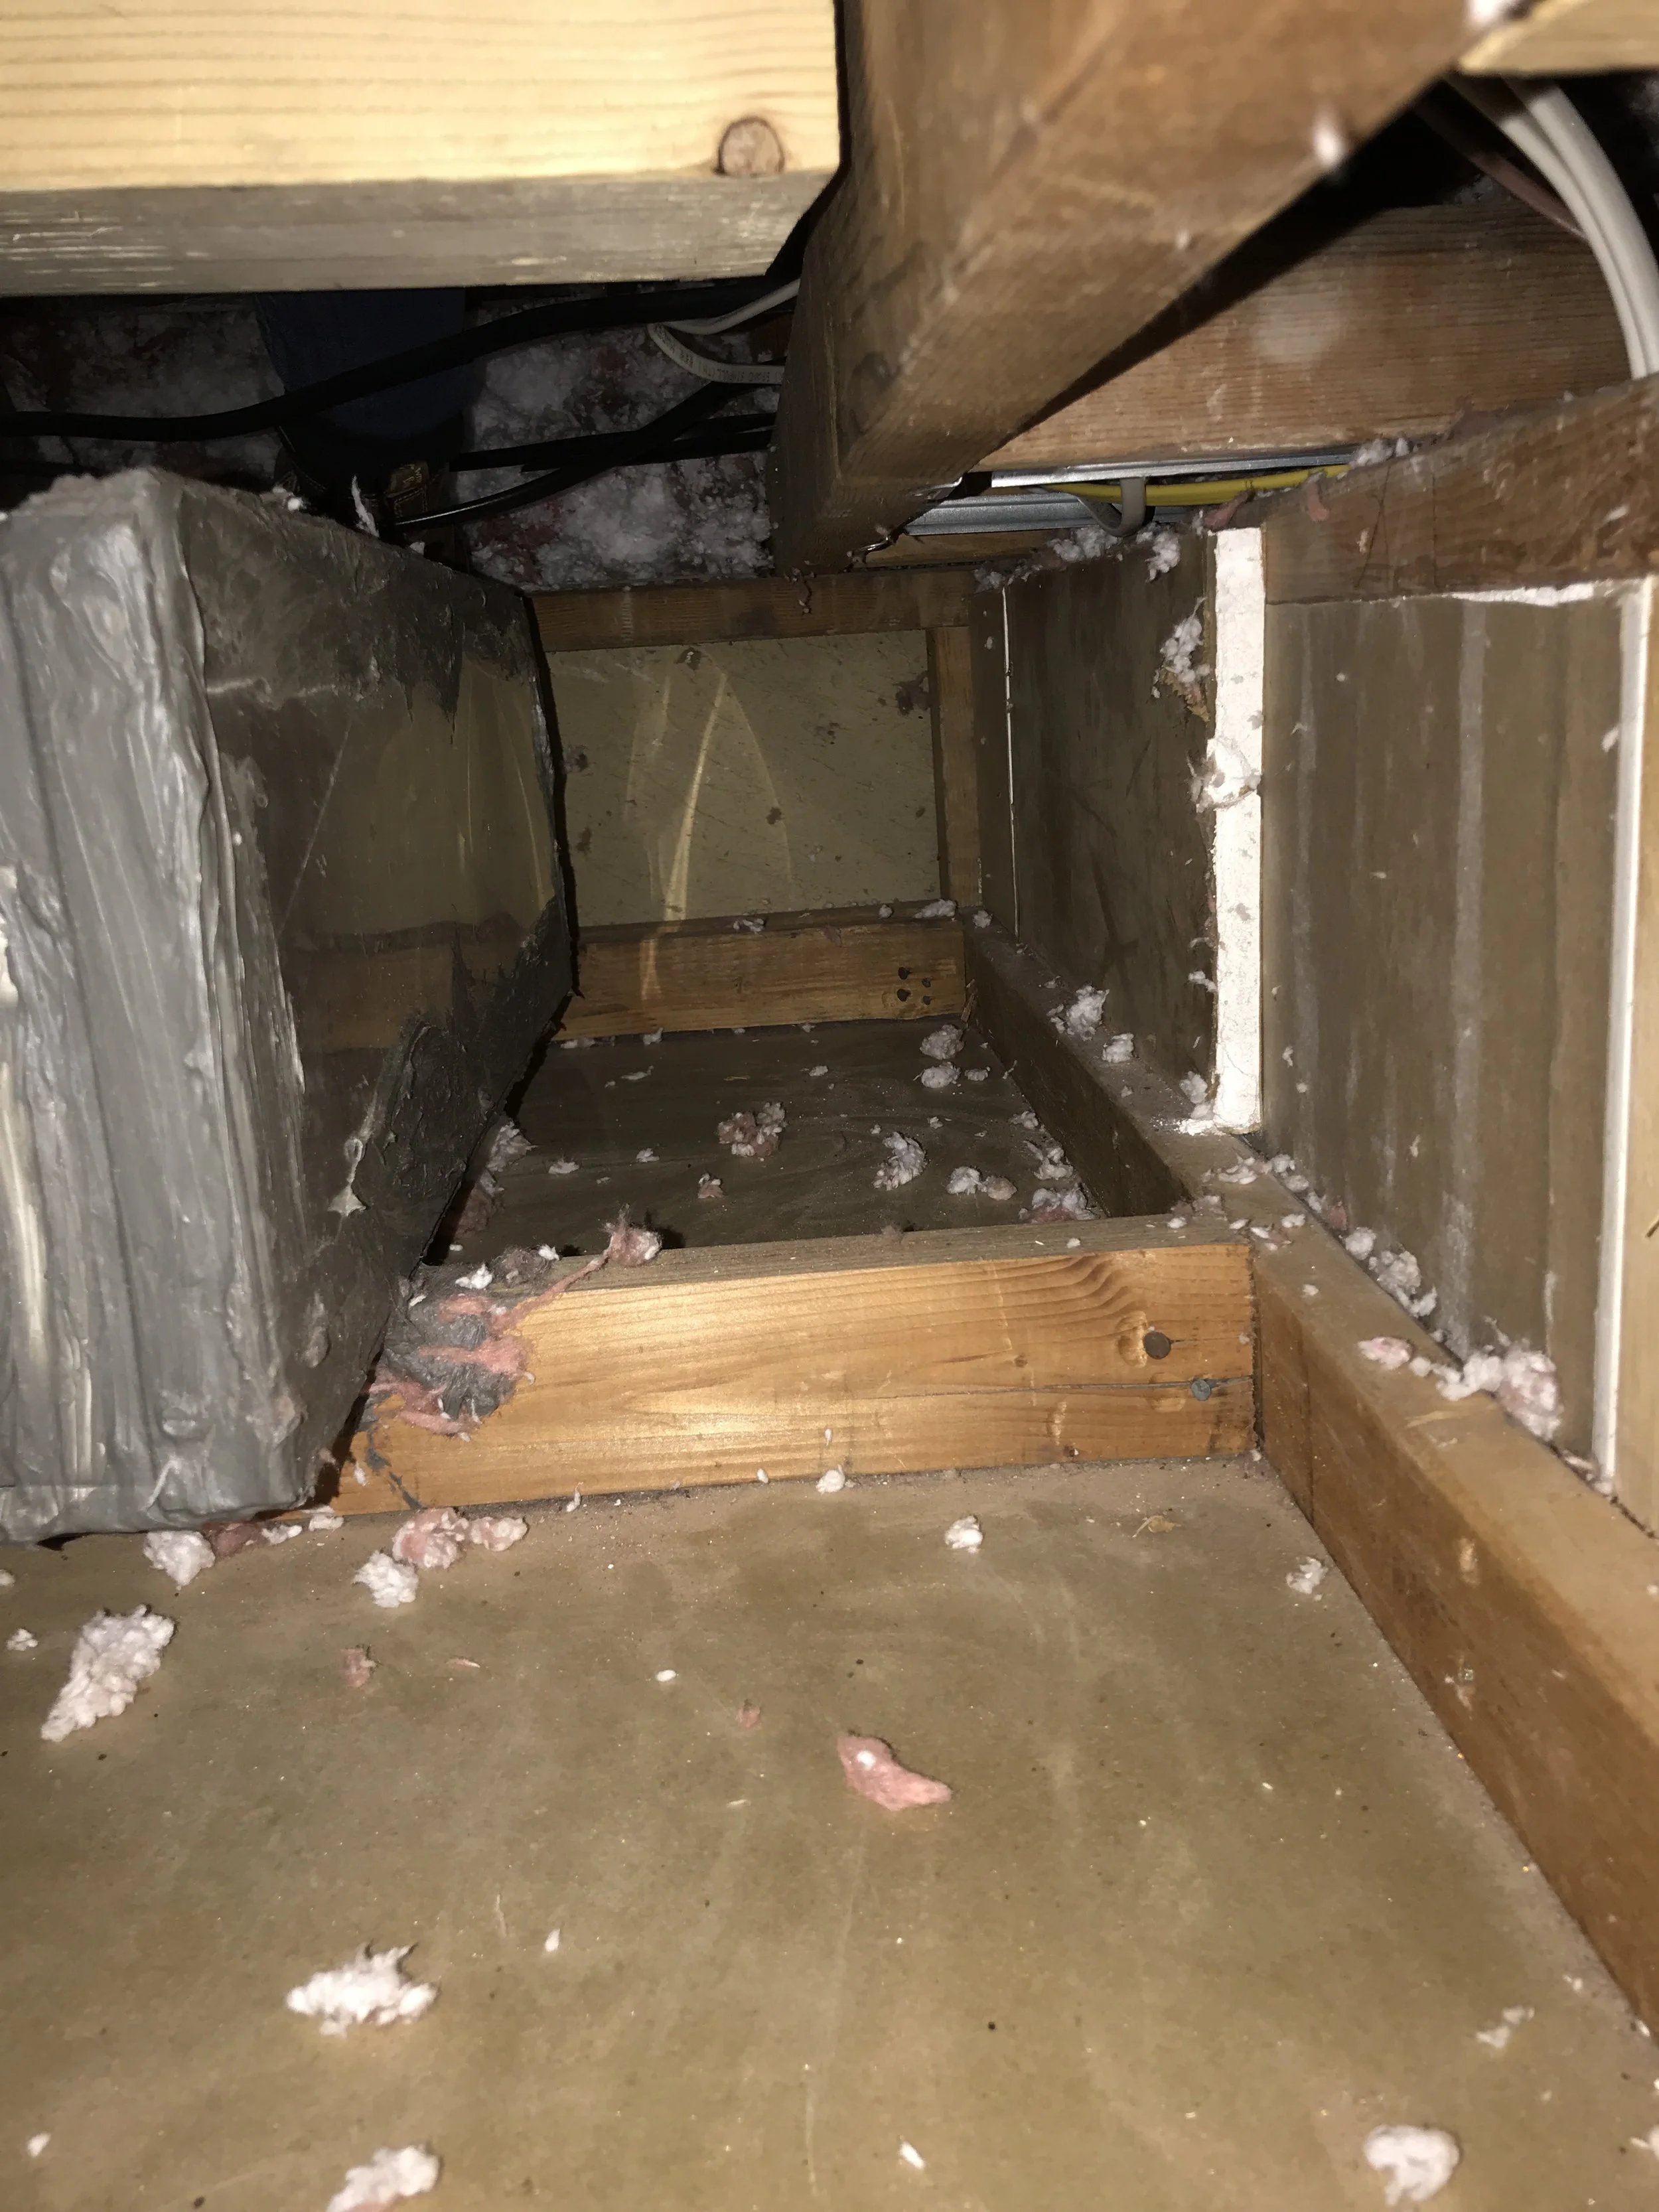
So to get started on the entryway ceiling, we had to first remove all the insulation in the section of the attic. You don’t have to, but if you don’t they it will fall into your house when you remove the drywall and then you will have to pay to have new insulation installed. So we choose to move it and will put it back on the new ceiling. And guess who got that job!?! Yup, me! It is actually the only way or the easiest way for me to get my hubby to help with this huge undertaking. He hates attics and insulation from working in them for so many years, so by me volunteering to move the insulation he agreed to help.


Moving the insulation is not a fun job. I suited up for battle… boots, long pants, socks over my pants, long sleeve shirt, safety glass, dust mask, gloves and a helmet with a light. Didn’t want the itchy insulation to touch me. And if you haven’t crawled around in an attic before, trust me the helmet comes in handy. If I didn’t have it on I am sure I would have several knots on my head.
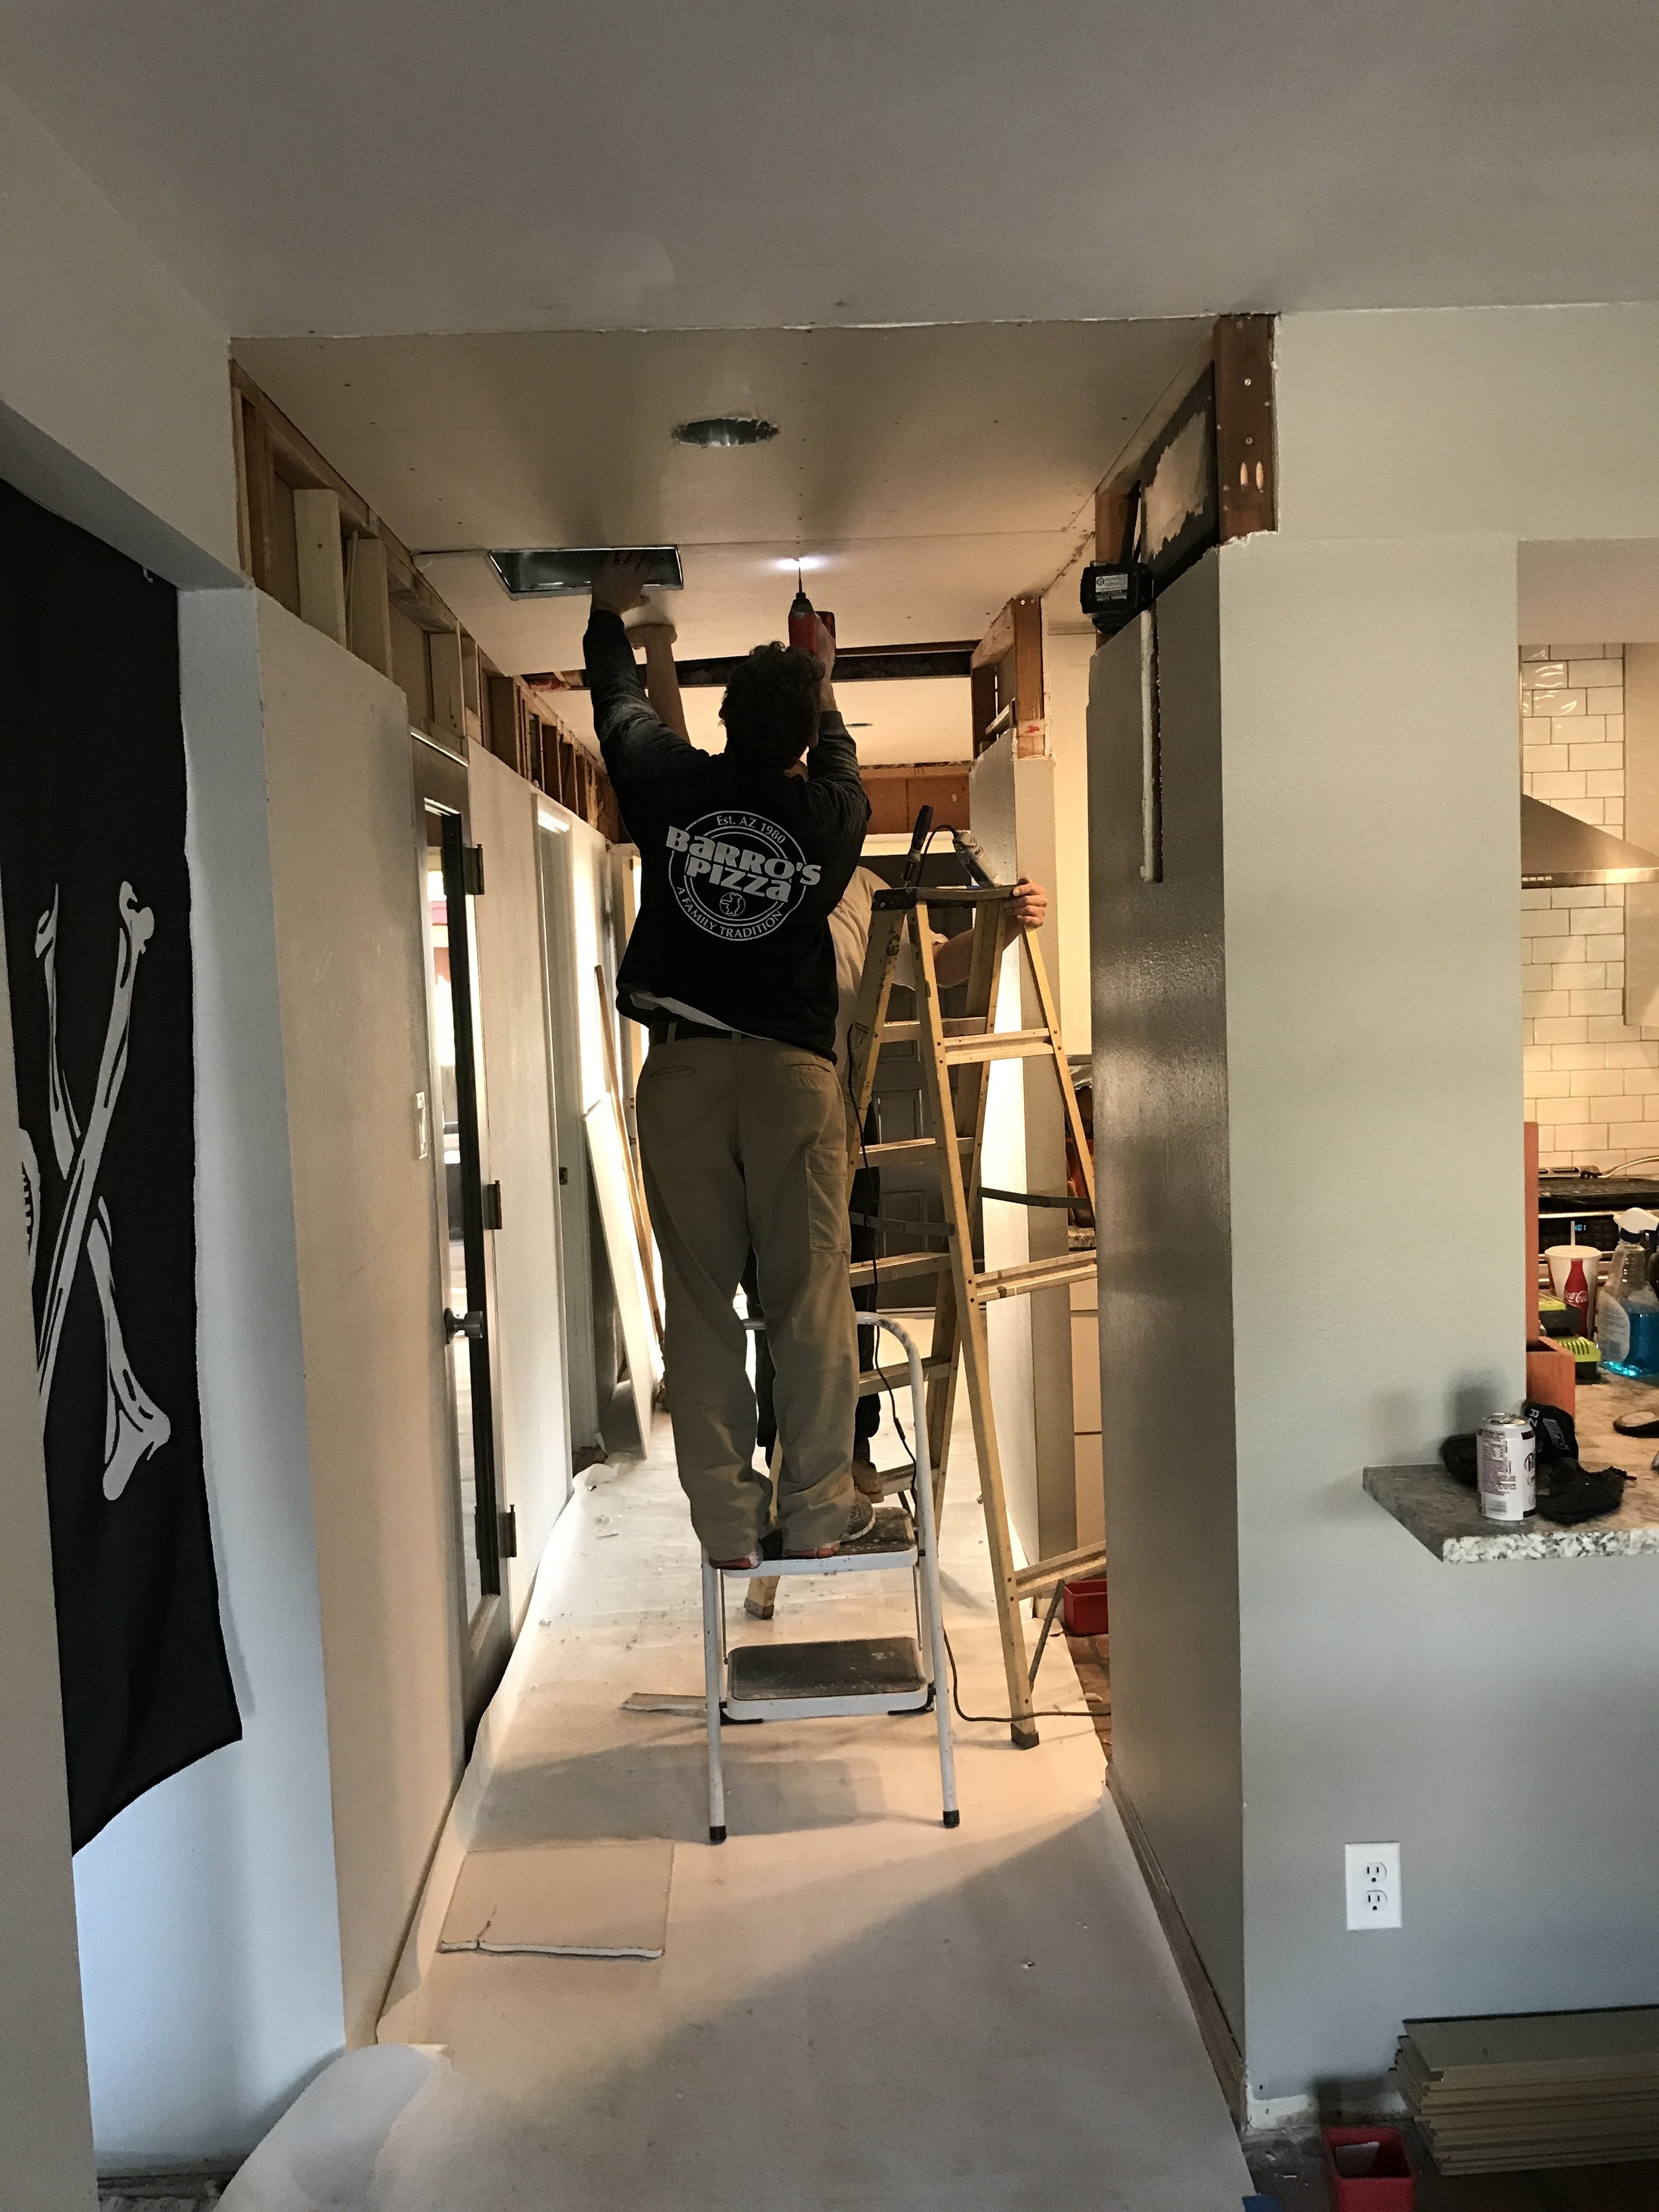
So after shoveling all the insulation for the drop section of the attic using nothing but a dust pan and my hands… it was time to start taking the drywall down. We did this by first scoring the drywall/paint in the corner so we hopefully don’t mess up the wall drywall taking the ceiling down. And then this is the fun #demoday portion starts… you just tear it down. Oh, be sure to remove any light fixtures before ripping down the drywall.


Next up was cutting out portions of the drop ceiling. The drop ceiling has no structural significance… but be sure to only remove it and not cut any trusses. Highly recommend going slowly and be sure to only remove what you need. At the same time we removed the old trunkline piece by piece. We were using it as a air return for the house so we had to unattached that and will need to reattach run a new run later.


After everything was out it was time to start putting everything back together. In order to do that we started by moving some wiring that was in the drop ceiling. A couple of the lines needed to rerouted and a couple needed to be longer. So that is where my awesome hubby came in… he got everything where it needed to be so it would be safe and secure behind the new walls/ceilings. Some of the wires we had to cut holes in some of the studs to allow them to be behind the walls. When doing that you need to put a metal plate on them to protect the wire, so down the road you won’t accidentally drill thru your wiring when hanging something on the walls.
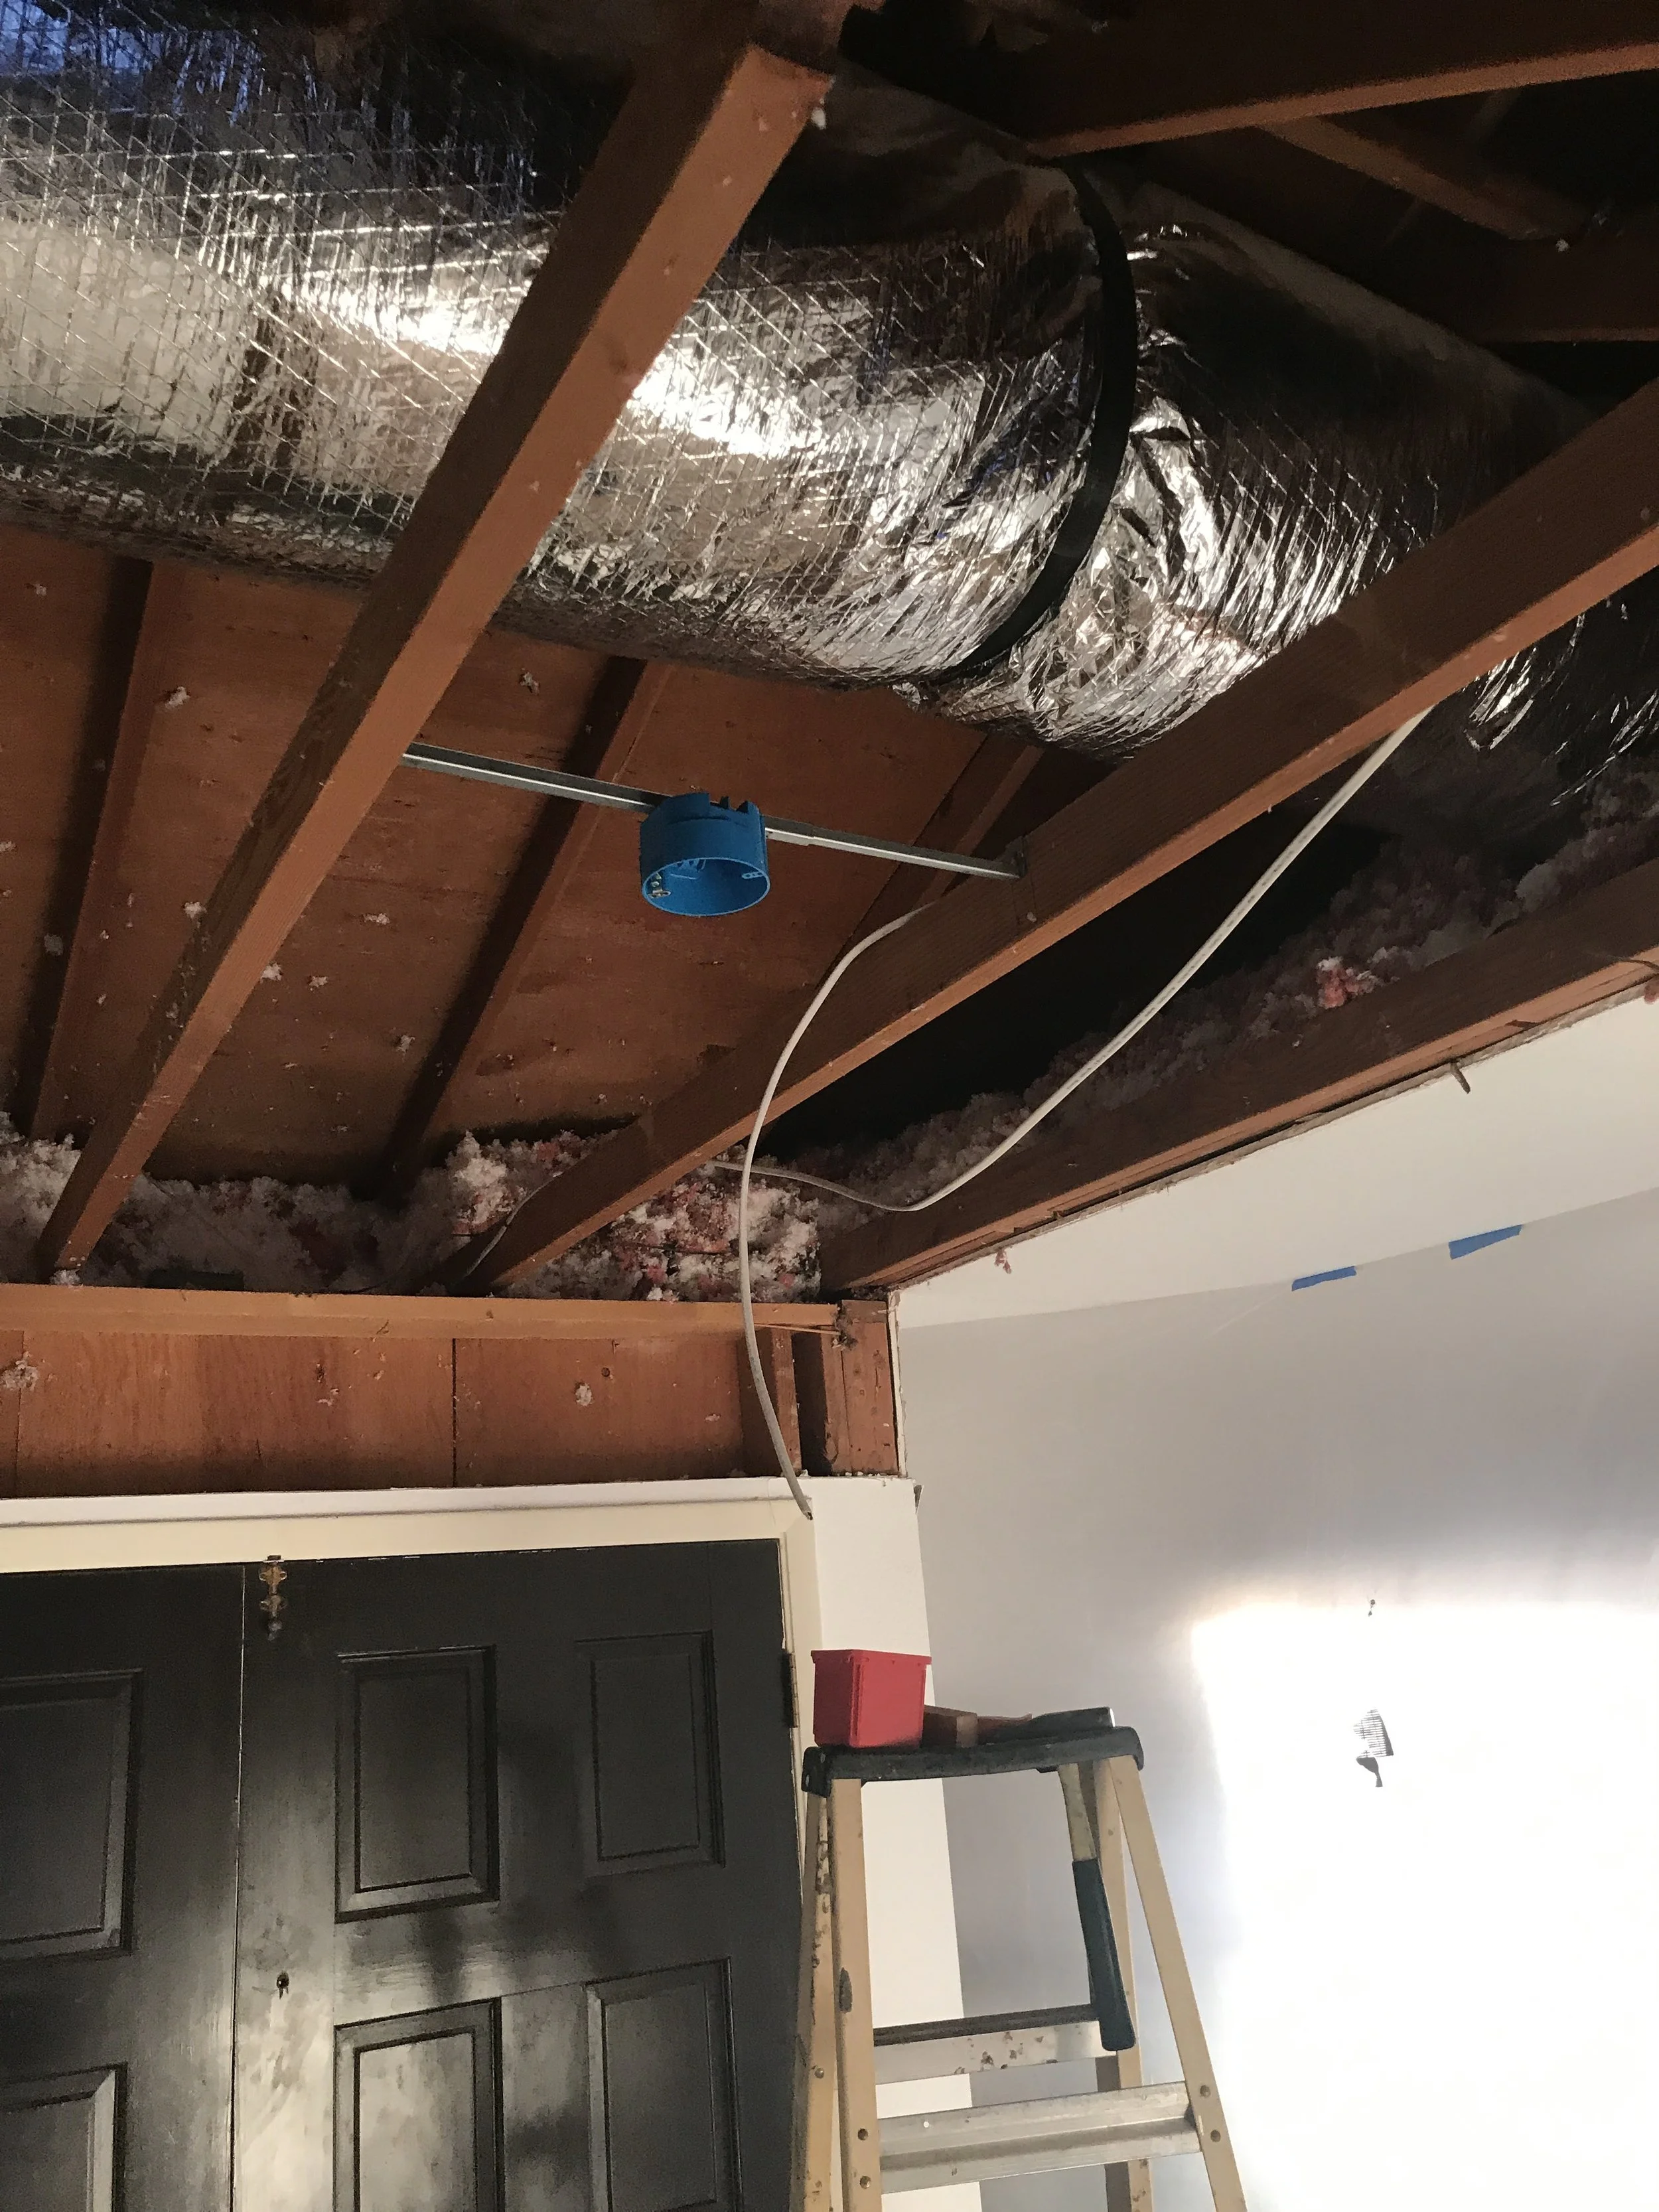

Also, this is time to add any new lighting or electrical stuff you have been wanting. We added two can lights in the hall way and put the entry way light on its own switch rather than with the hallway. I think it will be nice to have multiple lighting options down the road.
Once the electrical part is done it is time to start hanging the new drywall, but before you do that you might have to do a little framing. The framing is so that you have a place to hang or screw the new drywall to. This takes a little planning, but is a necessary step. Hubby came in real handy for that to because he knows a lot more about framing and the way things should go, so he would tell me what to do… where to cut and how to install and I would get that part done while he was working on the electrical stuff. Teamwork!!!
Oh and in the meantime he also added a new return in the ceiling… remember we were using the trunkline as a return and since we took that out we had to put it somewhere.
Okay now its time for drywall…. so my husband called in my brother for help! I’m strong, but my brother definitely has more upper body strength than me. And he has drywall experience, so they started by hanging drywall on the ceiling and then on the walls. Hanging the ceiling first and then the walls gives the ceilings a little more support because they are sitting on the wall drywall…. just a little something I learned by watching.

And then the last step was for me to suit back up and get in the attic to move the itchy insulation back over the new ceilings!!!! It was totally worth getting in that insulation to come down and see my new tall ceilings!!! It totally makes my house look huge and we don’t even have it taped, textured, or painted yet!!! In fact, that is probably gonna wait a little while longer for more funds…. and we still have one more section of ceiling to raise. So we just might wait to raise that section and finish the all the drywall at that time.
But here is the after!!! I am so excited!!! I can now build and fit a sliding barn door for the entry way to the laundry room. I really want a barn door there because it will look cool, but also because we added a coat closet right inside there to the left (when we did the pantry remodel) that is hard to get to. The doors all run into each other, but that will be solved with the new barn door!

We didn’t drywall above the door because we want to put in a transom window!
So, what do you think… are we crazy for taking on such a huge project by ourselves? Could you live with walls like this for an extended period of time? My mom thinks I am crazy, but it is all part of the process of me transforming my 1970’s ranch house into my forever home!
Oh and here is a sneak peak of the next and last section of ceiling that we have to raise. If you think the entryway transformation was huge, like I do, just wait until we raise the ceilings in the dining and kitchen…. it is gonna be epic!!!

Don’t mind the mess! Or the 1000 there project besides ceilings that need to be done.
Hope this helps you get an overview of the process of raising a ceiling. It wasn’t meant to be tutorial, but more of the process so you get an idea of the work involved and if it is something you might want to tackle on your own or hire someone to do. Let me know if you have any questions and I will try and answer them, but until next time…. Have an AWESOME day and keep #BuildingAwesome!
-Sadie Mae


