

Making Rubber Stamps with a Laser | Thunder Nova 35/100
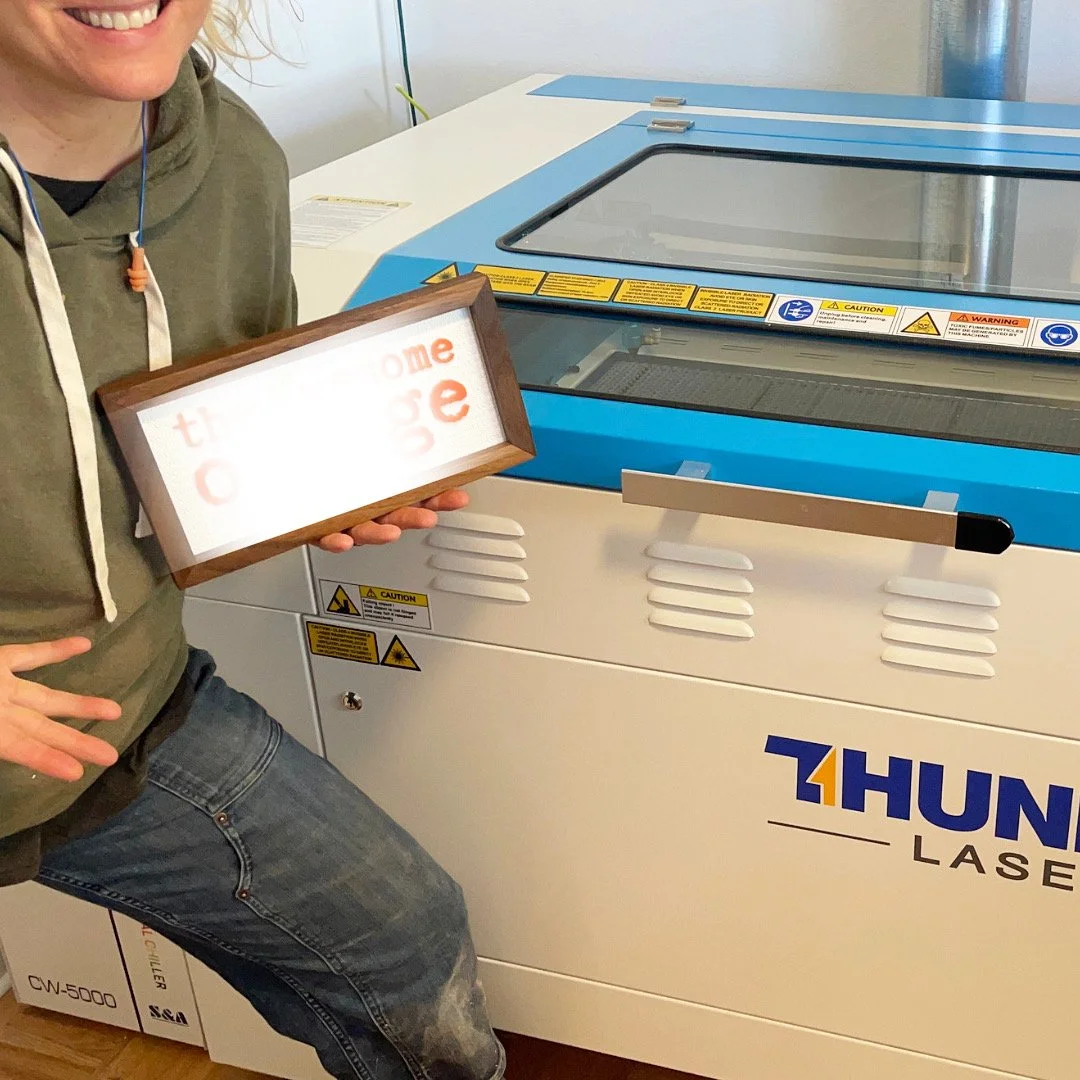
I recently got my Thunder Nova 35/100 CO2 laser and I thought better way to become familiar with it than to create some rubber stamps for my business. In this post, I will share with you how I created a small logo stamp, a business card stamp and a large stamp used to make my own t-shirts. You could also use these stamps to make any of your own packaging. So, let’s get started.
This post IS sponsored by Thunder Laser USA. All opinions are my own. This post DOES contain affiliate links. For more information on my affiliate programs see my DISCLOSURES page.
SMALL LOGO STAMP
First up is the small logo stamp. I am starting with this one so that I can dial in the setting without wasting a lot of time and material.
Step 1:
Import .svg formatted file of design into Lightburn.
If you don’t have an .svg file you can create a simple one by using a program like Canva. There are many others, but I am not currently familiar with them.
Step 2:
Resize log to the size of the stamp you want.
Do you this simply click on the file and drag corner in or out til sized appropriately. You will know this by the height x width readings in the toolbar.

Step 2: Resize shape to size of stamp you want.
Step 3:
Invert or mirror the image.
Do this by selecting the item and then clicking on the two triangle that are back to back. This image needs to be mirrored so that when you go to stamp it later on it will be correct.

Step 3: Mirror image for stamp.
Step 4:
Add an outline shape. And then center it with the logo.
In my case I used a circle or ellipse shape around my logo and then selected both the circle and the logo and hit the target looking button that will align them both together.

Step 4: Create stamp outline.
Step 5:
Duplicate the outline shape or in this case the outside circle.
Do this by simply right clicking on it and selecting duplicate. You have to duplicate this line because one will tell the laser how far to engrave out to and the other where to cut the outline shape.

Step 5: Duplicate outline shape.
Step 6:
Select colors for the different layers. The logo and one of the outline circles will be the same color. This fill be the fill or engraved section. And the other outline will be the line or cut line for the stamp.
Do this by selecting the pieces you want and then clicking on the layer color at the bottom of the screen.

Step 6: Pick colors for layers.
Step 7:
Now onto the settings! Again my laser is new to me so I tried a couple of different setting before I got them just how I liked.
Attempt #1
Fill - 100 Speed / 60 Power
Line - 8 Speed/ 90 Power

Attempt #1: Too much power! The rubber I used.
Note: I also double clicked on the Fill settings and change the Line Interval to .060 and under Advanced settings set the Ramp Length to .0197.
These two setting ensure that there aren’t lines left in the engraved section and that they ramp up to the part you are wanting to keep to make the stamp stronger and not cave when stamping.
Attempt #2
Fill - 500 Speed/ 30 Power
Line - 20 Speed / 90 Power
Line Interval - .060
Ramp Length - .0197

Attempt 2: Not enough power. Stamp Rubber.
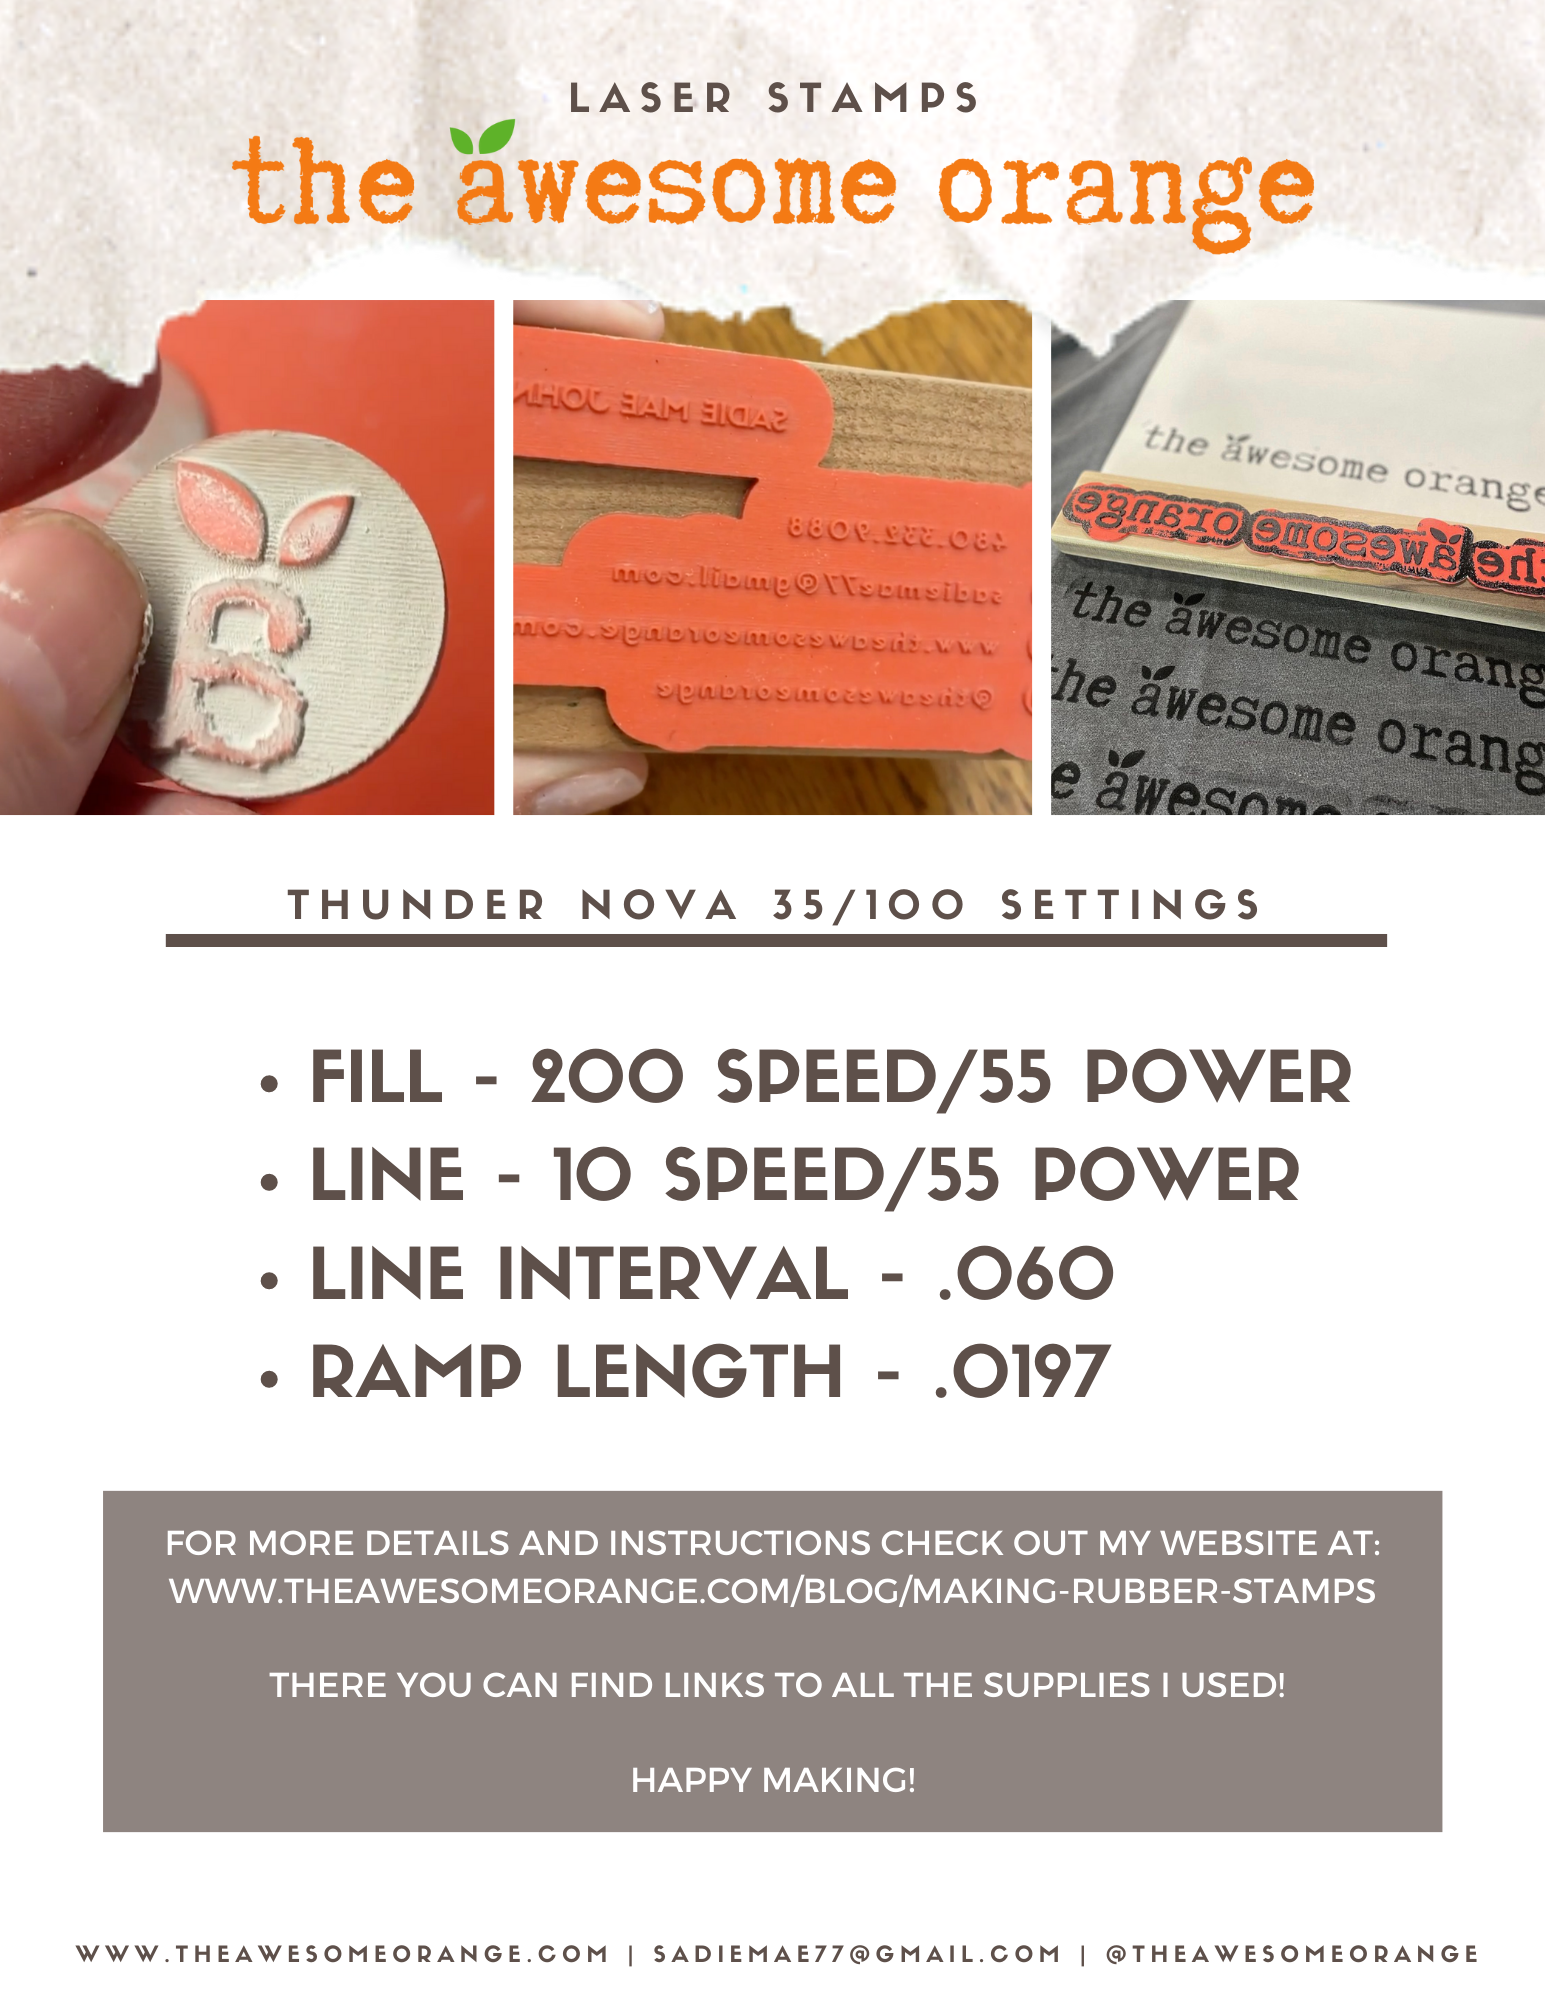
Attempt #3
Fill - 200 Speed/ 35 Power
LIne - 10 Speed/ 55 Power
Line Interval - .060
Ramp Length - .0197

Attempt 3: Just Right!
Step 8:
Remove laser soot.
I tried an old toothbrush with soap and water and it wasn’t coming off all the way. So after a little research, I tried WD-40. Sounds weird but it worked perfectly.
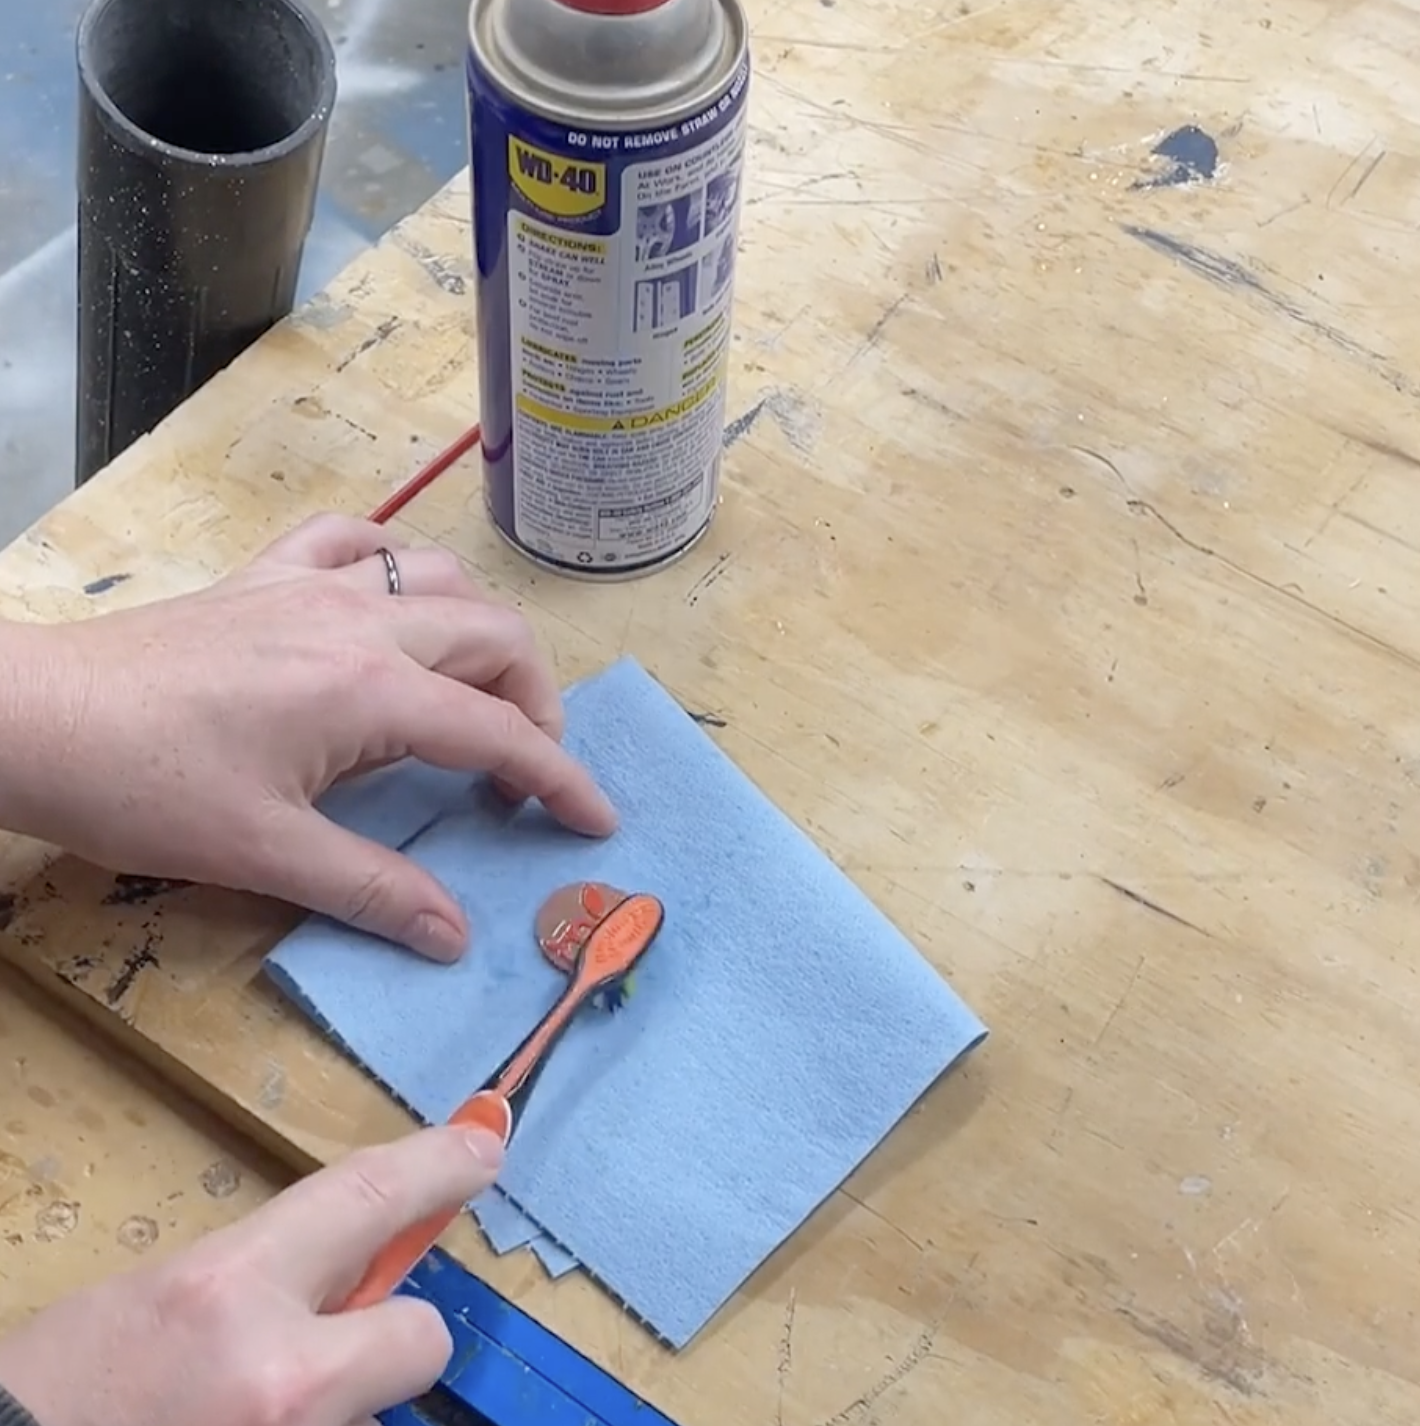
Clean laser soot off of laser using WD-40.

I don’t want the circle outline to stamp…. I find fix in next step!
WATCH ON YOUTUBE!
Business Card Stamp
For this stamp I created my design in Canvas. Sometimes I have found when I import .svg files from Canva into Lightburn they don’t come over super clean. So I did have to make sure everything was the same color/layer and then group everything before starting with Step 1-3 above.
But I did change a few things for this stamp from what I learned on the small logo stamp.
Step 4*:
Add an outline shape.
For the outline of the business card shape I tried using the rectangle outline first, but when I went to engrave it the time it was going to take was forever. That was because of all the negative space that needed to be removed. So I decided to OFFSET the shape instead.
I used the OFFSET key to a thickness until all the pieces were touching. In my case it was an OFFSET of .25. So that OFFSET lines becomes the outline for the stamp.

Offset rather than rectangle shape so engrave time it cut down.
Step 5*:
Duplicate the outline shape. And then increase it’s size slightly bigger.
This will make sure you don’t get the ring of the outline shape when stamping like we did with the small logo stamp and the circle.

To fix outline ring, have the engrave outline bigger than the cut line.
Step 6*:
Select color for different layers.
The logo and the bigger of the outline shapes need to be the same color or on the same layer.
The other outline shape or smaller one will be the cut line.

The bigger outline and actual stamp should be on the same layer or same color.
Then everything else was the same. I do however always suggest that you preview the engrave before sending it to the laser to make sure you have your settings correct. The engrave will be black and the red will be what is left or your stamp. This window will also let you know how long the engrave will take.

Always preview print before sending to the laser.

The Thunder Nova 35/100 engraved such clean letters for how tiny they are!

Super clean! Get the precut business card paper here.
T-Shirt Stamp
All the same steps as above, but I did change one setting… the power of the fill.
Fill - 200 Speed/ 55 Power
LIne - 10 Speed/ 55 Power
Line Interval - .060
Ramp Length - .0197
I did this because it was going to be stamping into fabric and I wanted the engrave to be slightly deeper. But overall I couldn’t tell that much difference between the 35 or 55 power, so ether worked just fine.

I create a file with all parts of the stamp and save for later in case I want to recreate.
Then I roll the stamp with fabric ink and stamped my shirt! It turned out imperfectly perfect just how I wanted it. Here is the ink kit I got to stamp shirts.

I am so excited to start printing my own shirts! What do you think?

The are imperfectly perfect! I love the more natural look. How about you?

3 DIY Laser Engraved Rubber Stamps for Small Businesses!
I hope this tutorial was helpful. Leave any questions you might have in the comments. And let me know which stamp you think you would use most in your business.
Thanks for following my building journey. Remember Build LOUD, Build WILD and have an AWESOME day!
Sadie Mae


