DIY Modern Deck Chairs
It seems like everybody is always focused on decorating the interior of their homes, but what about the backyard? Here in AZ we spend a lot of time in ours, maybe not this time of the year, and well why shouldn't it look AWESOME too? So when my friends at Kreg asked me to partner on a project for BuildSomething.com, I was excited to design and build a piece that would give life to our backyard. Plus add some much needed seating! We currently only have some of those plastic adirondack chairs that have seen one to many summers in AZ, if you know what I mean.
This post contains affiliate links. This post is sponsored by Kreg Tool & BuildSomething.com. All opinions, pictures, design, and published plans are my own!
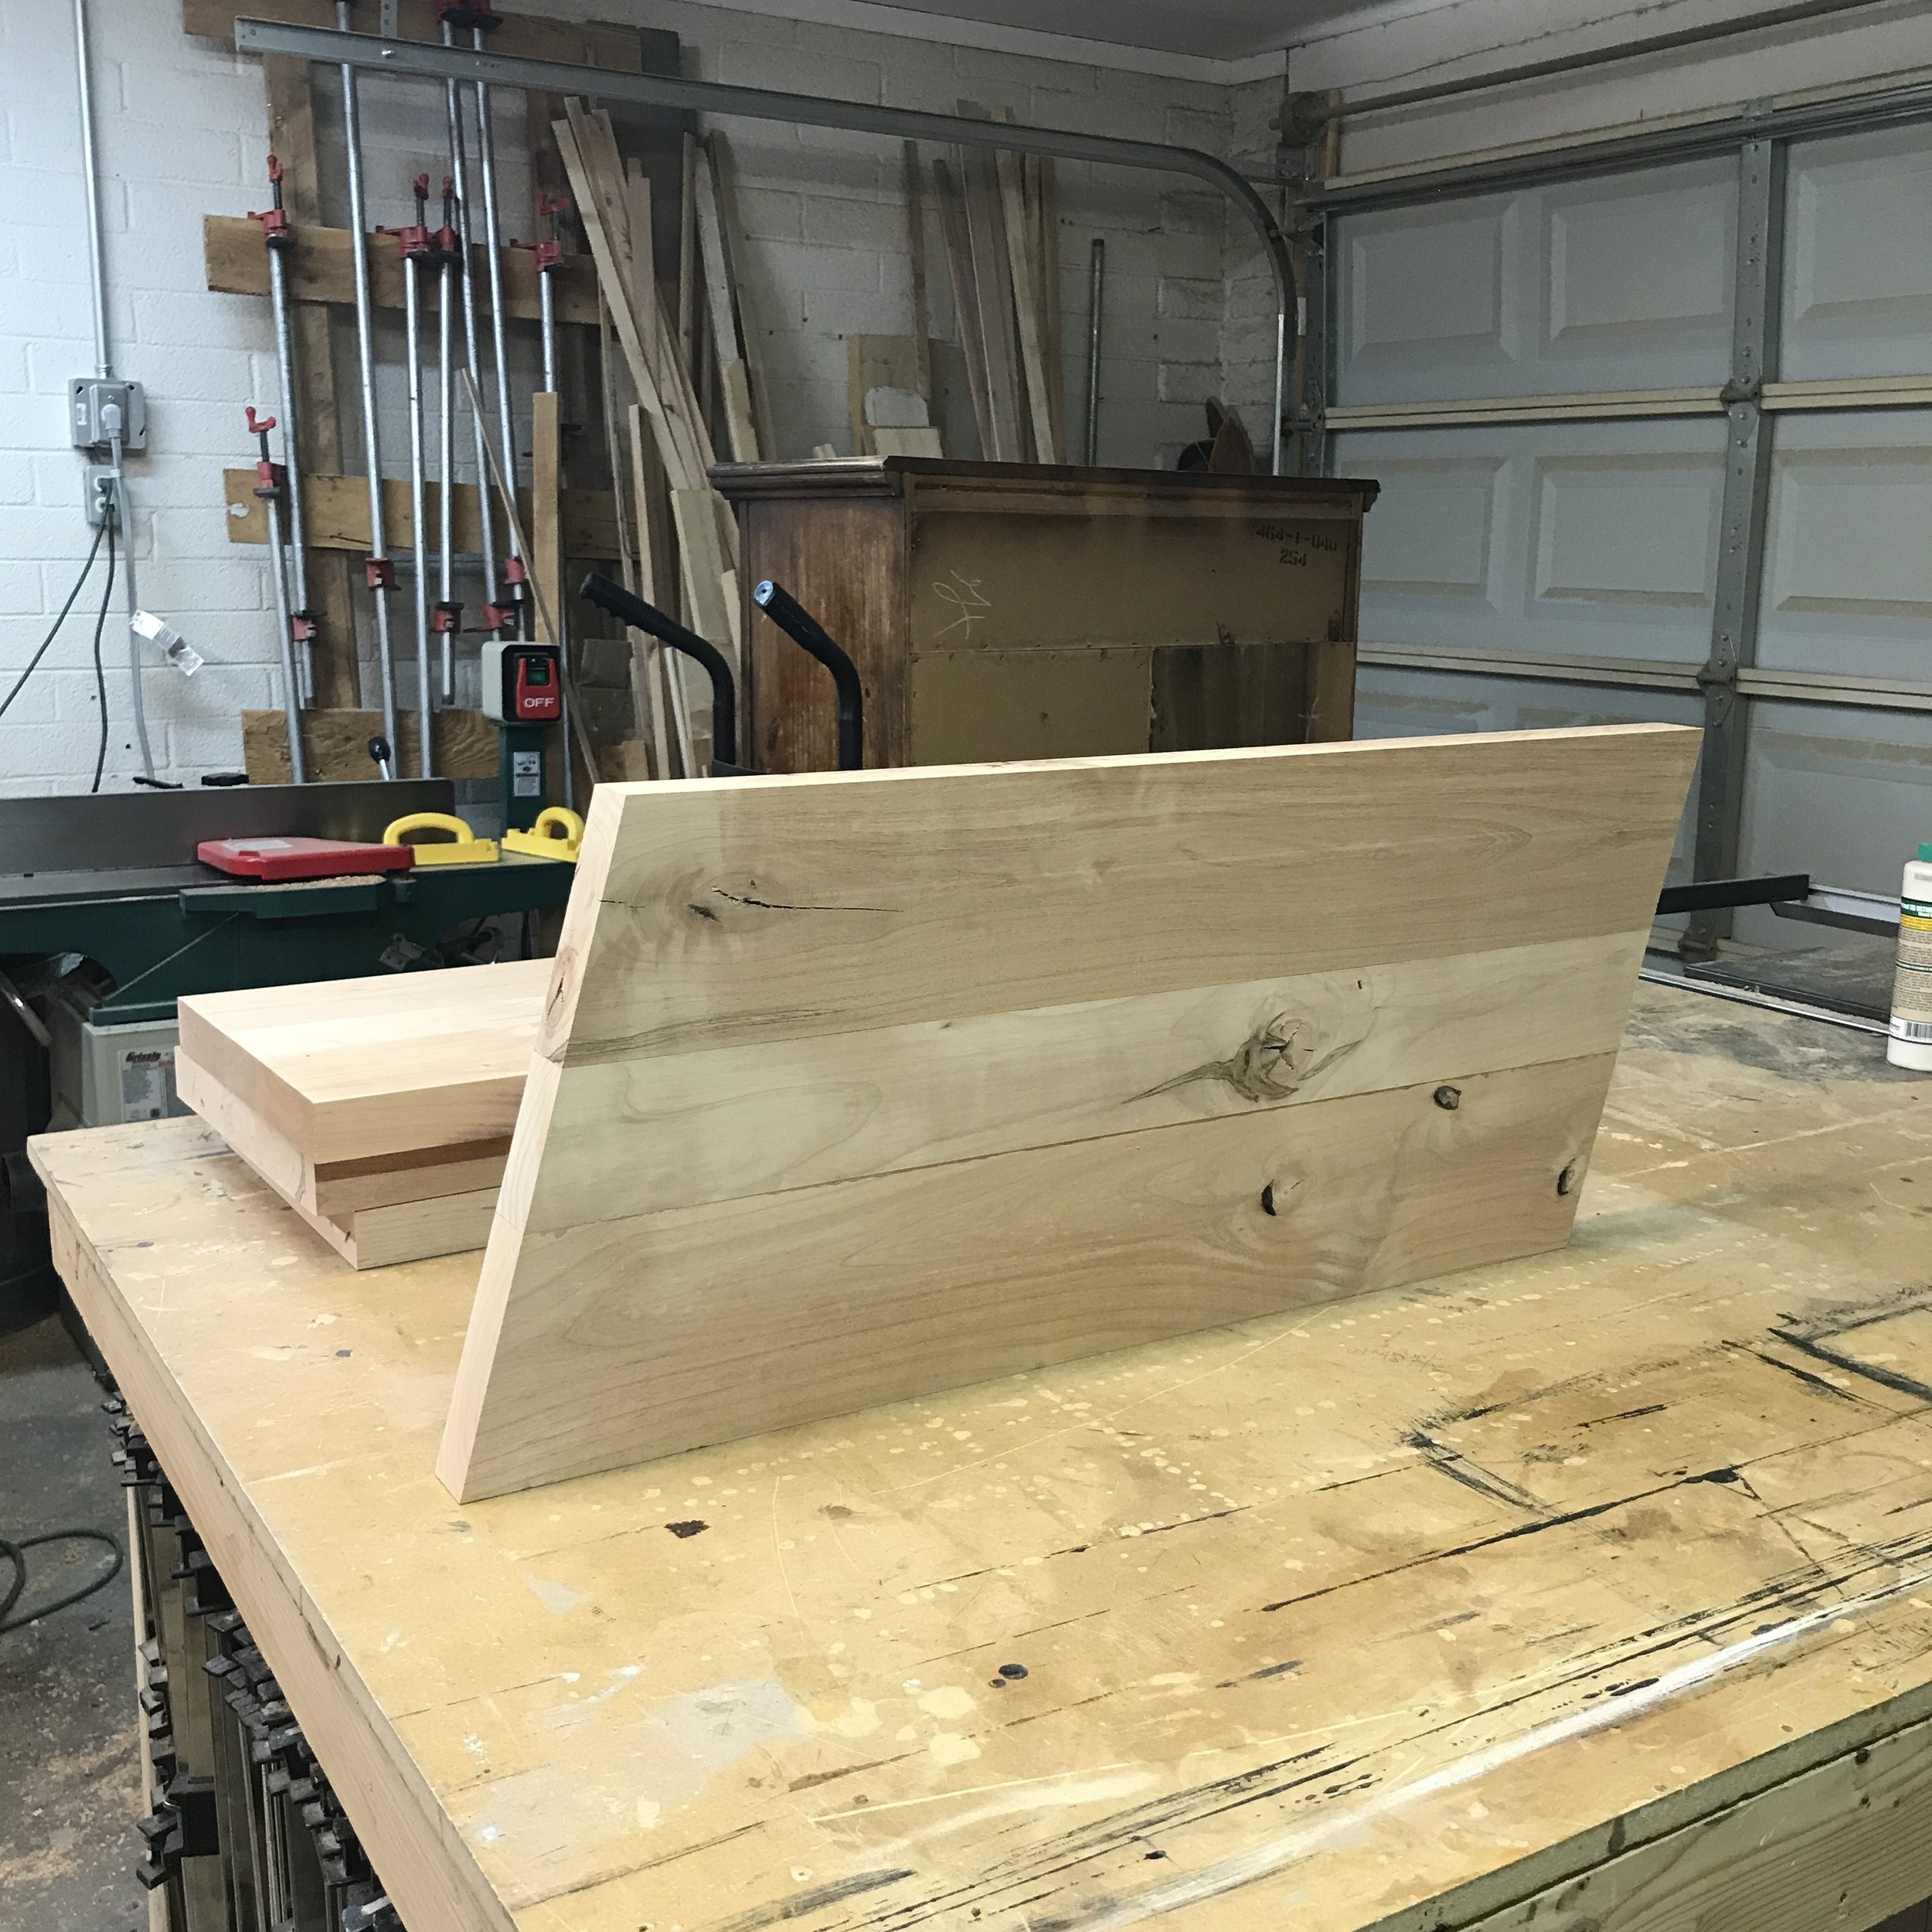
So here is the fun part, coming up with the design. I knew I wanted something chunky and would be more of a stationary piece. So since I have a ton of Knotty Alder scraps, I decide to make the chairs out of 8/4 (2" thick) Knotty Alder. Knotty Alder isn't the ideal wood for outdoor furniture, cedar would have been preferred, but since it was FREE it was good enough for me! So now that I knew the material I focused on the design and I did that by going into the backyard and sitting in an old beach chair getting a feel for the space. And then it hit me.... why don't I build a chair similar to my beach chair. And that is how I came up with the design for my DIY Modern Deck Chairs! They are low profile to keep you close to all the action, weather it be watching the kiddos in the pool or putting your feet up around the fire.
I also designed these chairs to be easy for anyone to make. A very beginning diy'er to a woodworking pro. All the dimensions are based off of dimensional lumber, so you don't have to have all the tools to mill your wood like I did. So now that we know the deck chairs are AWESOME and easy to build lets get started!!!
You can find full plans, dimensions, and cut list on buildingsomething.com. But I did wanna add some more photos and tips to help make your building go smoother! My steps below coordinate with the steps on buildsomething.com.
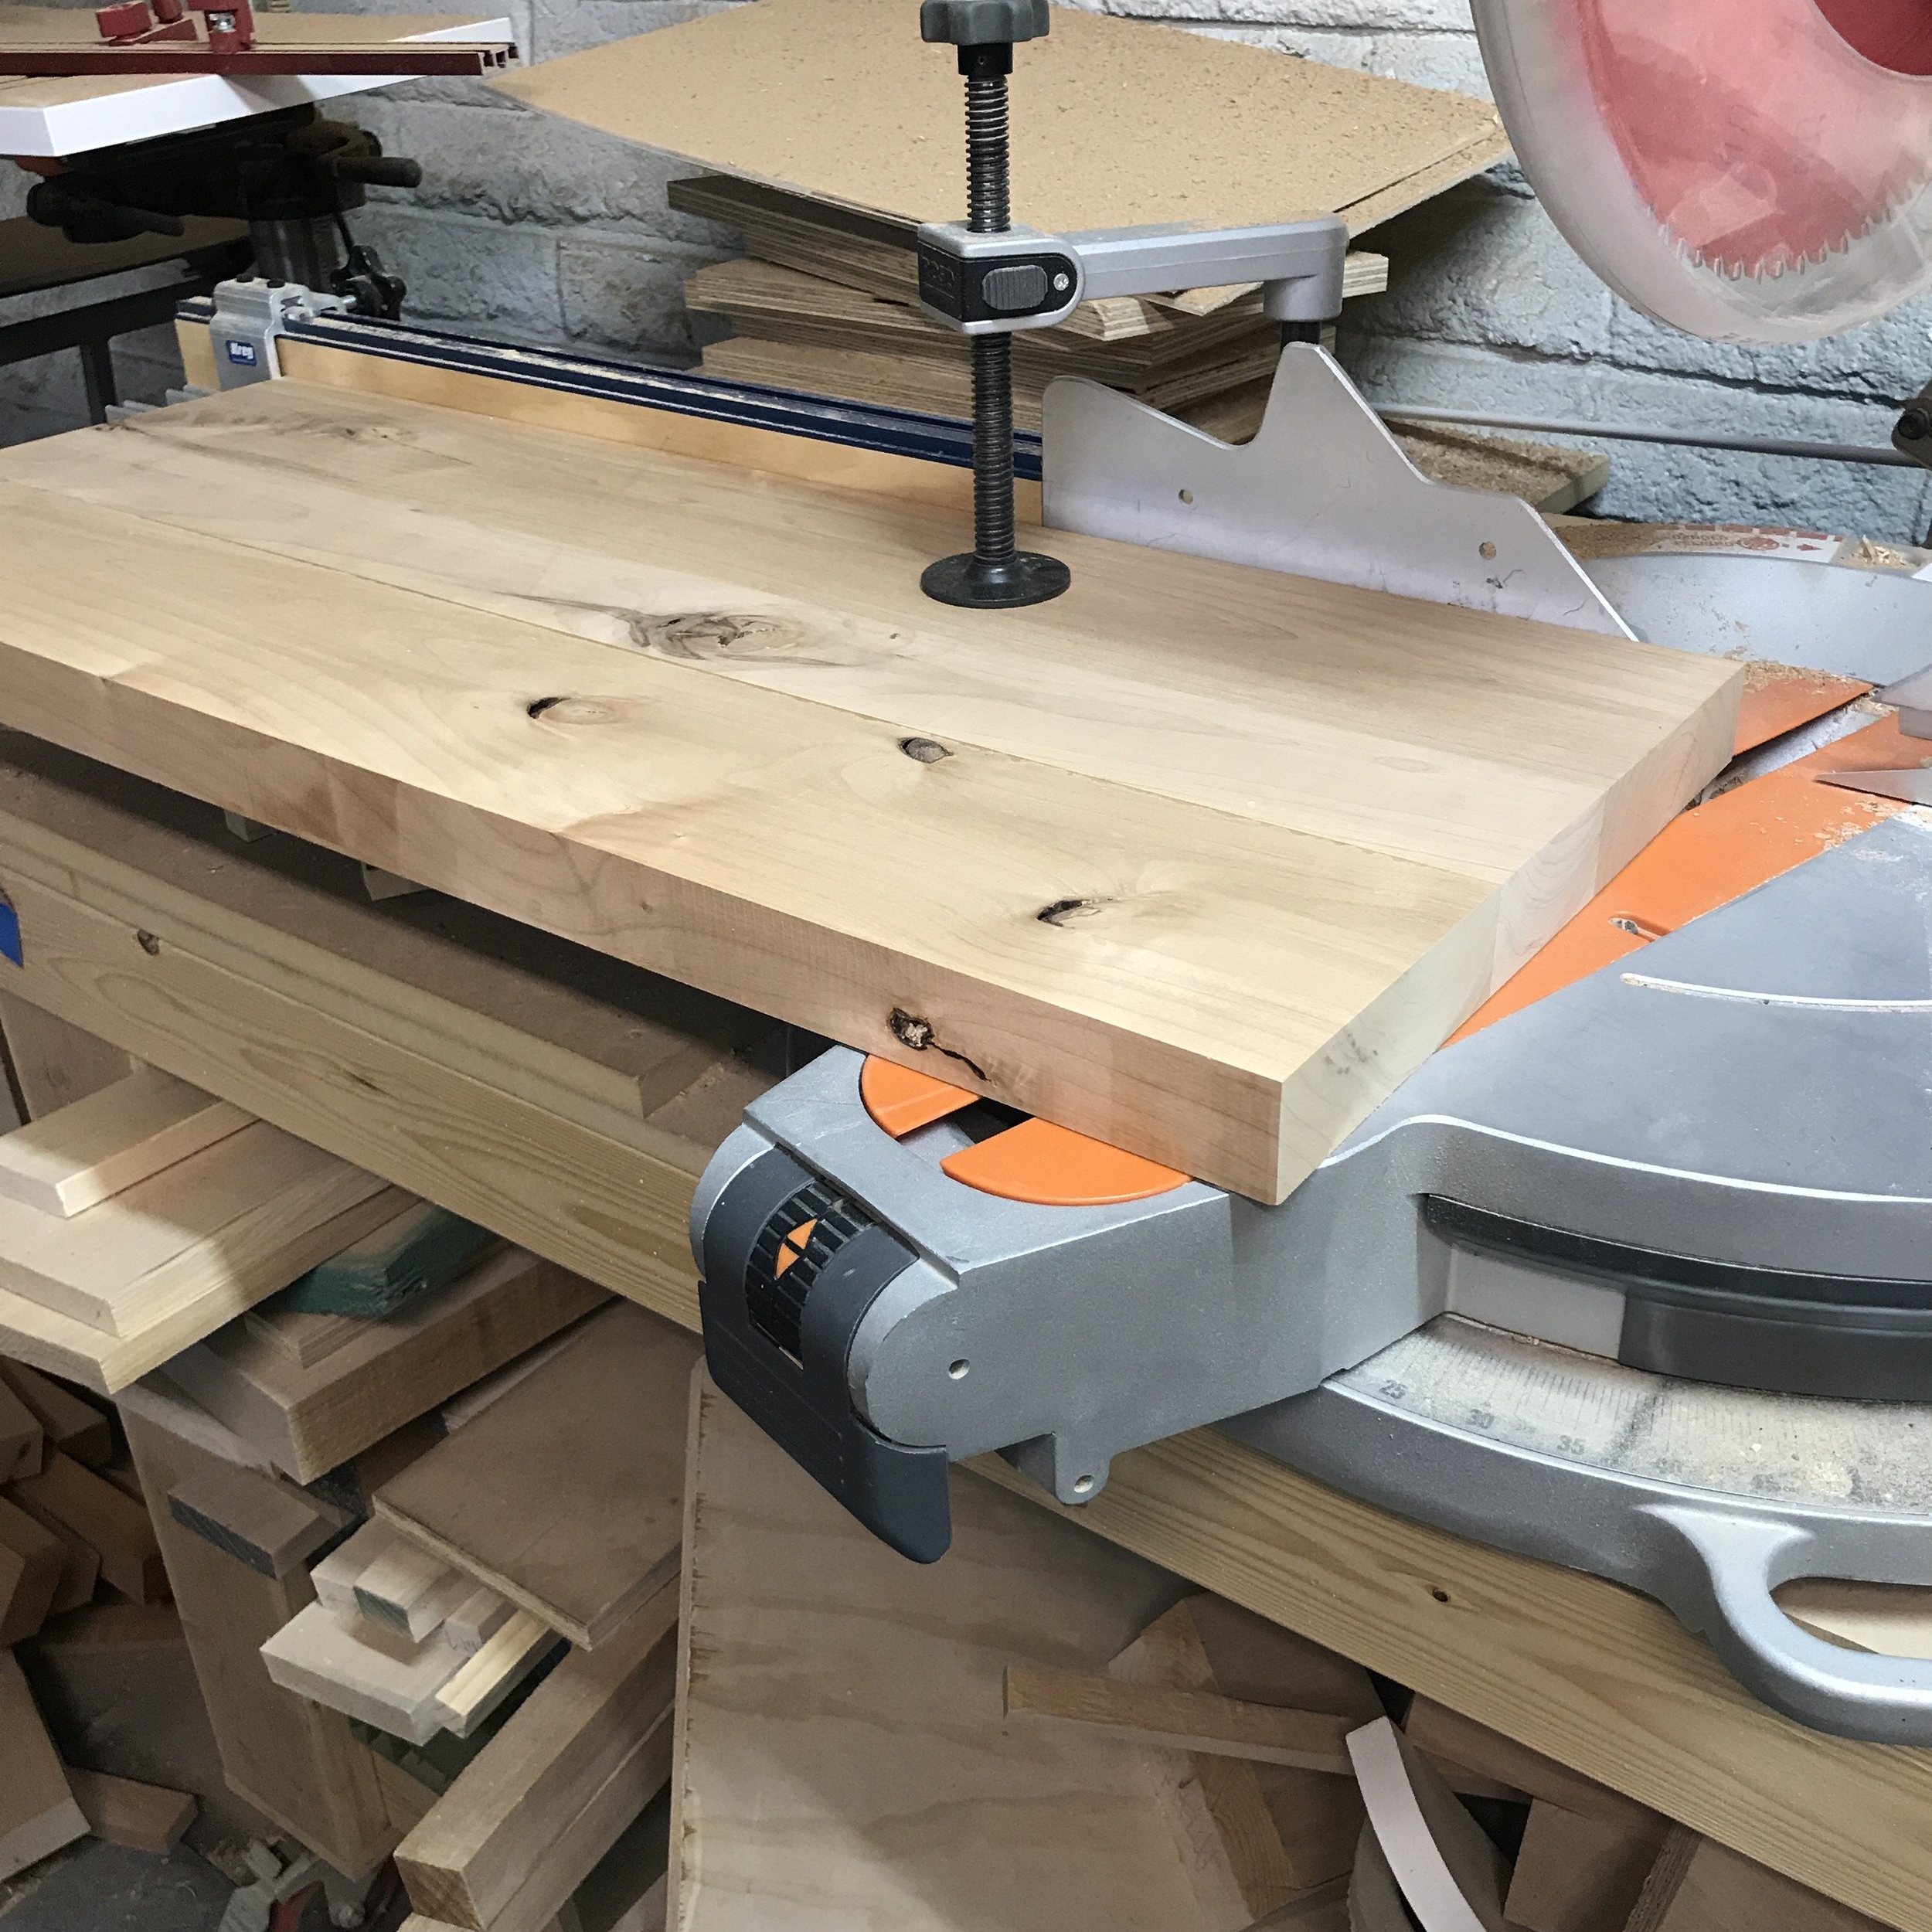
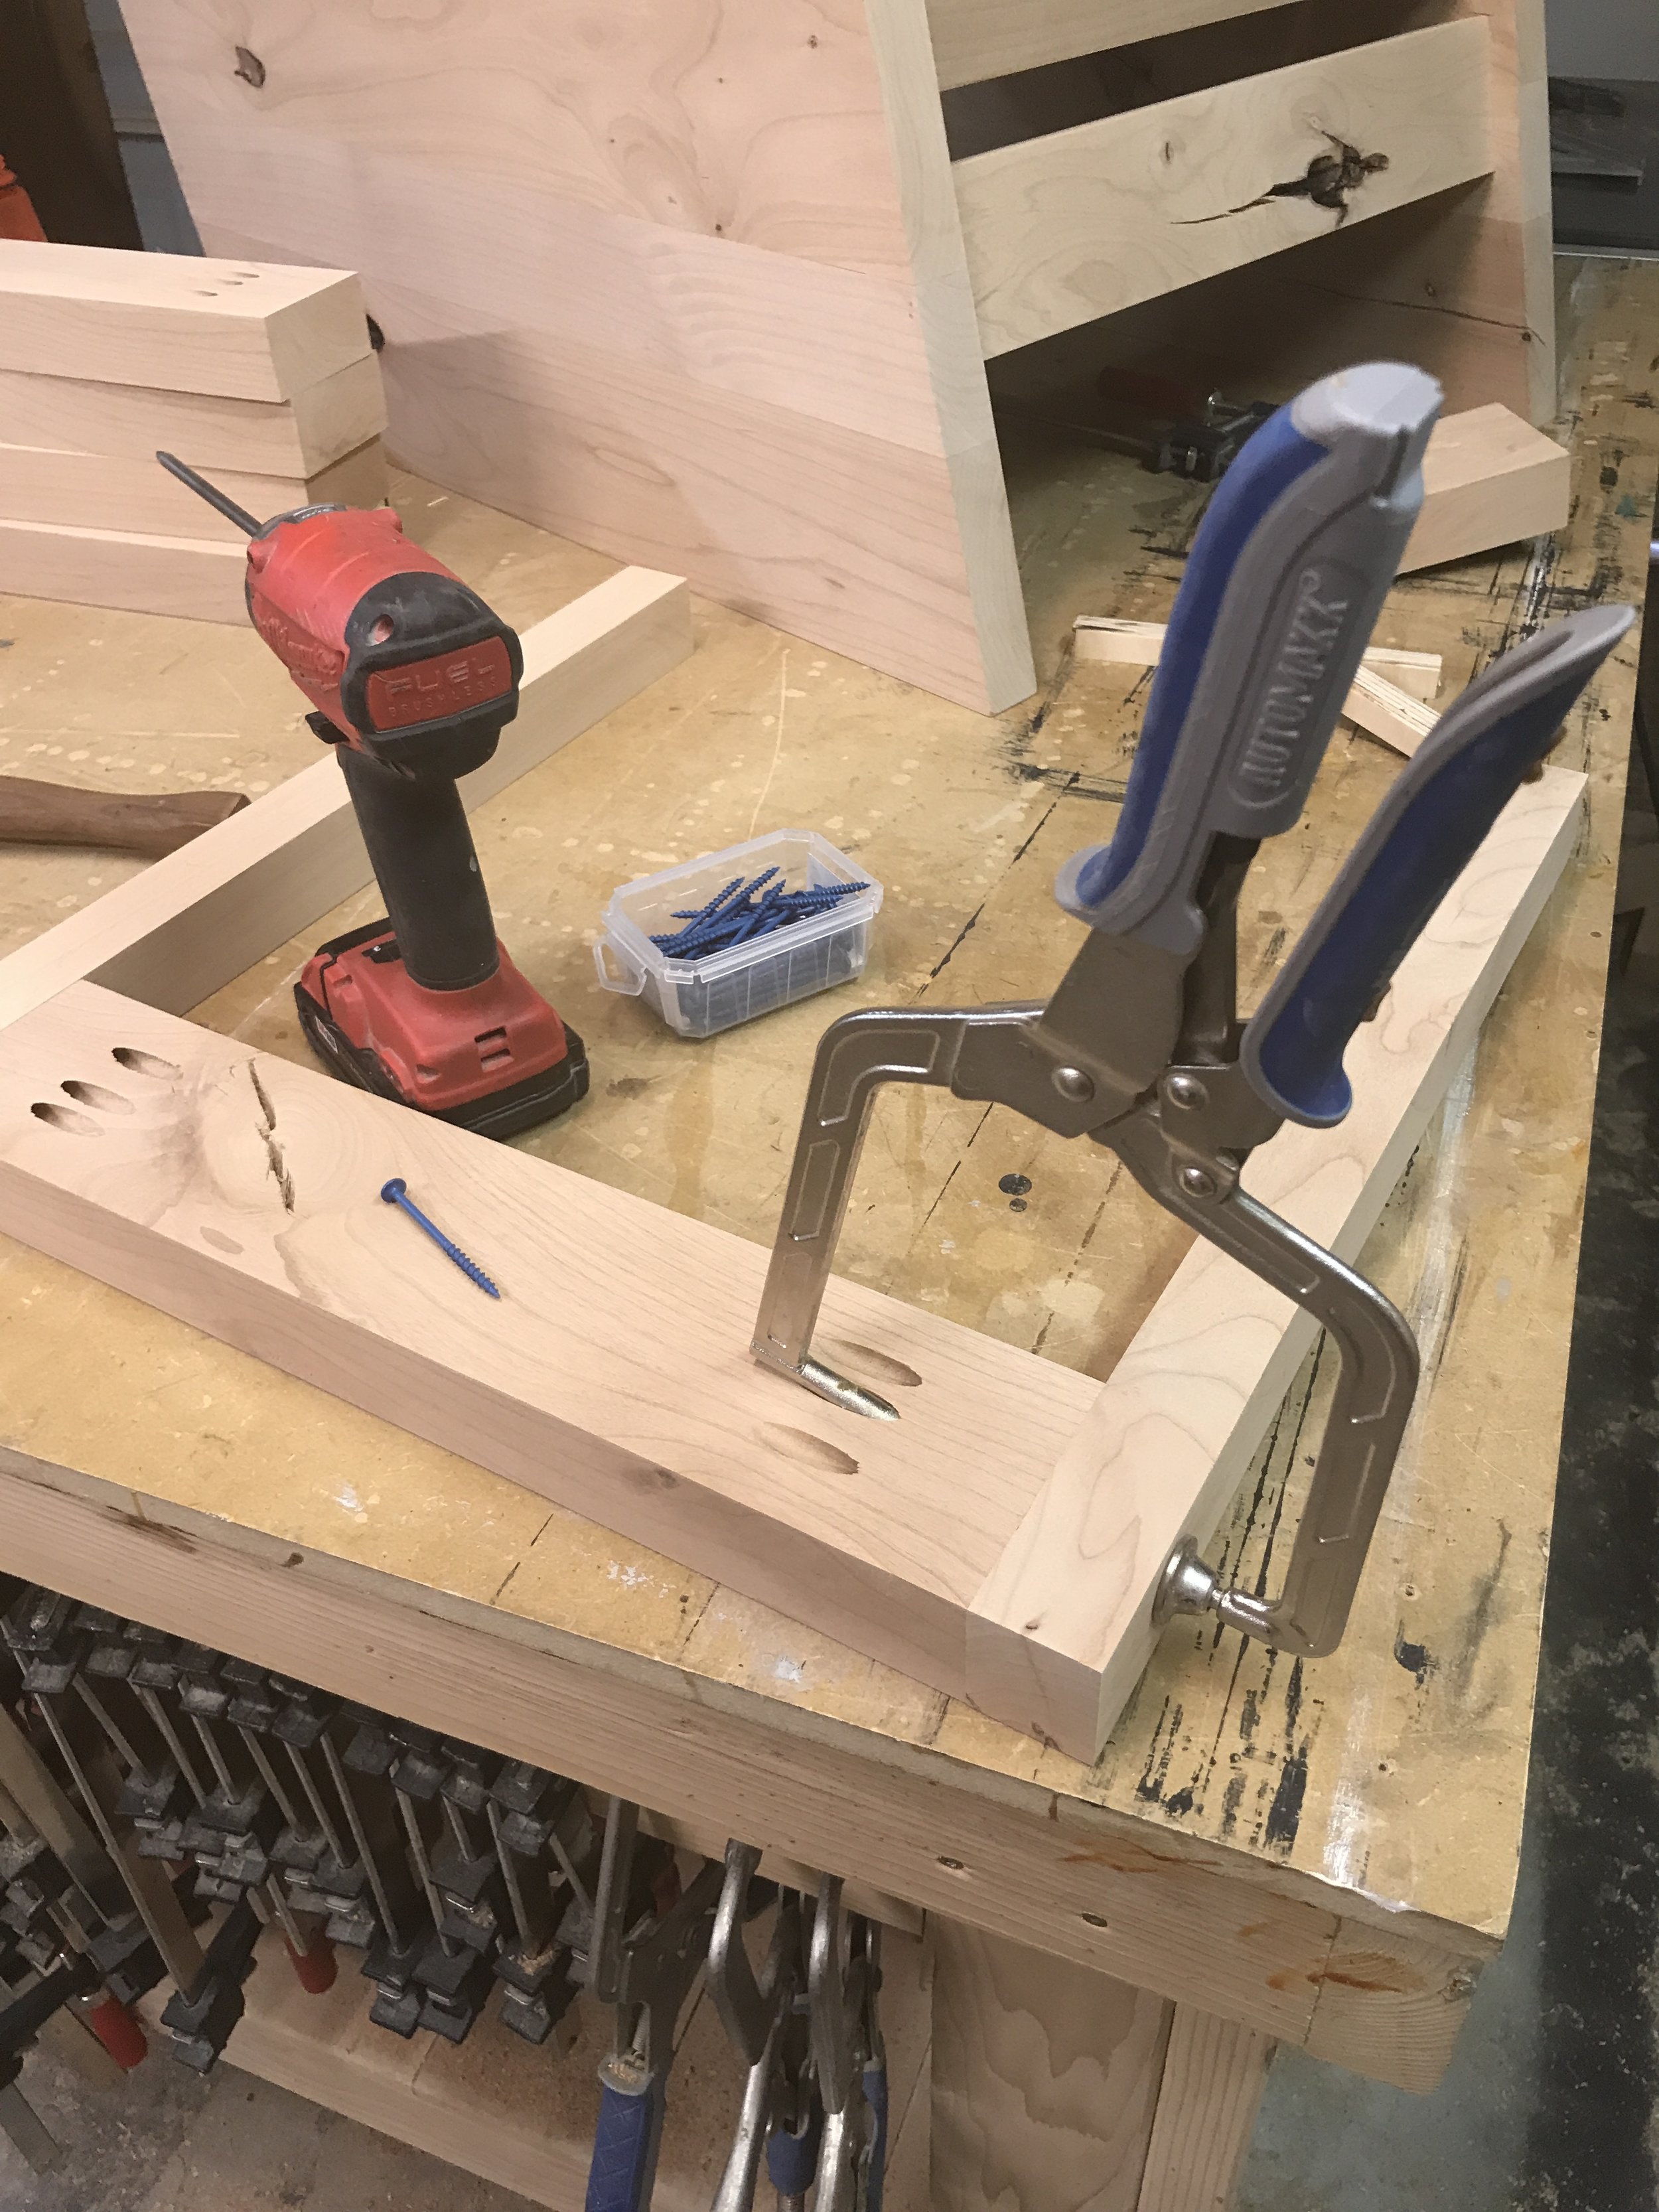
Step 1 - Build Side Pieces
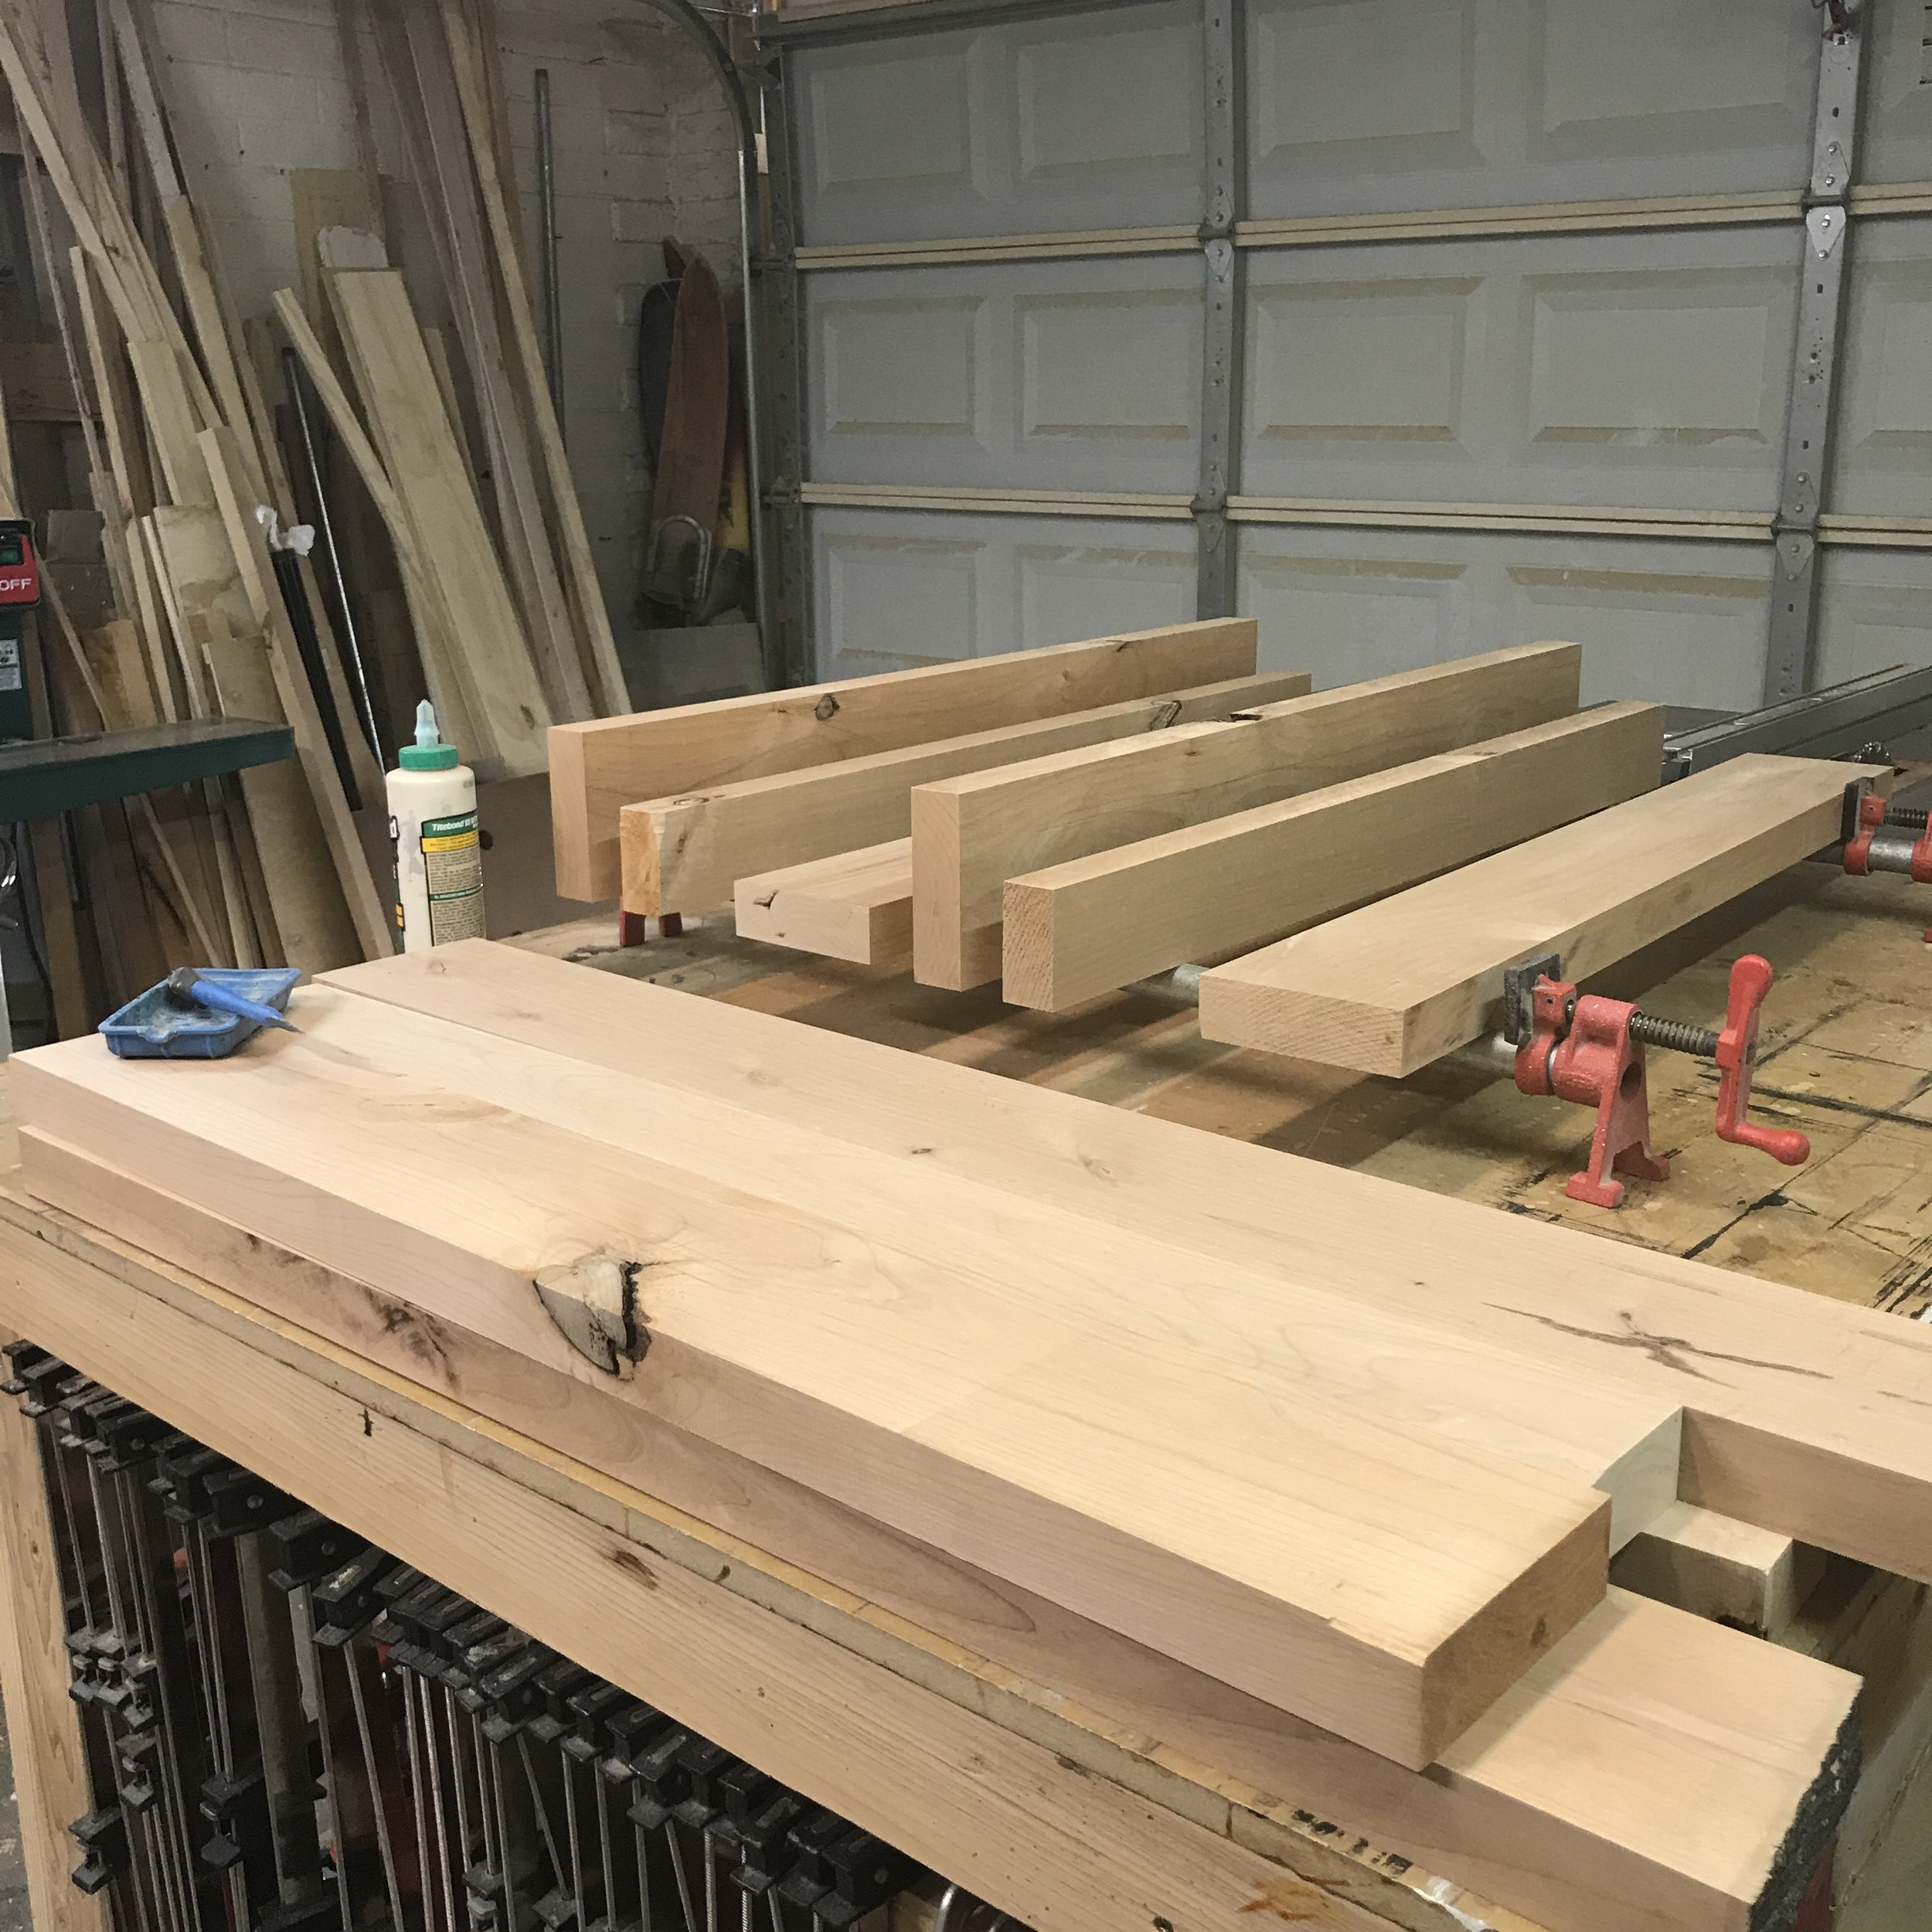
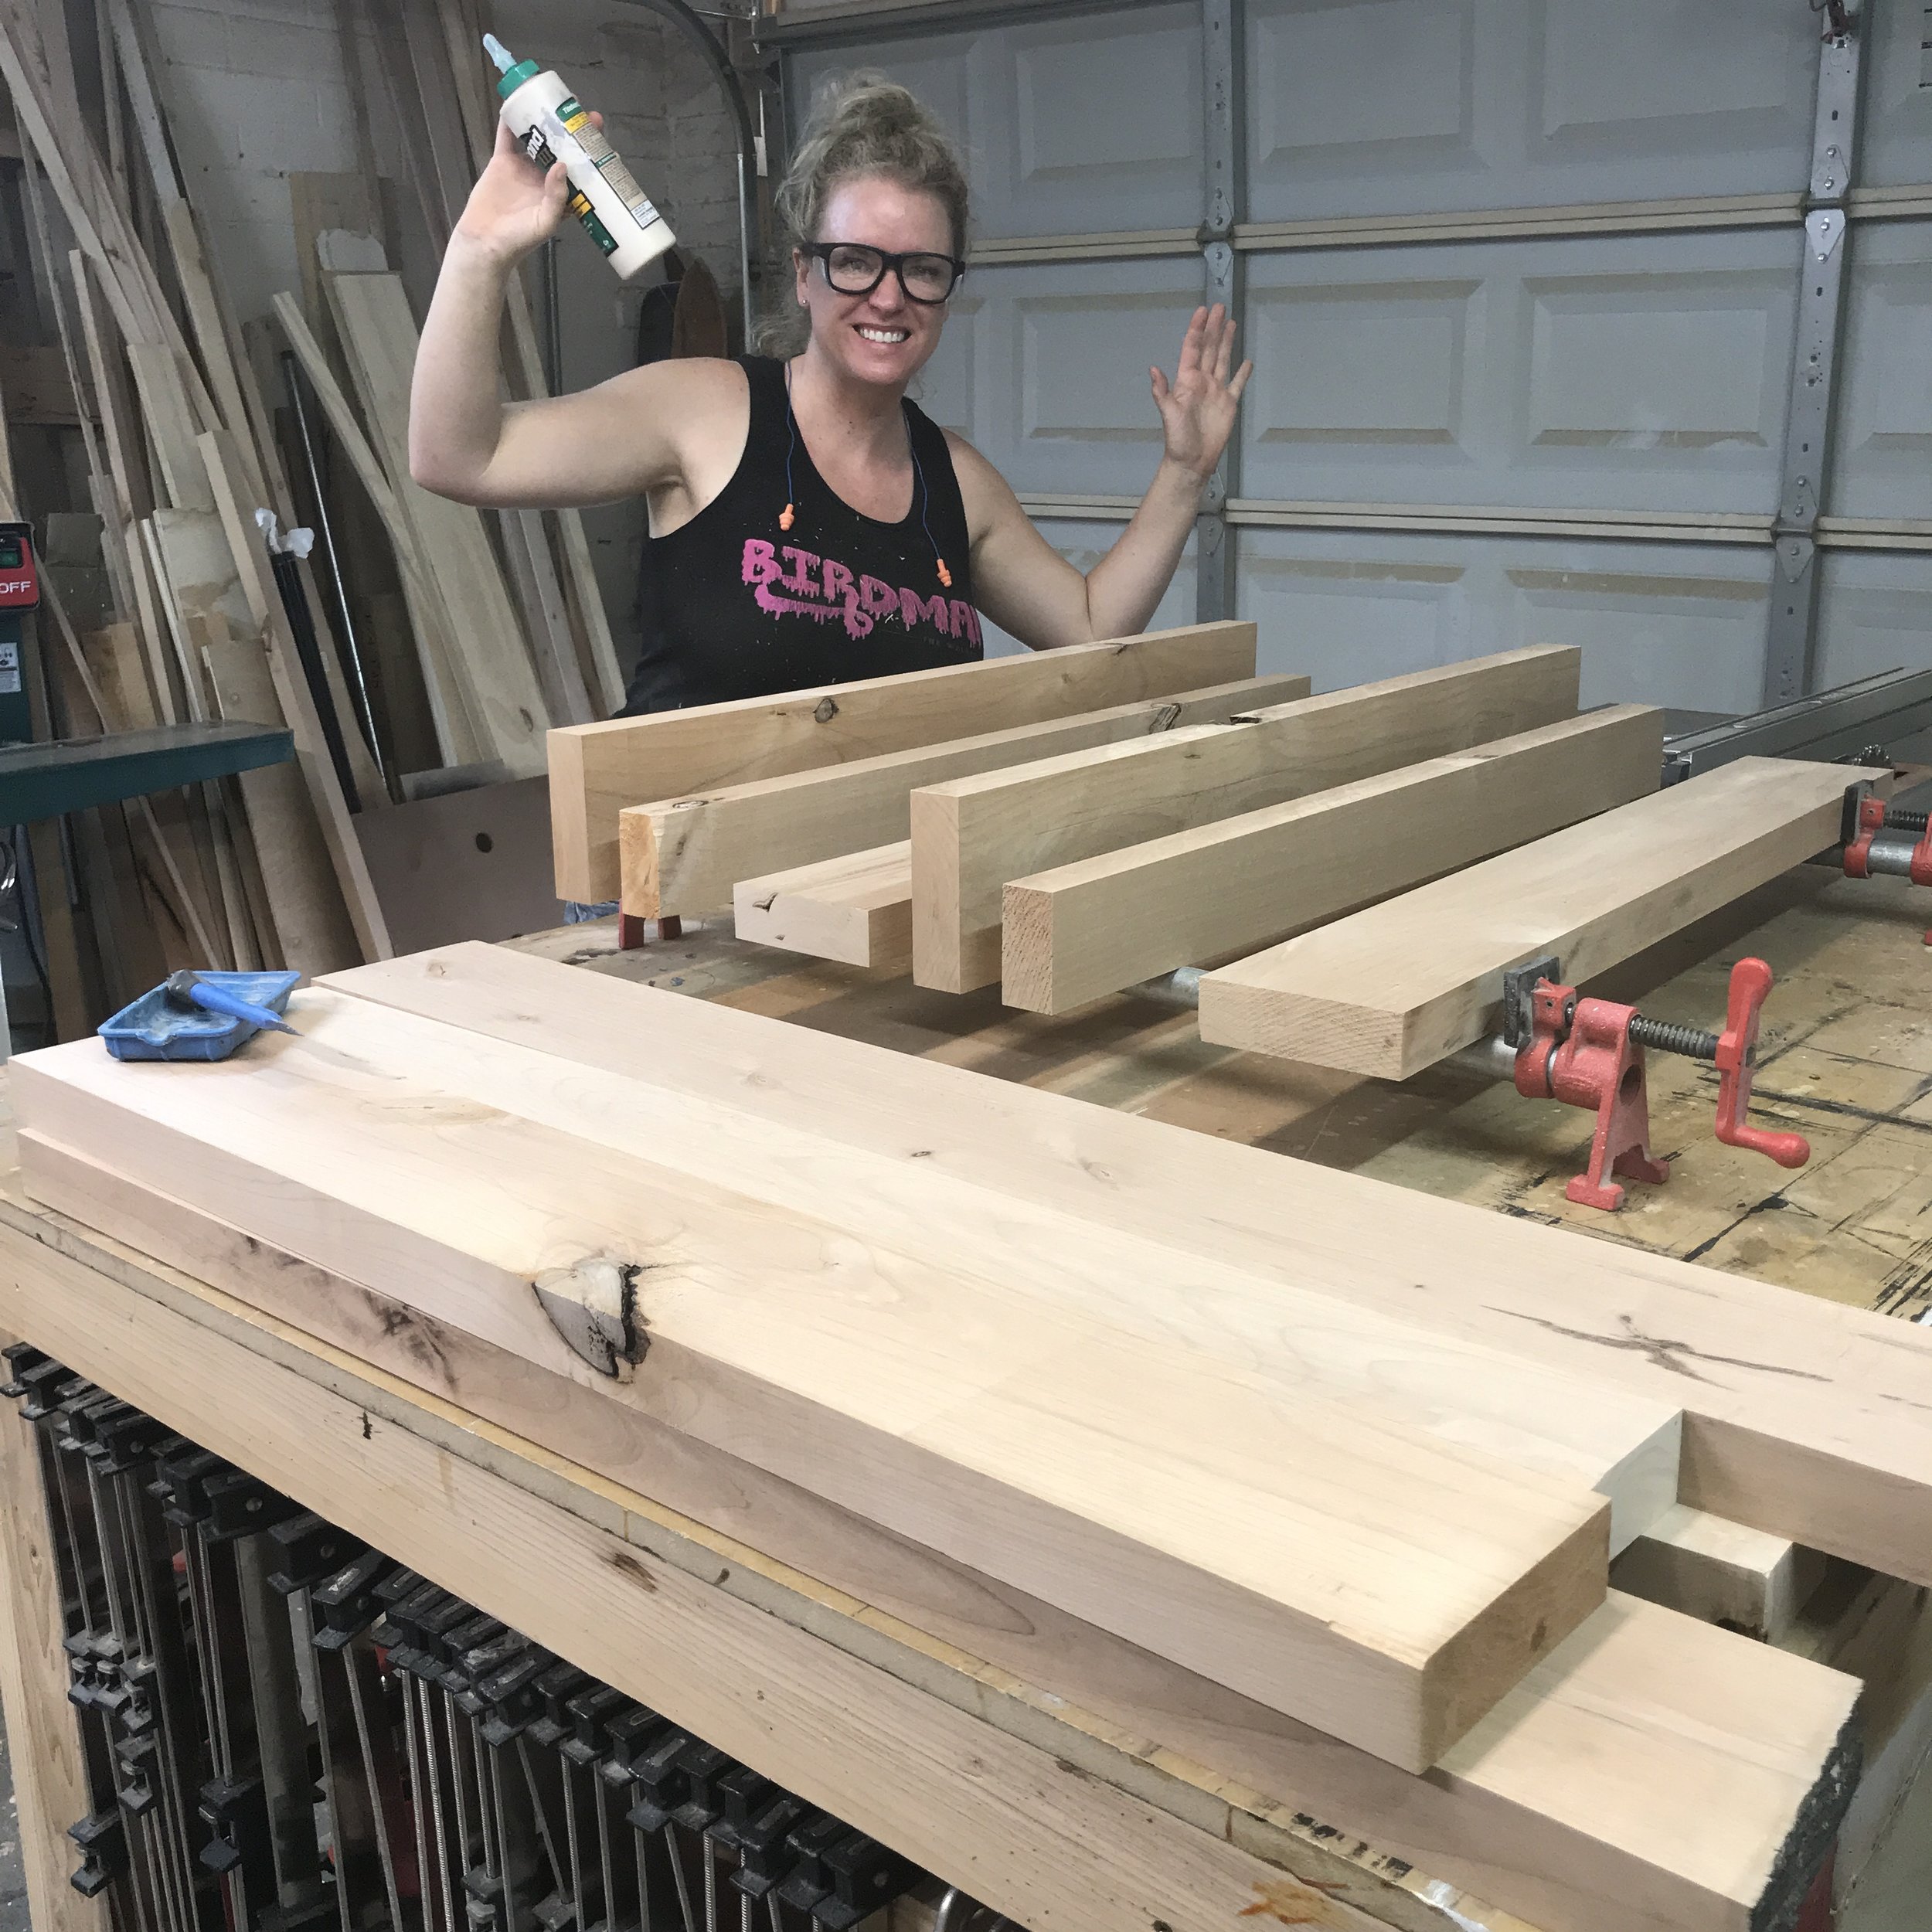
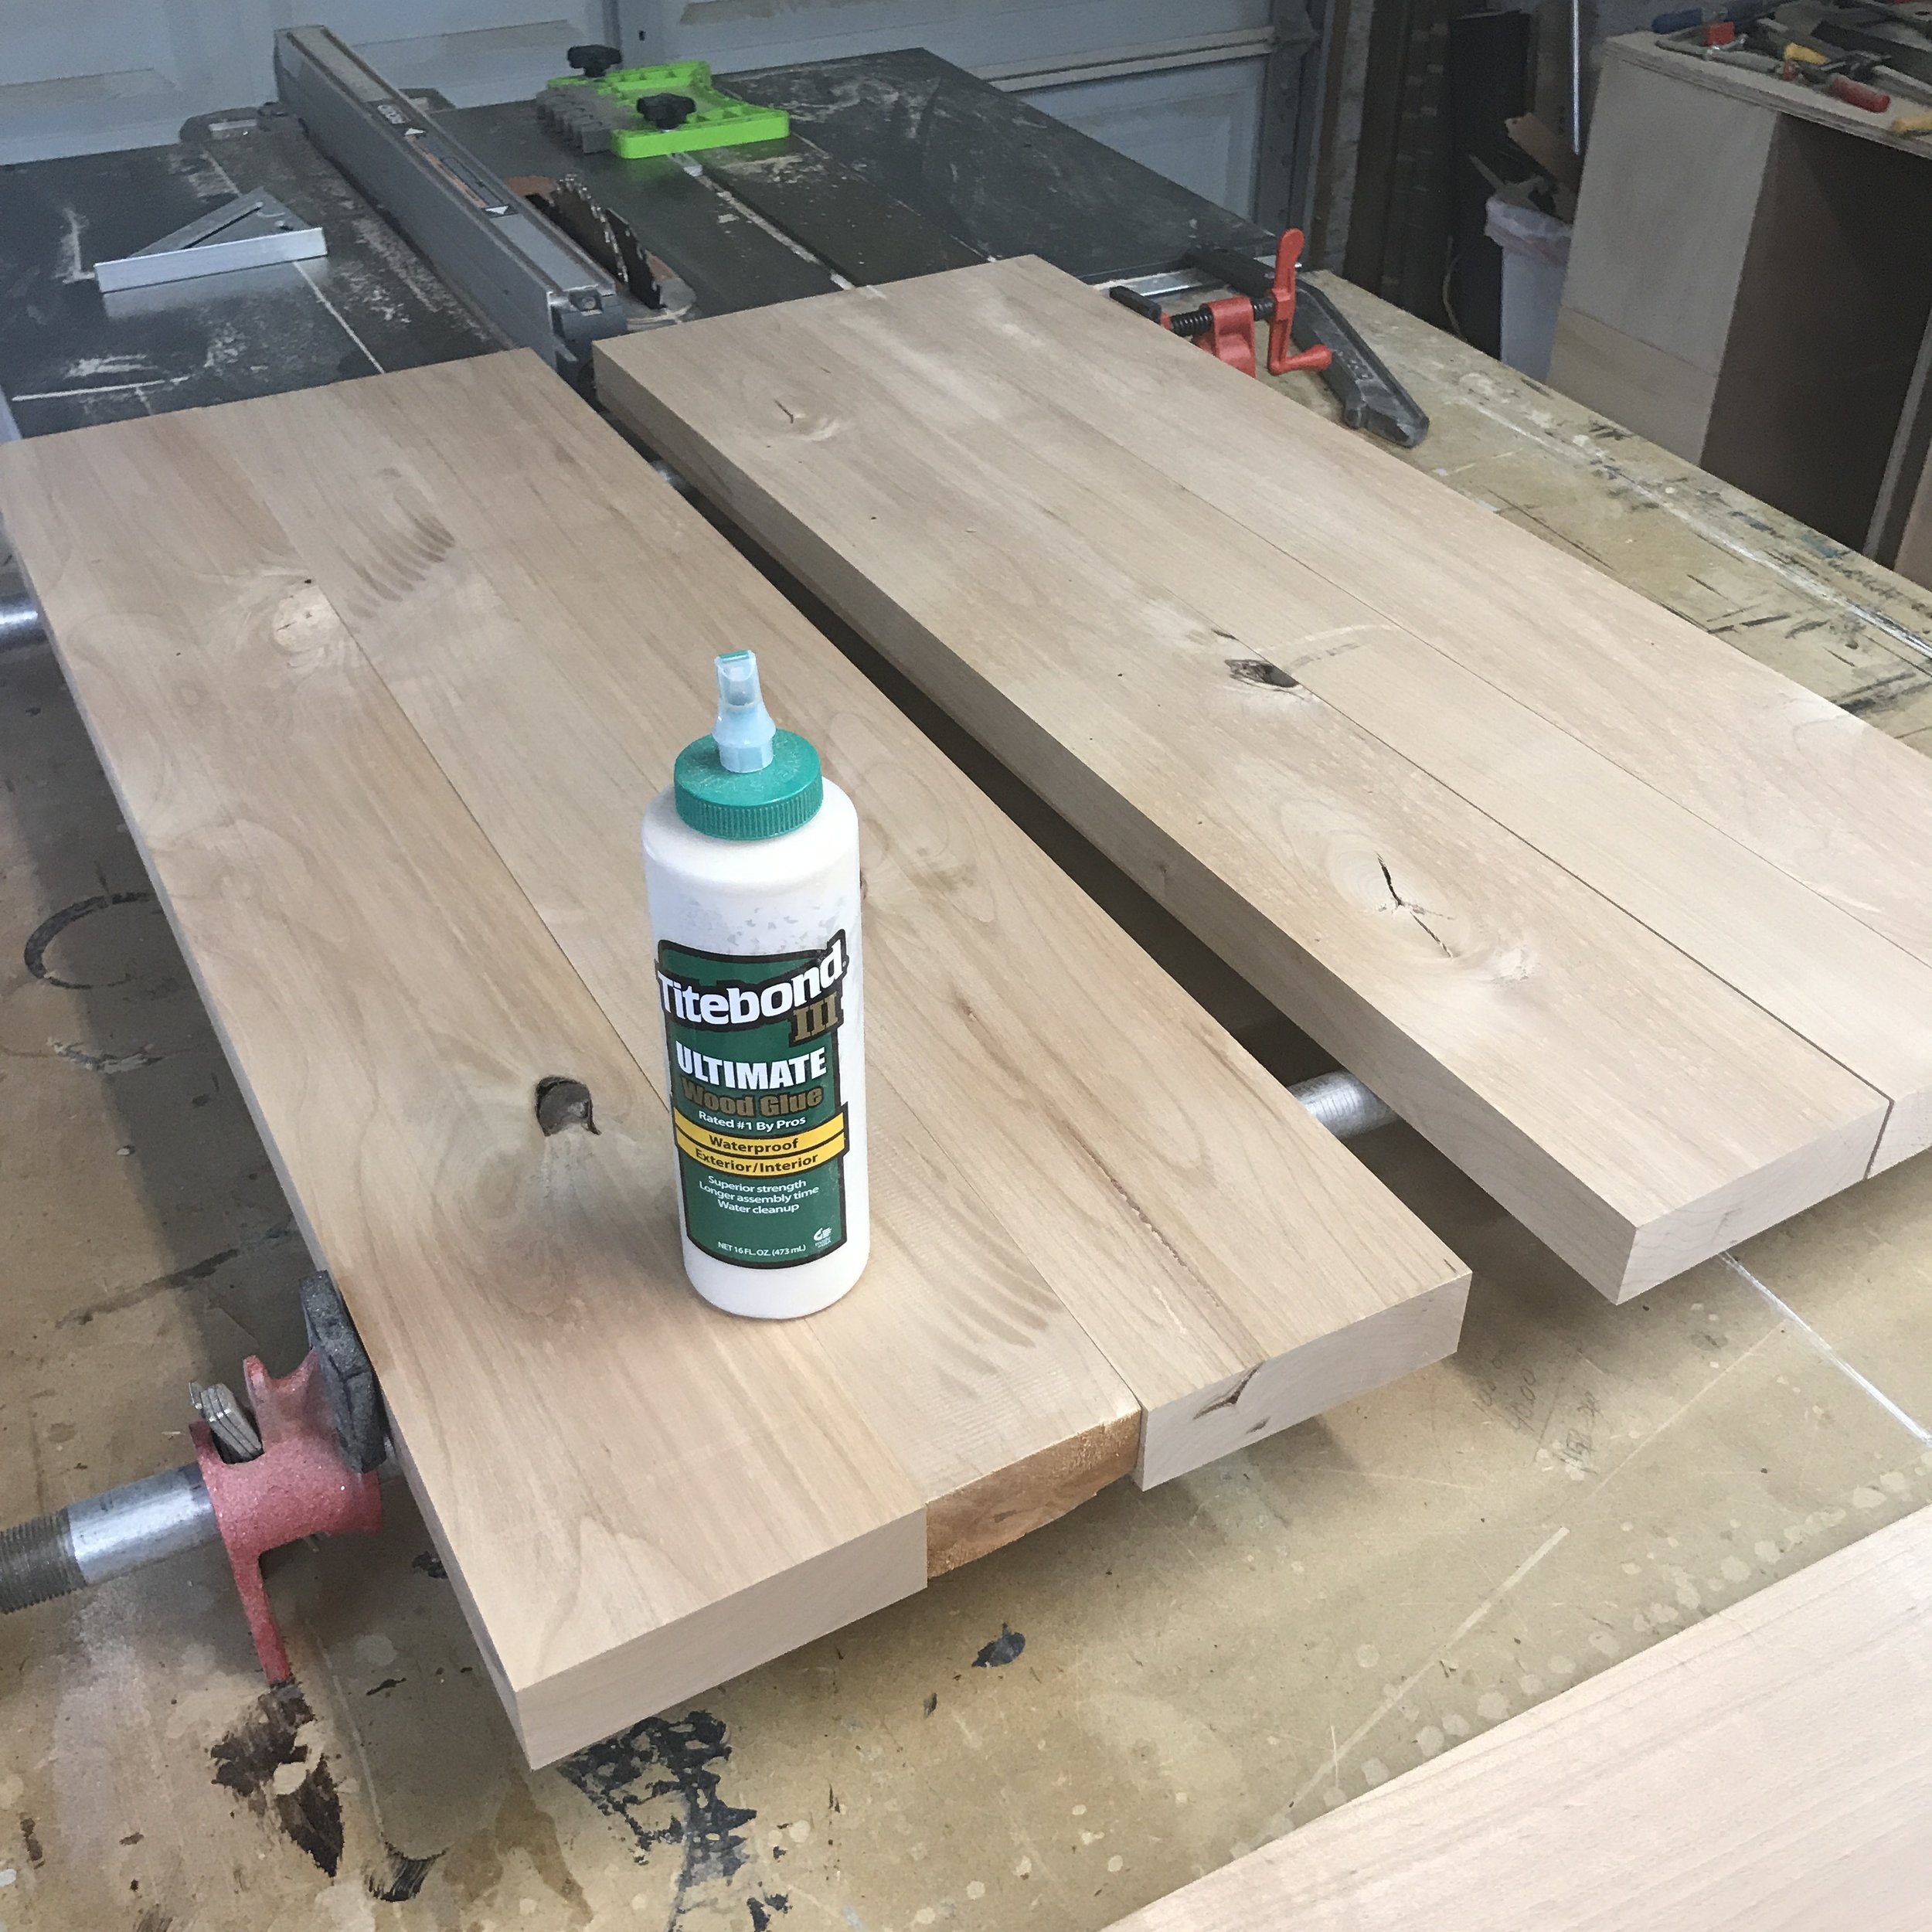
This is the only step that requires a table saw. If you don't have a table saw you could make your chairs a little taller than mine and not cut it down to the sizes in the plans. I built two chairs, so to speed up the glueing process and clamps, I glued two side pieces at the same time with the same clamps. Just be sure not to put glue in the middle seam! Also since these are outdoor chairs be sure to use wood glue that is rated for outdoors. I used Titebond III.
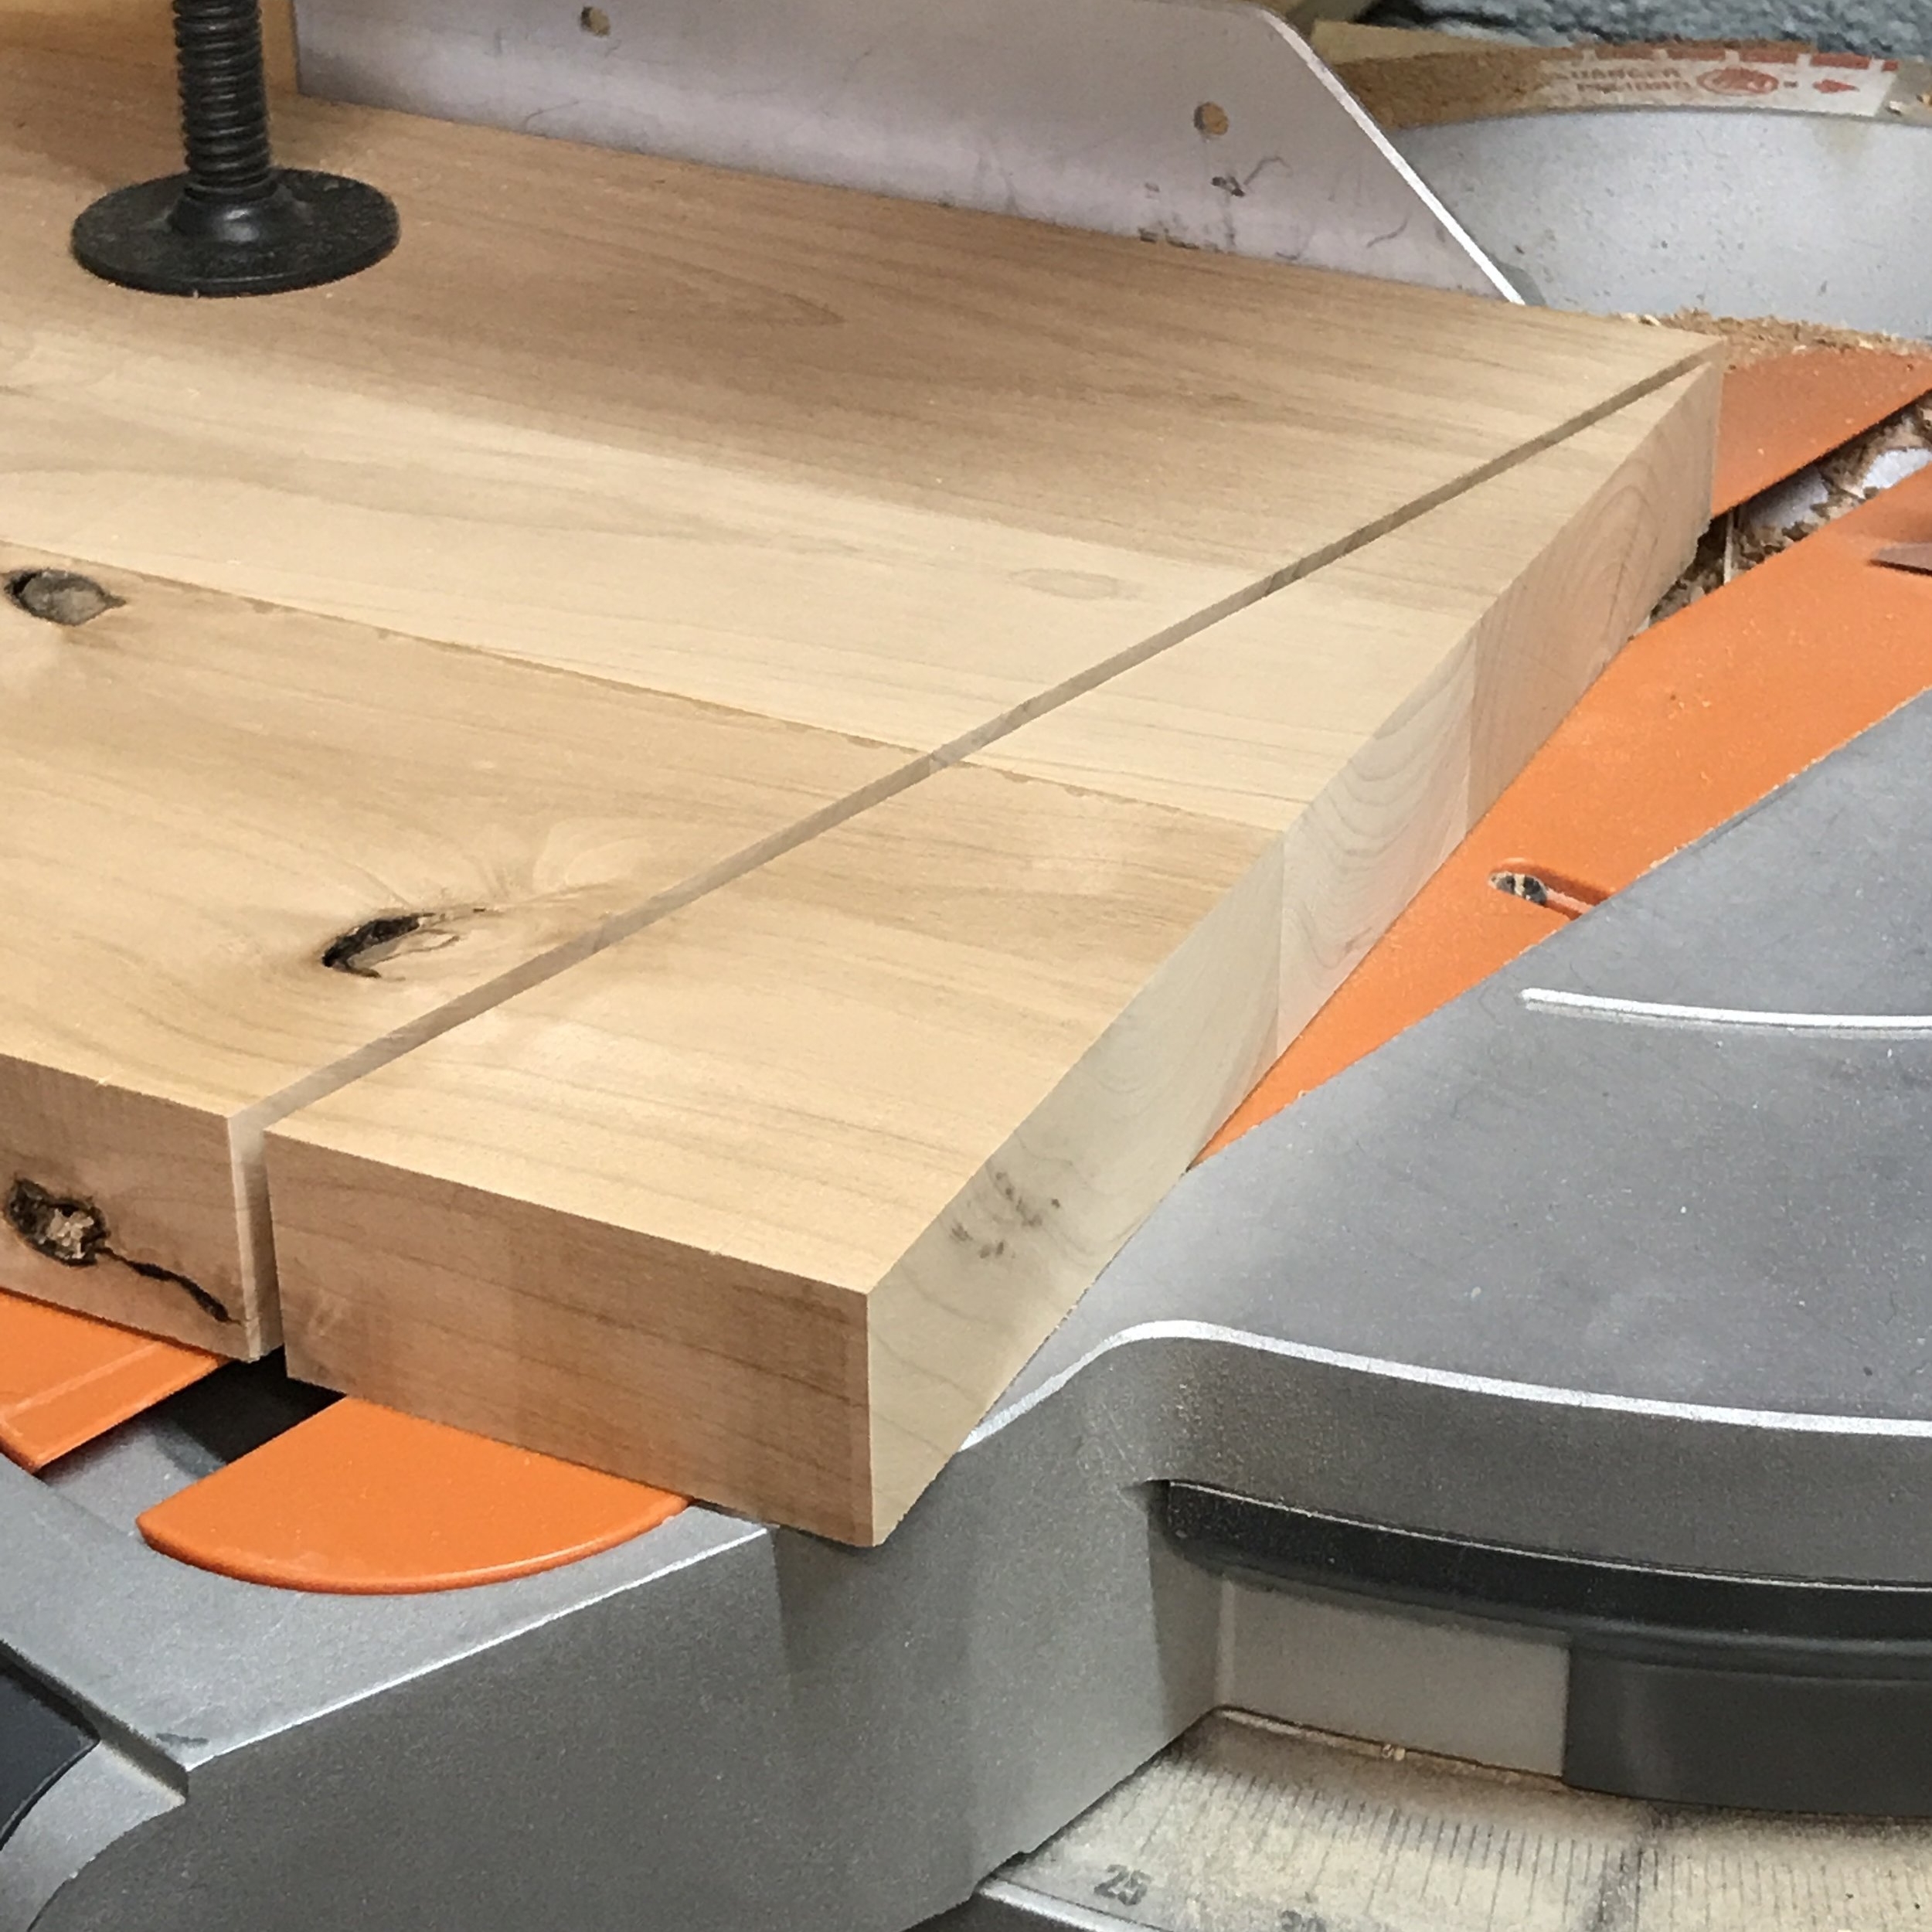
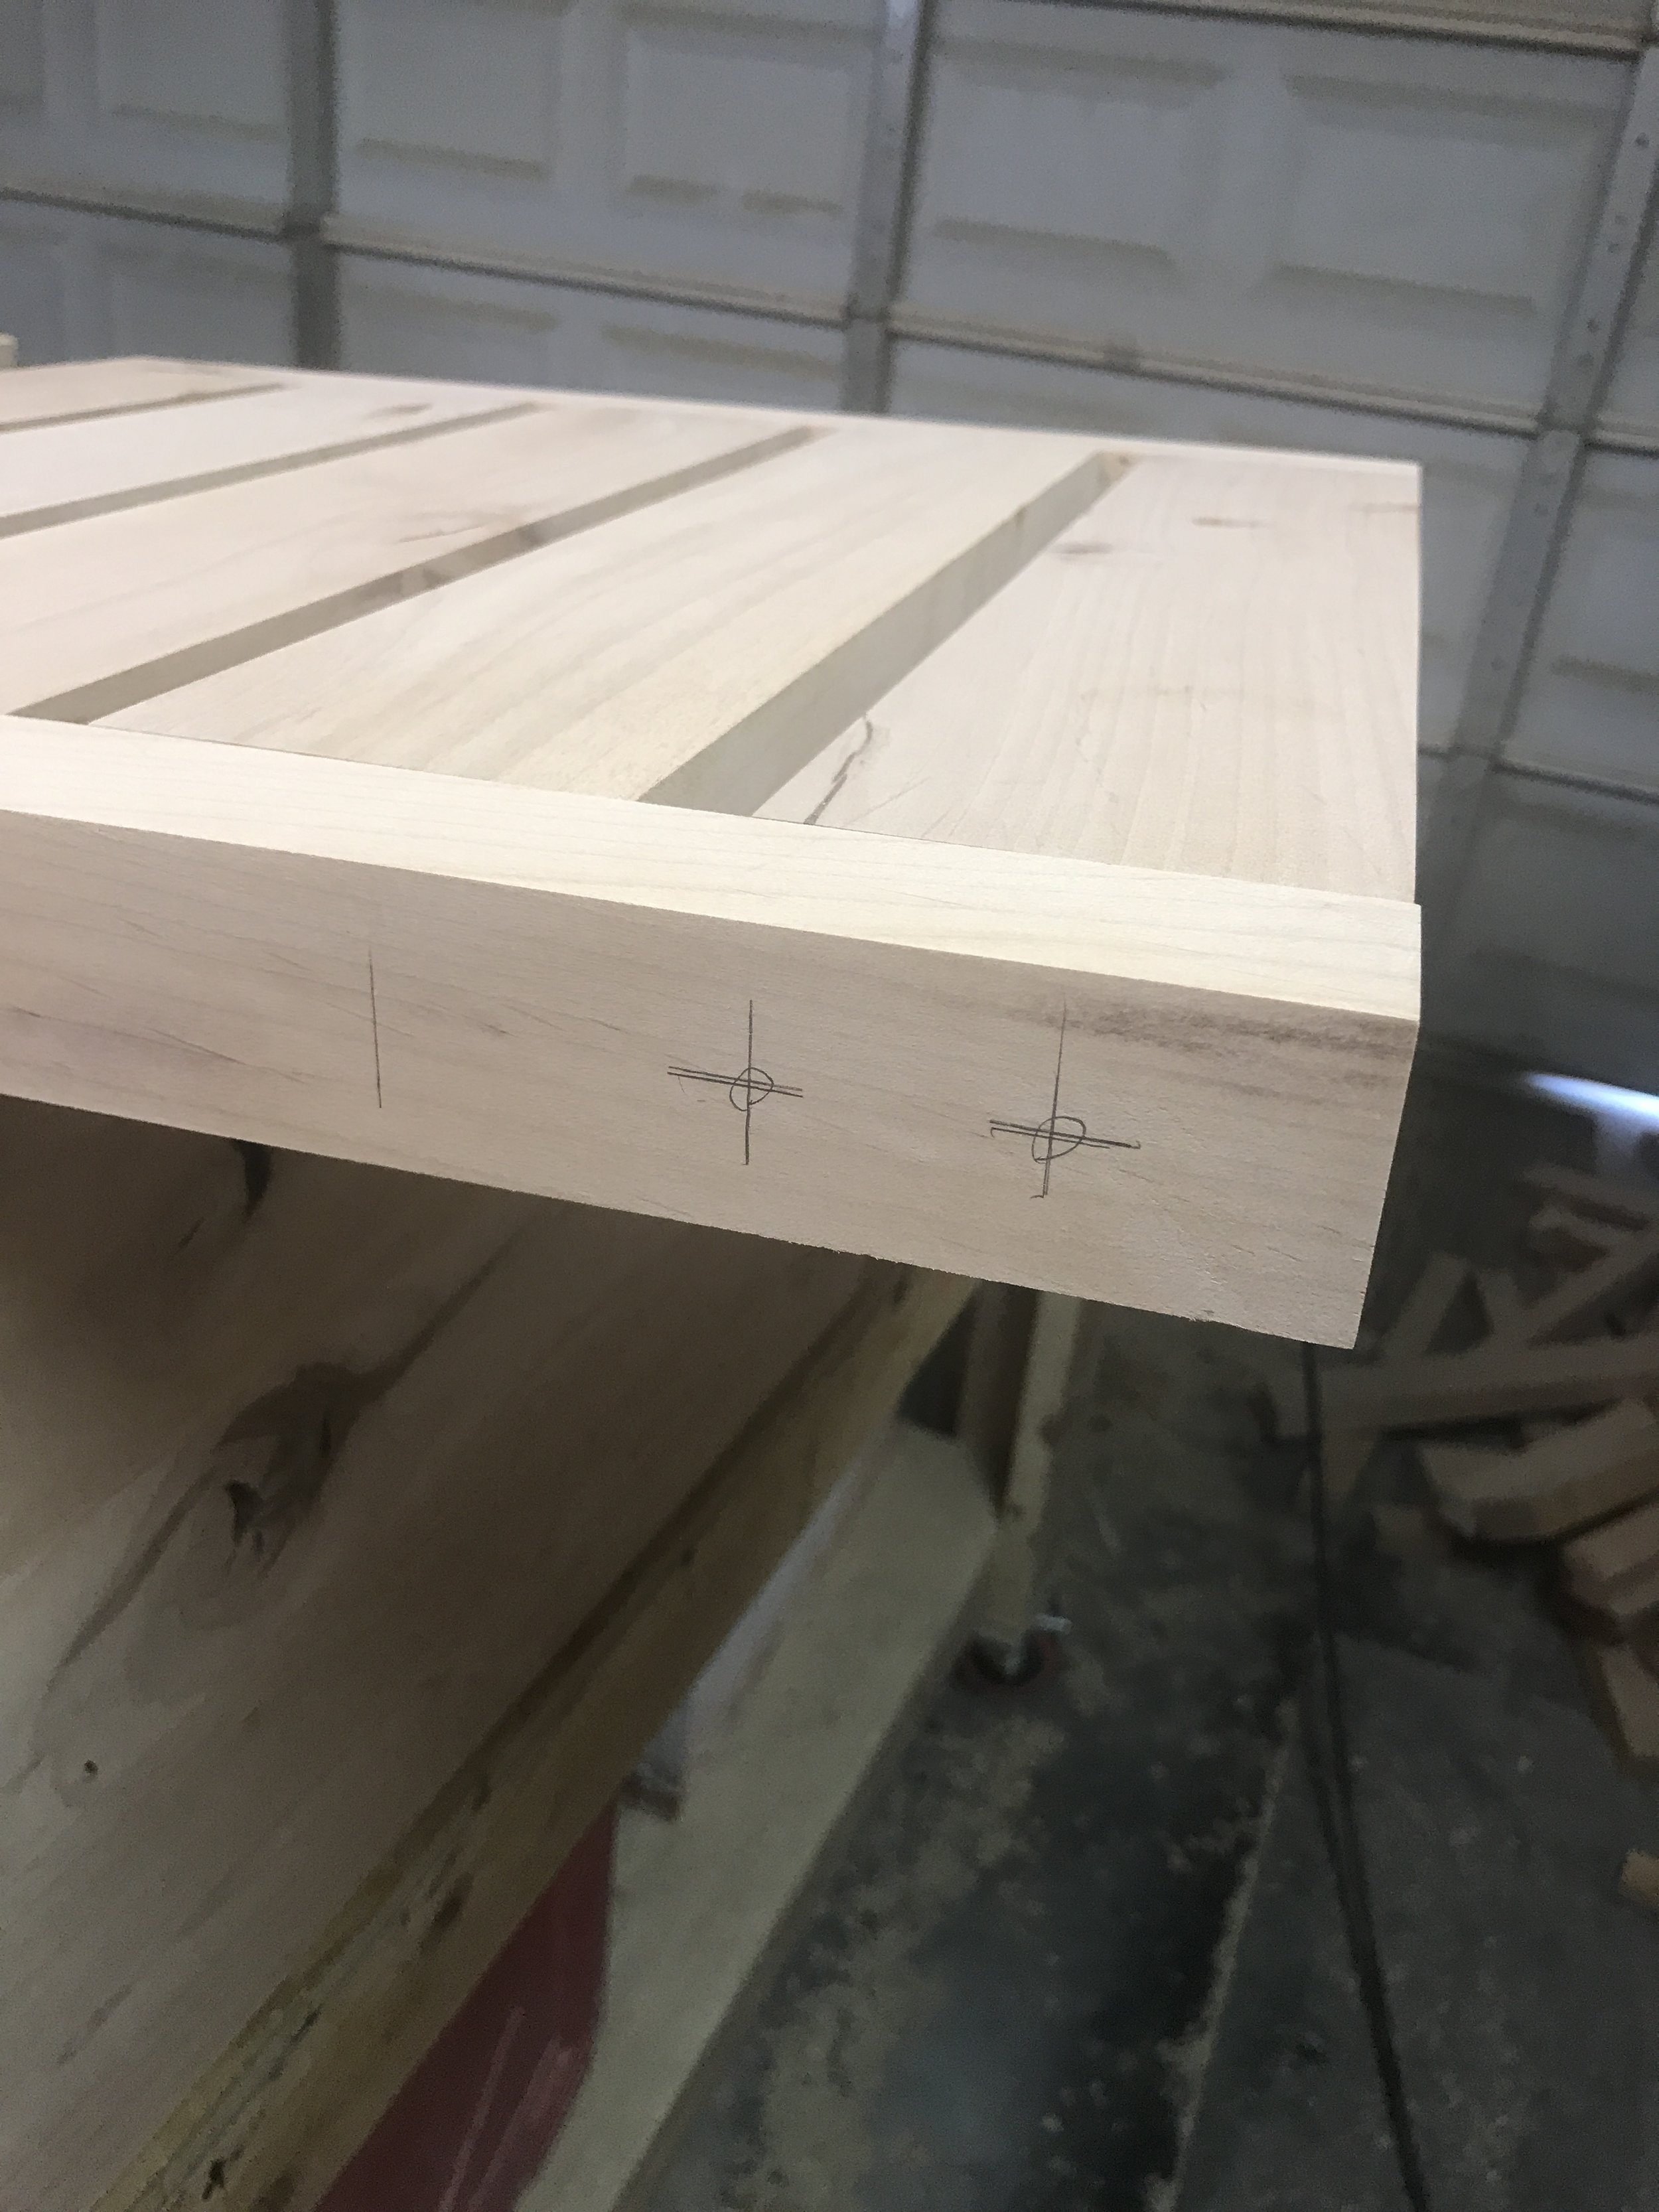
Step 2 - Cut Angles on Sides
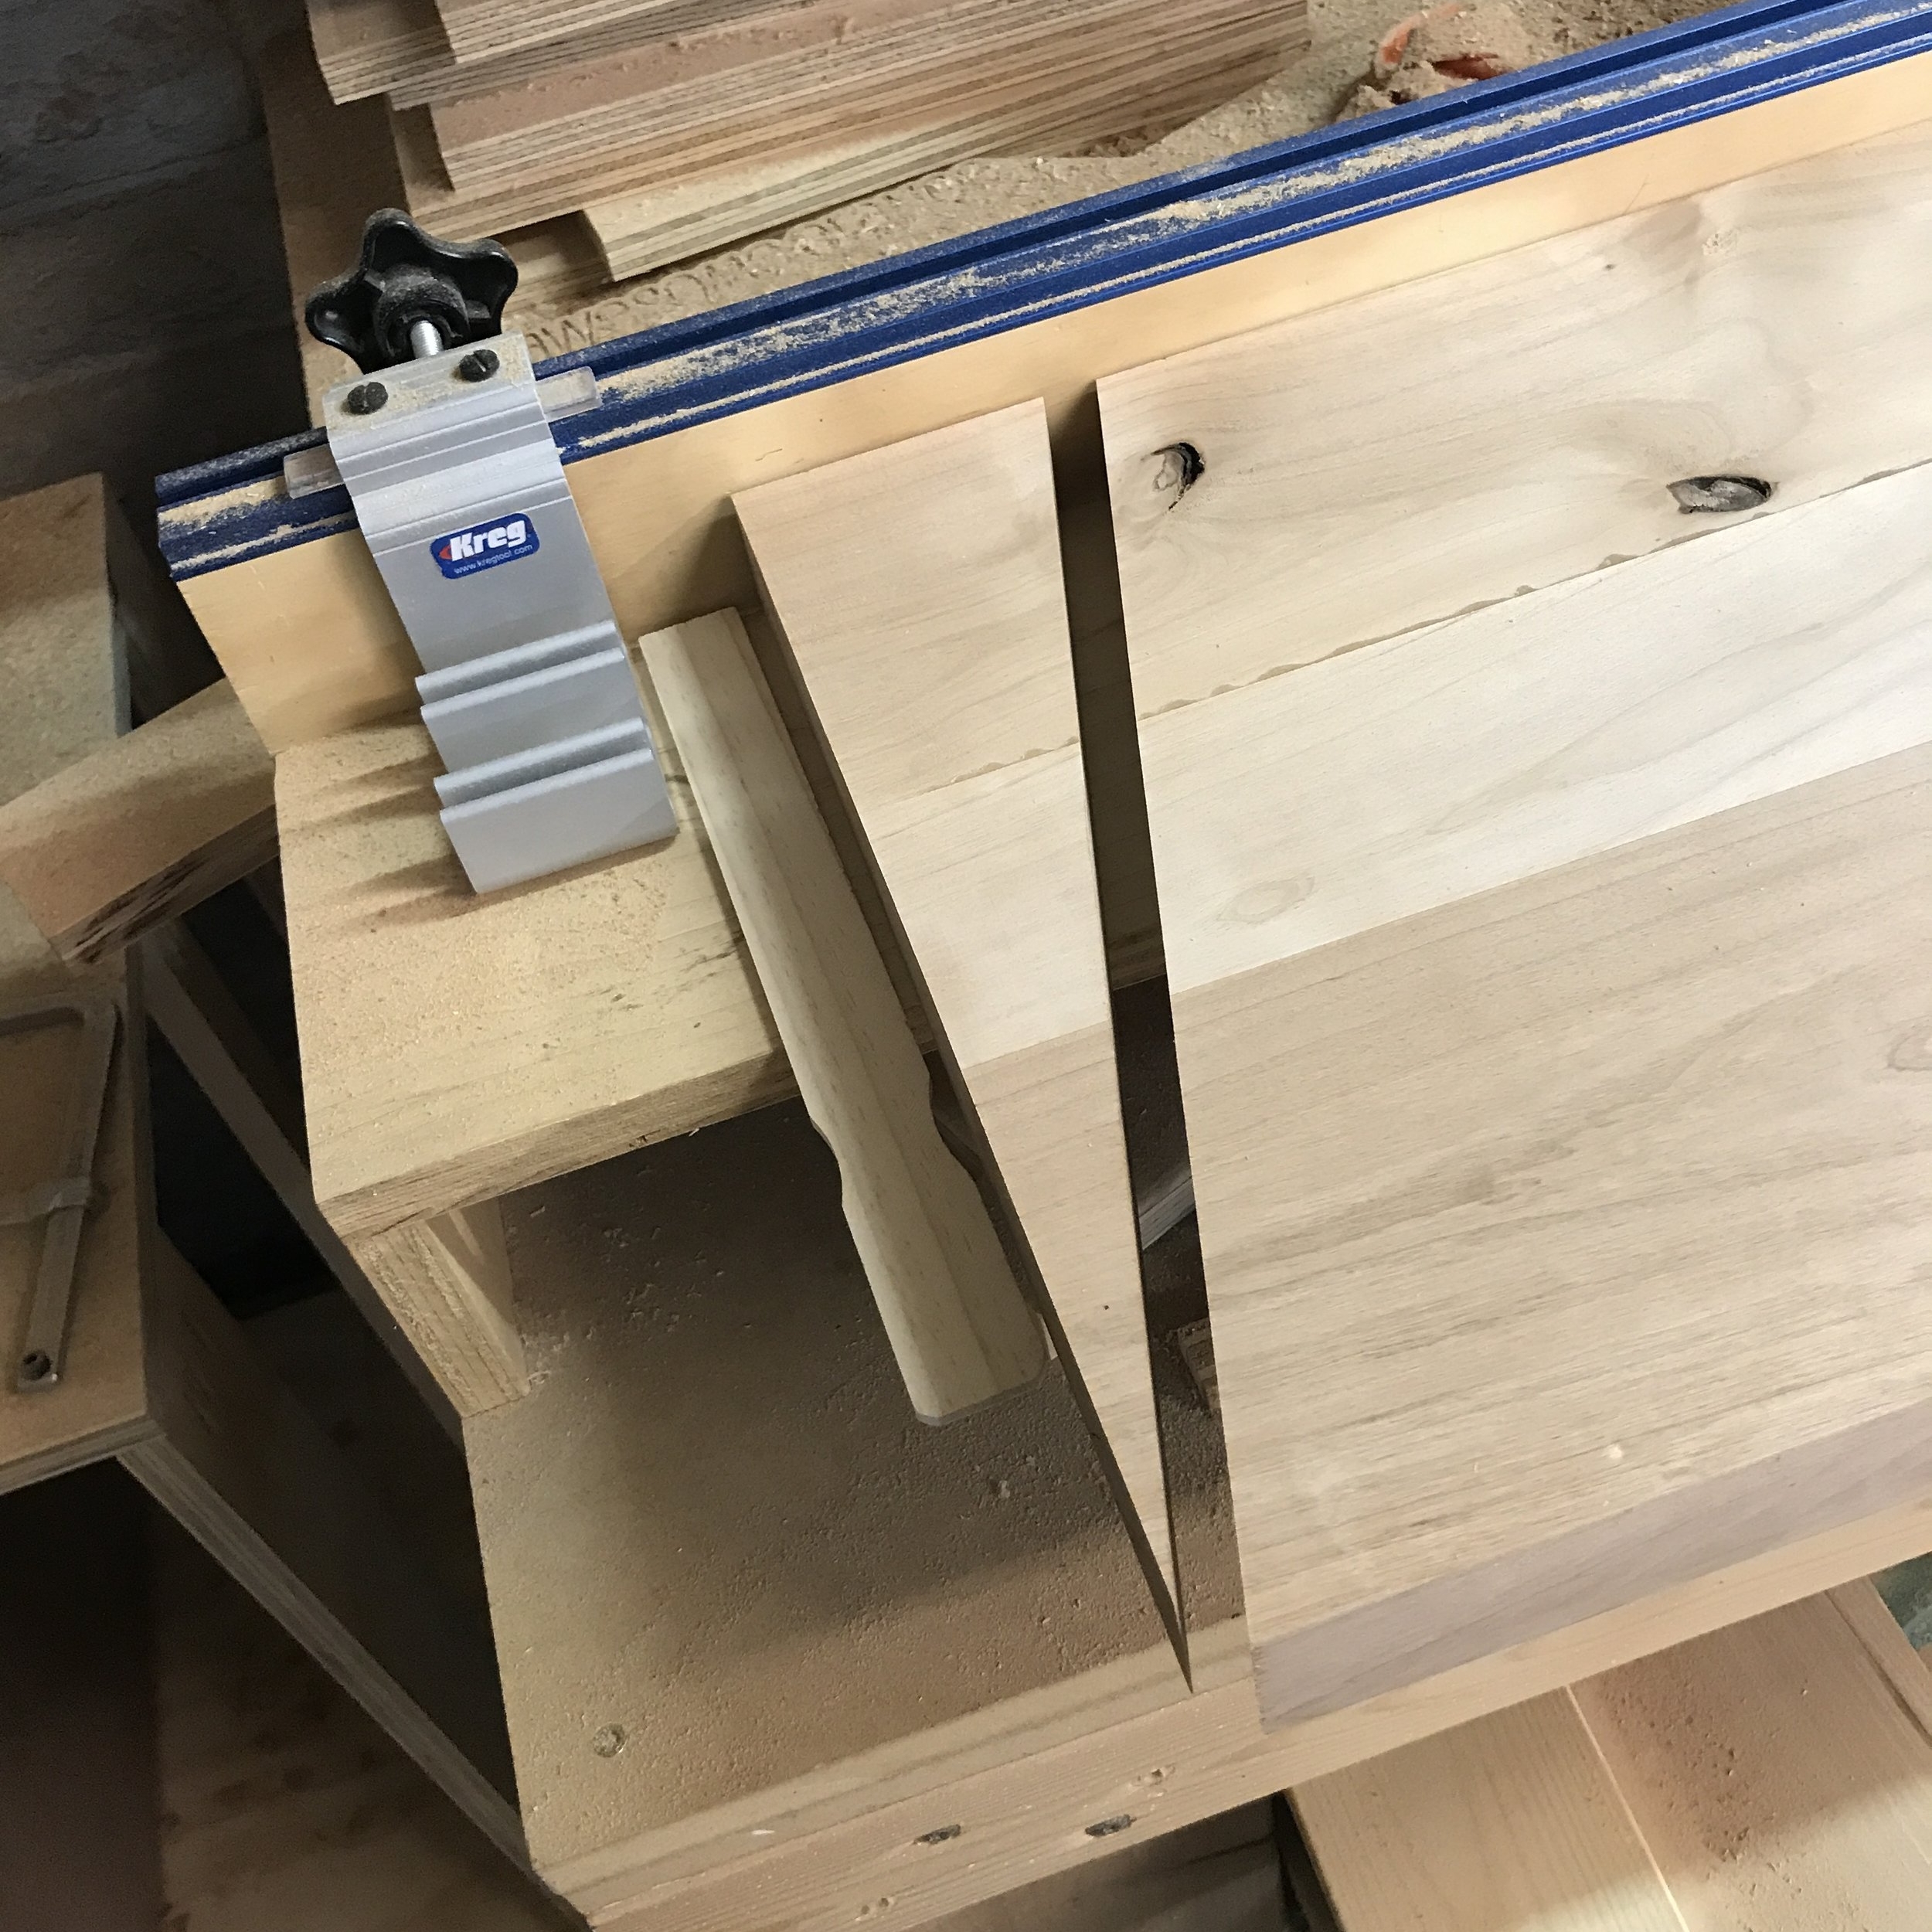
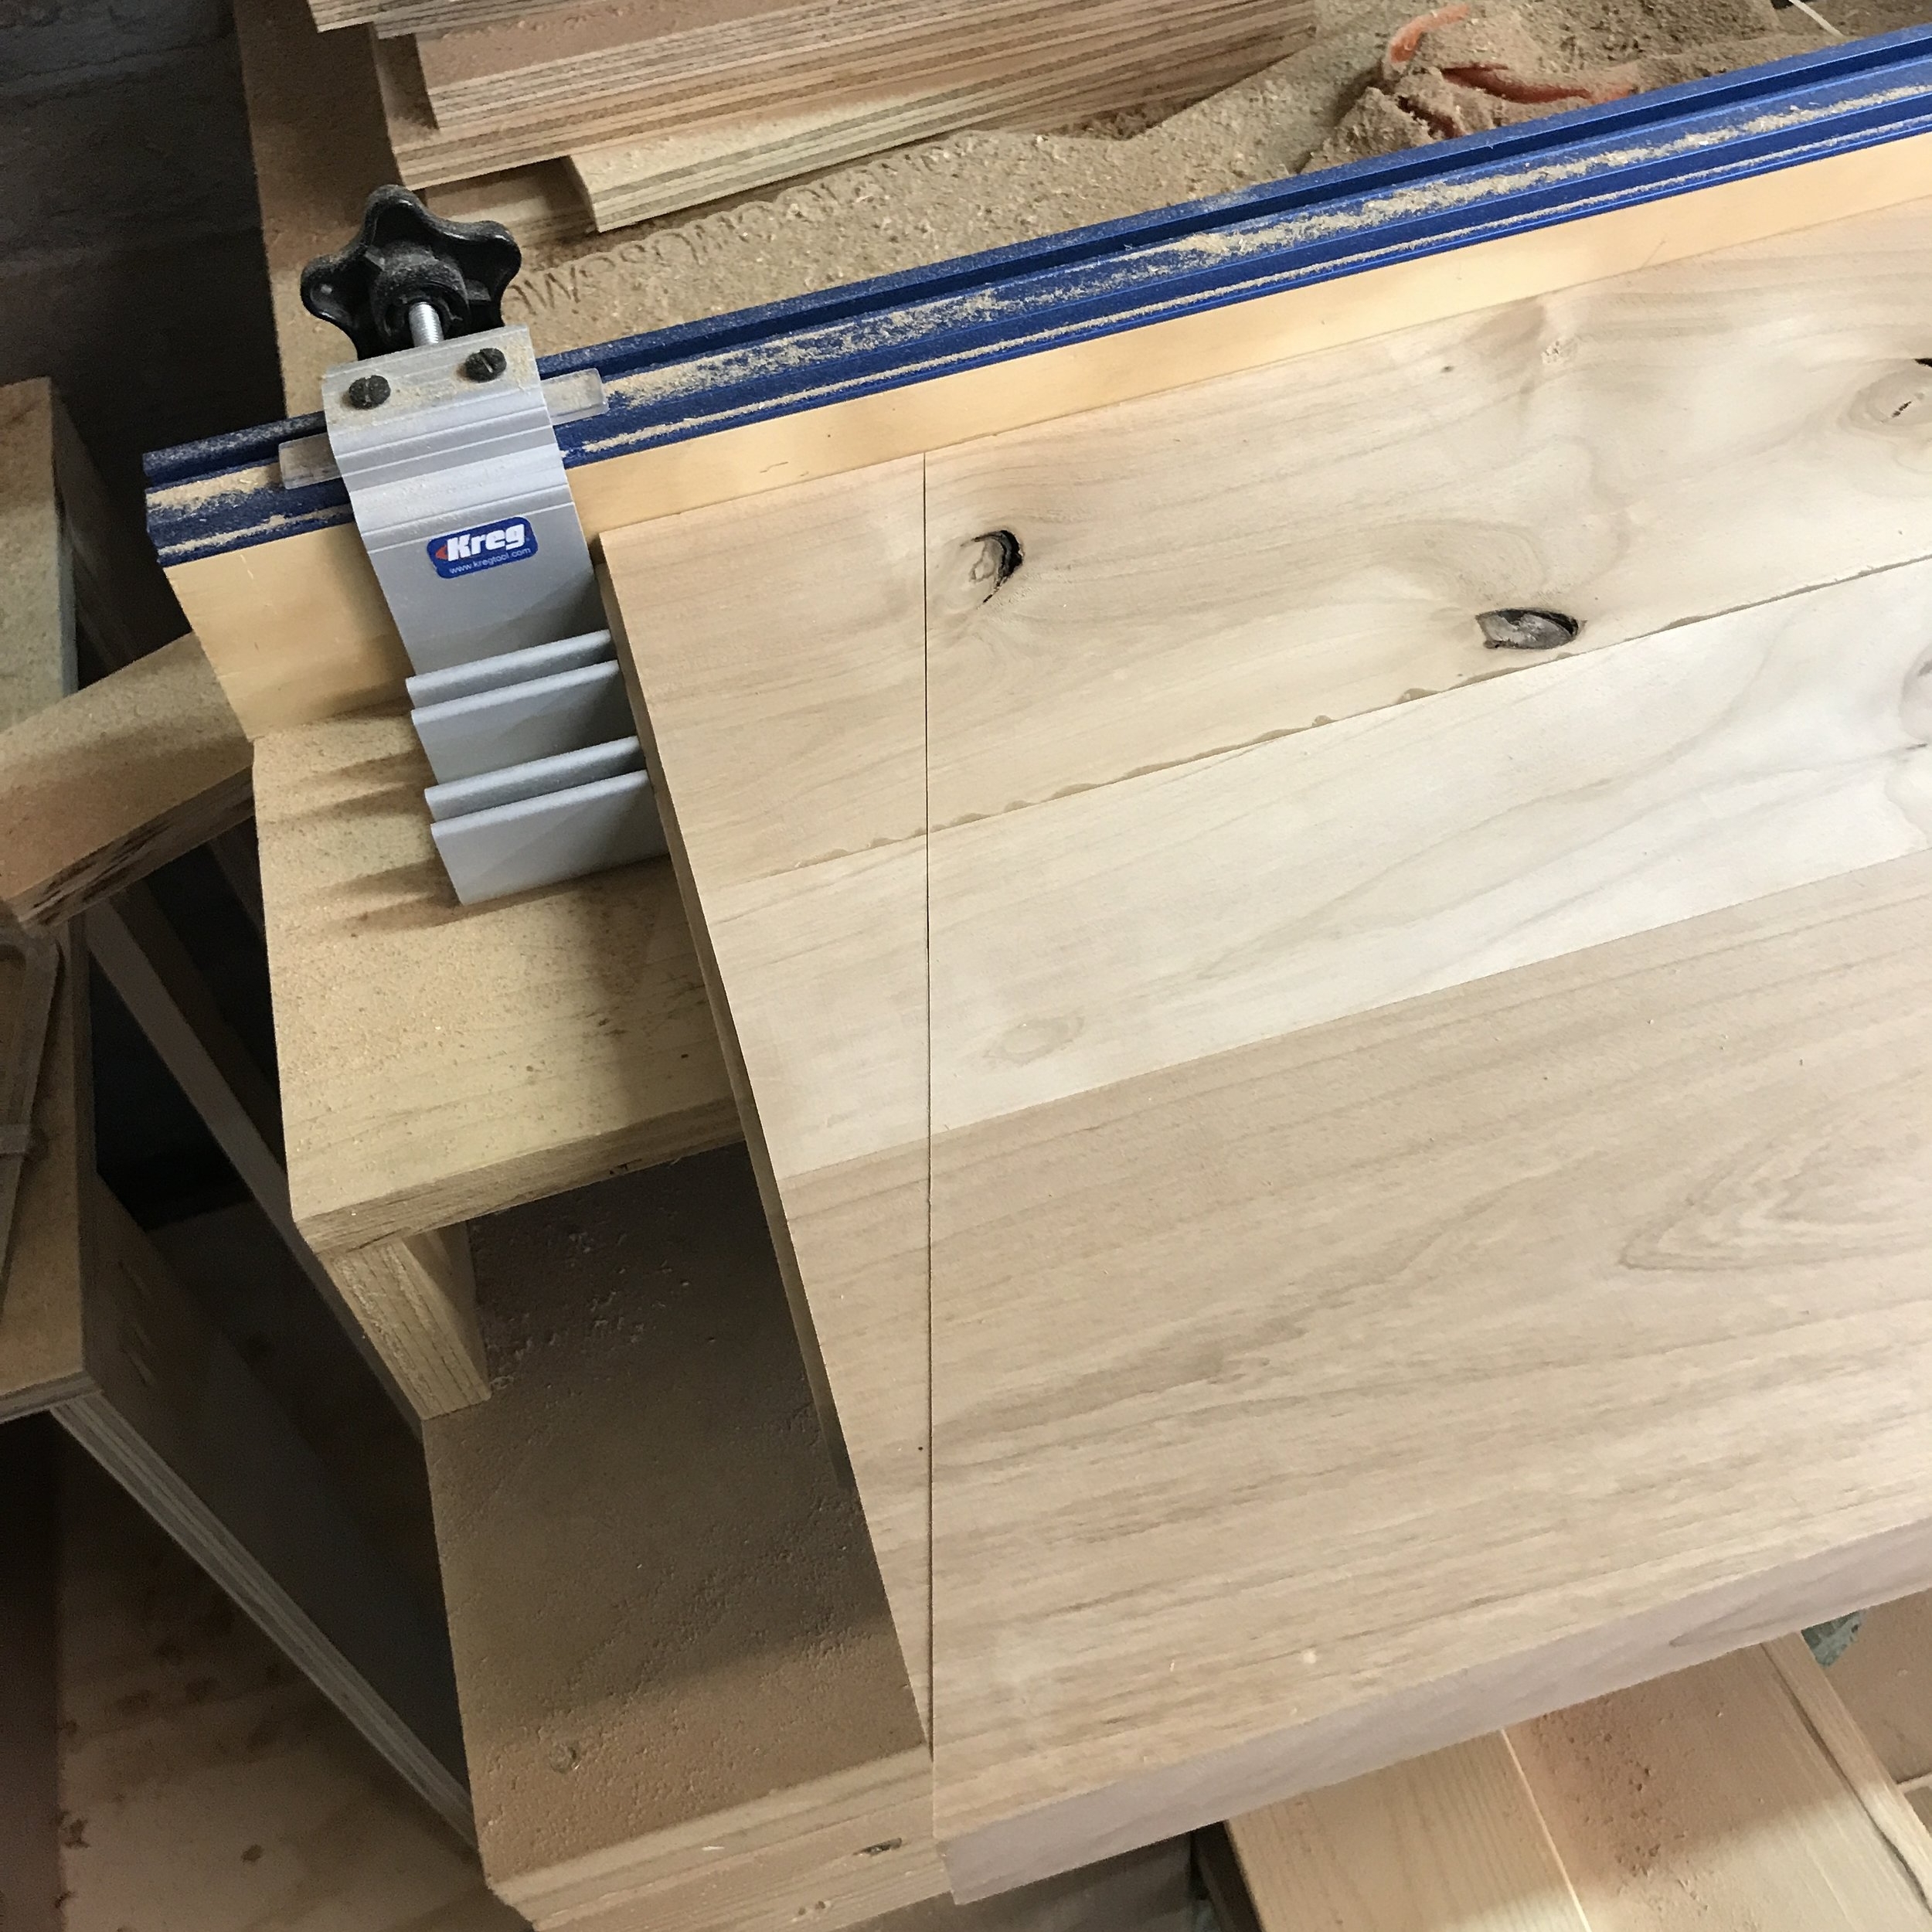
I totally thought this step was going to be super complicated to figure out how to cut these and then I realized that my miter saw was just big enough to cut the angle in one pass. If your miter saw isn't as big as mine, you can use a straight edge and a circular to get the angles. So after the first side was cut I just flipped the board over and cut the other side. To line it up in the perfect spot I used my Kreg Precision Trak and Stop System. I did have to place the piece I just cut off and a scrap piece equivalent to the kerf of my miter saw blade (see picture) next to the stop to get the exact position for the second cut. But man once I figured that out the rest was easy!!!
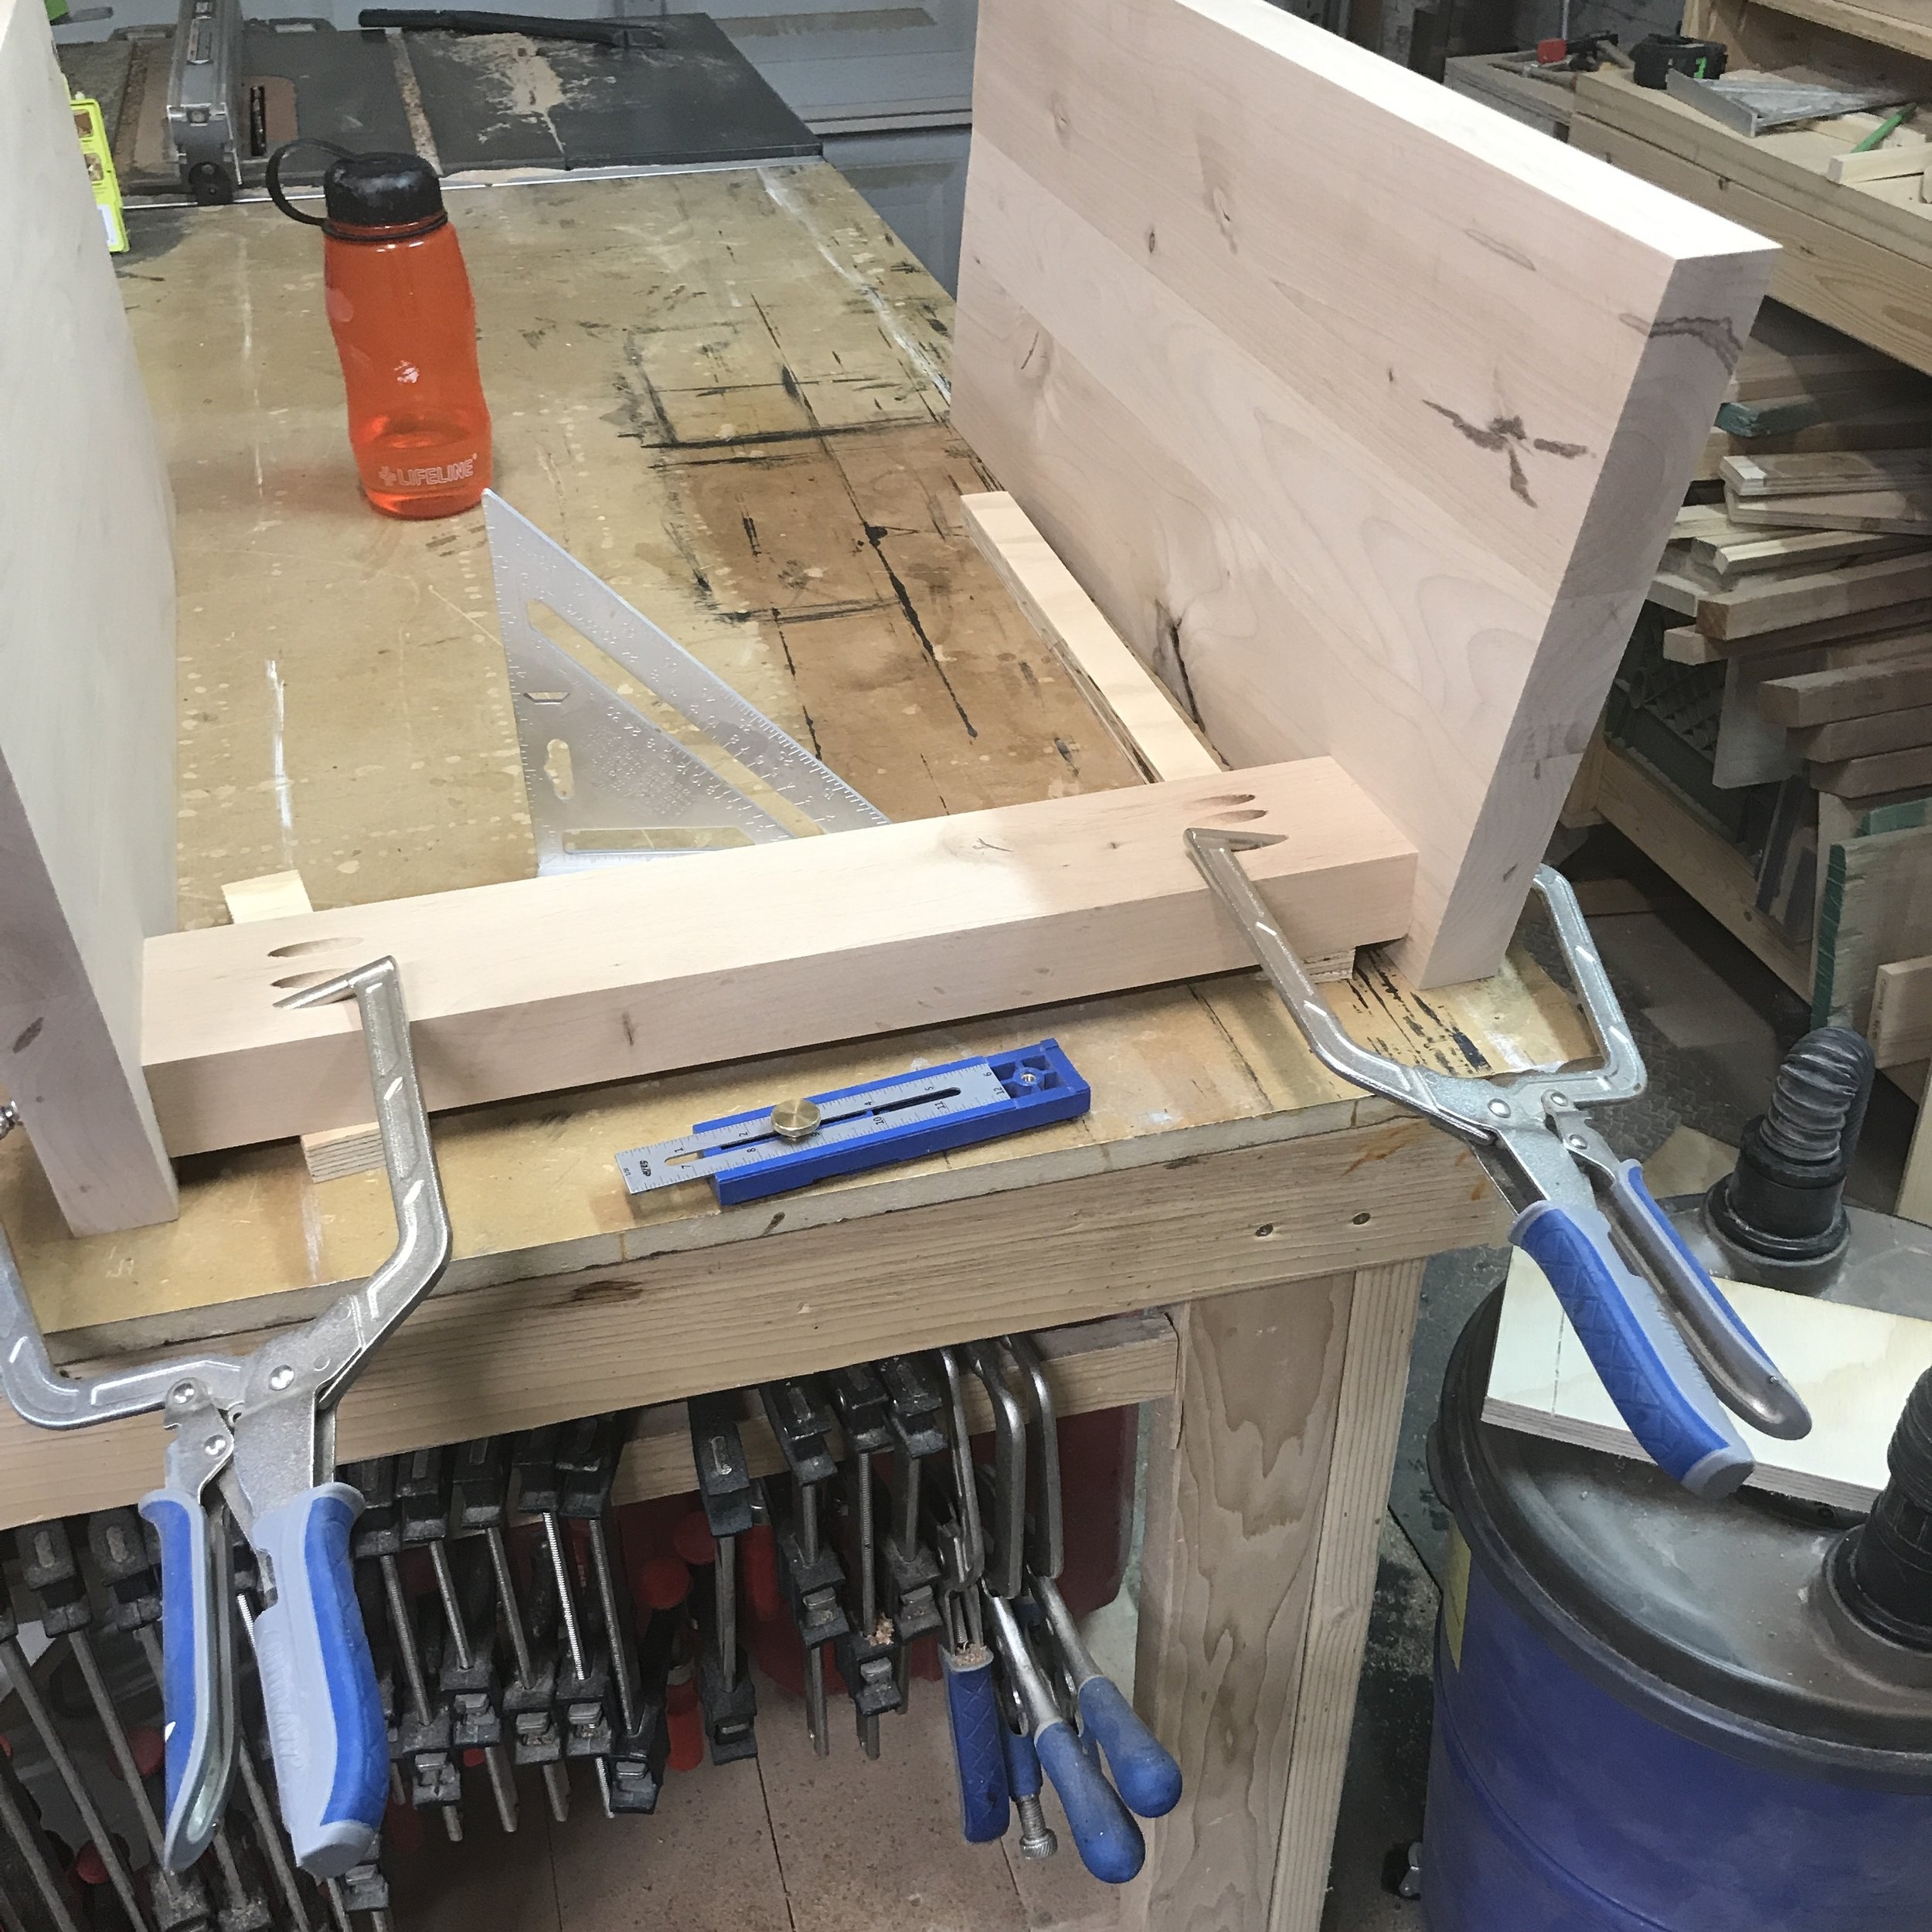
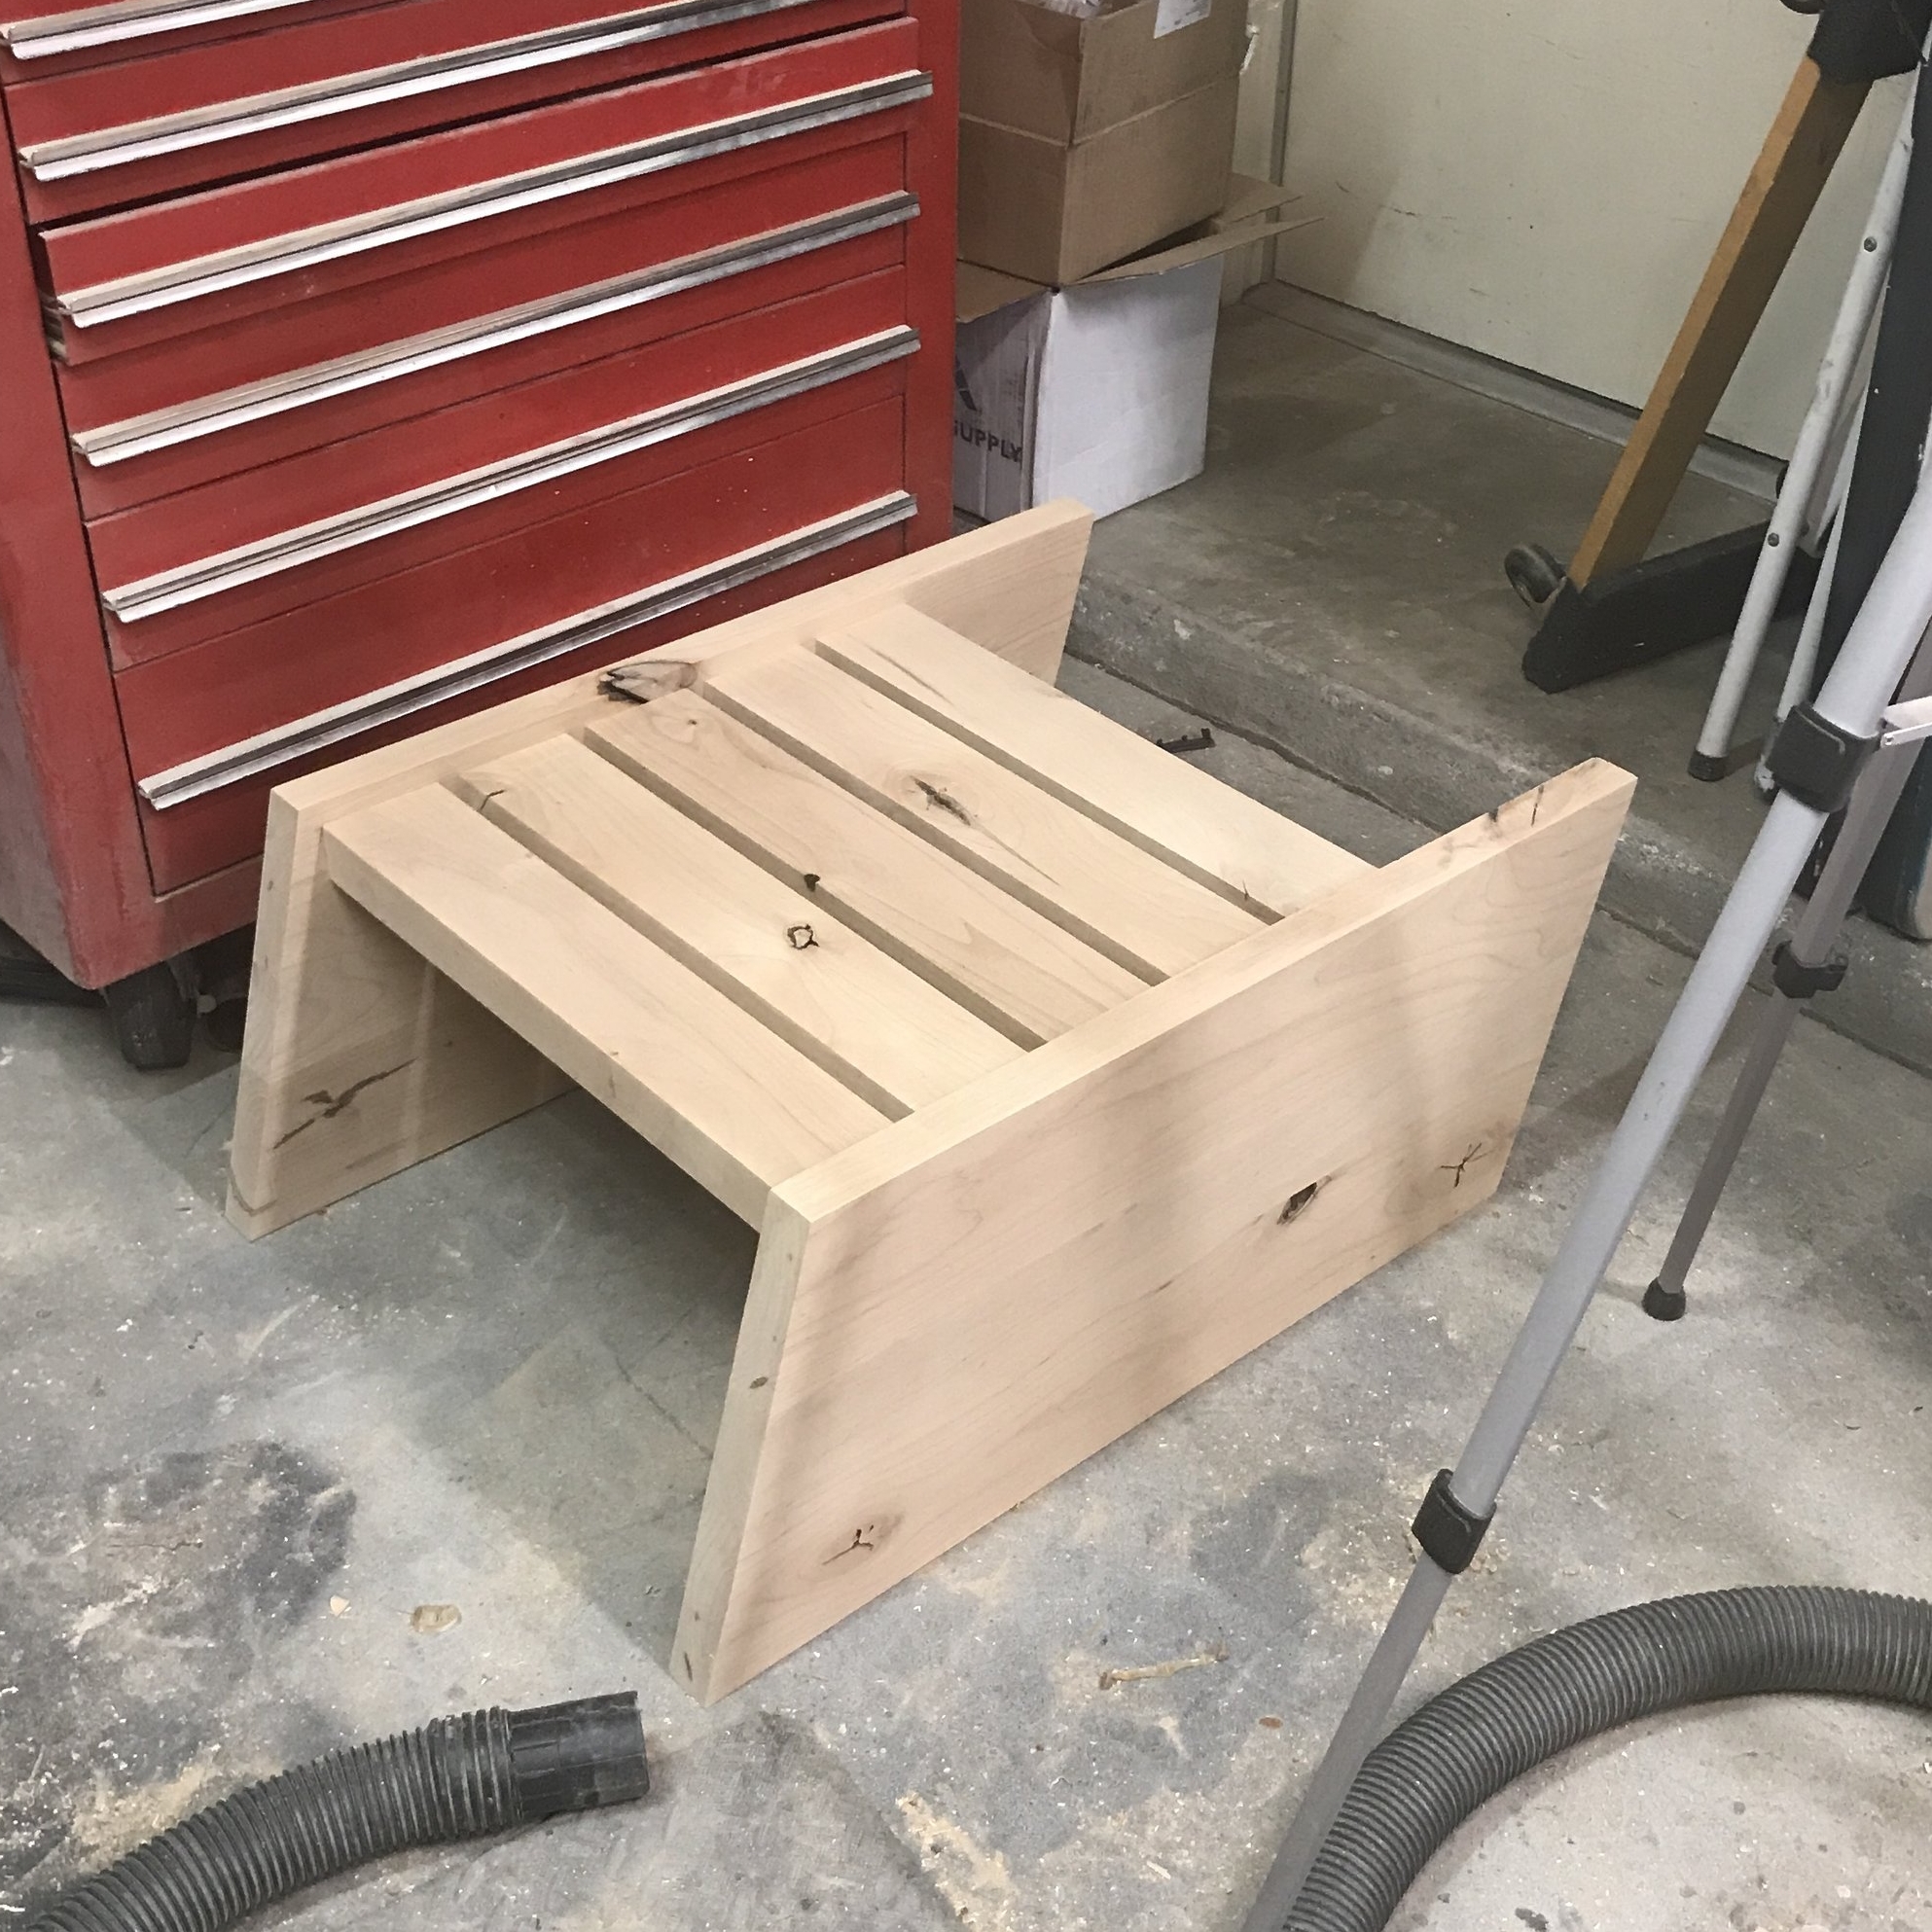
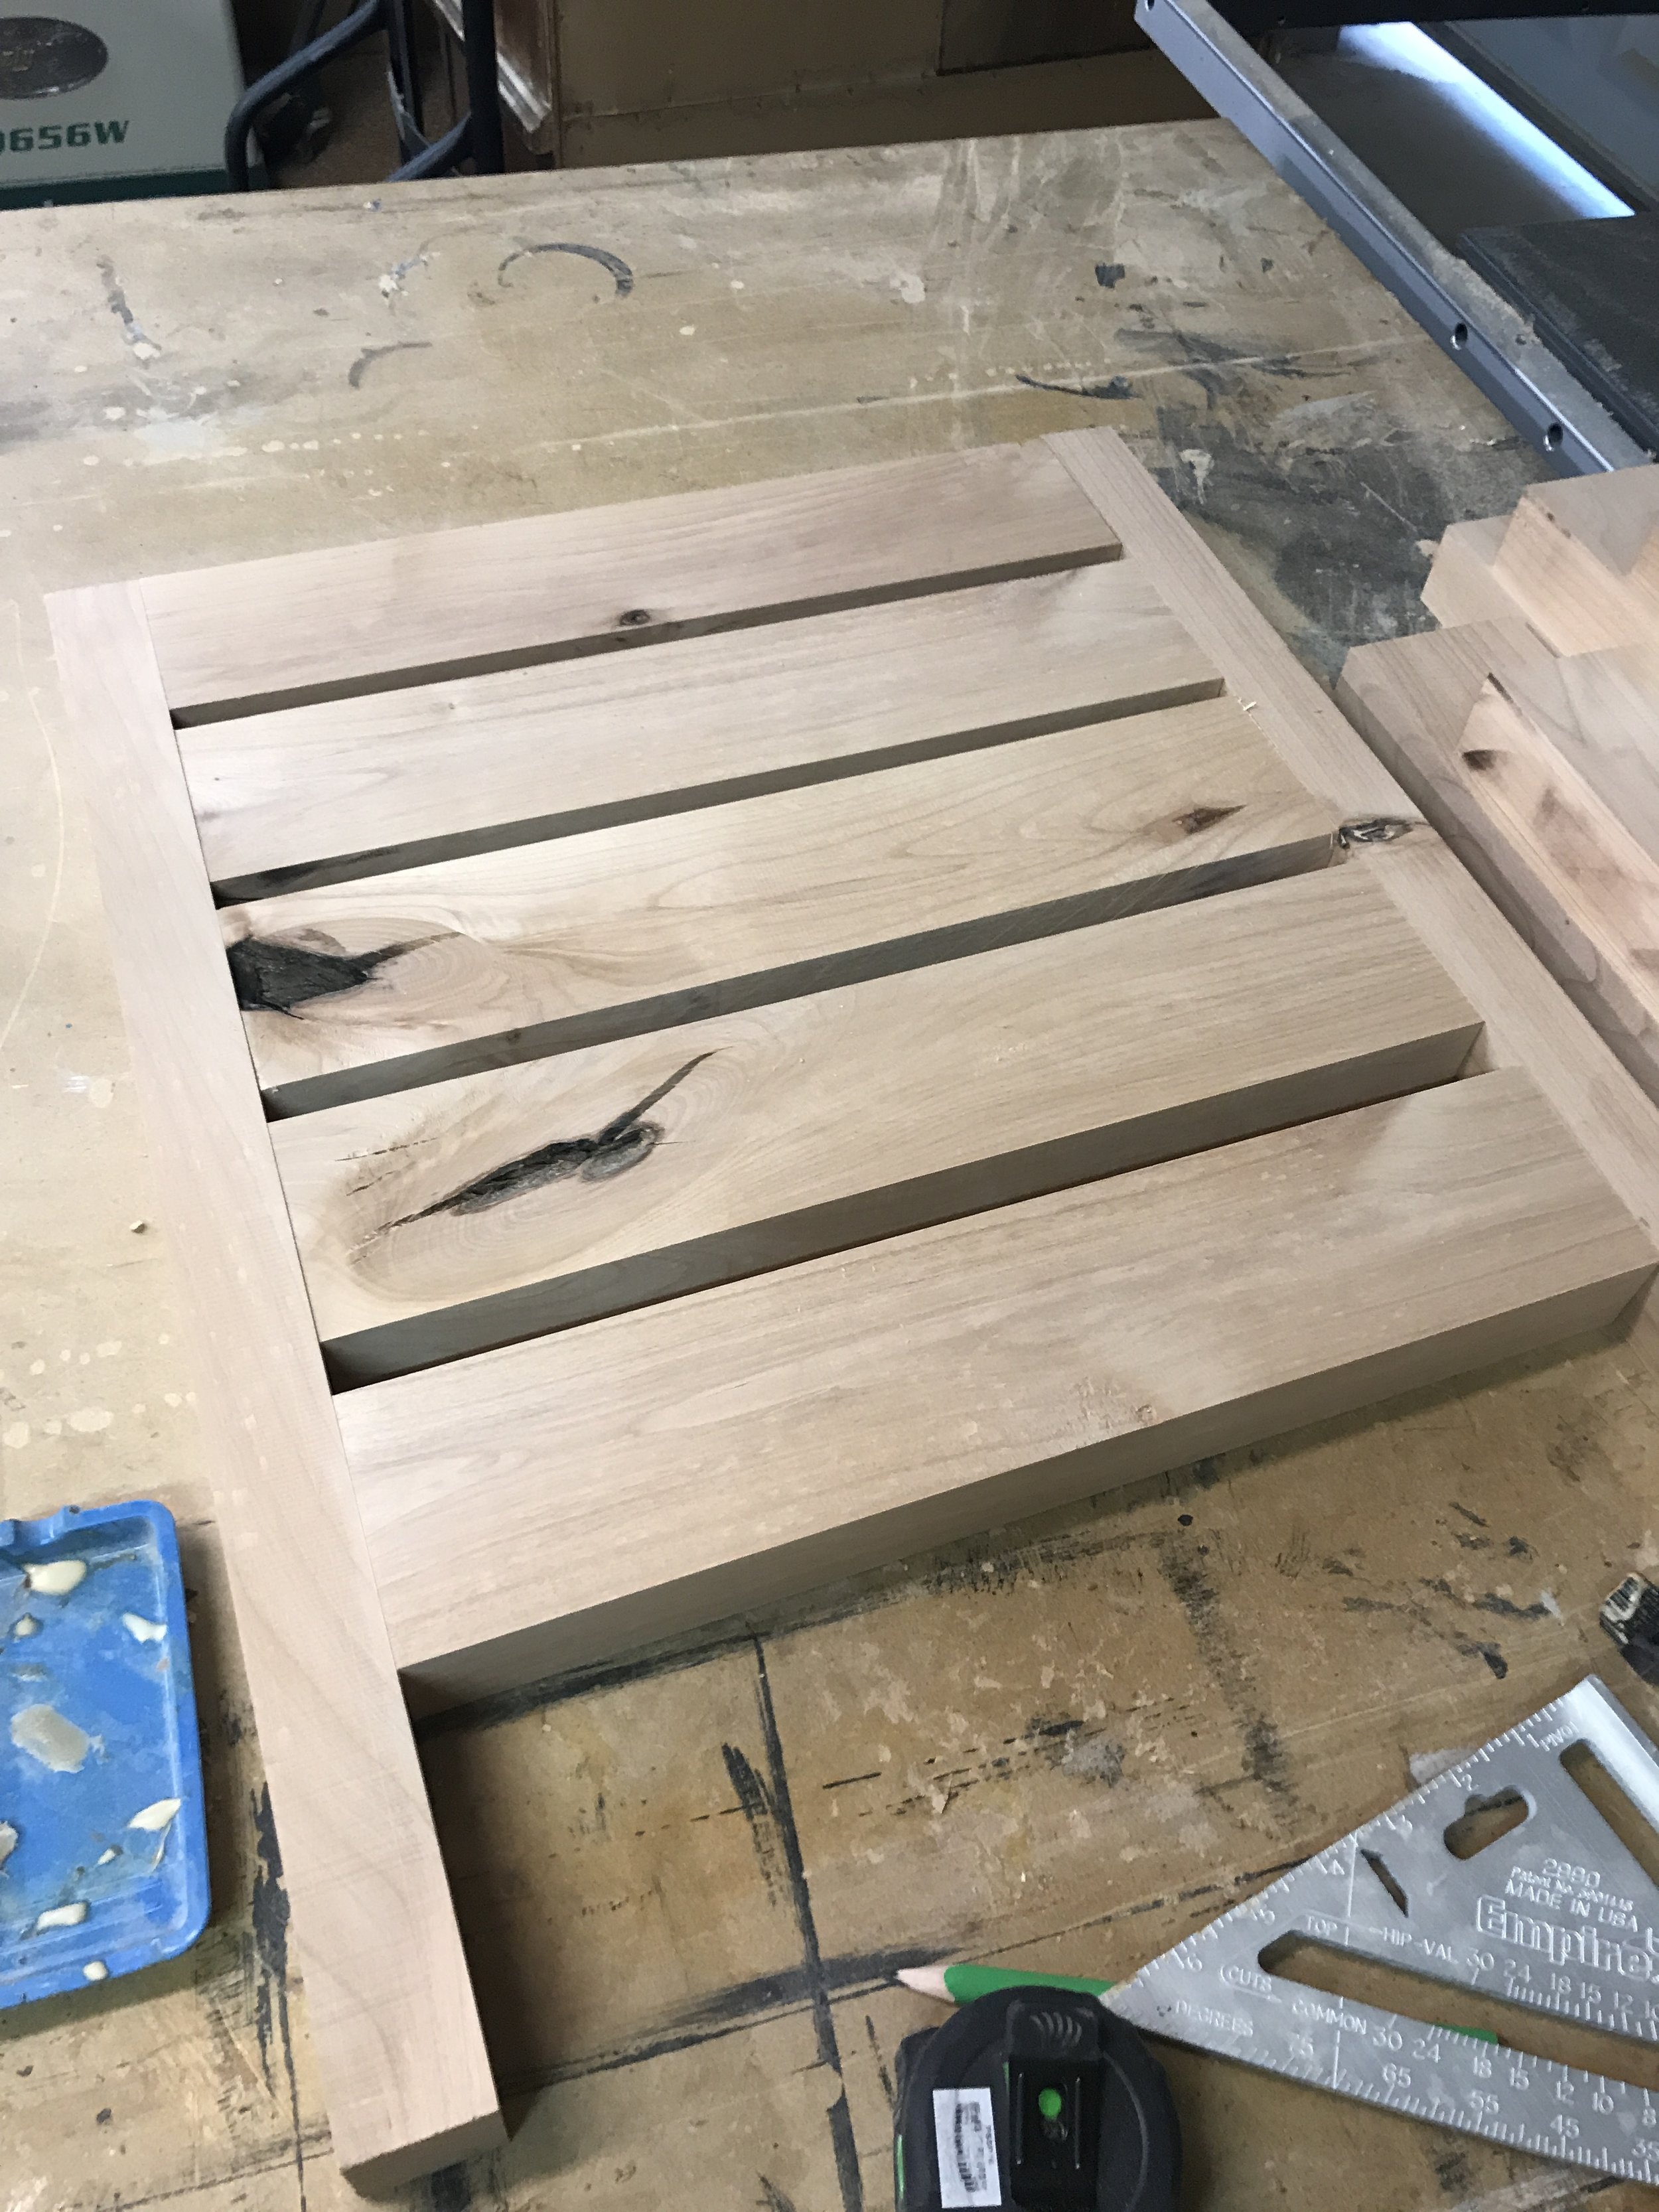
Step 3 - Attach Seat Slats
Once you get the first seat slat lined up the rest of them install super easy! Holding the first one in place I did use my Kreg right-angled clamps. You don't have to have them, but they did make it easier. I didn't use any clamps for the rest of them, it was a snug fit, so once they were in place I just screwed them in and moved on to the next one.
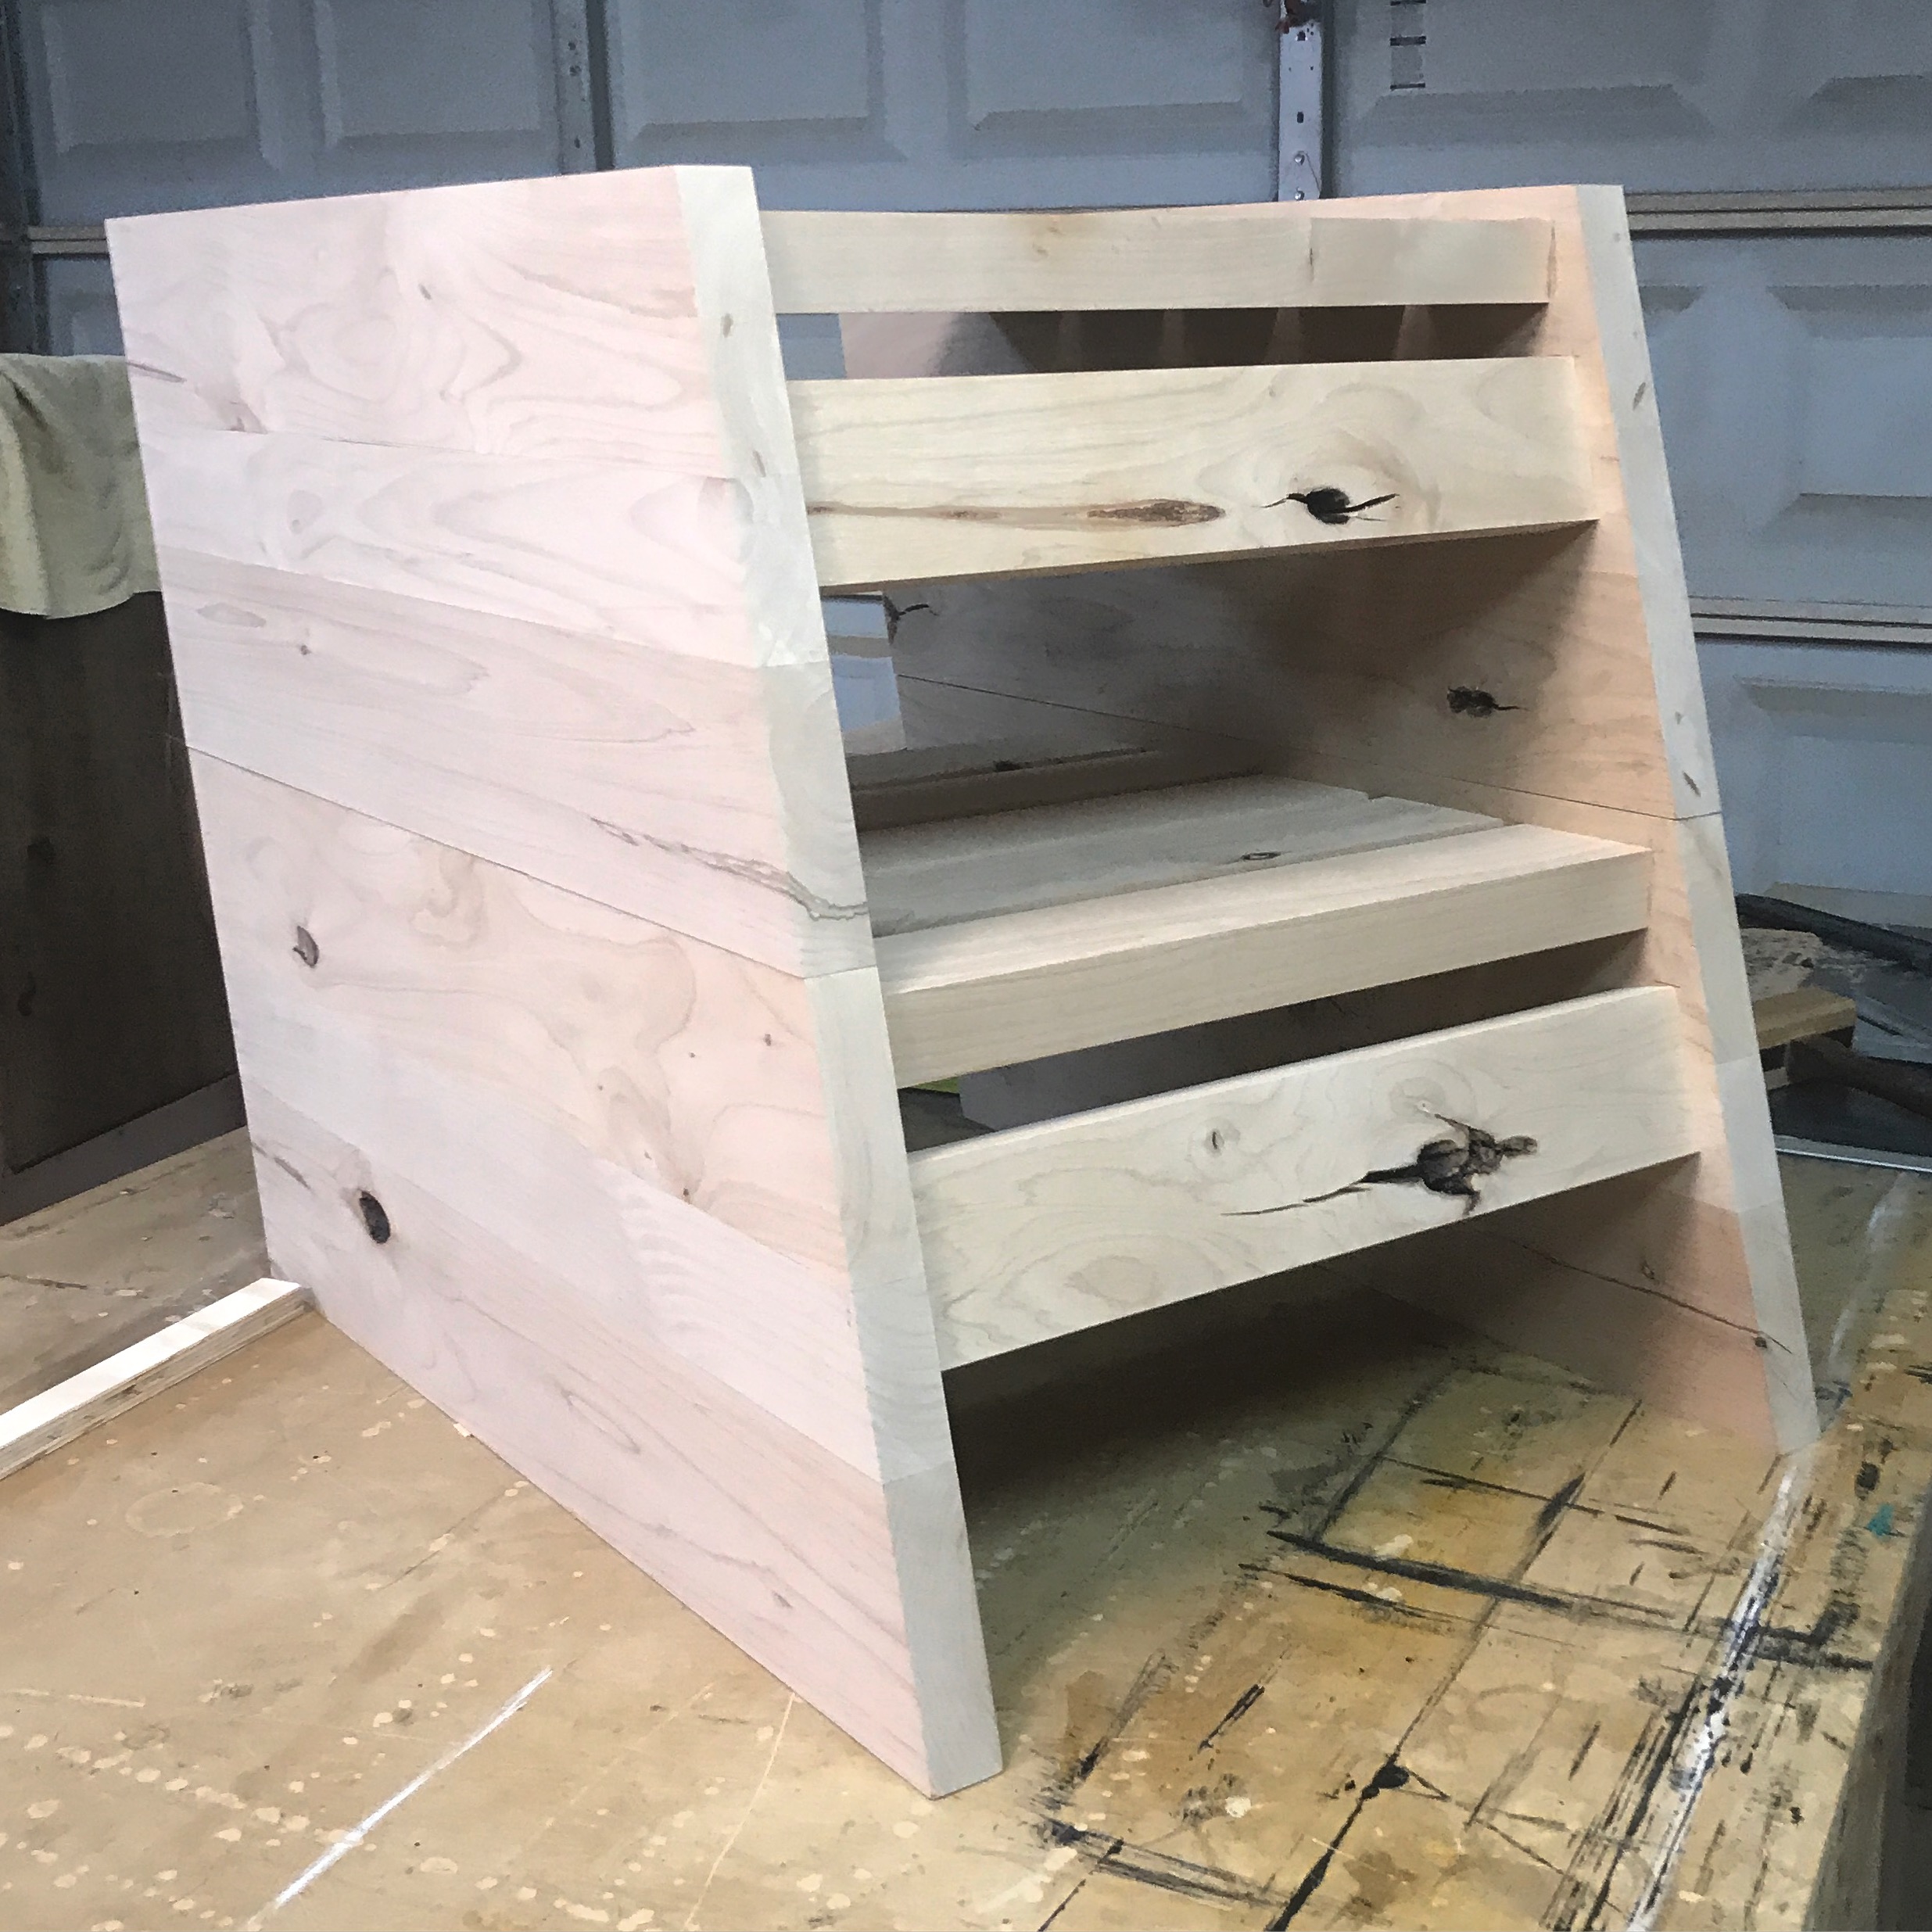
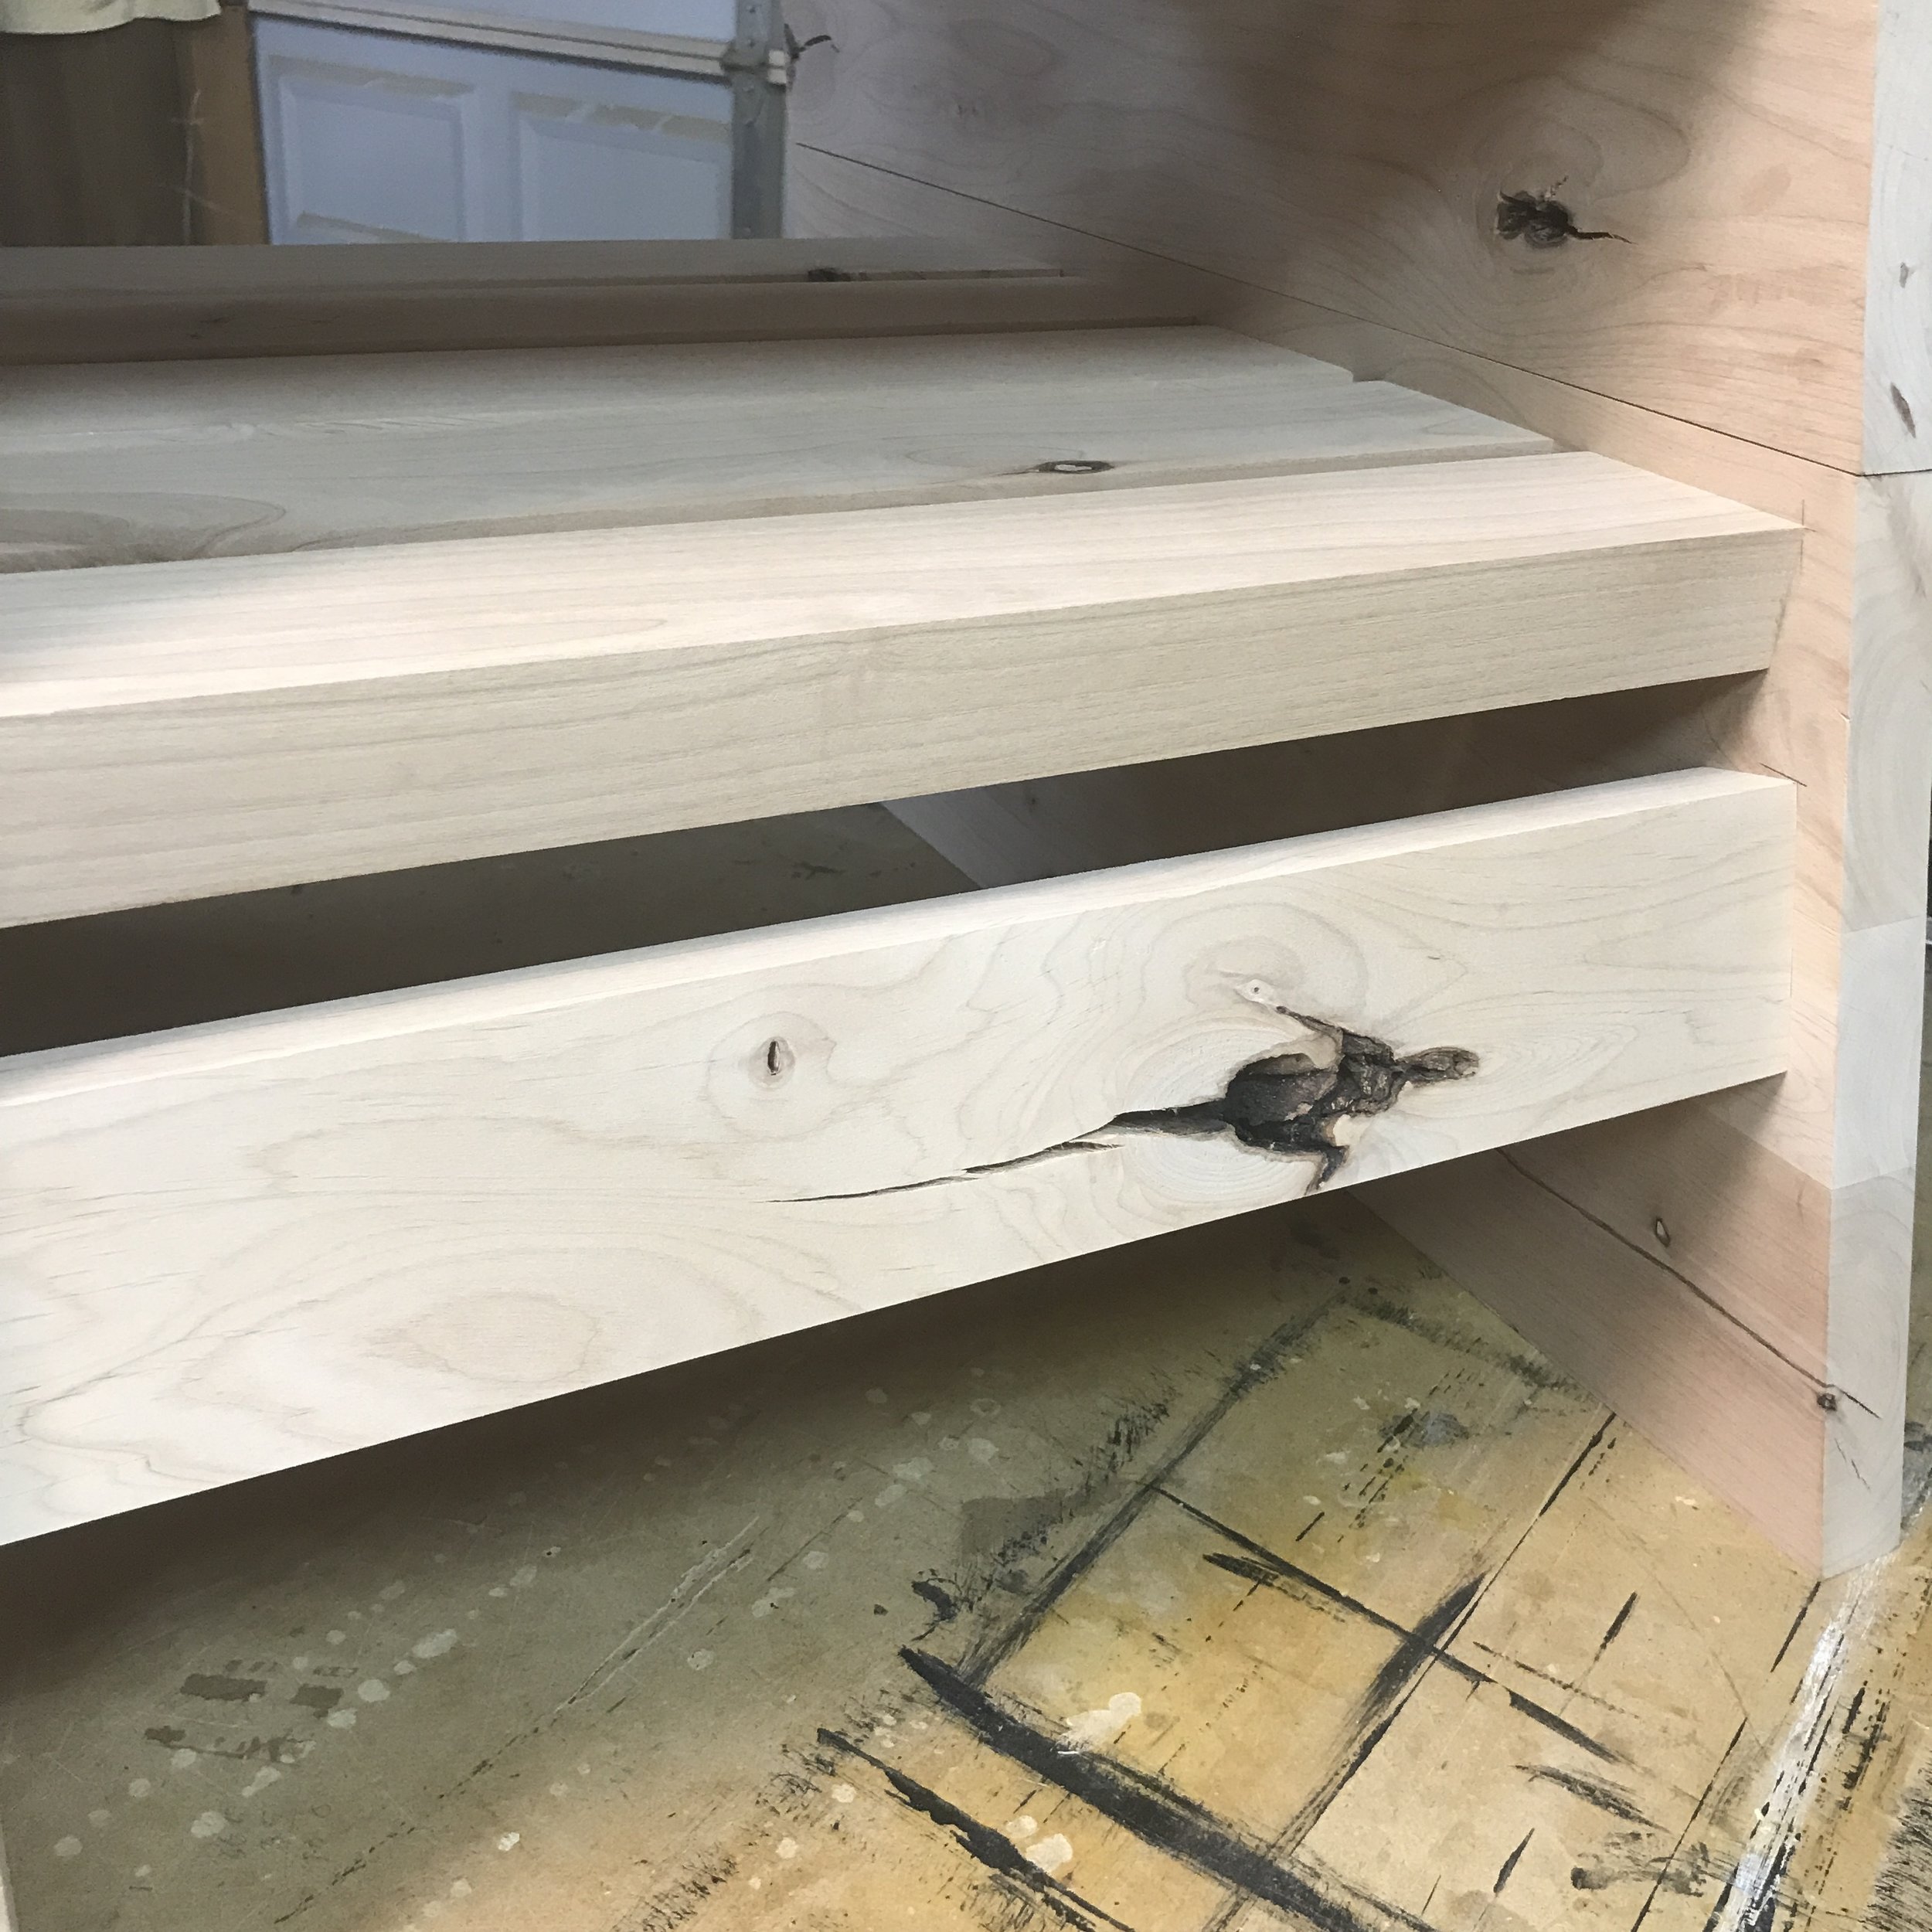
Step 4 - Attach Front Apron
If you didn't already know I love Knotty Adler and all the character you get in the pieces, so I knew that I wanted to display that as much as possible in this build. So I saved the slats that had the most character for the front apron pieces. So what do you think? Display those knots or hide them? I definitely displayed them!
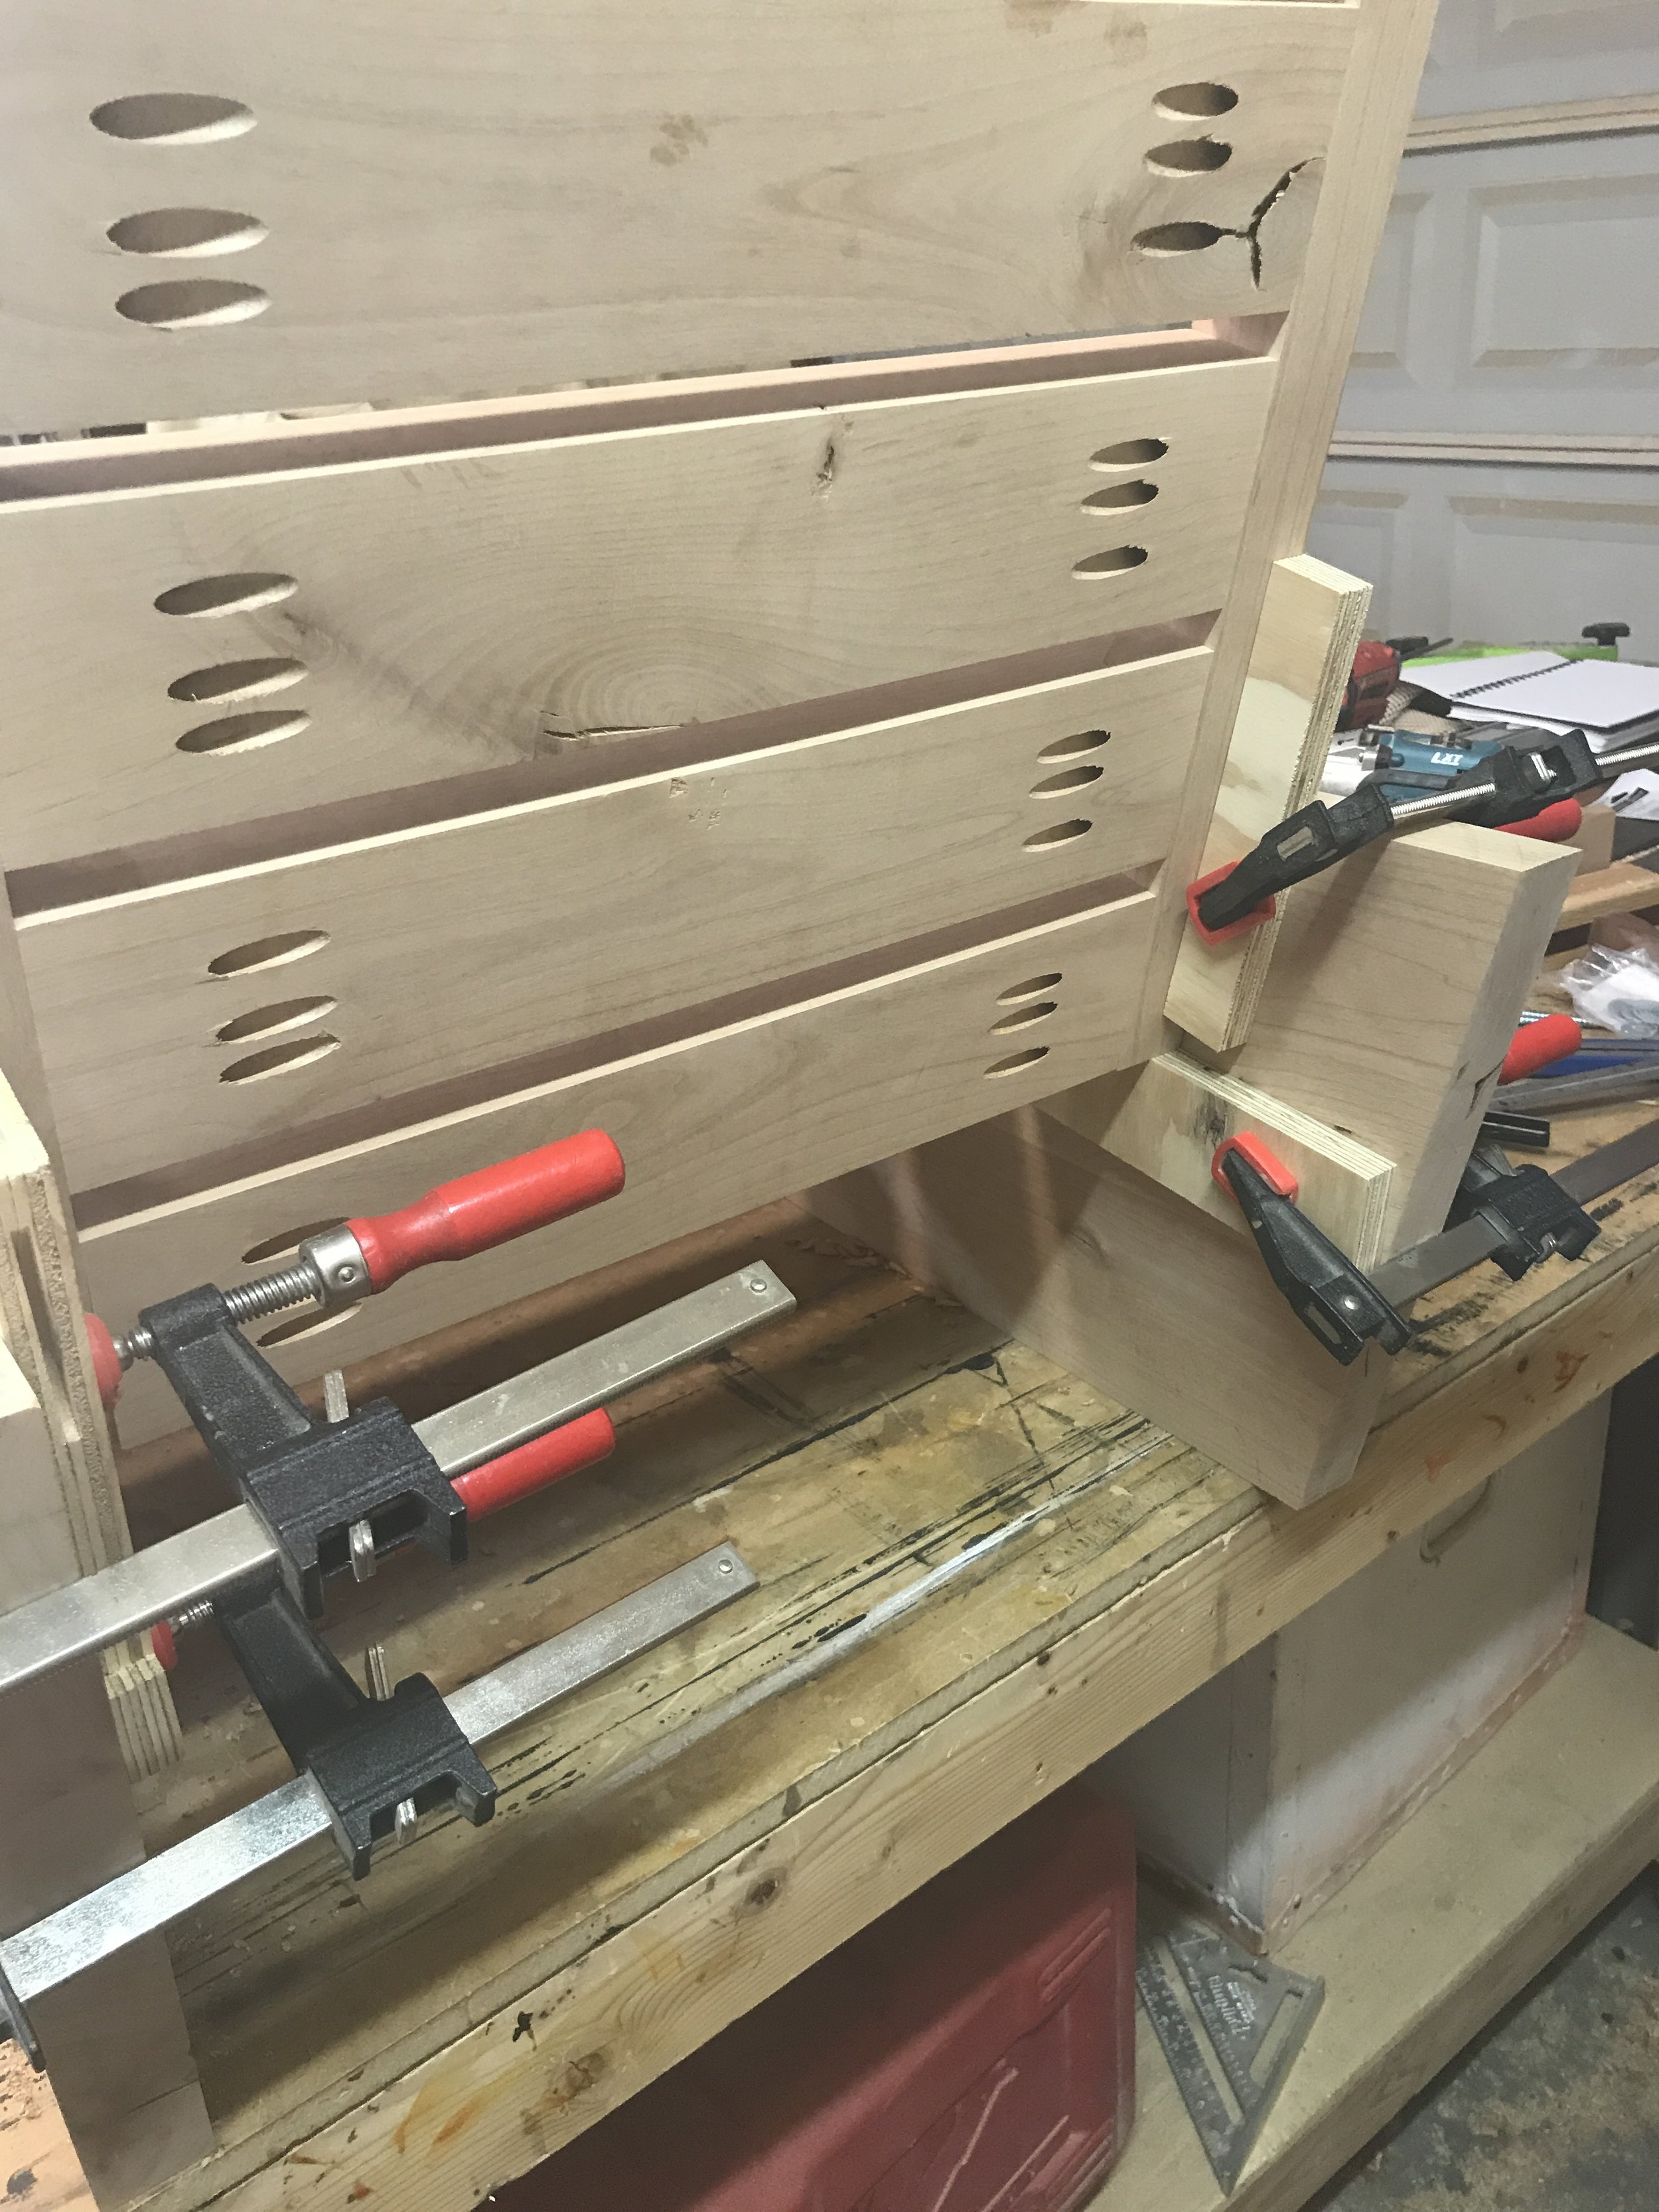
Step 5 - Assembly Backs
This step is pretty straight forward, my only suggestion is to layout the wood and the knots in the order you want and then flip them over and start attaching.
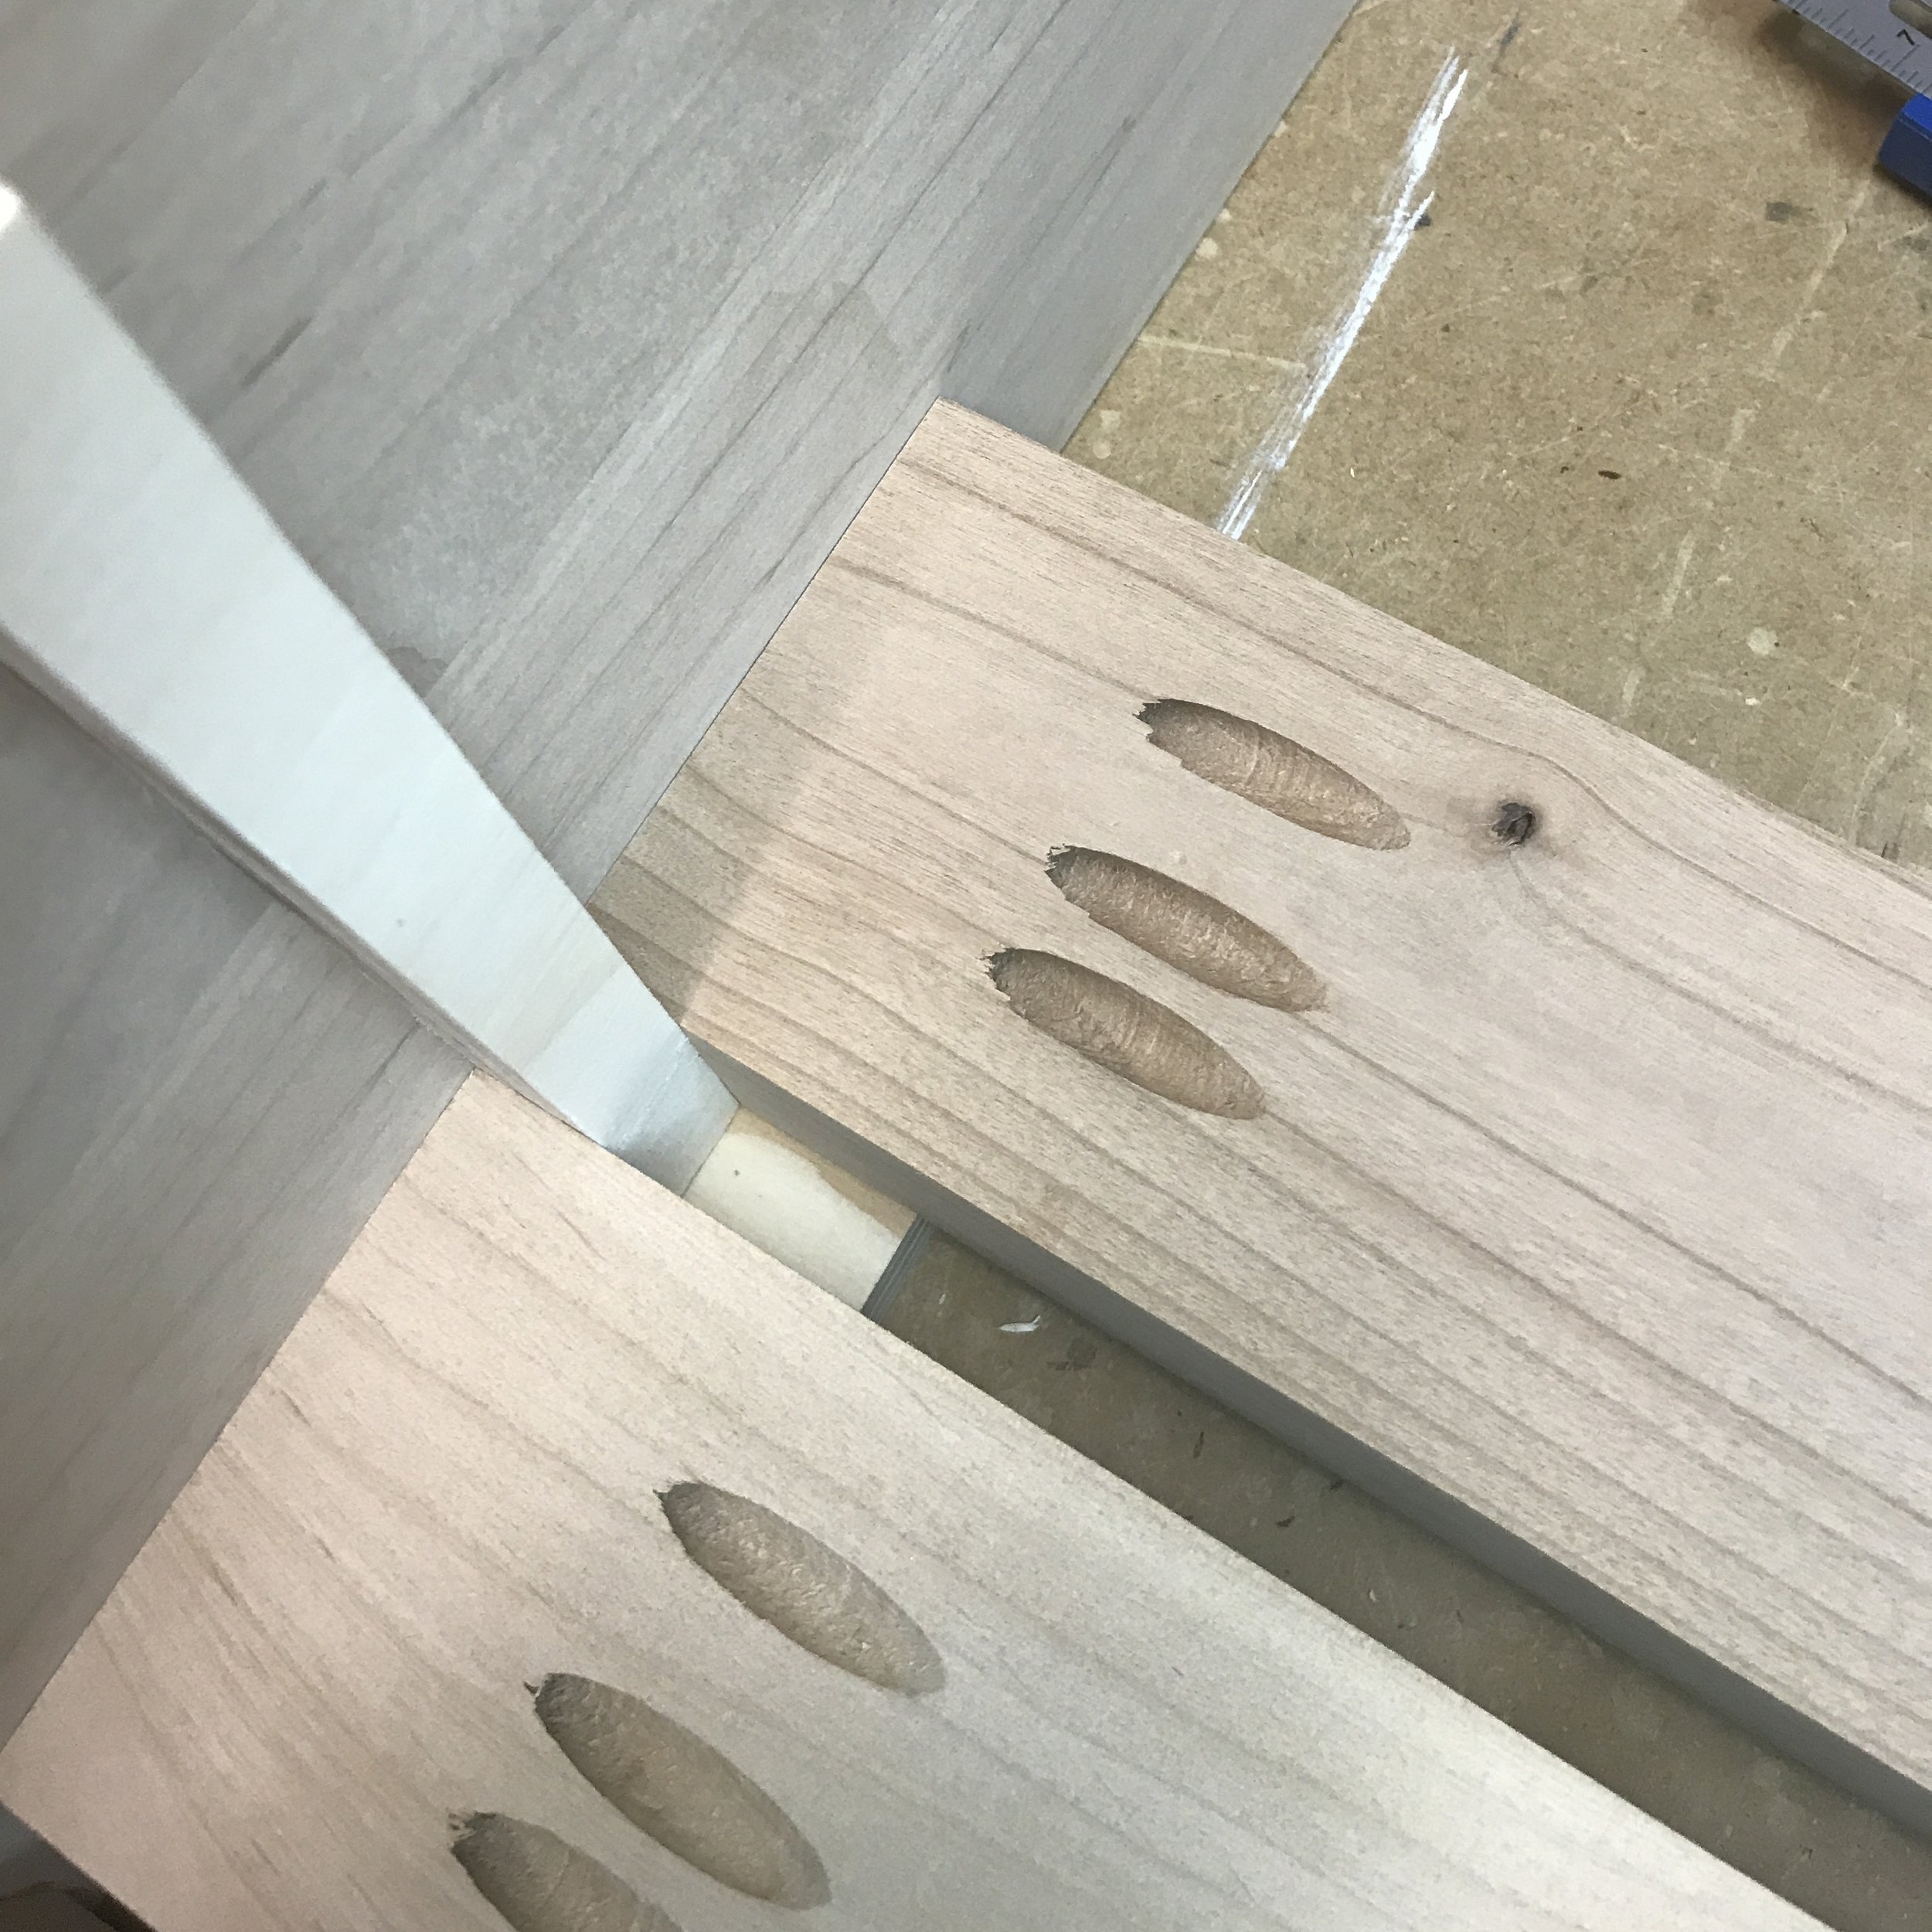
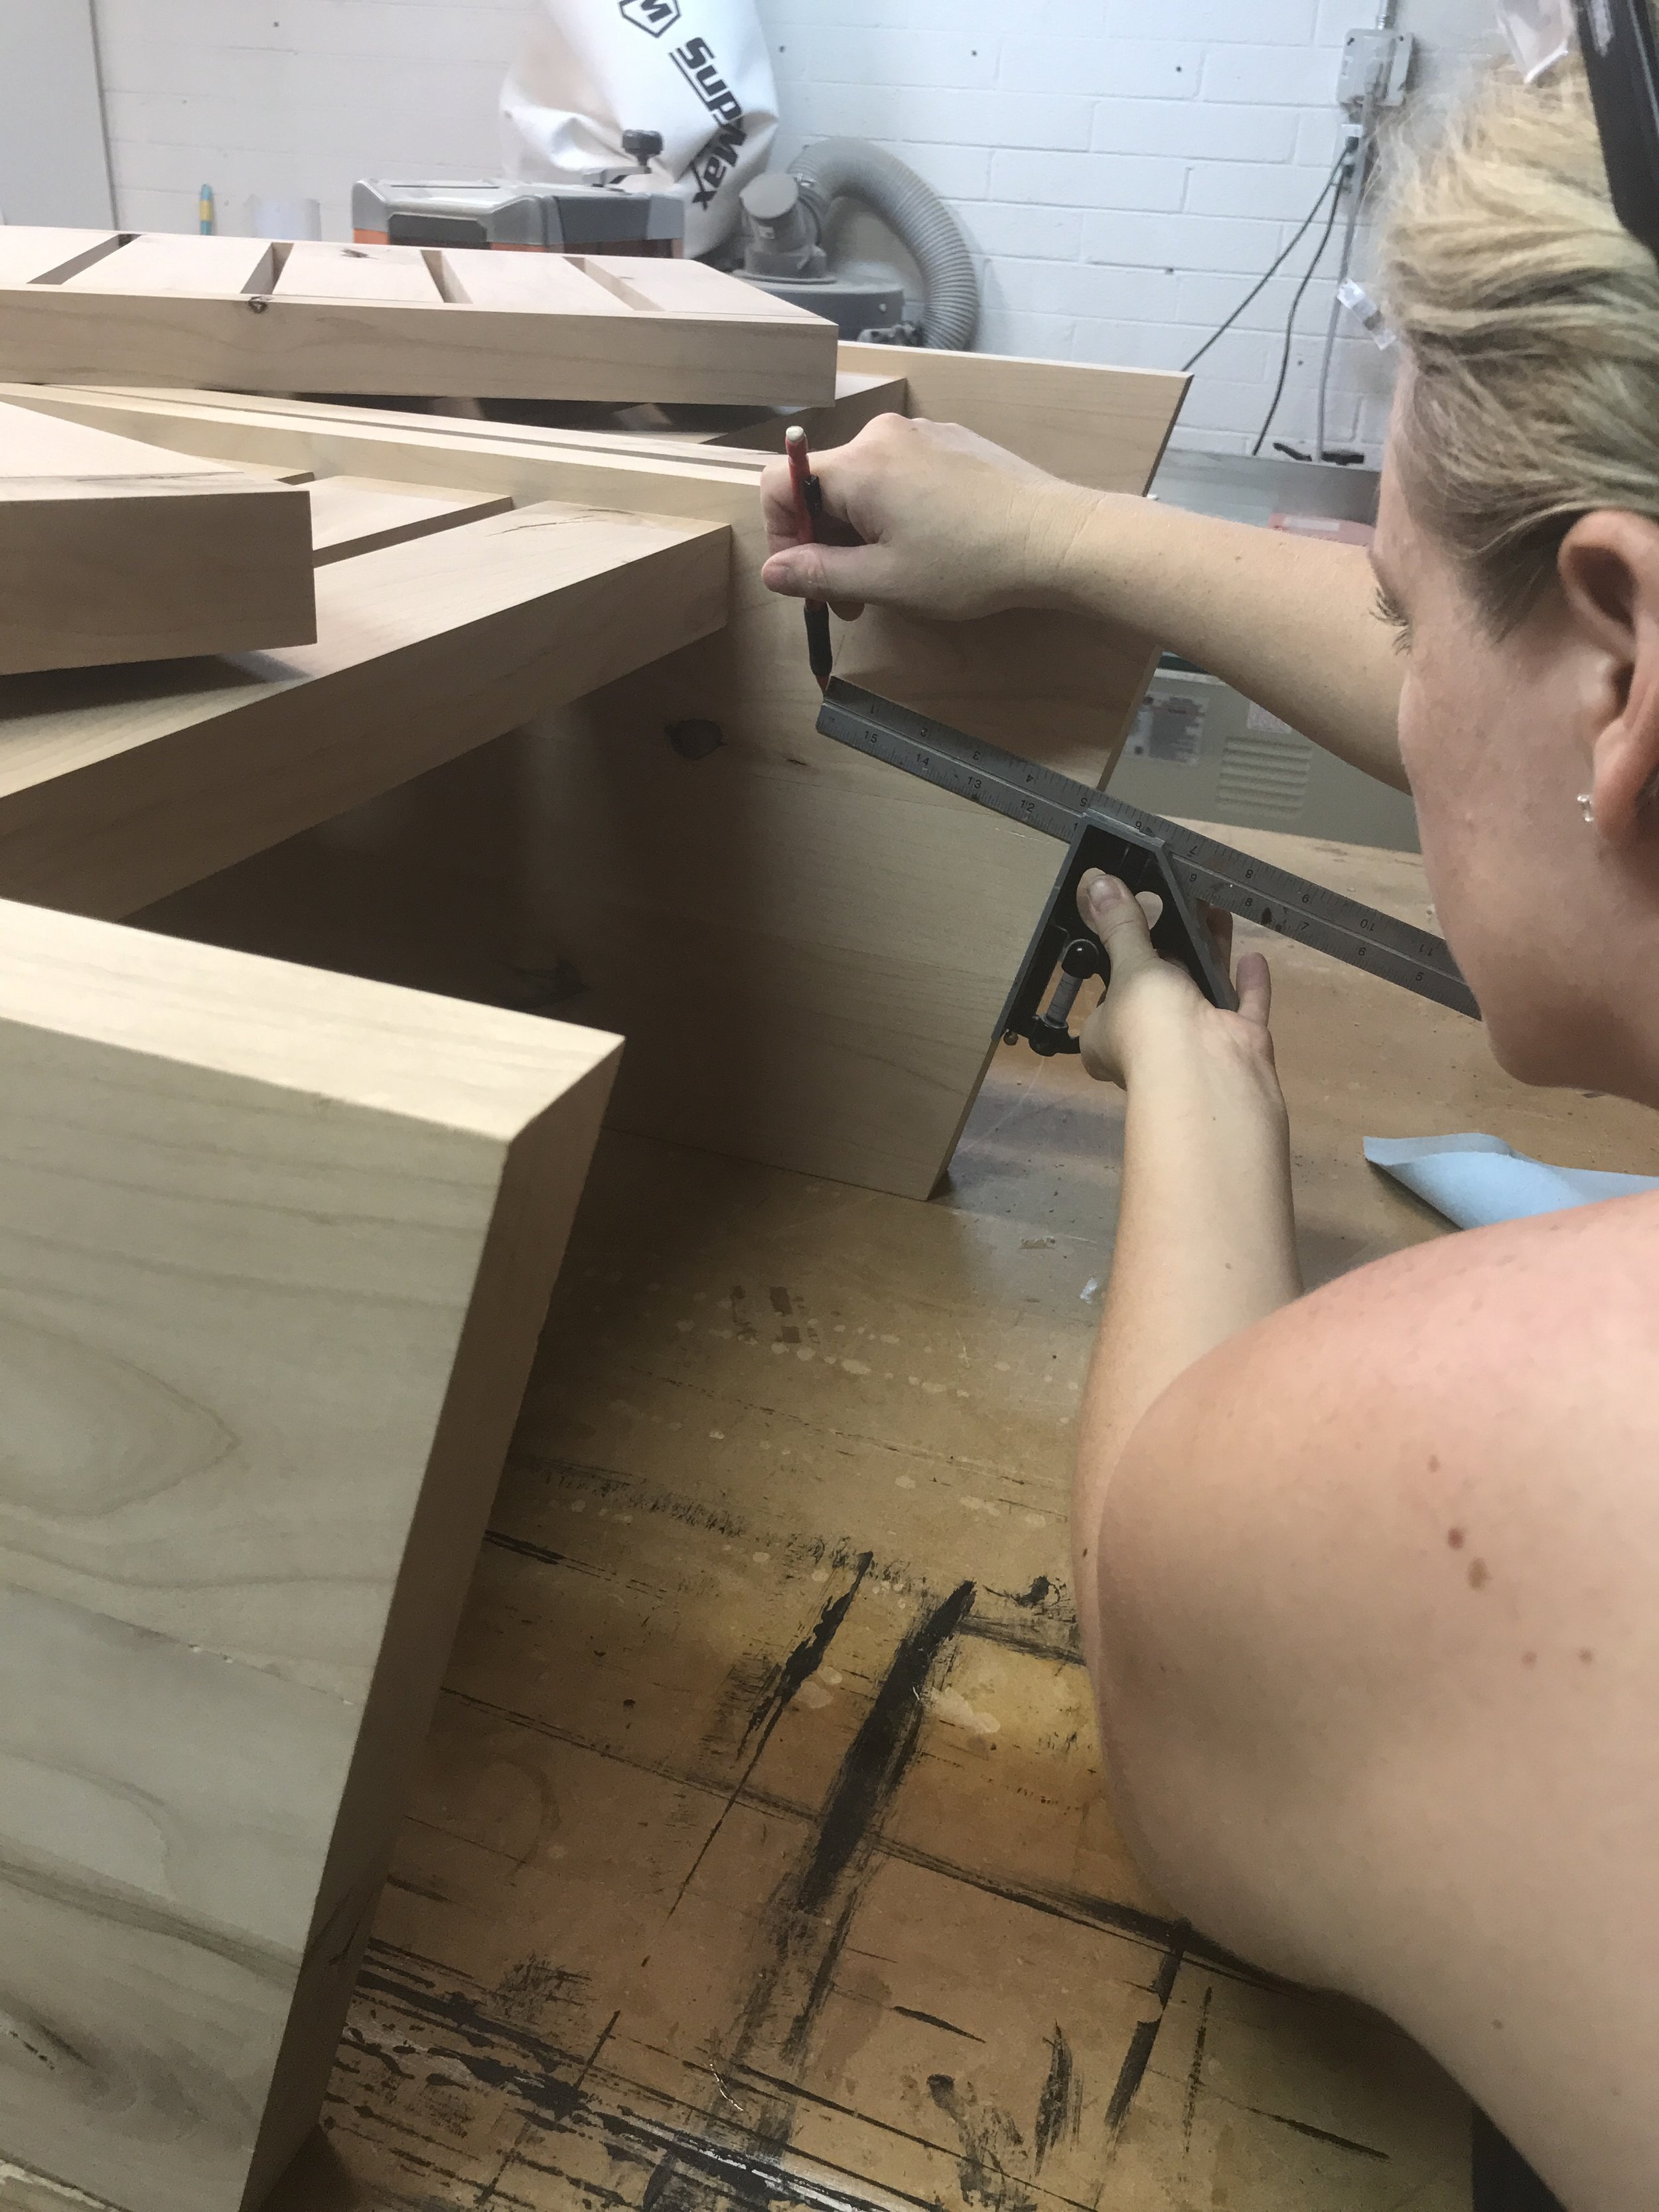
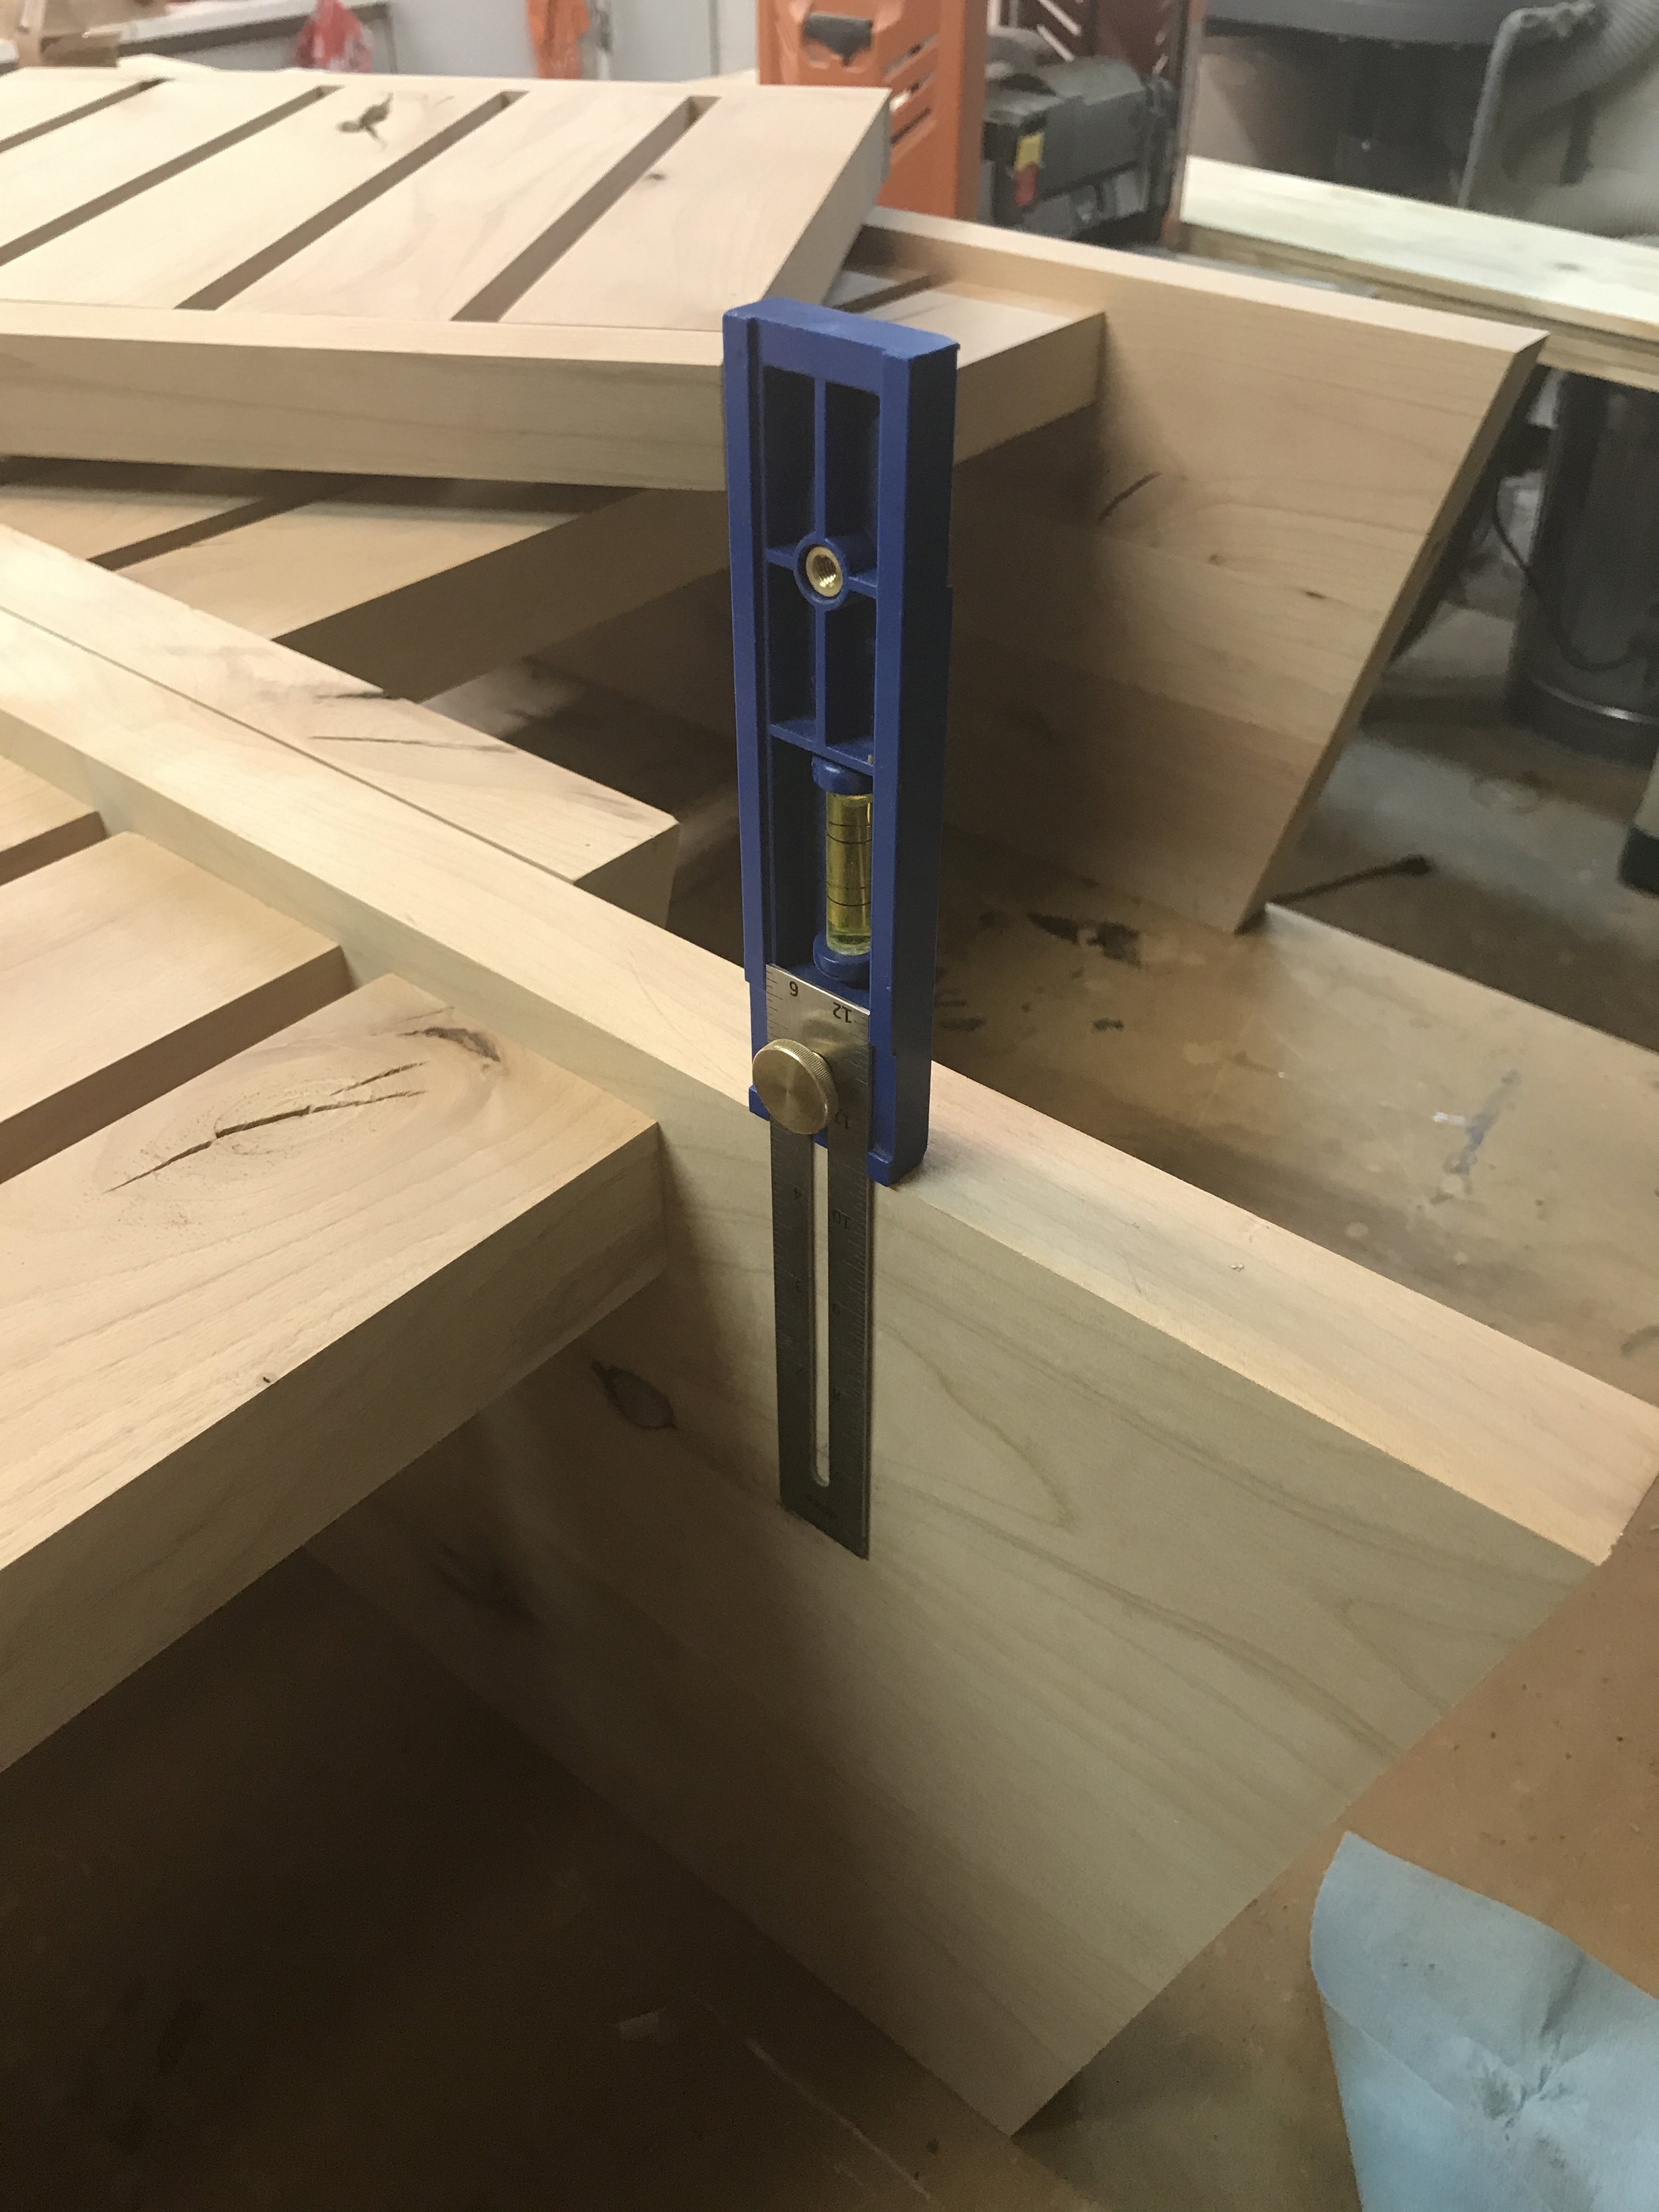
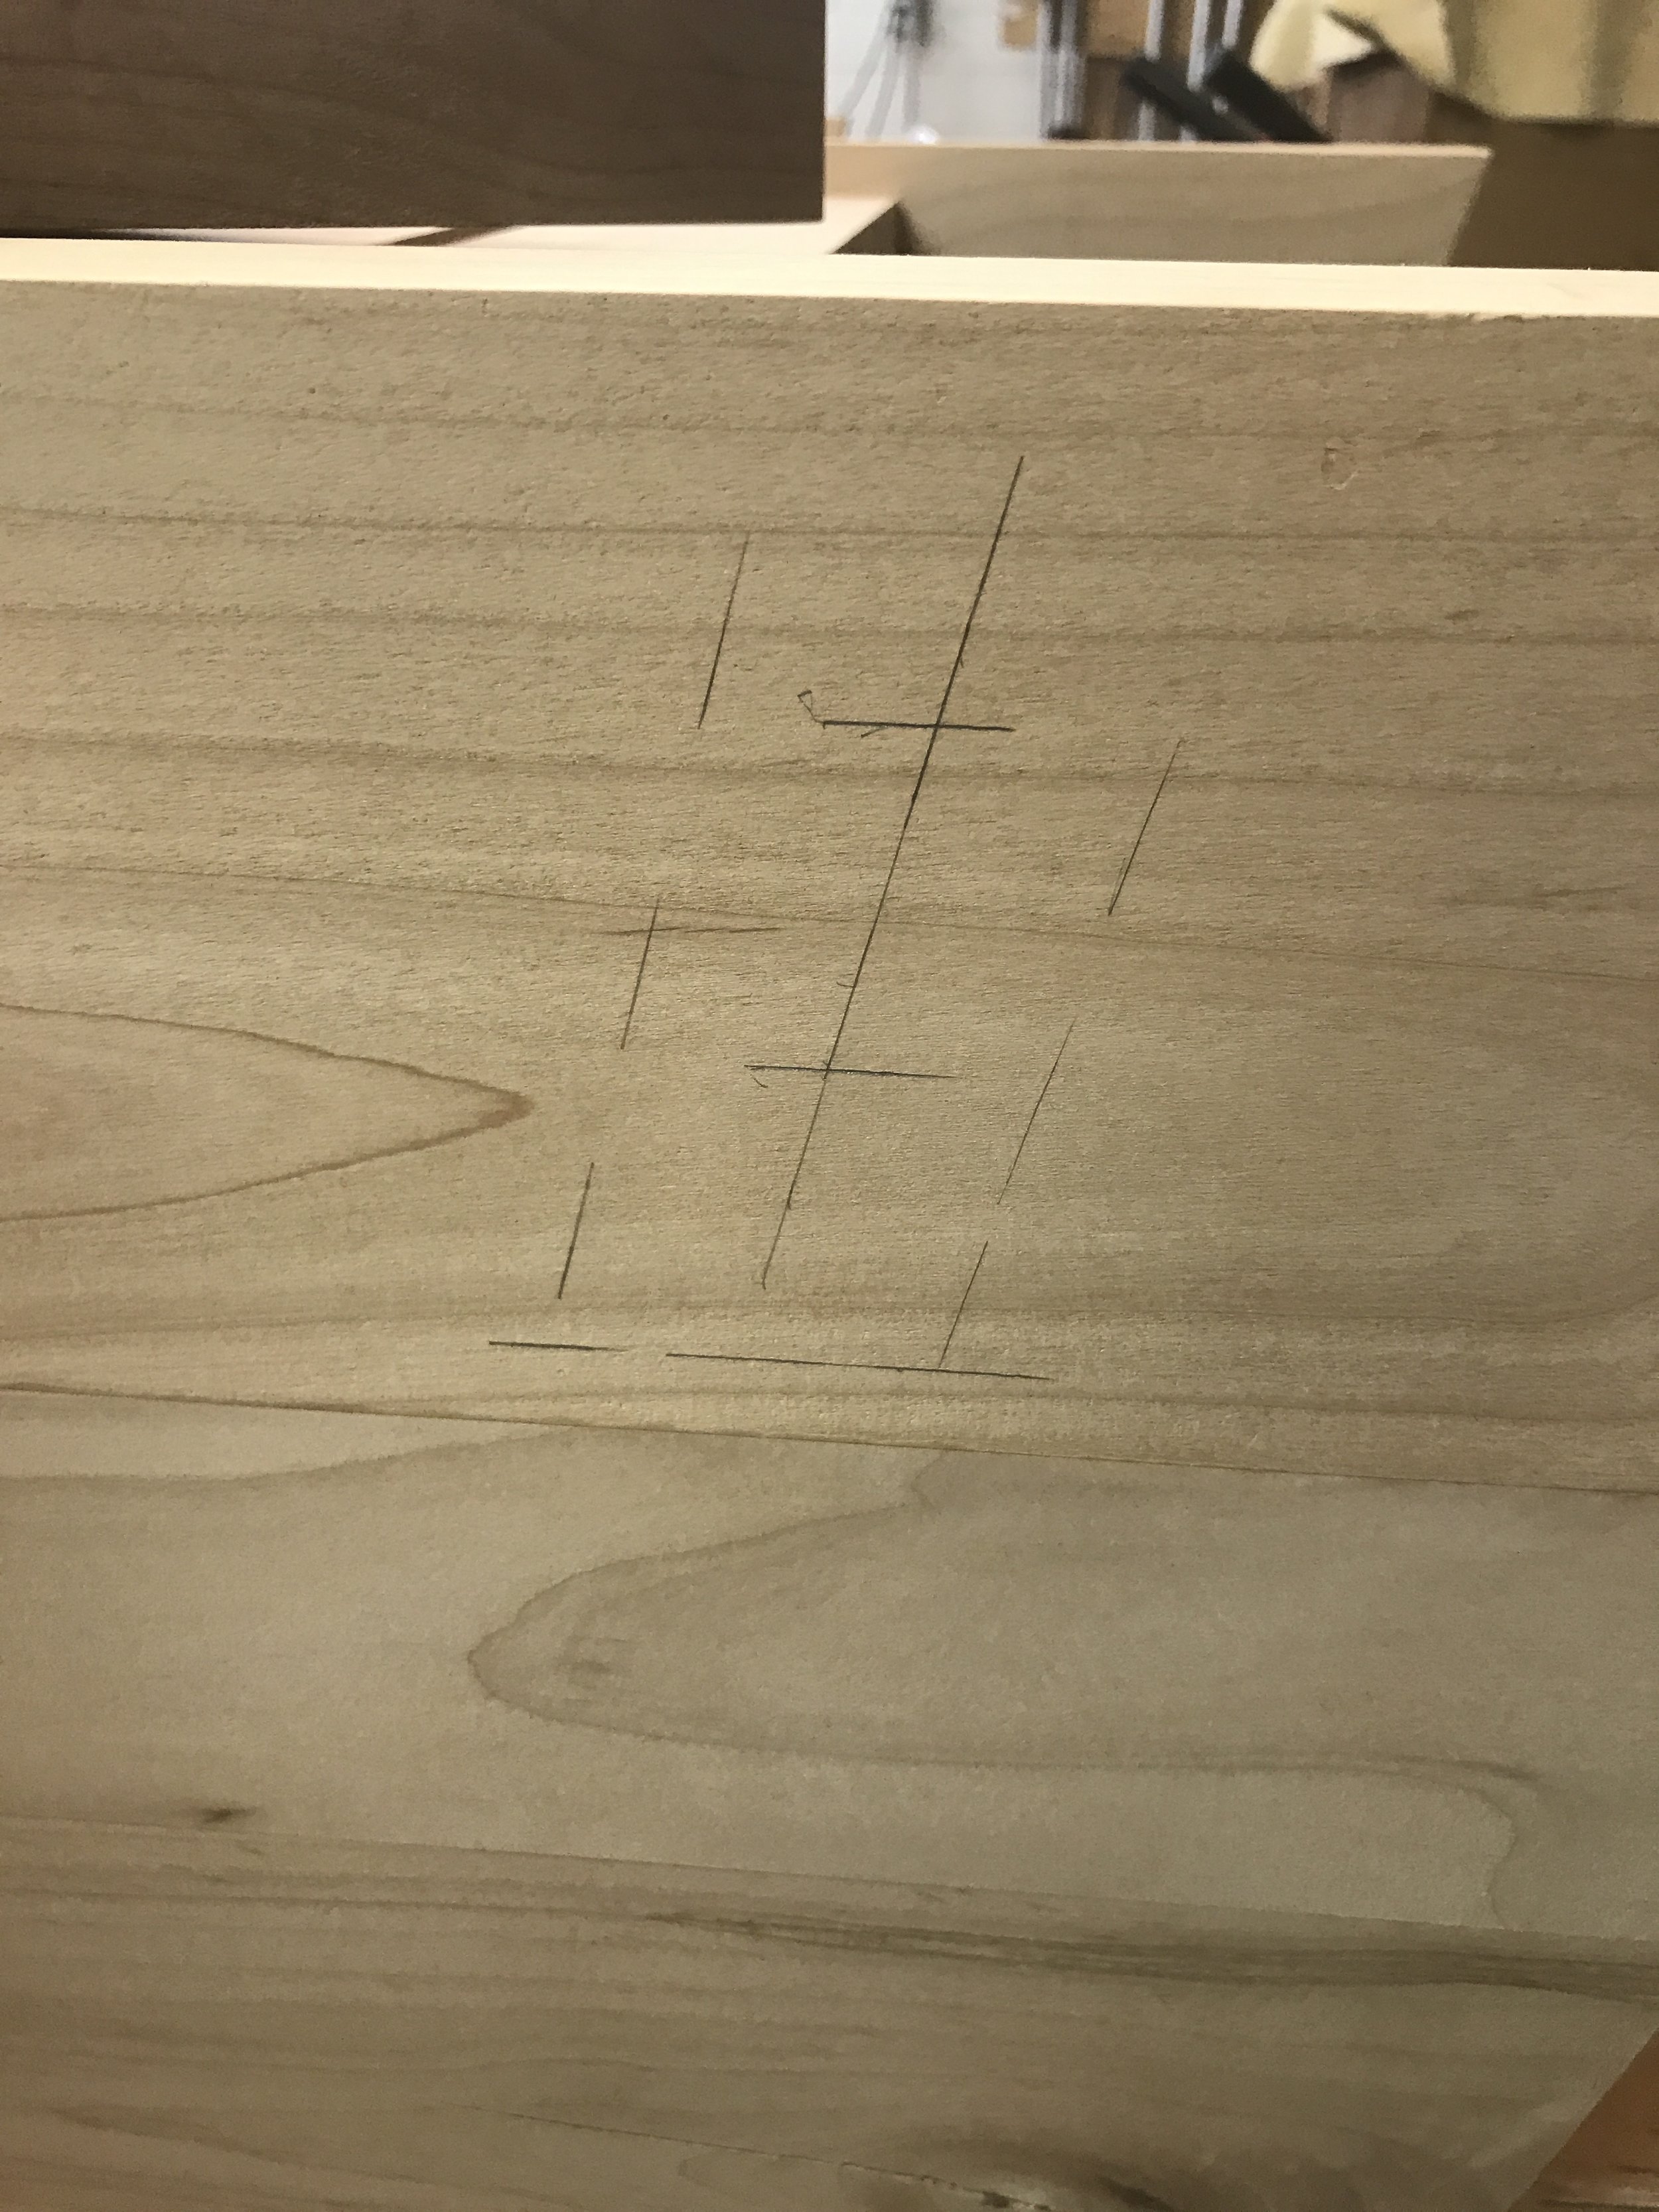
Step 6 - Layout and Drill Back Support Holes
This is the hard part of the build in my opinion, and really its not that hard it's just math! And I did if for you. Find all the numbers on buildsomething.com site and you will have no problems! Oh and the Kreg Multi-Mark is really handy for this step!
Step 7 - Attach Backs
Scrap wood, Bessey clamps, and a flashlight all help with lining up the holes!
Step 8 - Attach Back Trim
This step to hide the pocket holes on the backs of the chairs and I think that it adds to the overall look of the chair!
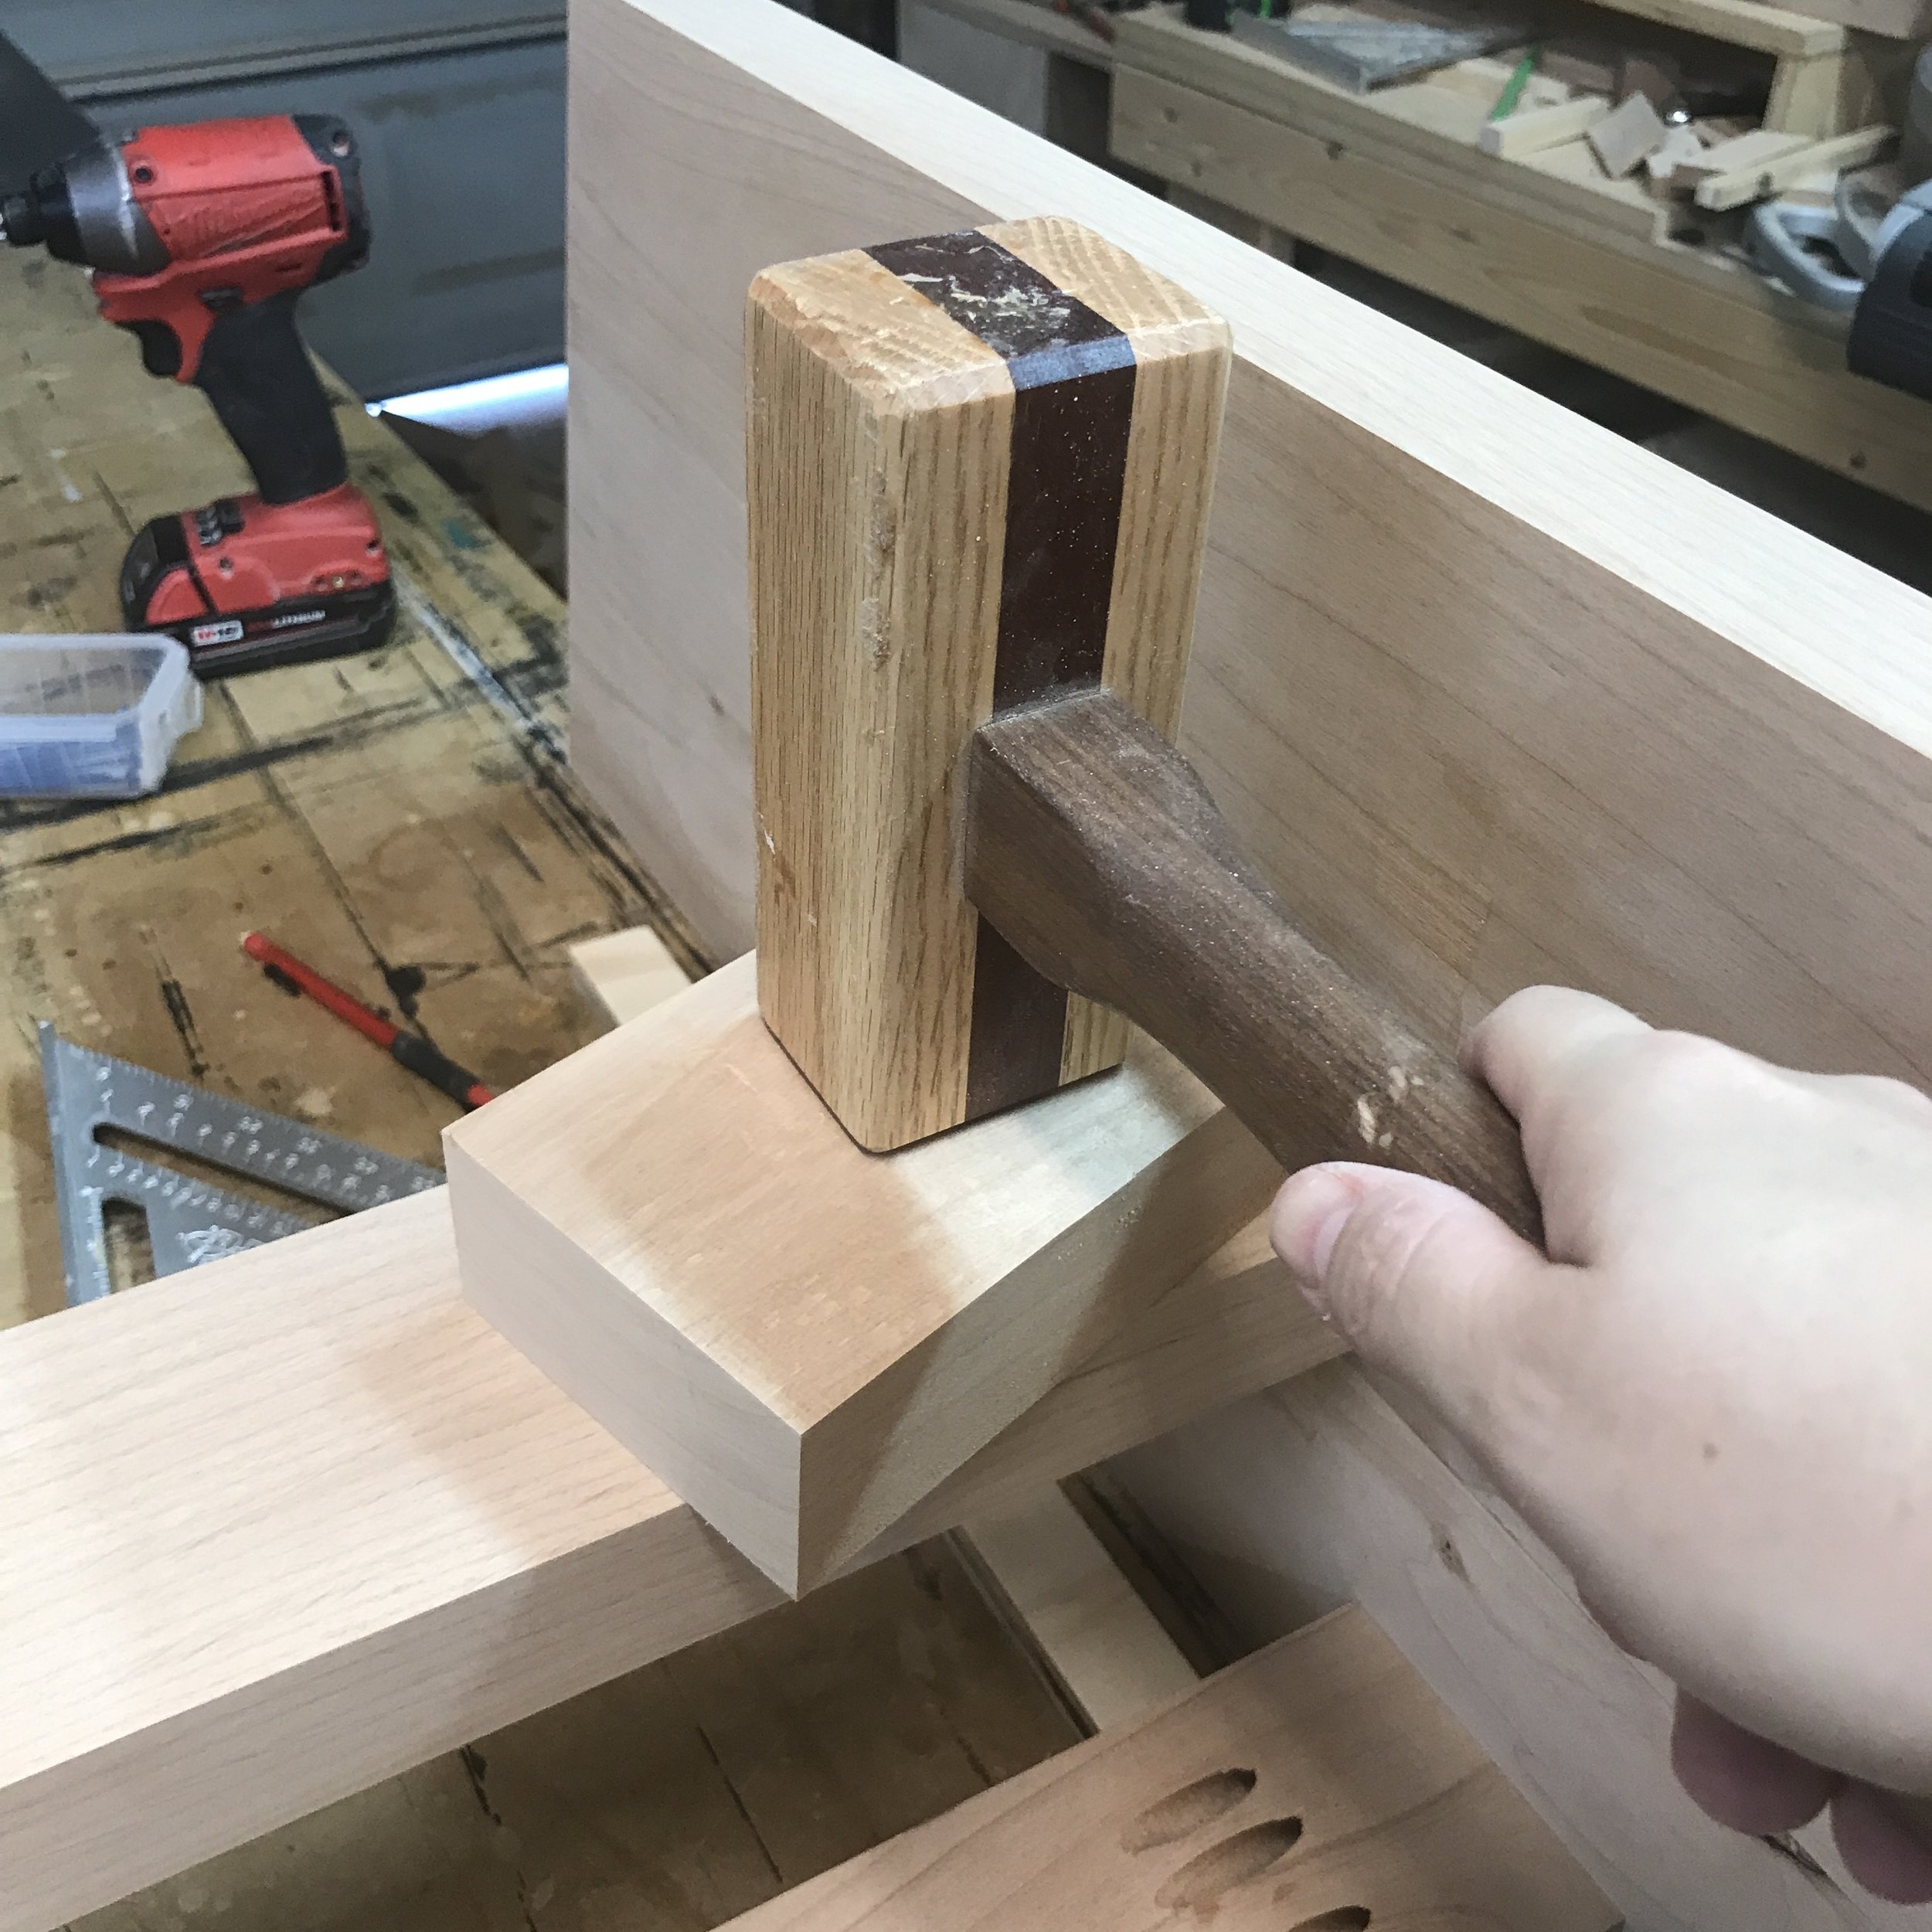
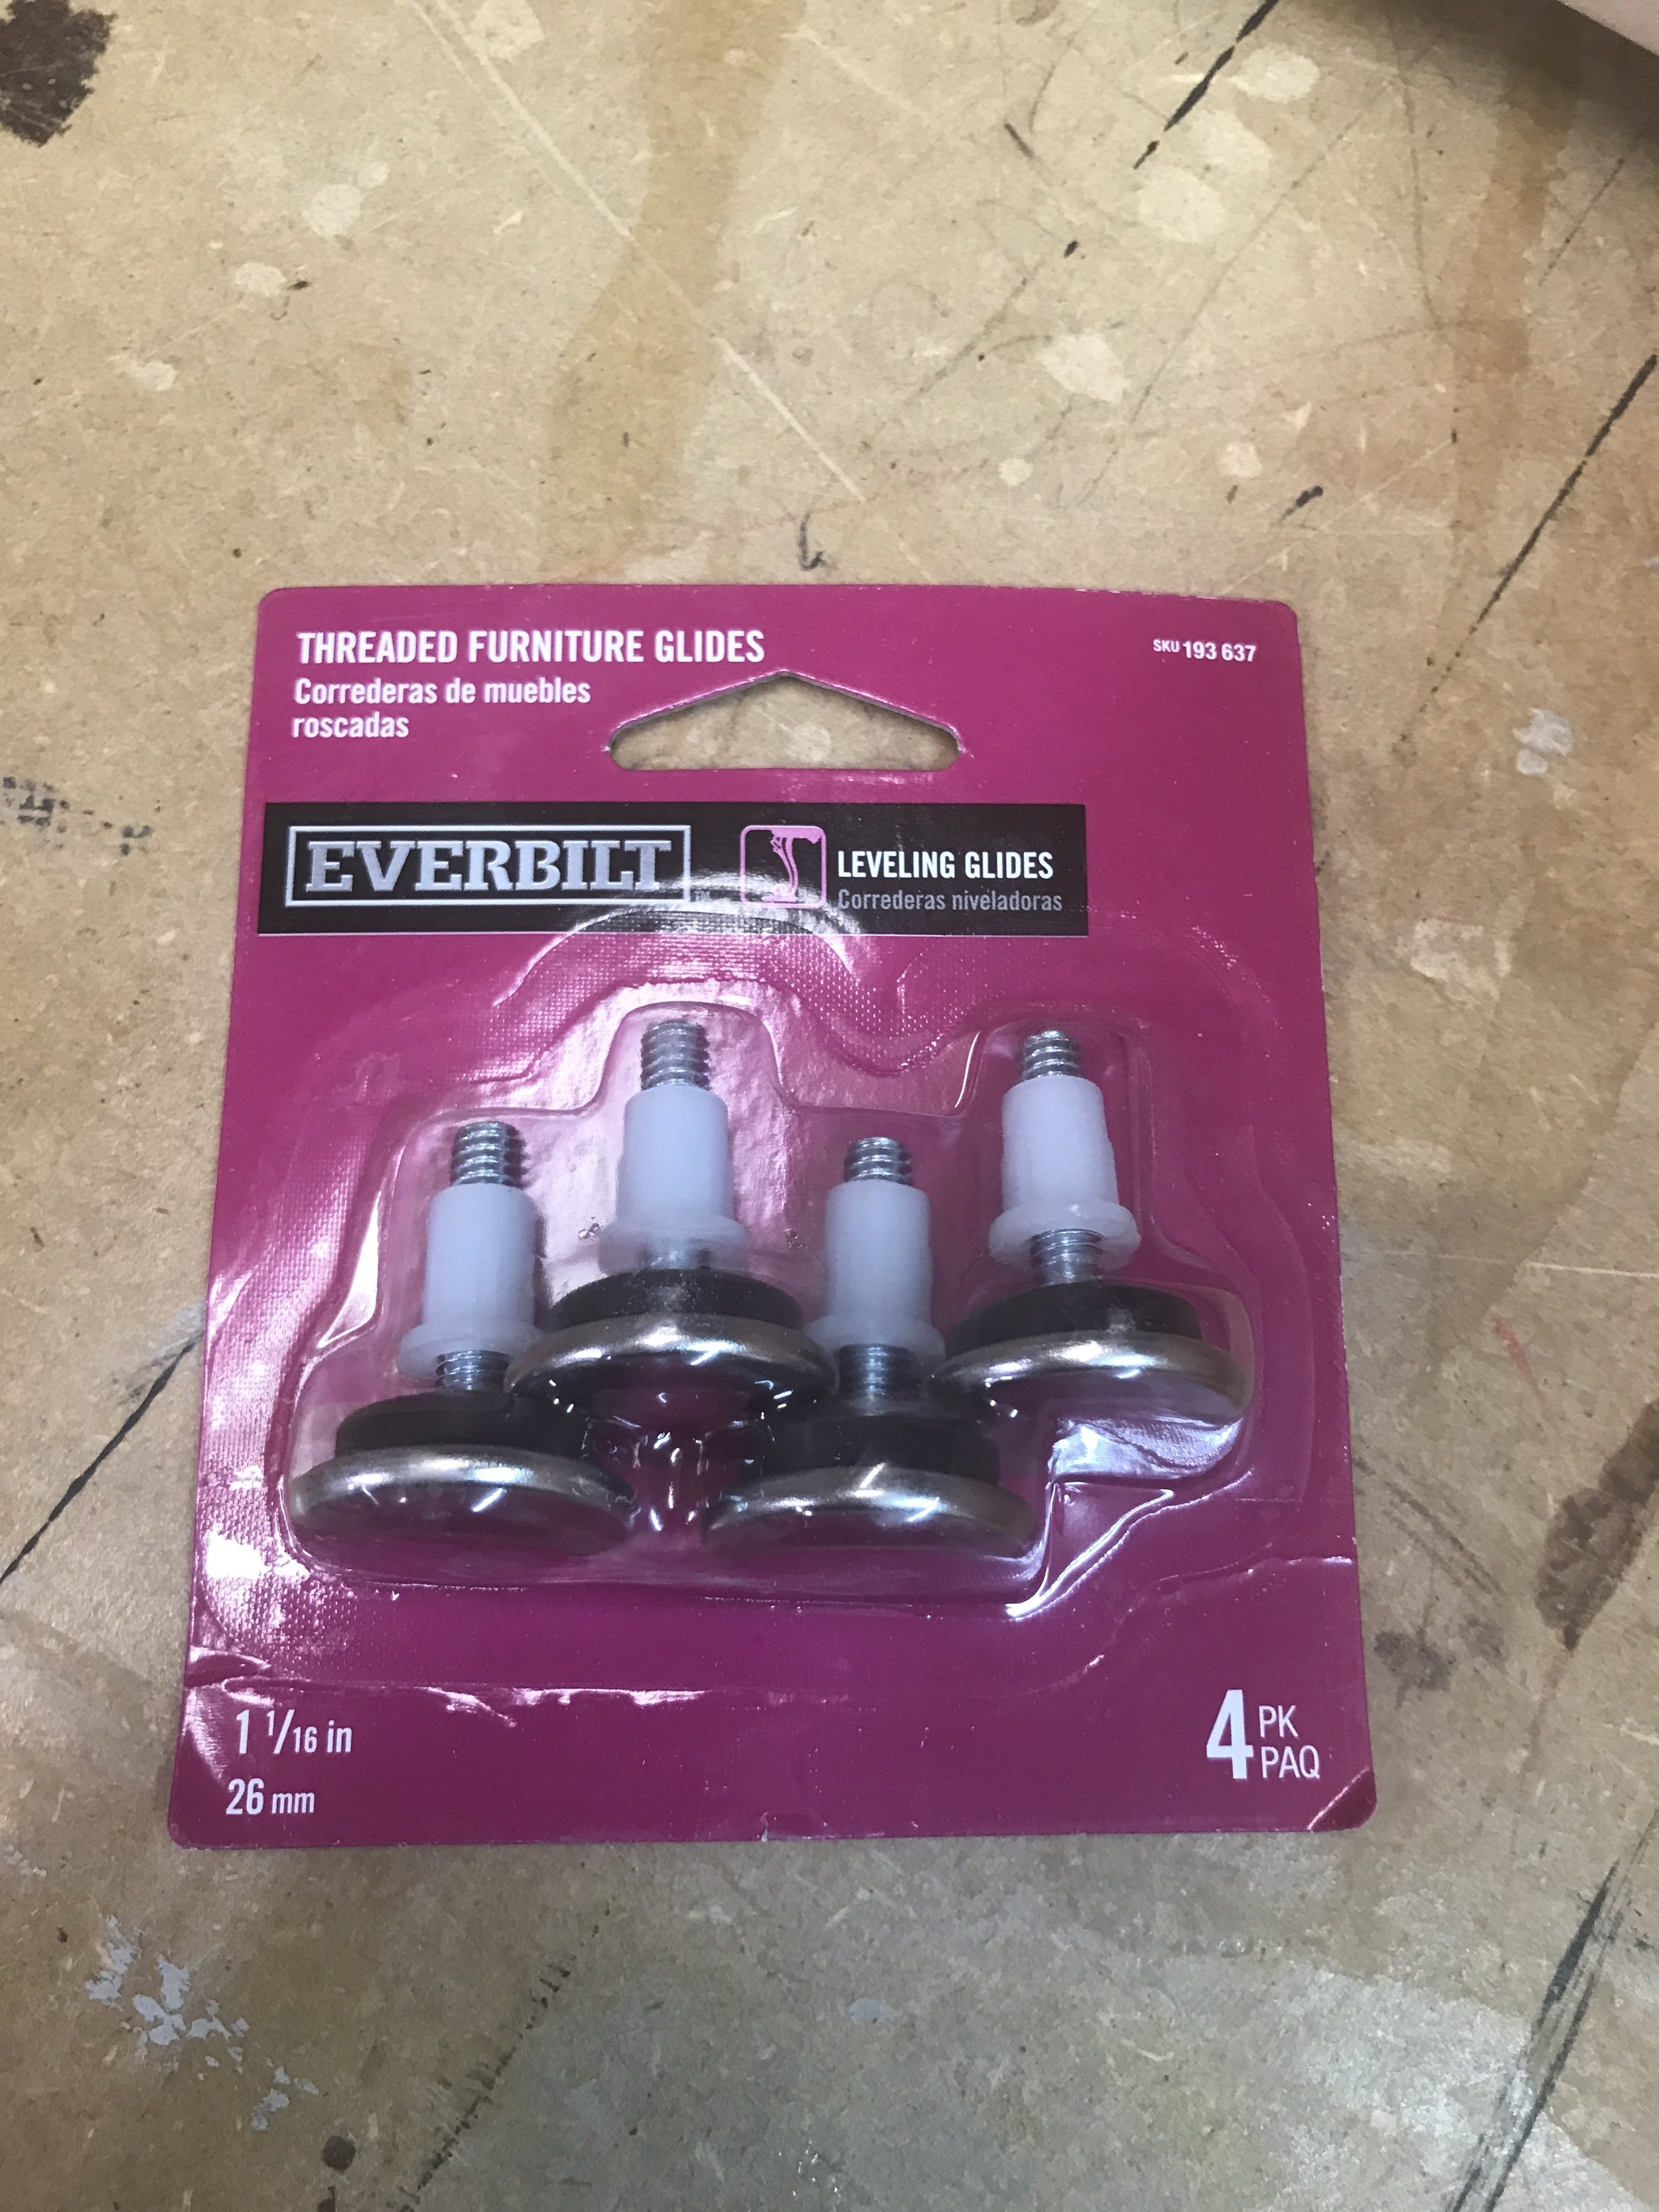
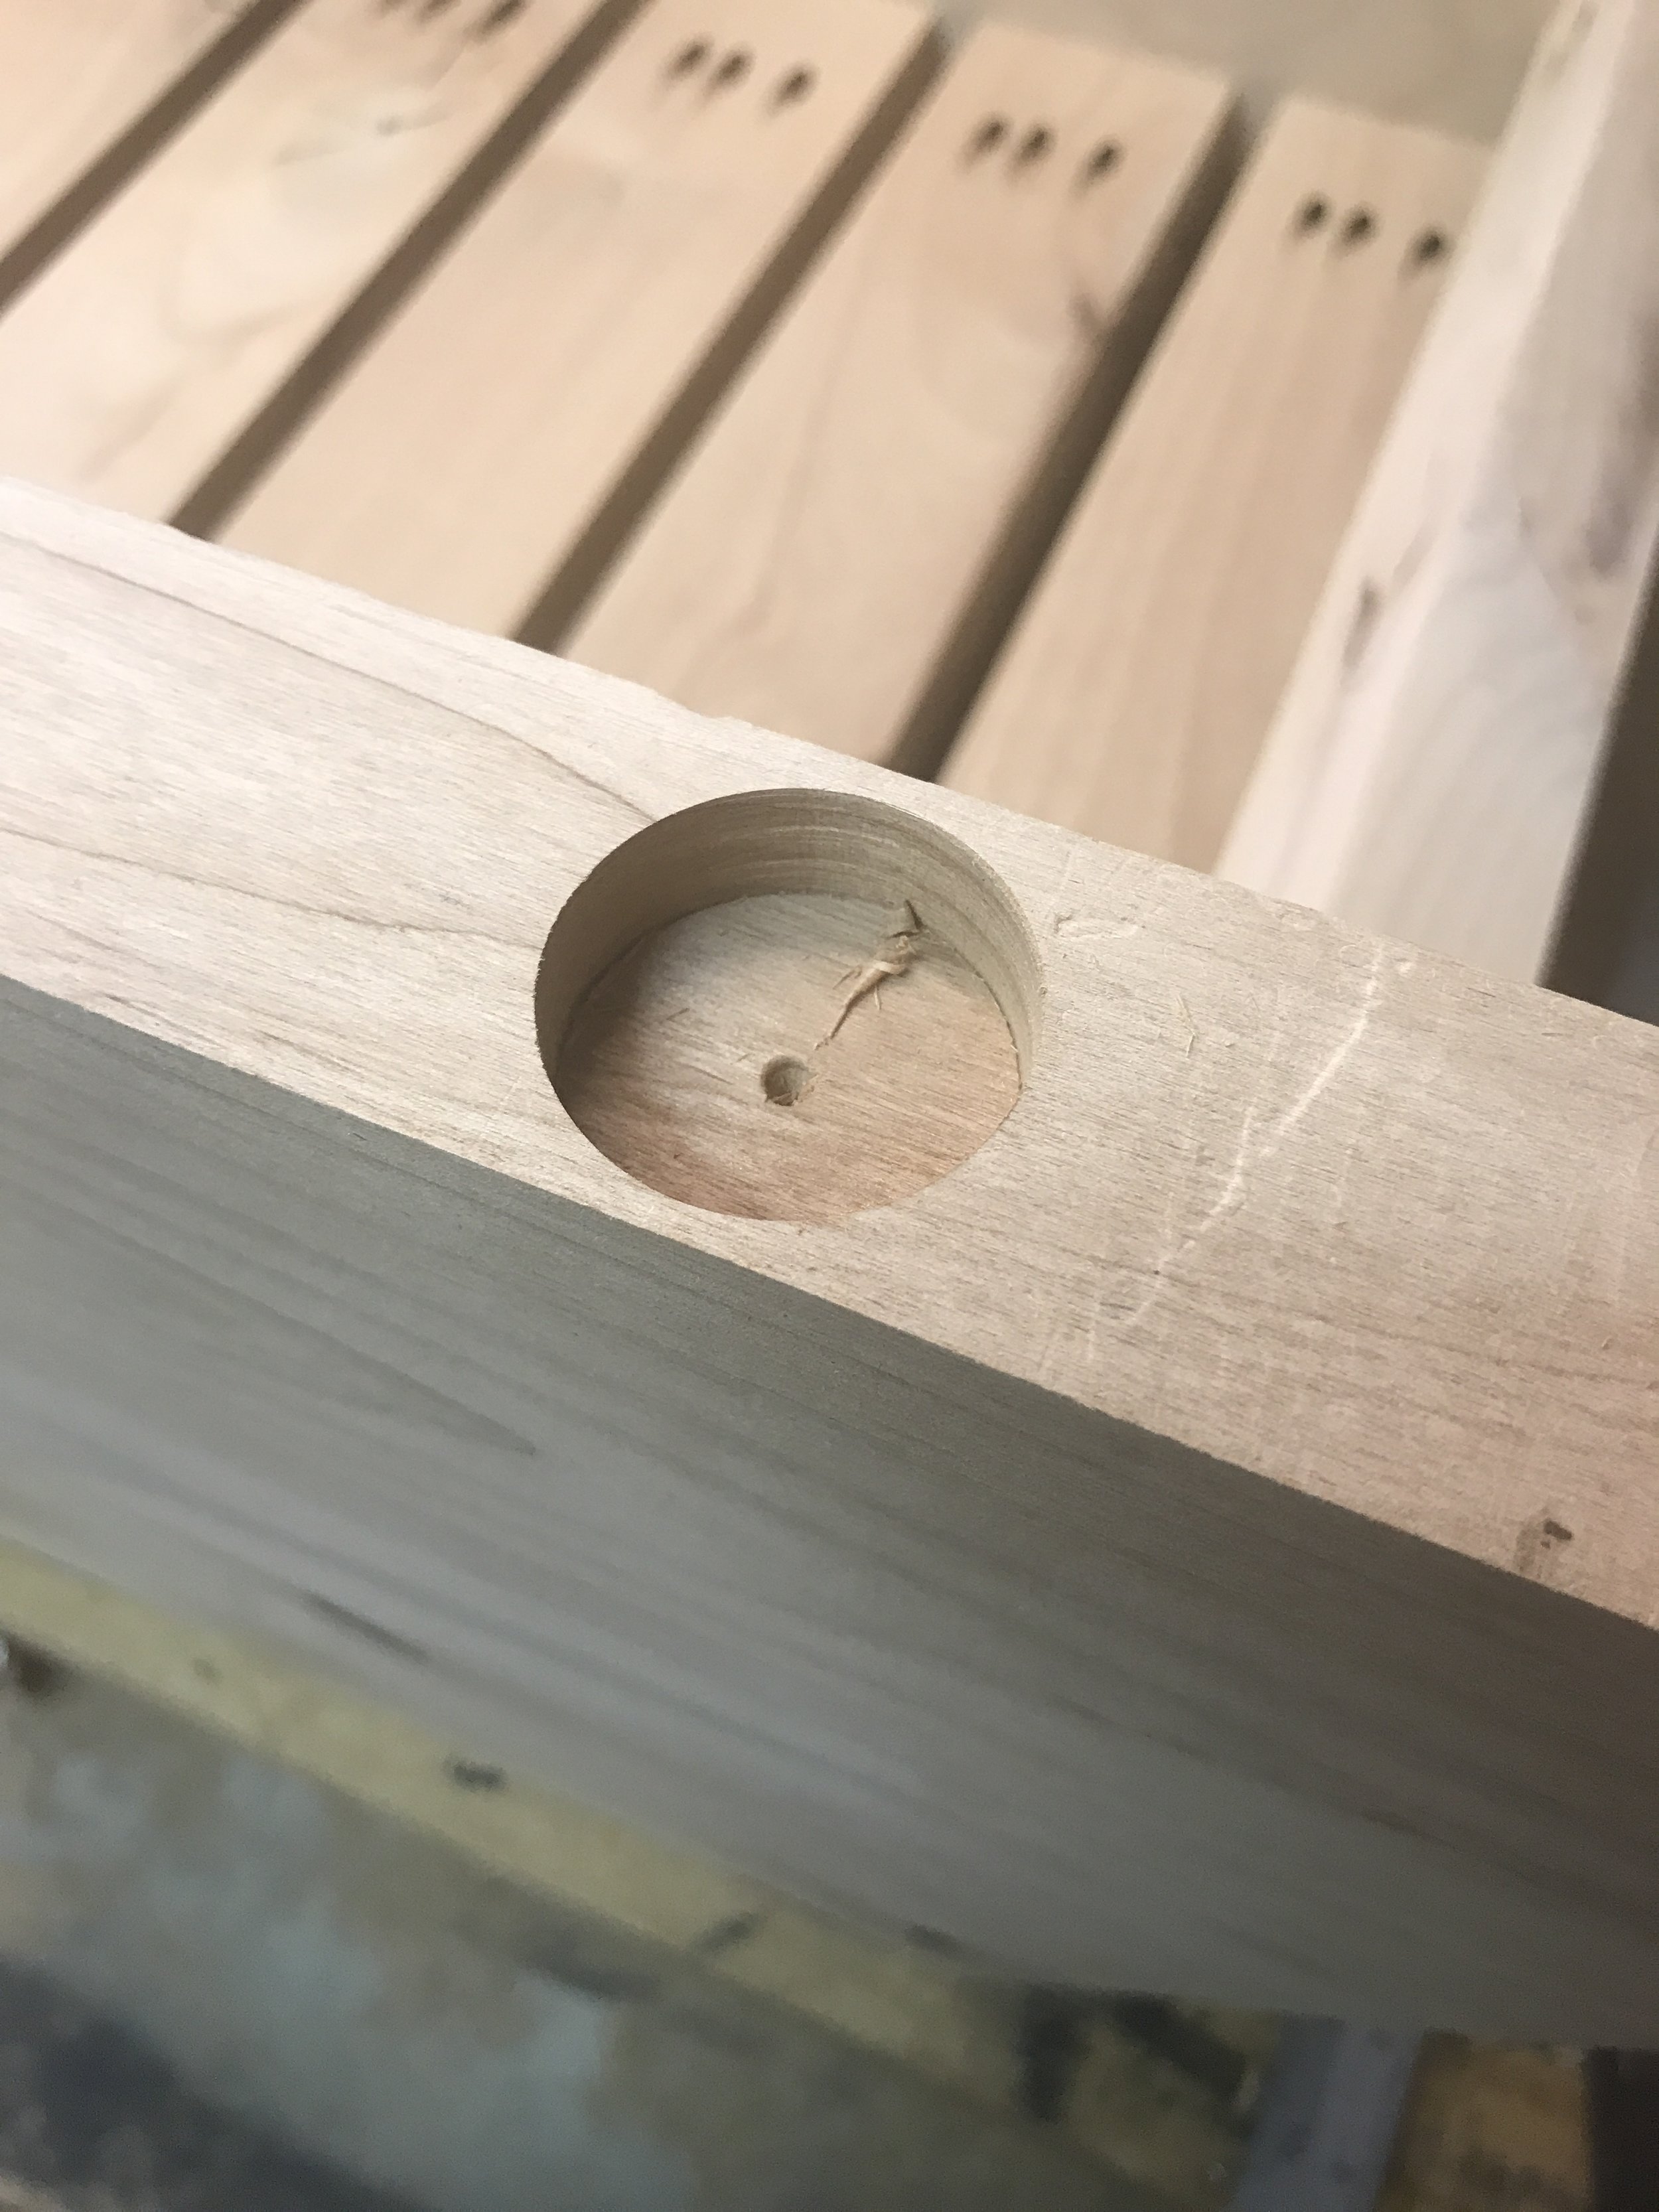
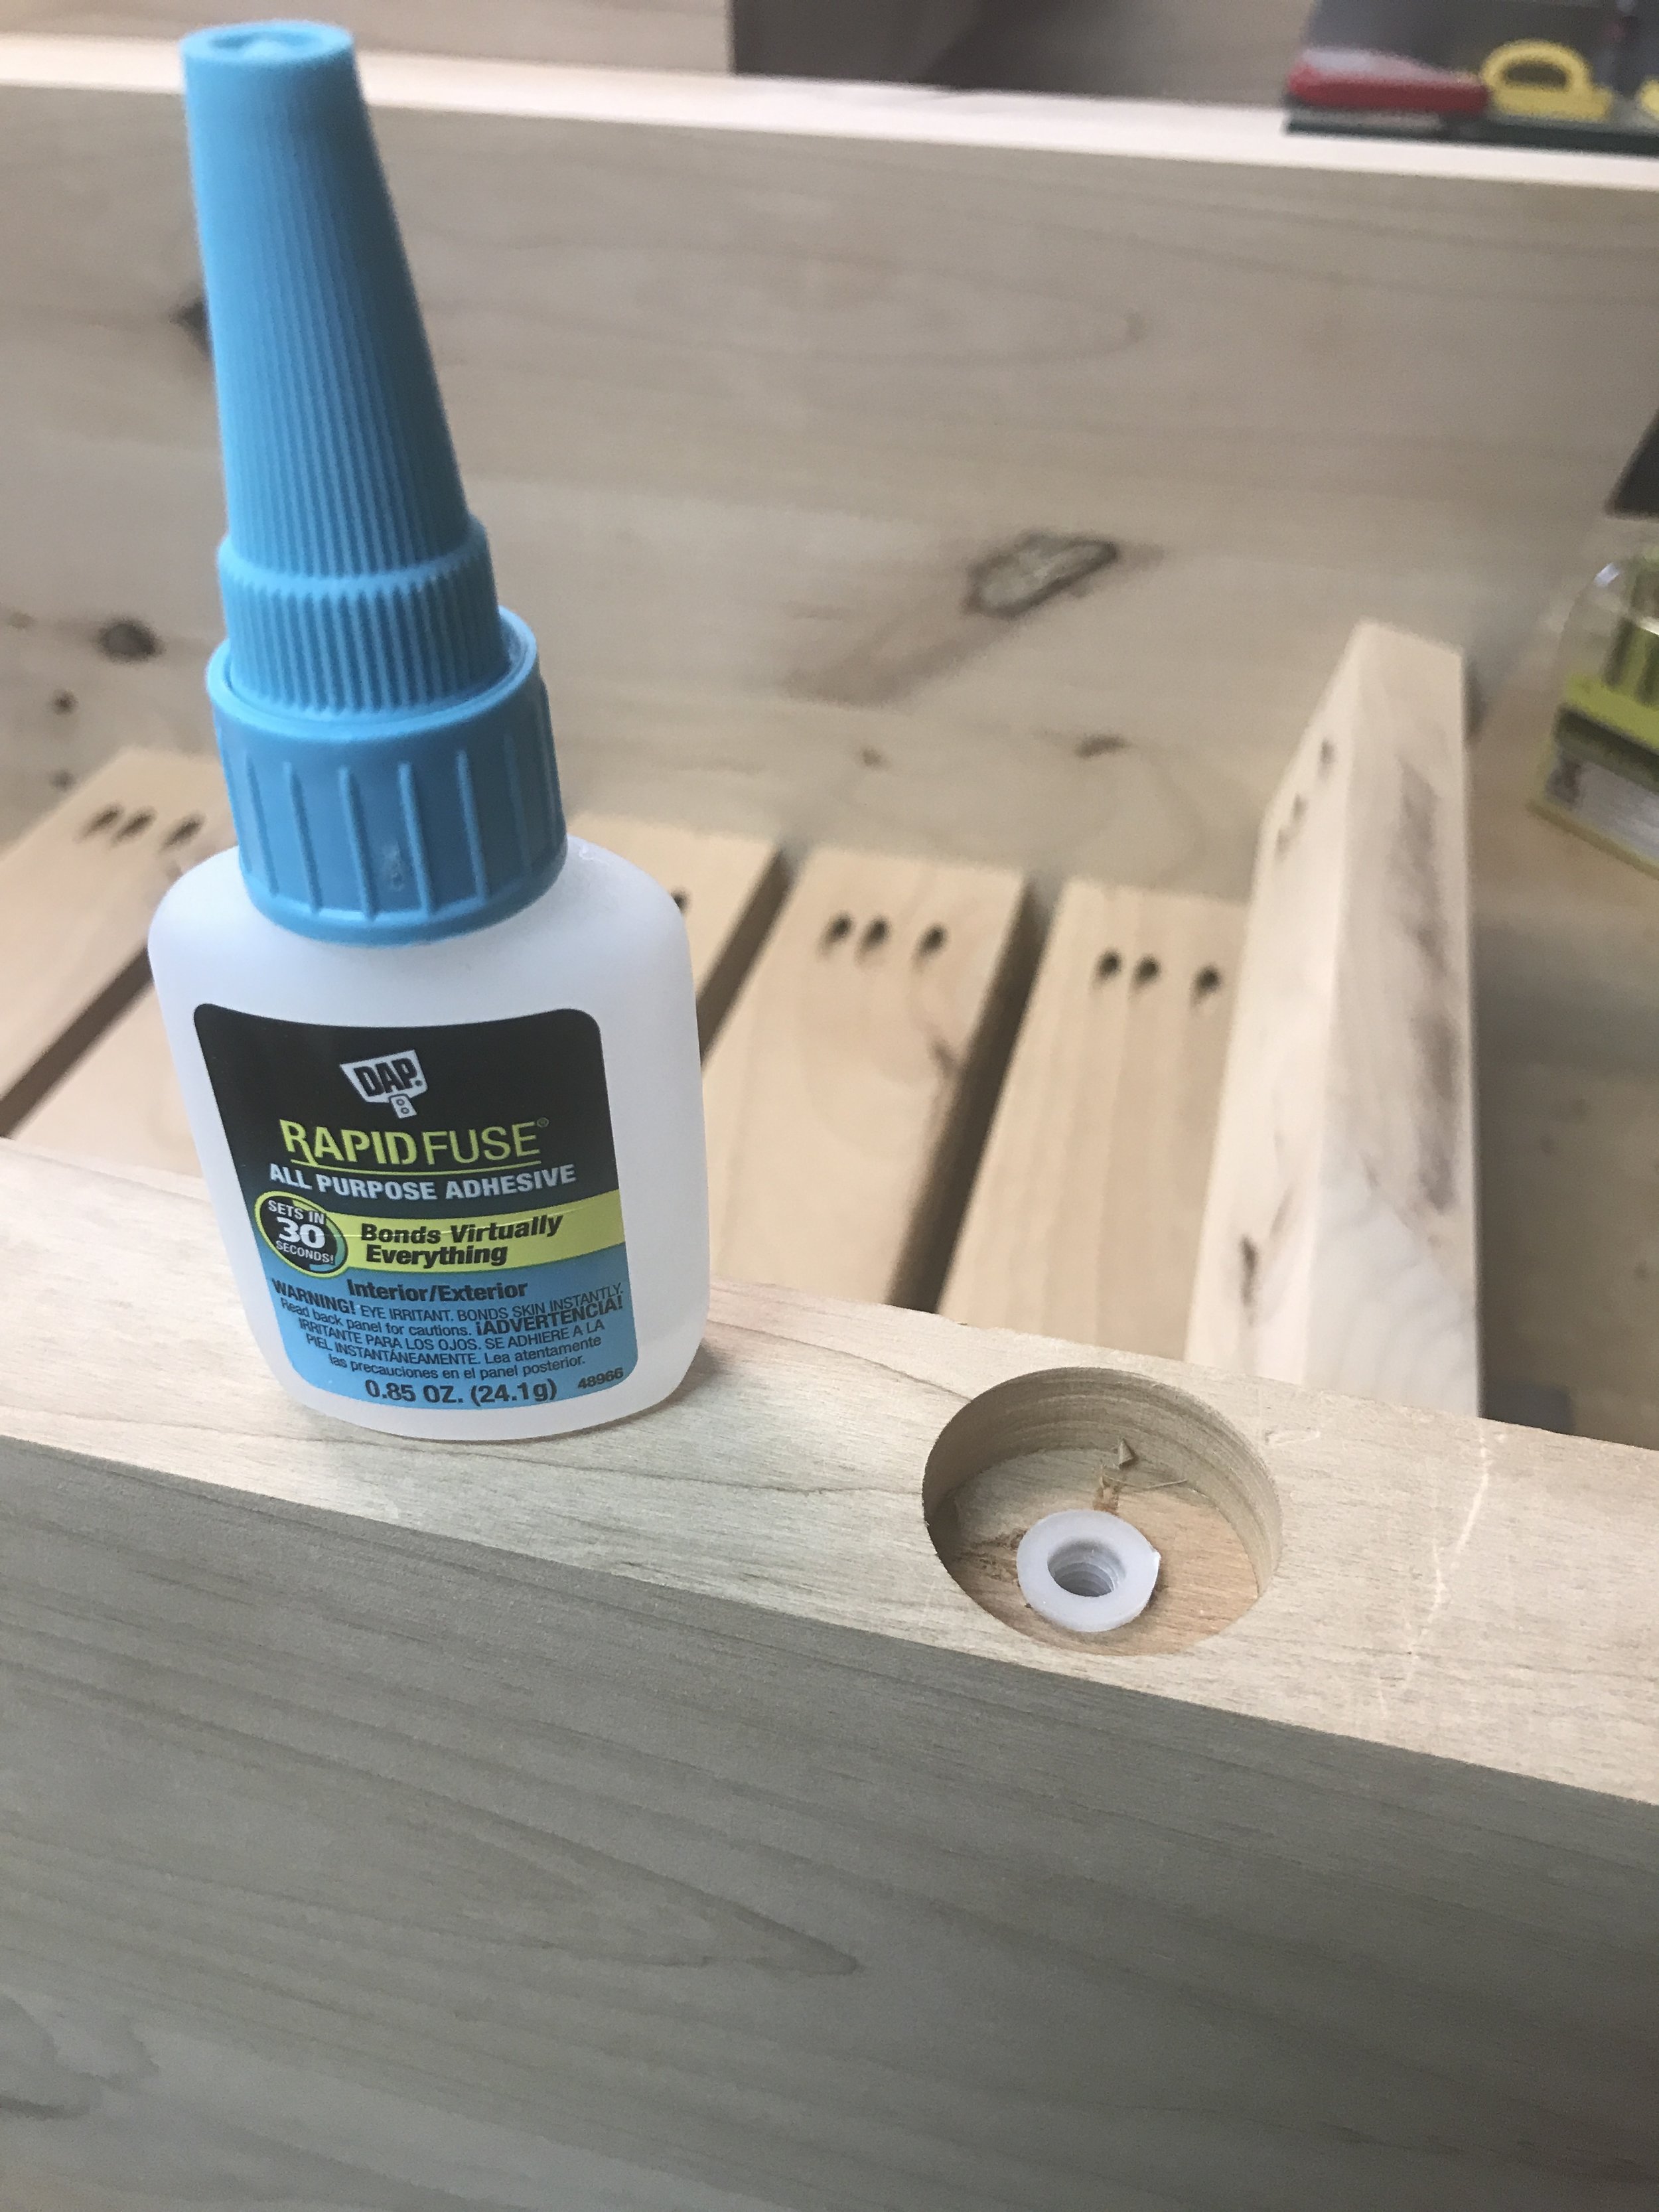
Step 9 - Add Feet
I recessed my feet because I didn't want the feet to take away from the look of the piece, but I also didn't want the wood to potentially be sitting in water. I placed mine 5" from each end of the side pieces. I added a little glue to the plastic inserts just as a precaution.

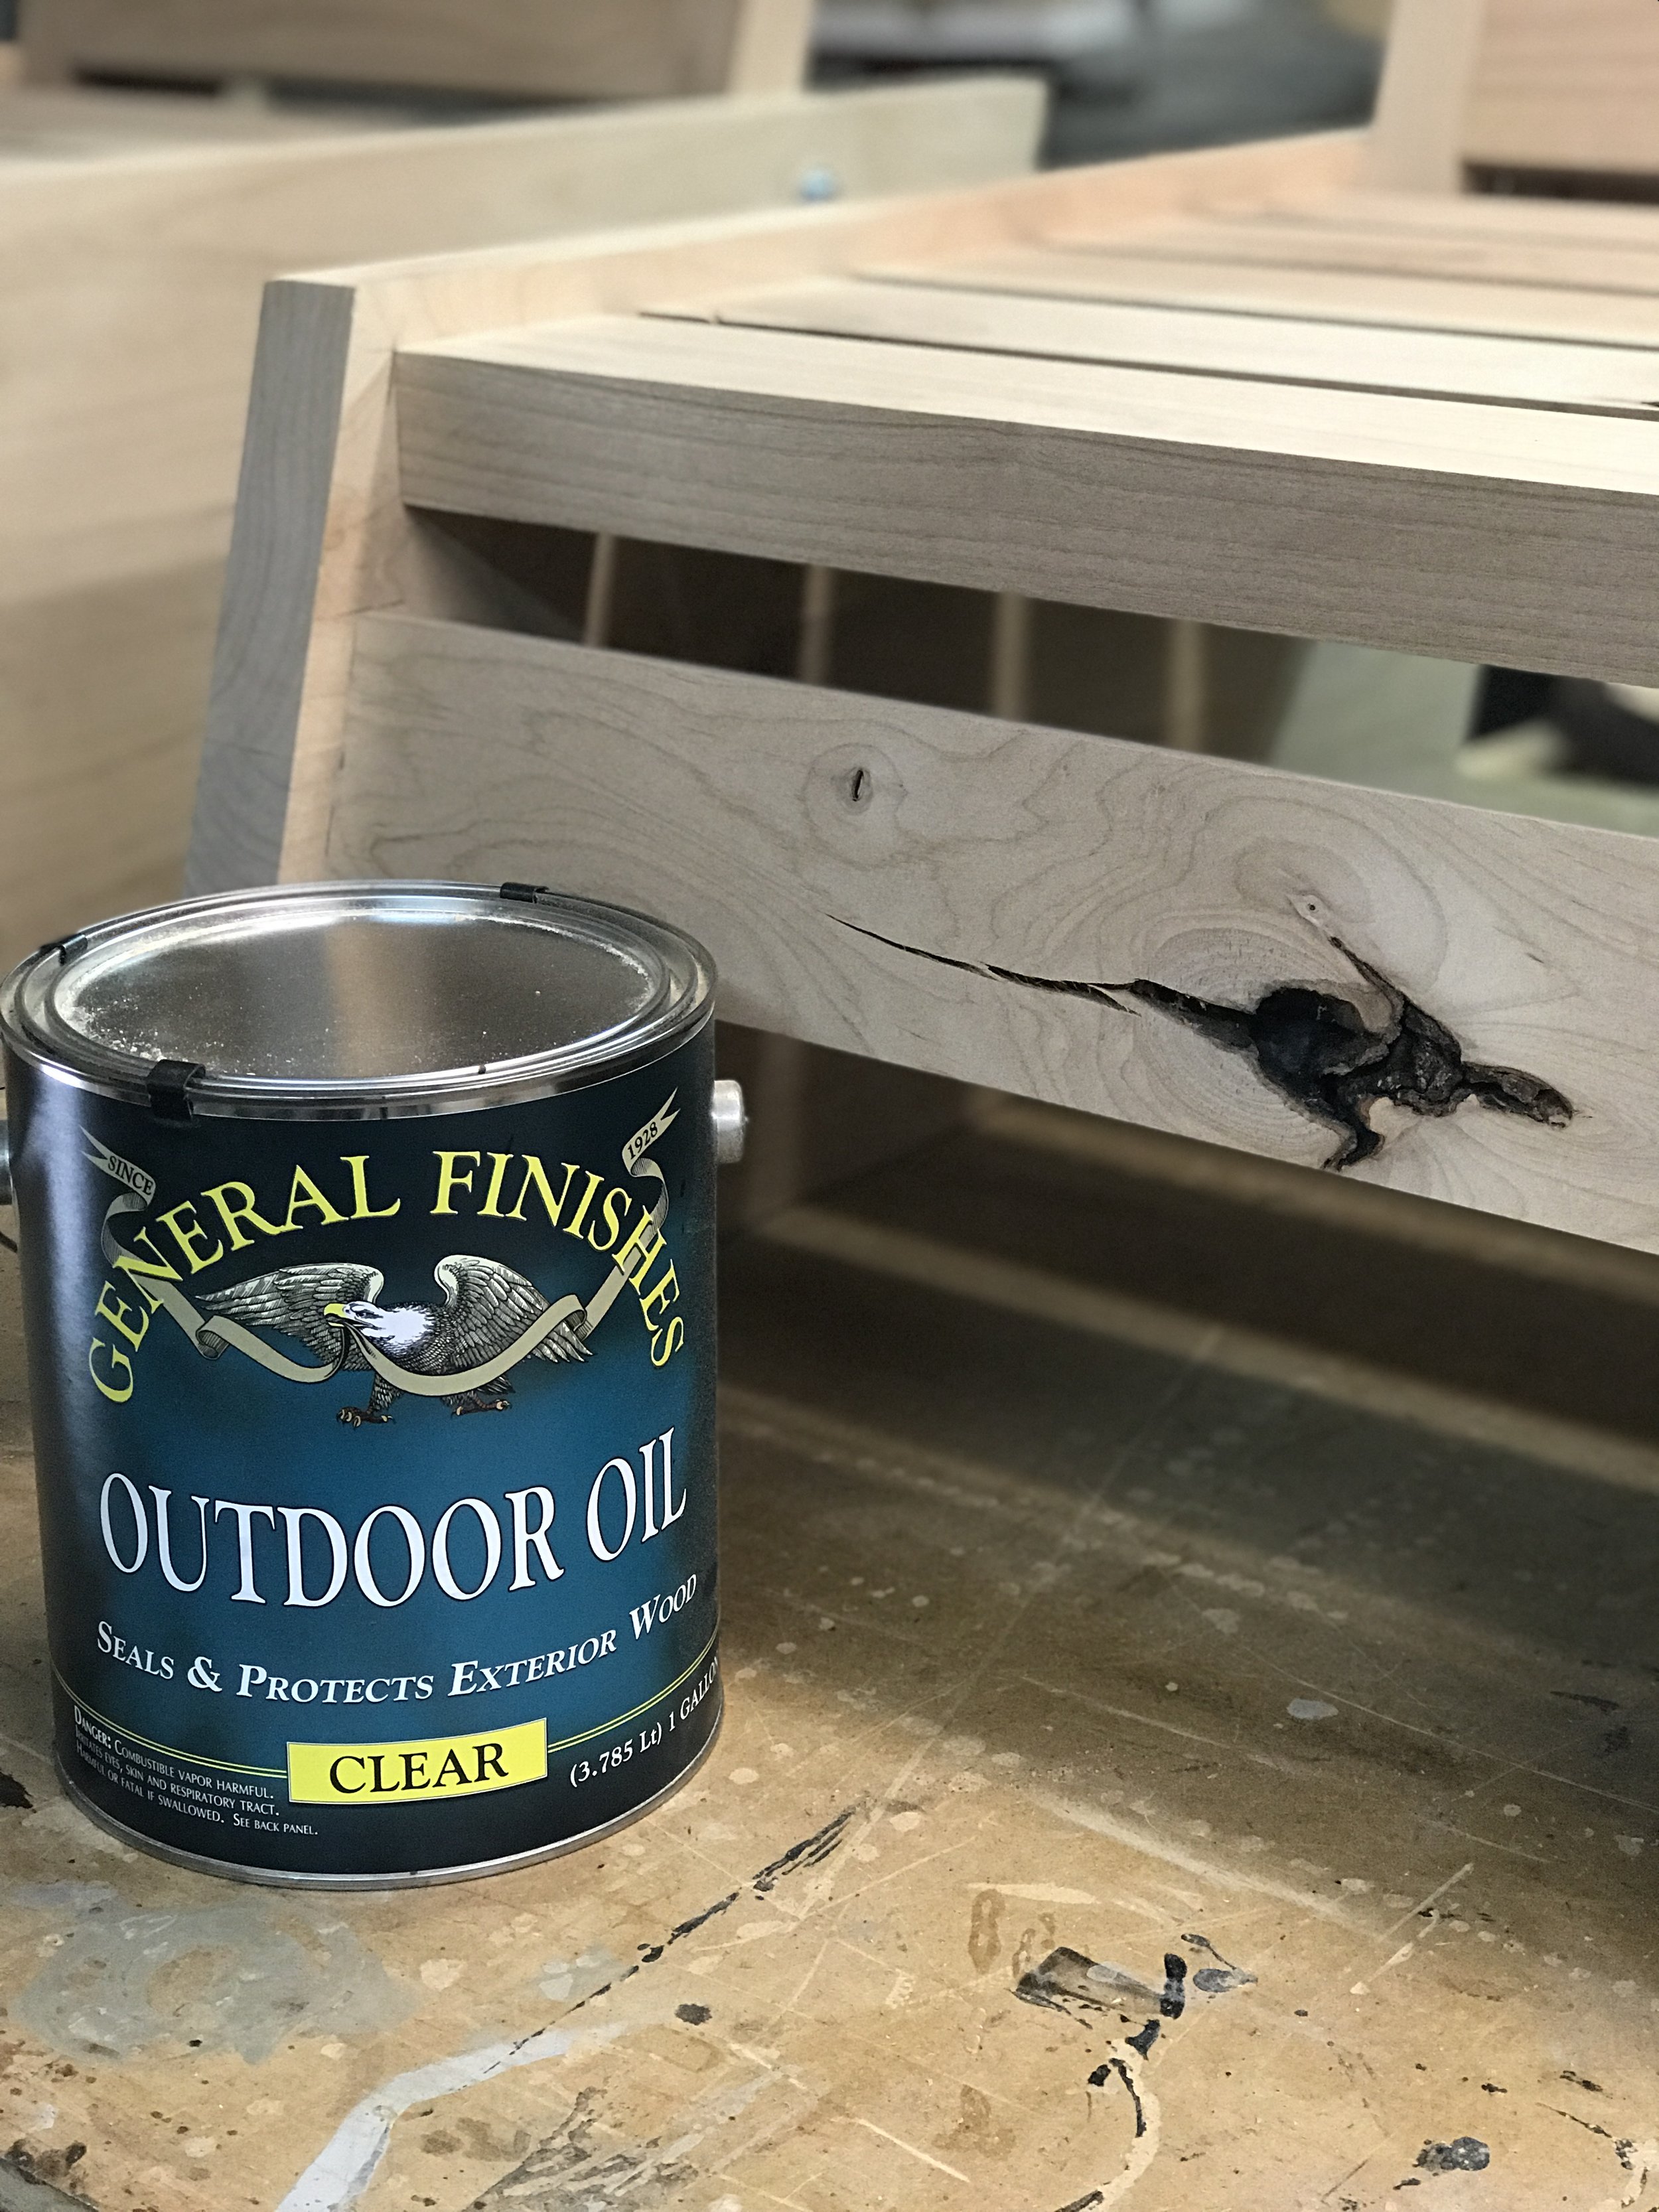
Step 10 - Sand and Seal
Woohoo!!! You have some AWESOME deck chairs! Now let's finish them so that they last a really long time. The sun and elements can be really hard on wood outside, so just know that wood furniture will need maintenance. I finished my chairs with General Finishes Outdoor Oil. It was super easy to apply, just wipe on, let soak in, and then wipe off any excess. But I think painting this style of chair would be really cool and would add a pop of color! However you finish your deck chairs, be sure that it is rated for outdoors!
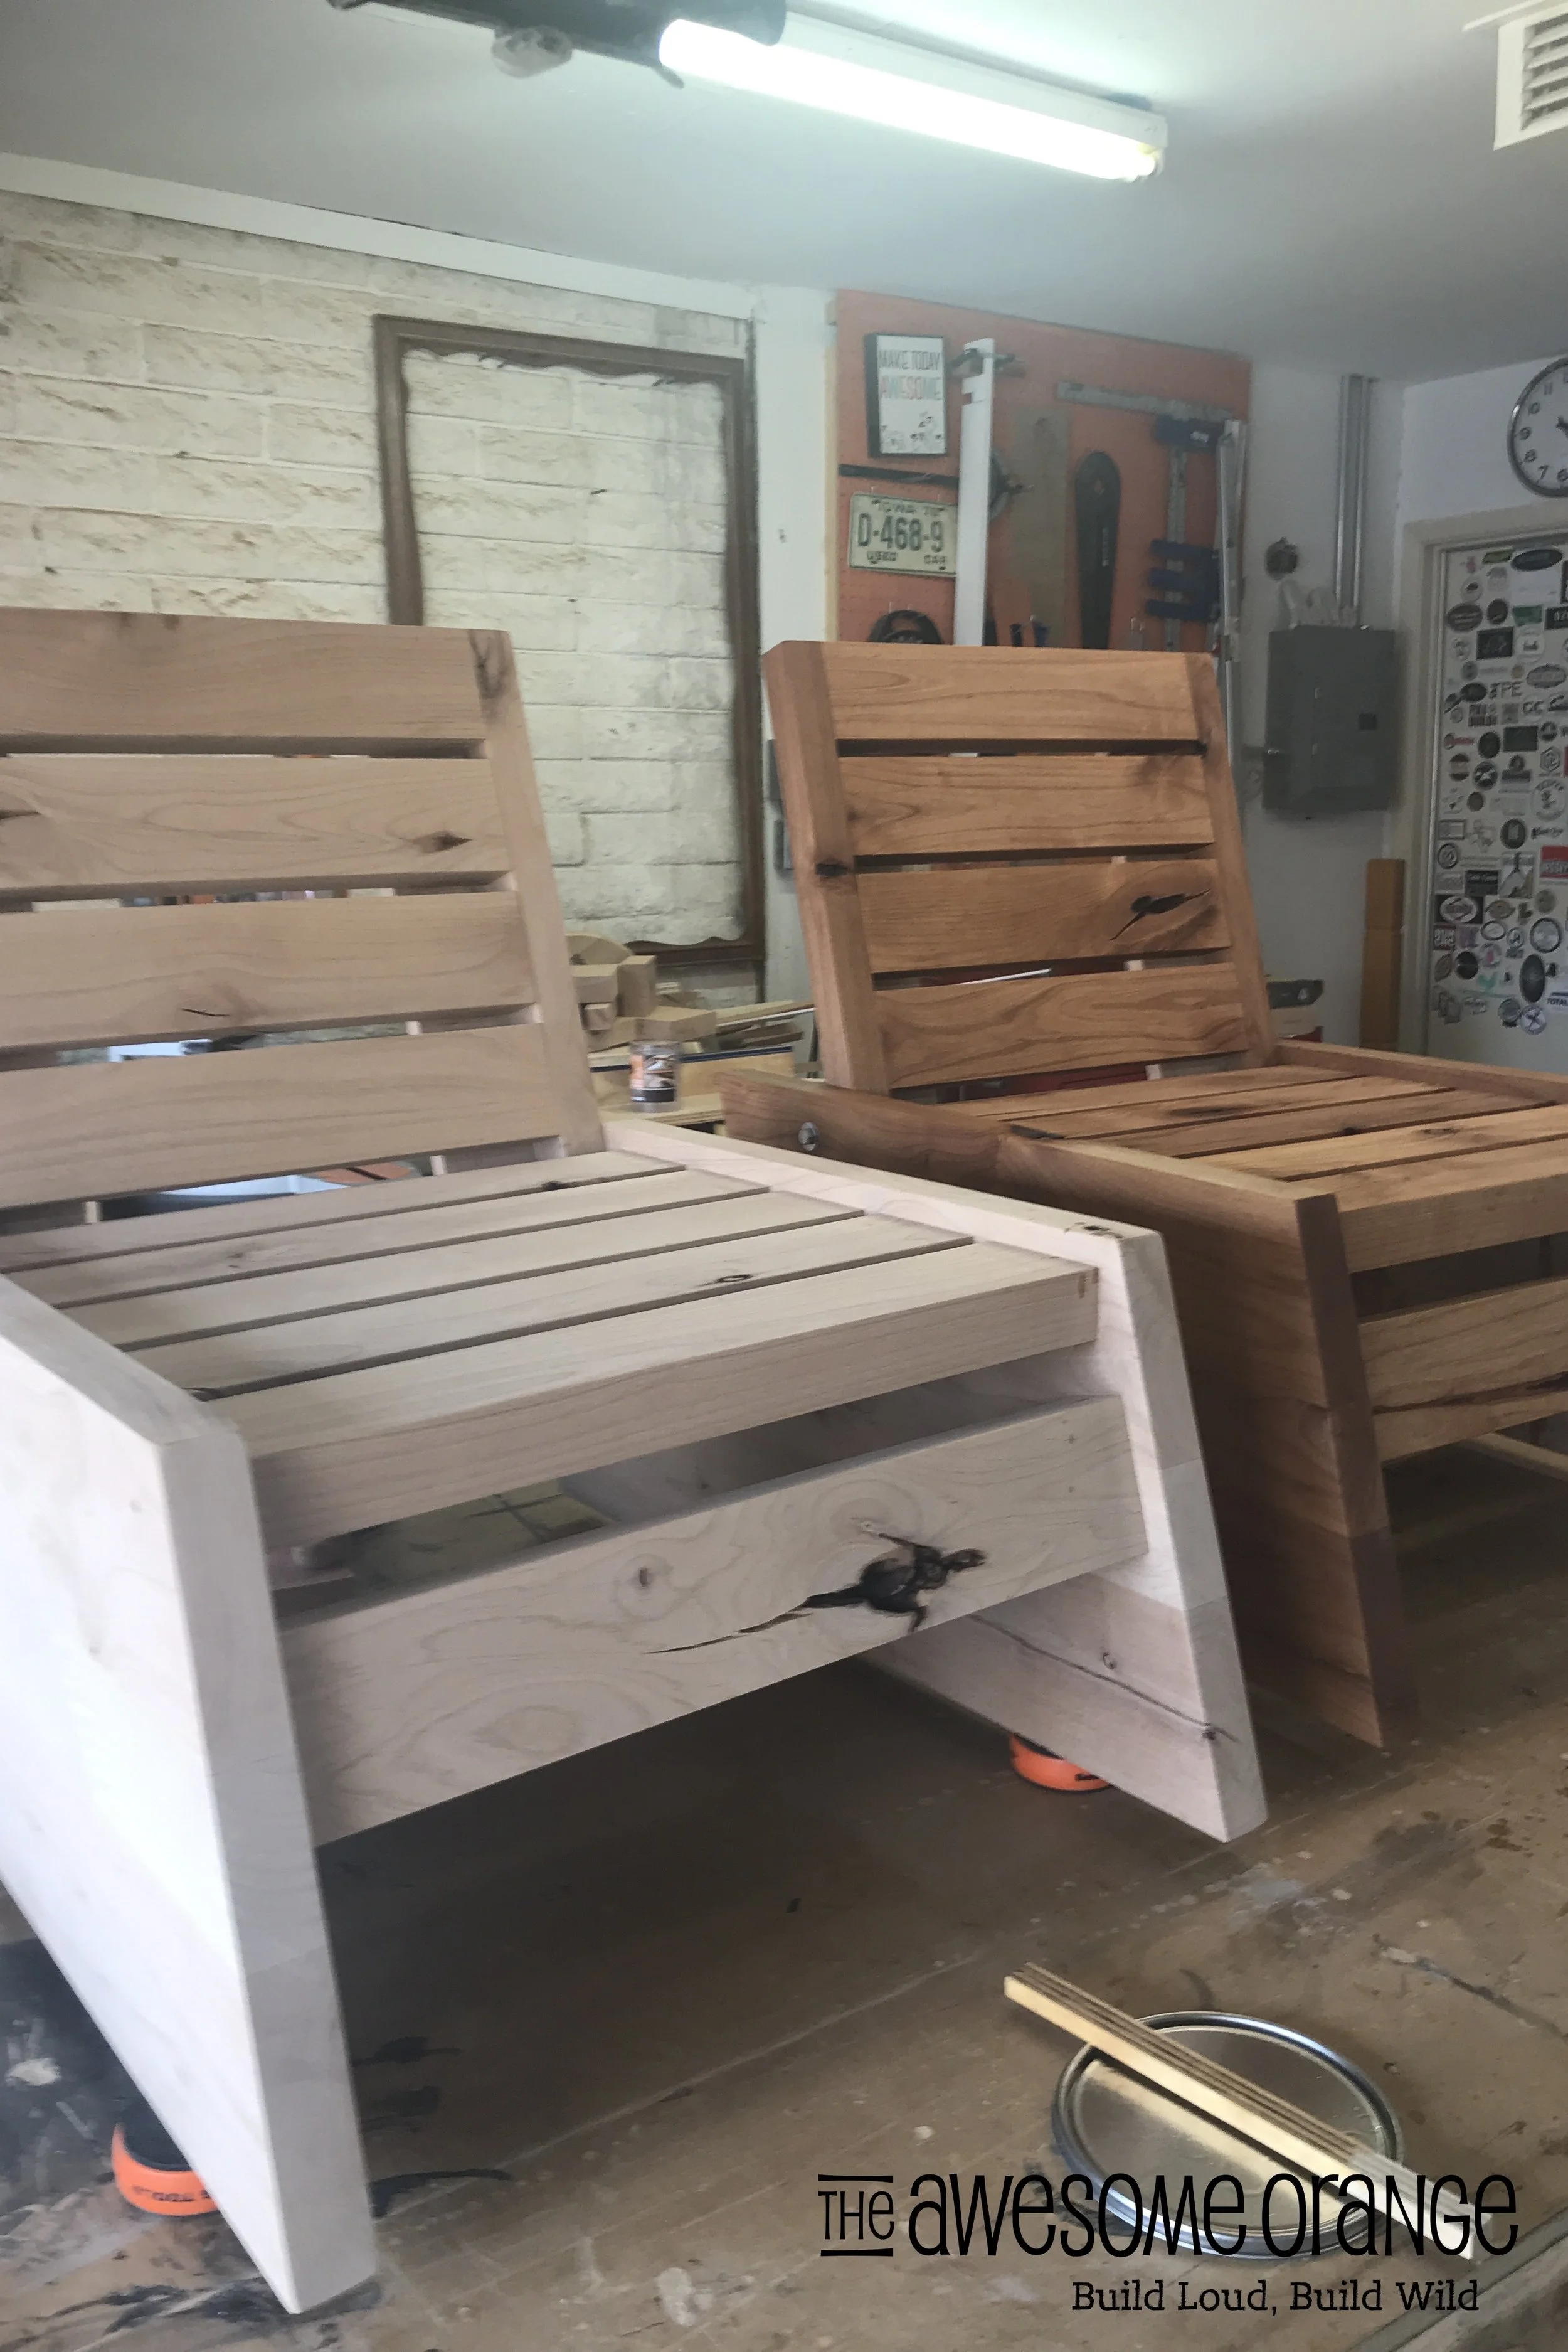
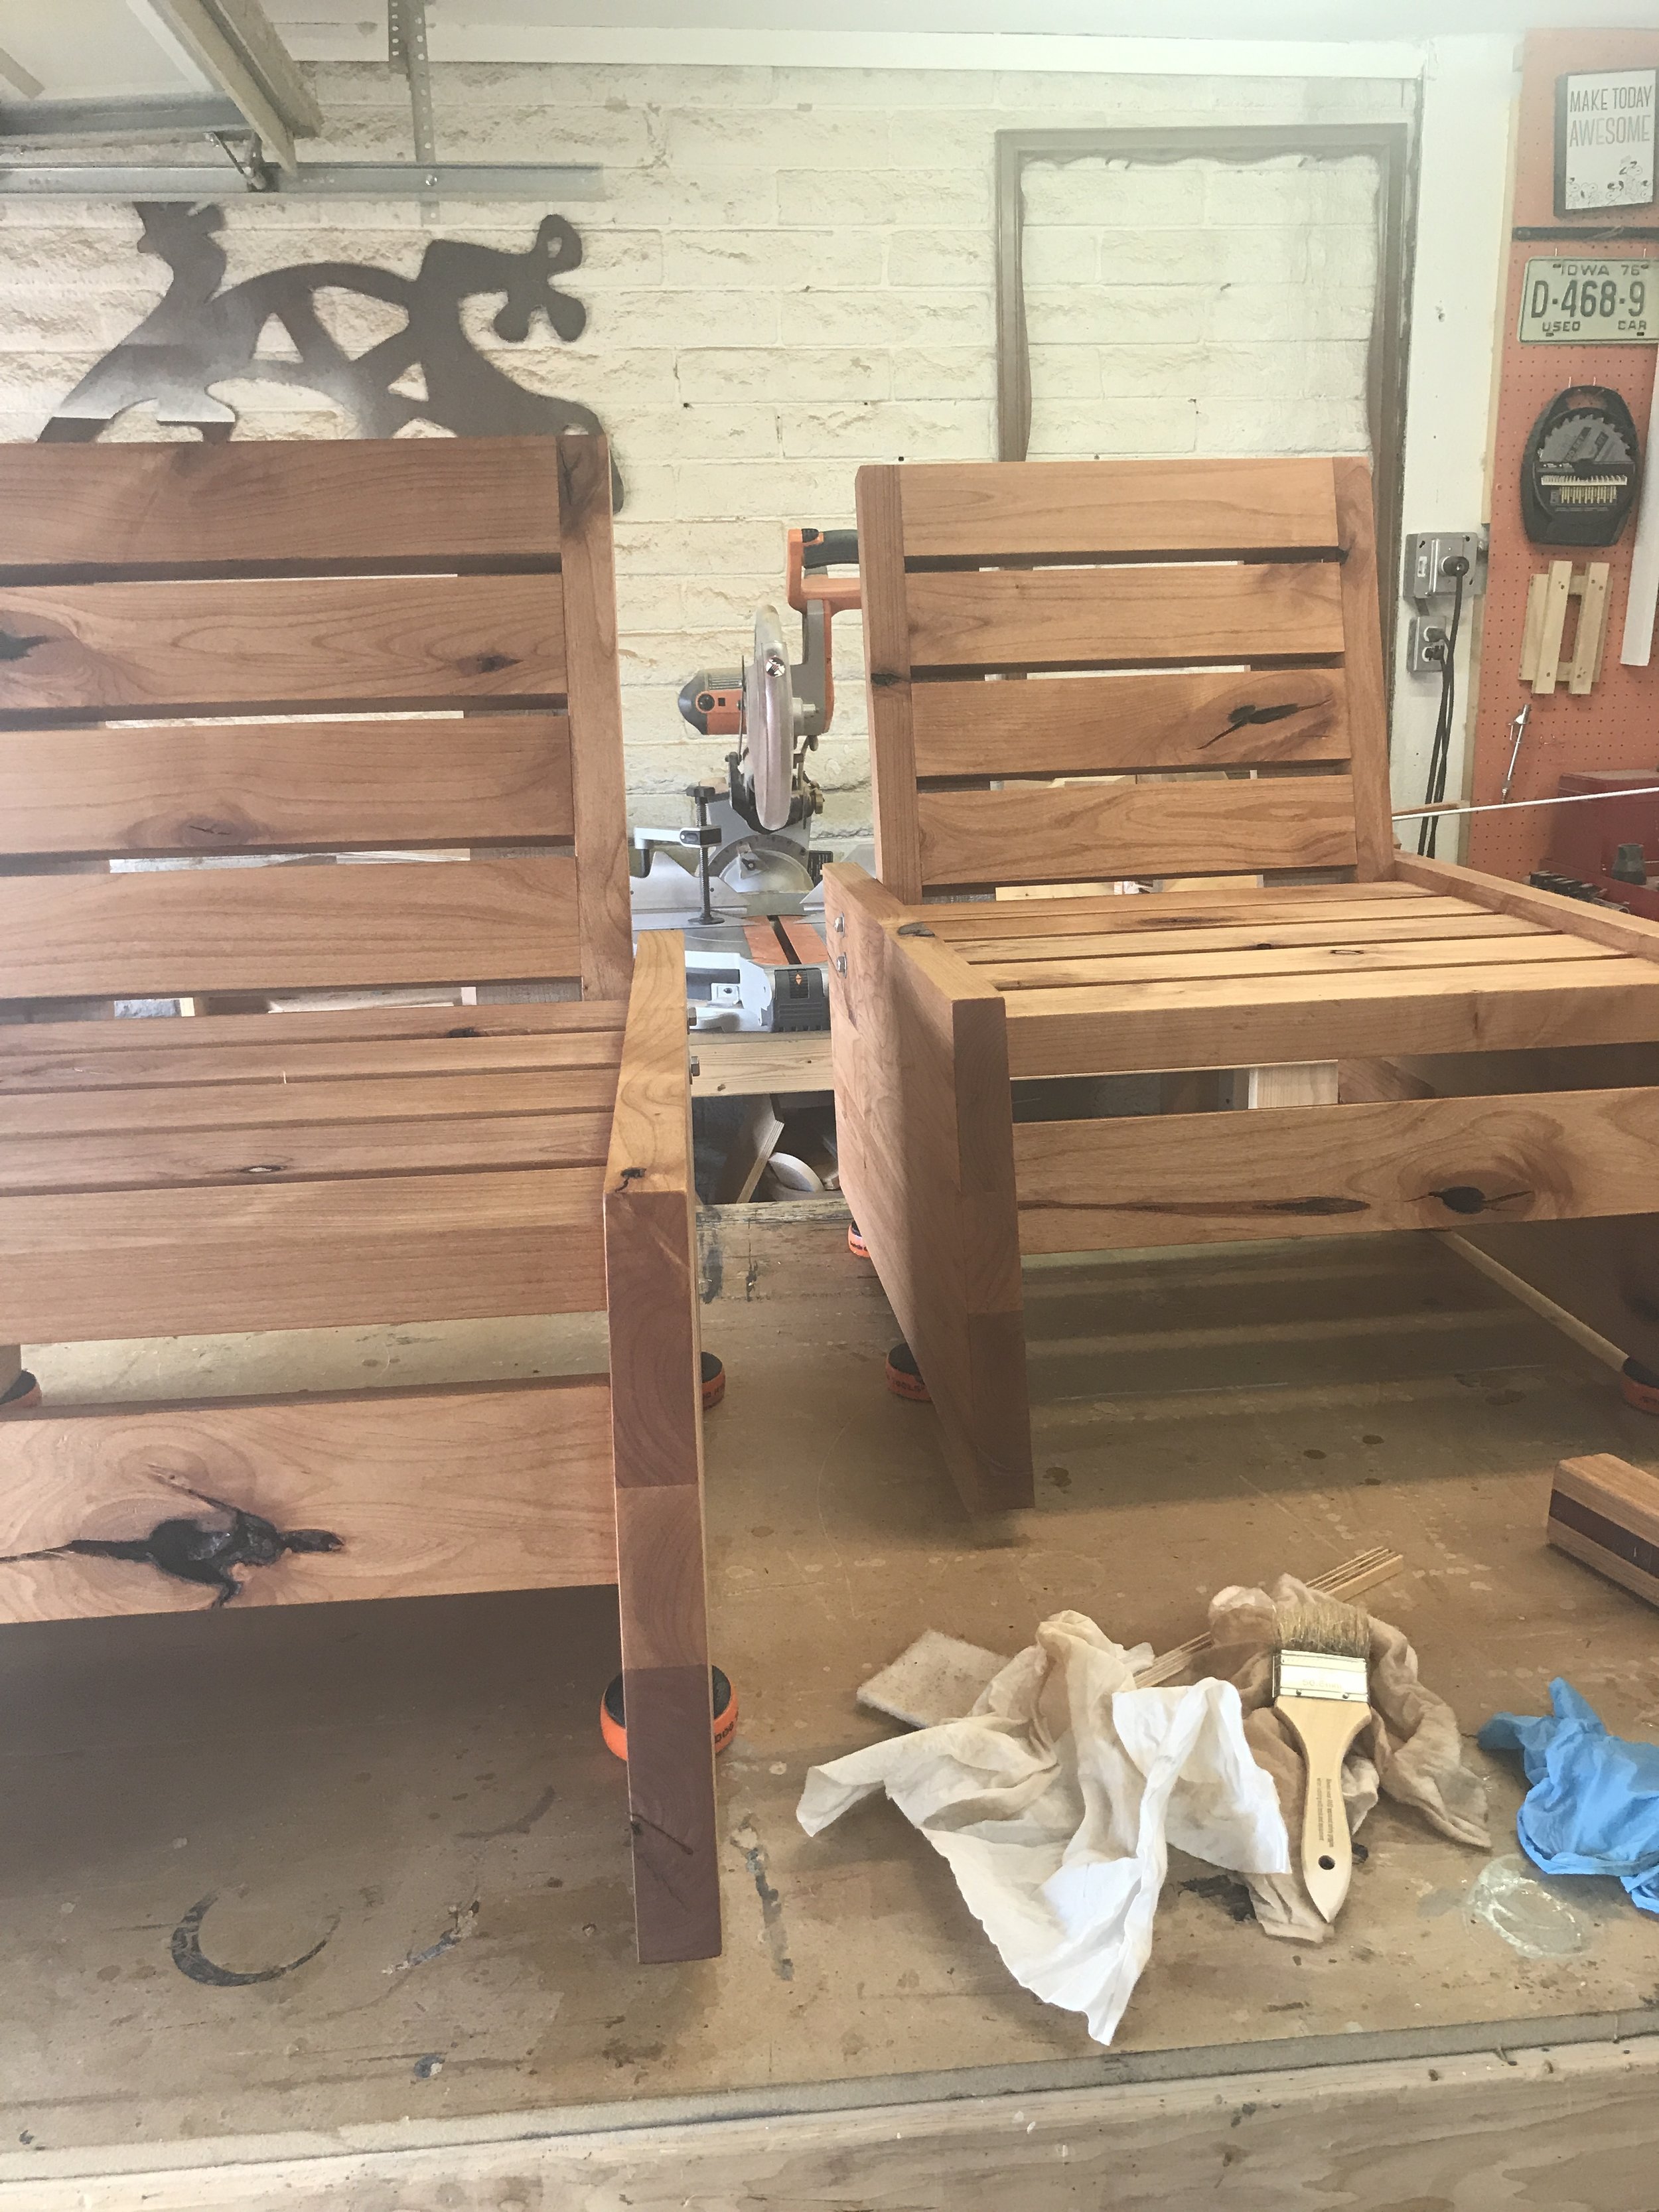
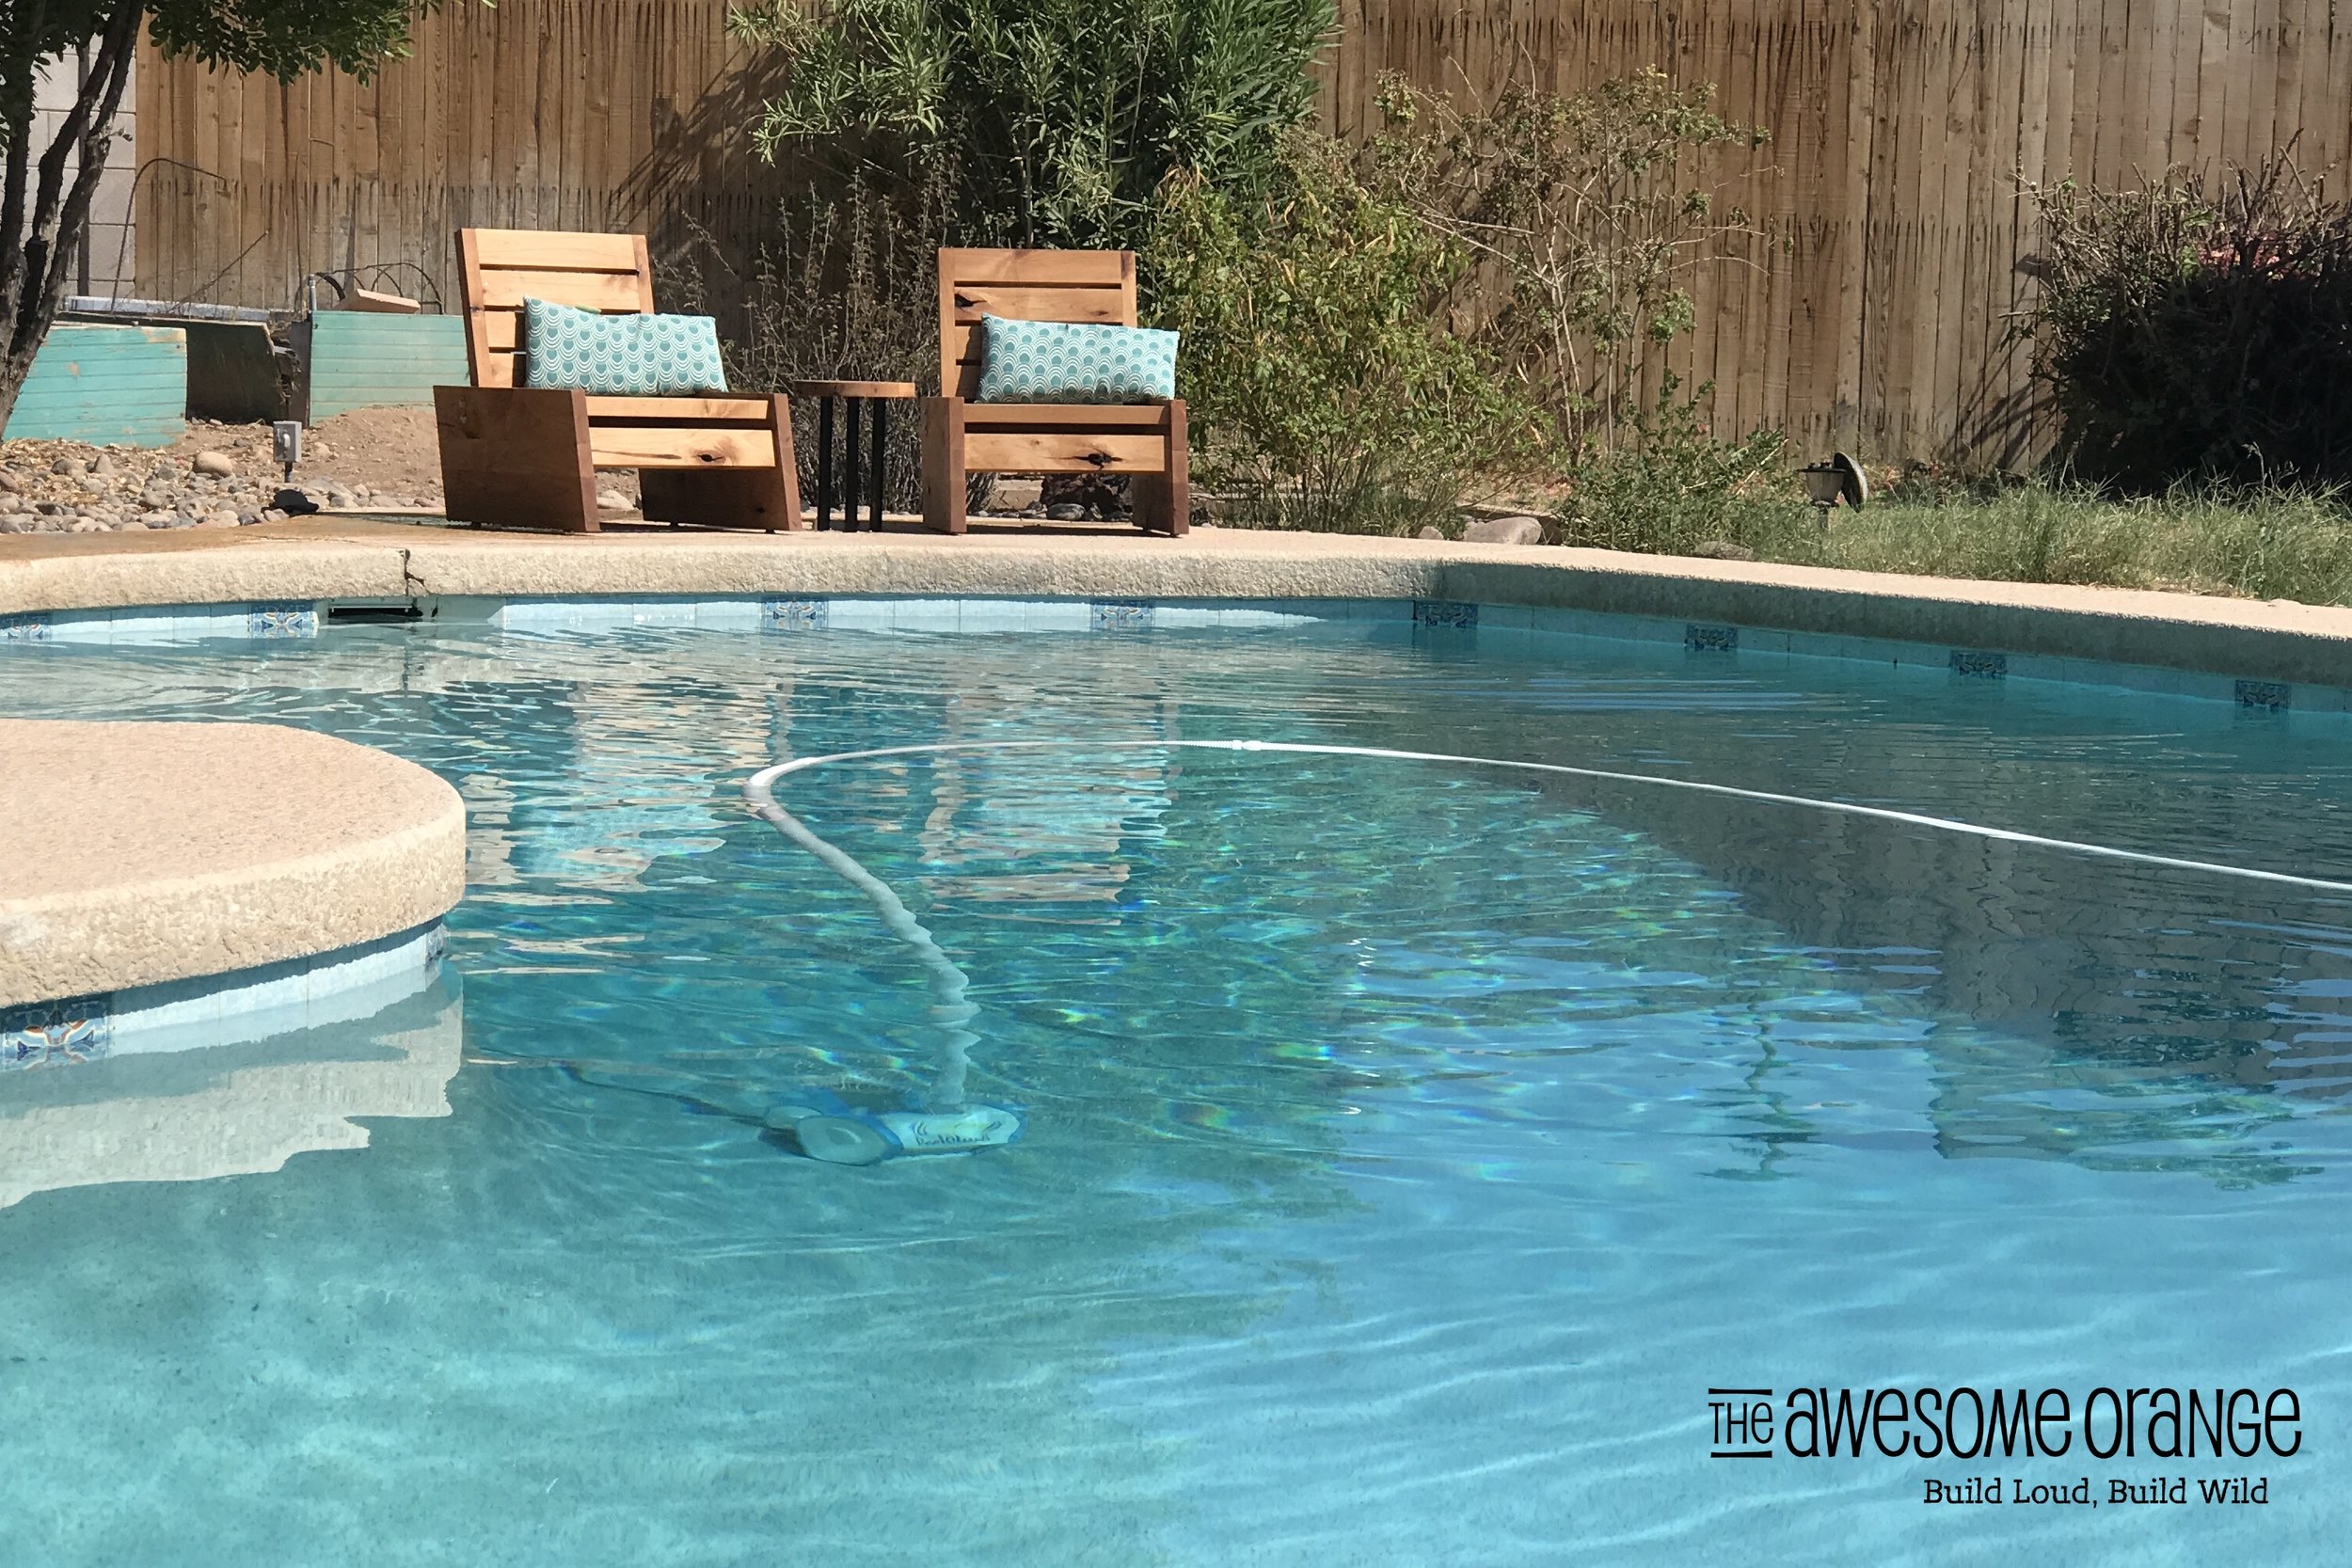
And here are my finished modern deck chairs!!! I am absolutely in love! Now I just need to work on the surrounding landscaping and I will have a little sanctuary in the backyard!


Do you need some more seating in your backyard? Want to start building these Modern Deck Chairs as soon as possible? Then check out the FREE plans on Build Something's website! You can also click on the photo below for a direct link to the plans! And if you didn't know BuildSomething.com is Kreg's DIY project plan site and you can find all sorts of awesome plans for pretty much any project you need to accomplish!
Can't build it right now? But want to save it for later? Make sure to PIN IT!

This post is sponsored by Kreg Tool & BuildSomething.com. All opinions, pictures, design, and published plans are my own!
If you build this project I would love to see it! Please tag me in it or use the #BuildingAwesome!
-Sadie Mae