DIY 2x4 Potting Bench
I used to be a seasonal plant lady… you know, my plants only lasted a season. But recently I am getting the hang of keeping some plants alive! And when they grow big you need to repot them in bigger pots… who knew. Also, I want to try my hand at propagating some of plants to save money on always buying new ones. And that can get messy, so I decided to build myself a potting bench. A spot dedicated to all my planting tools and it can live outside so any mess won’t matter.

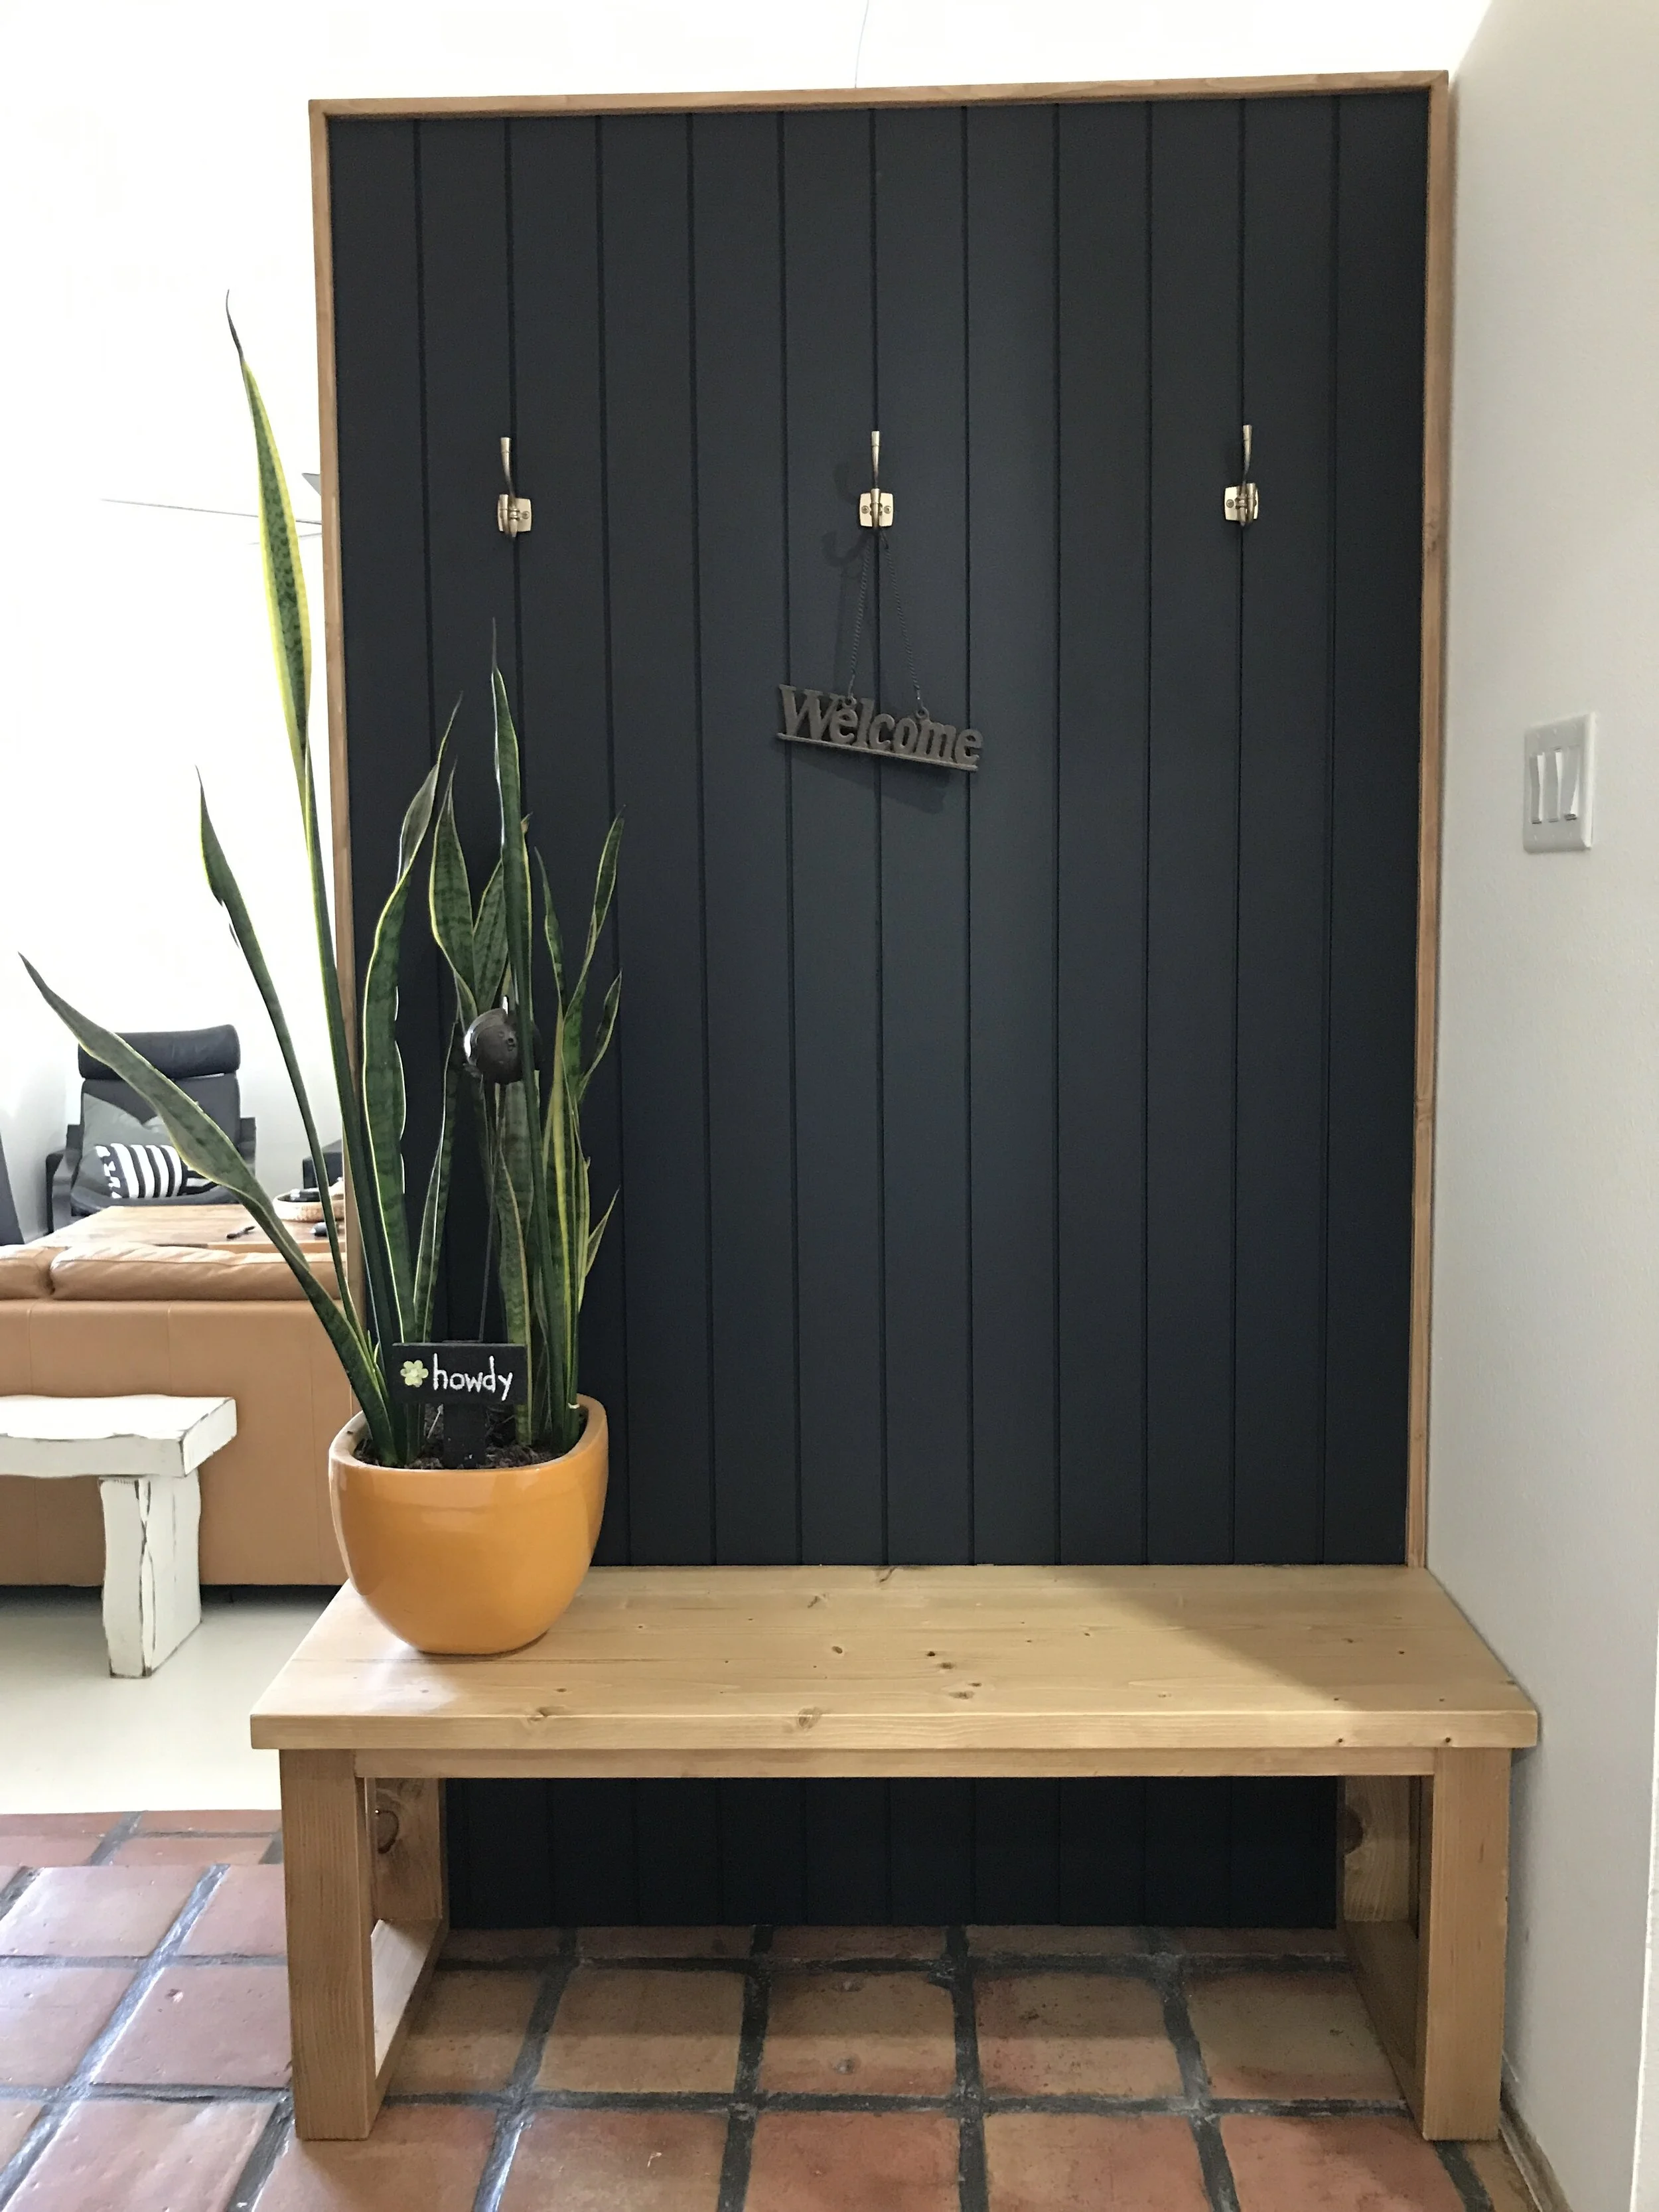
I’m a plant grandma! You see my babies in there.
And well I wanted to this potting bench to be any easy build that anyone could build it, but also AWESOME! Because building awesome is what we do around here, so I teamed up with my friends from Simpson Strong-Tie for this one. They have a new line of Outdoor Accent hardware called Avant. These are like their existing Outdoor Accent hardware, but with a more modern look. The hardware is not only nice to look at, but is structural. I used some of their hardware that looks similar on my Back Patio.

Going for a similar look to my patio because they will be close to each other.
This post IS sponsored by Simpson Strong-Tie. All opinions are my own. This post DOES contain affiliate links. For more information on my affiliate programs see my DISCLOSURES page.
Okay so let’s get started!
All you need are thirteen (13) 2x4’s and some hardware! This is the hardware I used:

Be sure to pick the straightest, flattest and driest boards available.

Isn’t this hardware sexy? Simpson Strong-Tie Avant APVA21

Love these screws. I used them for the first time on Oscar’s Dog House and will definitely be using them on more projects!
And for tools you will need:
Miter Saw (or really any saw, a hand saw would work)
Misc. Clamps - Not necessary, but I found handy working by myself!
Complete Build Plans Available - DIY 2x4 Potting Bench
They include all dimensions, cut list, materials list, tool list and step-by-step instructions!
Tip #1
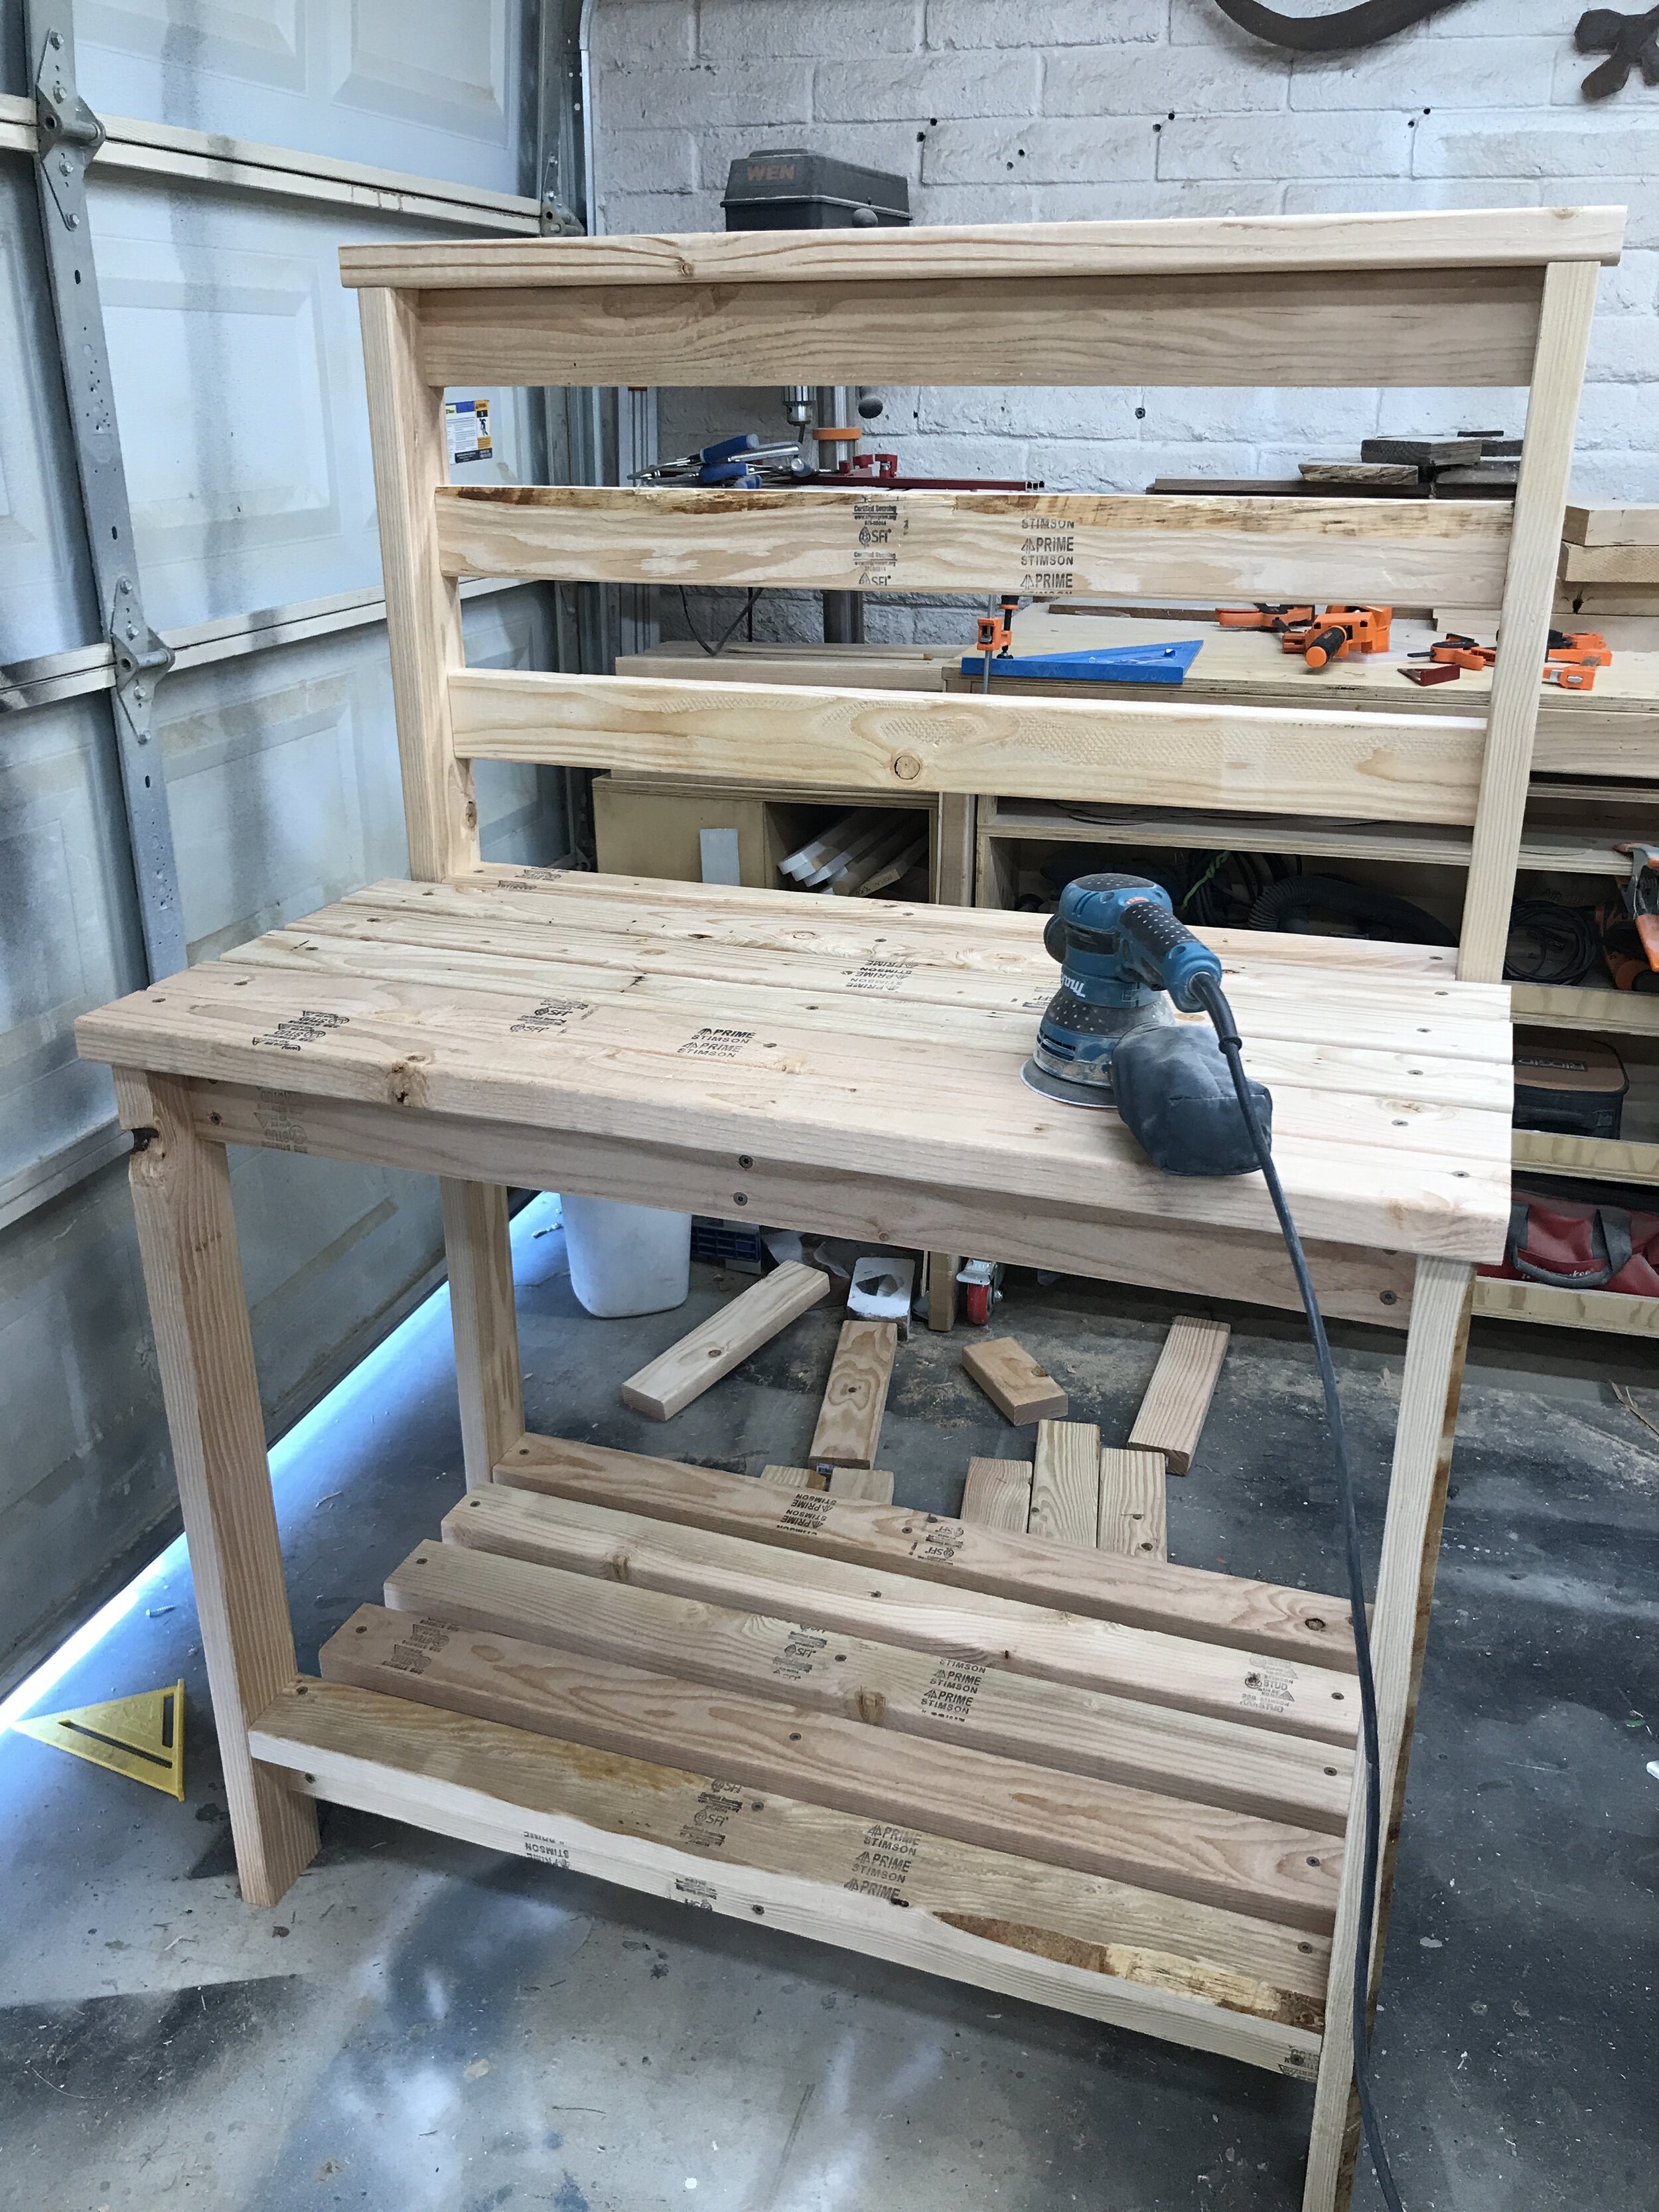
Cut out all pieces from cut list. I suggest setting up a stop block for each cut to ensure that the each piece of the same dimensions are exactly the same. This will help during assembly.

I generally cut out pieces as I go, but for this project because and how it goes together you can cut everything out before starting assembly.
Tip #2
When attaching the legs to the shelf assemblies, cut a 4” spacer block and clamp it to the leg so when you attach the legs you ensure that the shelf is level.

Love these EZ-Hold Pony | Jorgensen clamps for little quickly holding things like this together.

Always check for square after each step to make sure it is going together as planned!
Tip #3
The front legs are offset by 2”. This is to allow room for the Avant hardware and to give it an inset apron look.

It was a little awkward attaching the legs, but standing it up helps attach the last leg.
Tip #4
Install far back top counter piece flat between the two back legs flush with the back edge and then install the back cross pieces standing on edge or inset, similar to the apron. I screwed these in from the side of the back legs, but you could just use the Avant hardware. I didn’t do this because I didn’t want to worry about getting stain on them later. NOTE: Clamps also help for this step to hold boards in place as you are screwing them in.

Another handy use of clamps. Not necessary but definitely makes it easier, like a 2nd set of hands.
Tip #5
Attach the shelf boards with three (3) 2 1/2” framing screws. You can make a line on them to so that all the screw line up nice and neat. NOTE: Bottom shelf boards will have an approximate 1 1/8” space in between them and front board will be flush with the front of the front legs. Top shelf board will have an approximate 1/2” space in between them and the front piece will overhang front legs by 3/4”.
Tip #6
Sand and stain before adding Avant hardware. I used General Finishes Exterior 450 water based top coat tinted with some of their outdoor stain that I had leftover from our patio build.
I focused my sanding on the edges and the parts I would be touching.

With and without stain. I used General Finishes Exterior 450 tinted with some of their stain.
Tip #7
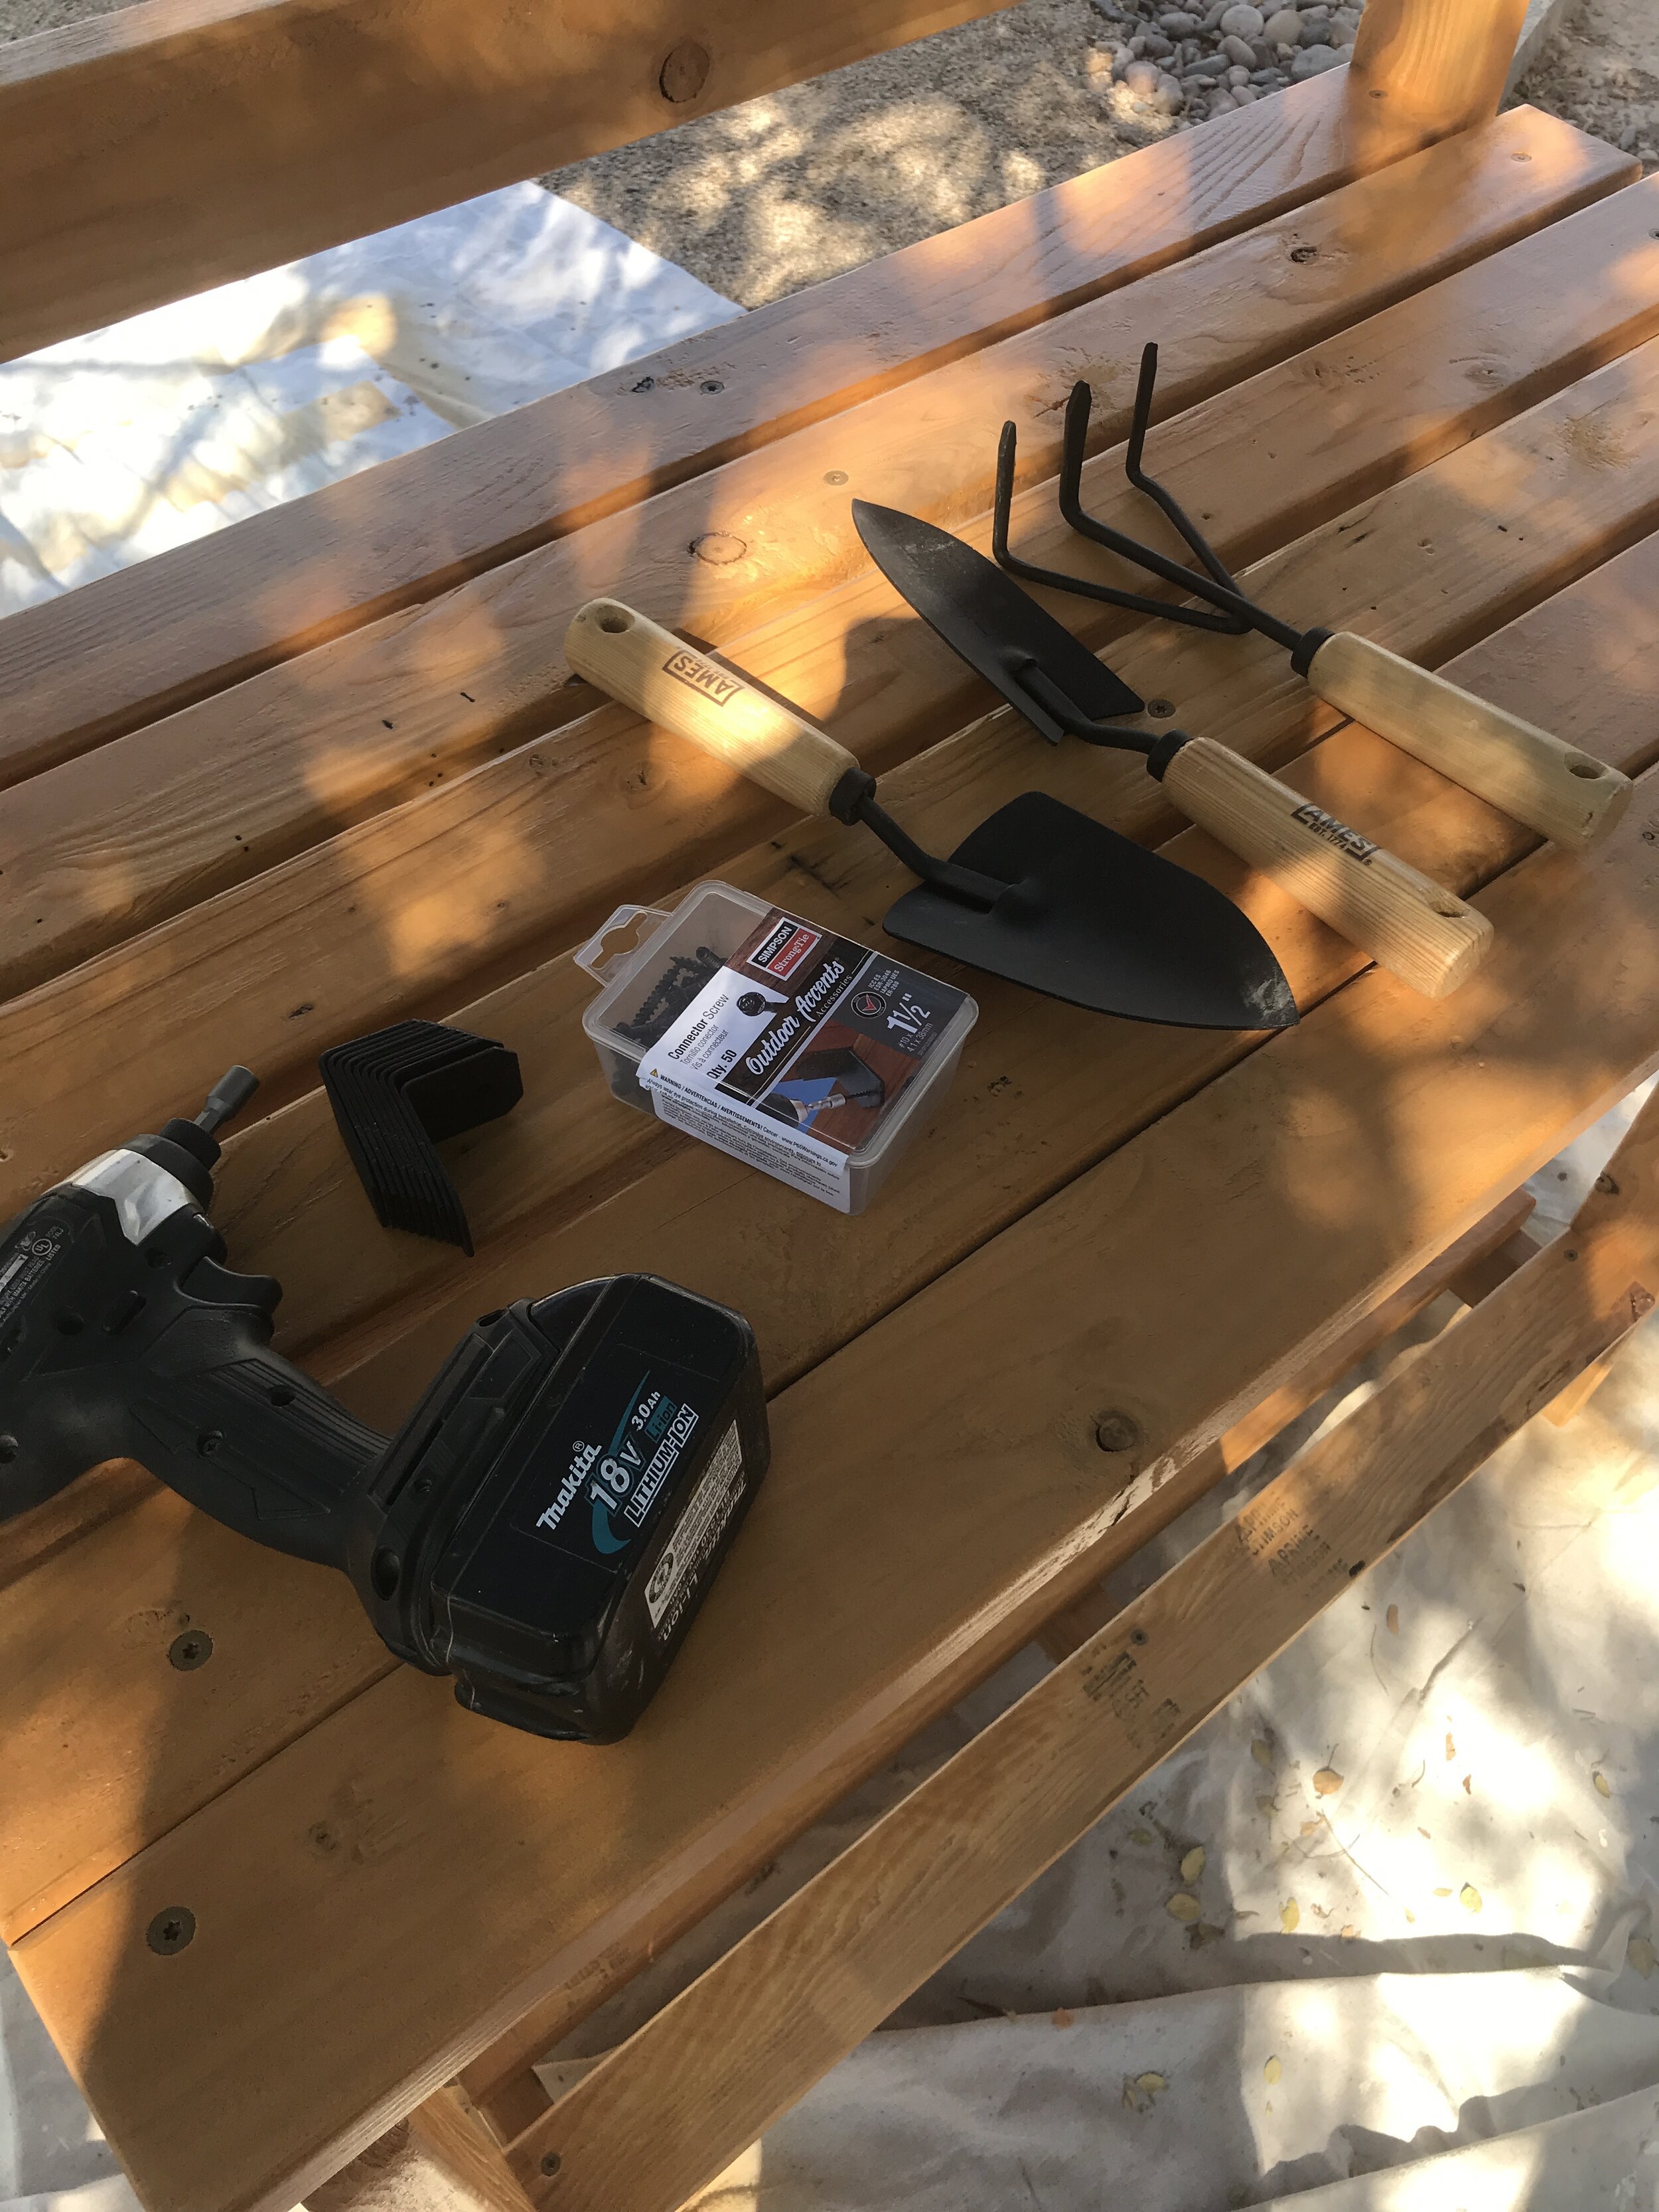
Install Simpson Strong-Tie Avant hardware in center of all the inset boards… 3 on the back support and then on each of the shelf aprons. I also used some of the extra Connector Screws to hang my gardening tools. NOTE: I did have to drill out larger holes in my gardening tools for this to work.
Finishing touches!

I used extra connector screws to hand my gardening tools!
Wanna see me build this piece? Check it out on my YouTube Channel.
I am so please with house this piece turned out. Crazy what you can do with a few 2x4’s. And I am excited to have a dedicated spot to repot and grow my plant collection…. I might become a bonafide “Crazy Plant Lady” yet!

I love it!

Let the repotting begin!
I would love to hear what you think of this project, so please leave a comment below. And if you do build yourself a 2x4 Potting Bench, I’d love to see it so please tag me in your work. Until next time keep Building LOUD and WILD… just go for it and have fun! And thanks for following my building journey! Have an AWESOME day!
Sadie Mae
Can’t Make It Now? PIN It and Save For Later!