

DIY Beaded Floating Console - Ivar Ikea Hack
I sure do love a good Ikea hack and boy do I have an AWESOME one for you today!
You see I had this long wall in my family room that had my Bubbly Bar Cabinet on it and nothing else. I had thought of putting a built-in bench and seating next to it because we have a pool table in that room, but ultimately we need more storage in our house. So, I said goodbye to the Bubbly Bar Cabinet and set out to make something more AWESOME!
This pos is NOT sponsored. All opinions are my own. This post does contain affiliate links. For more information on my affiliate programs, please see my DISCLOSURES page.
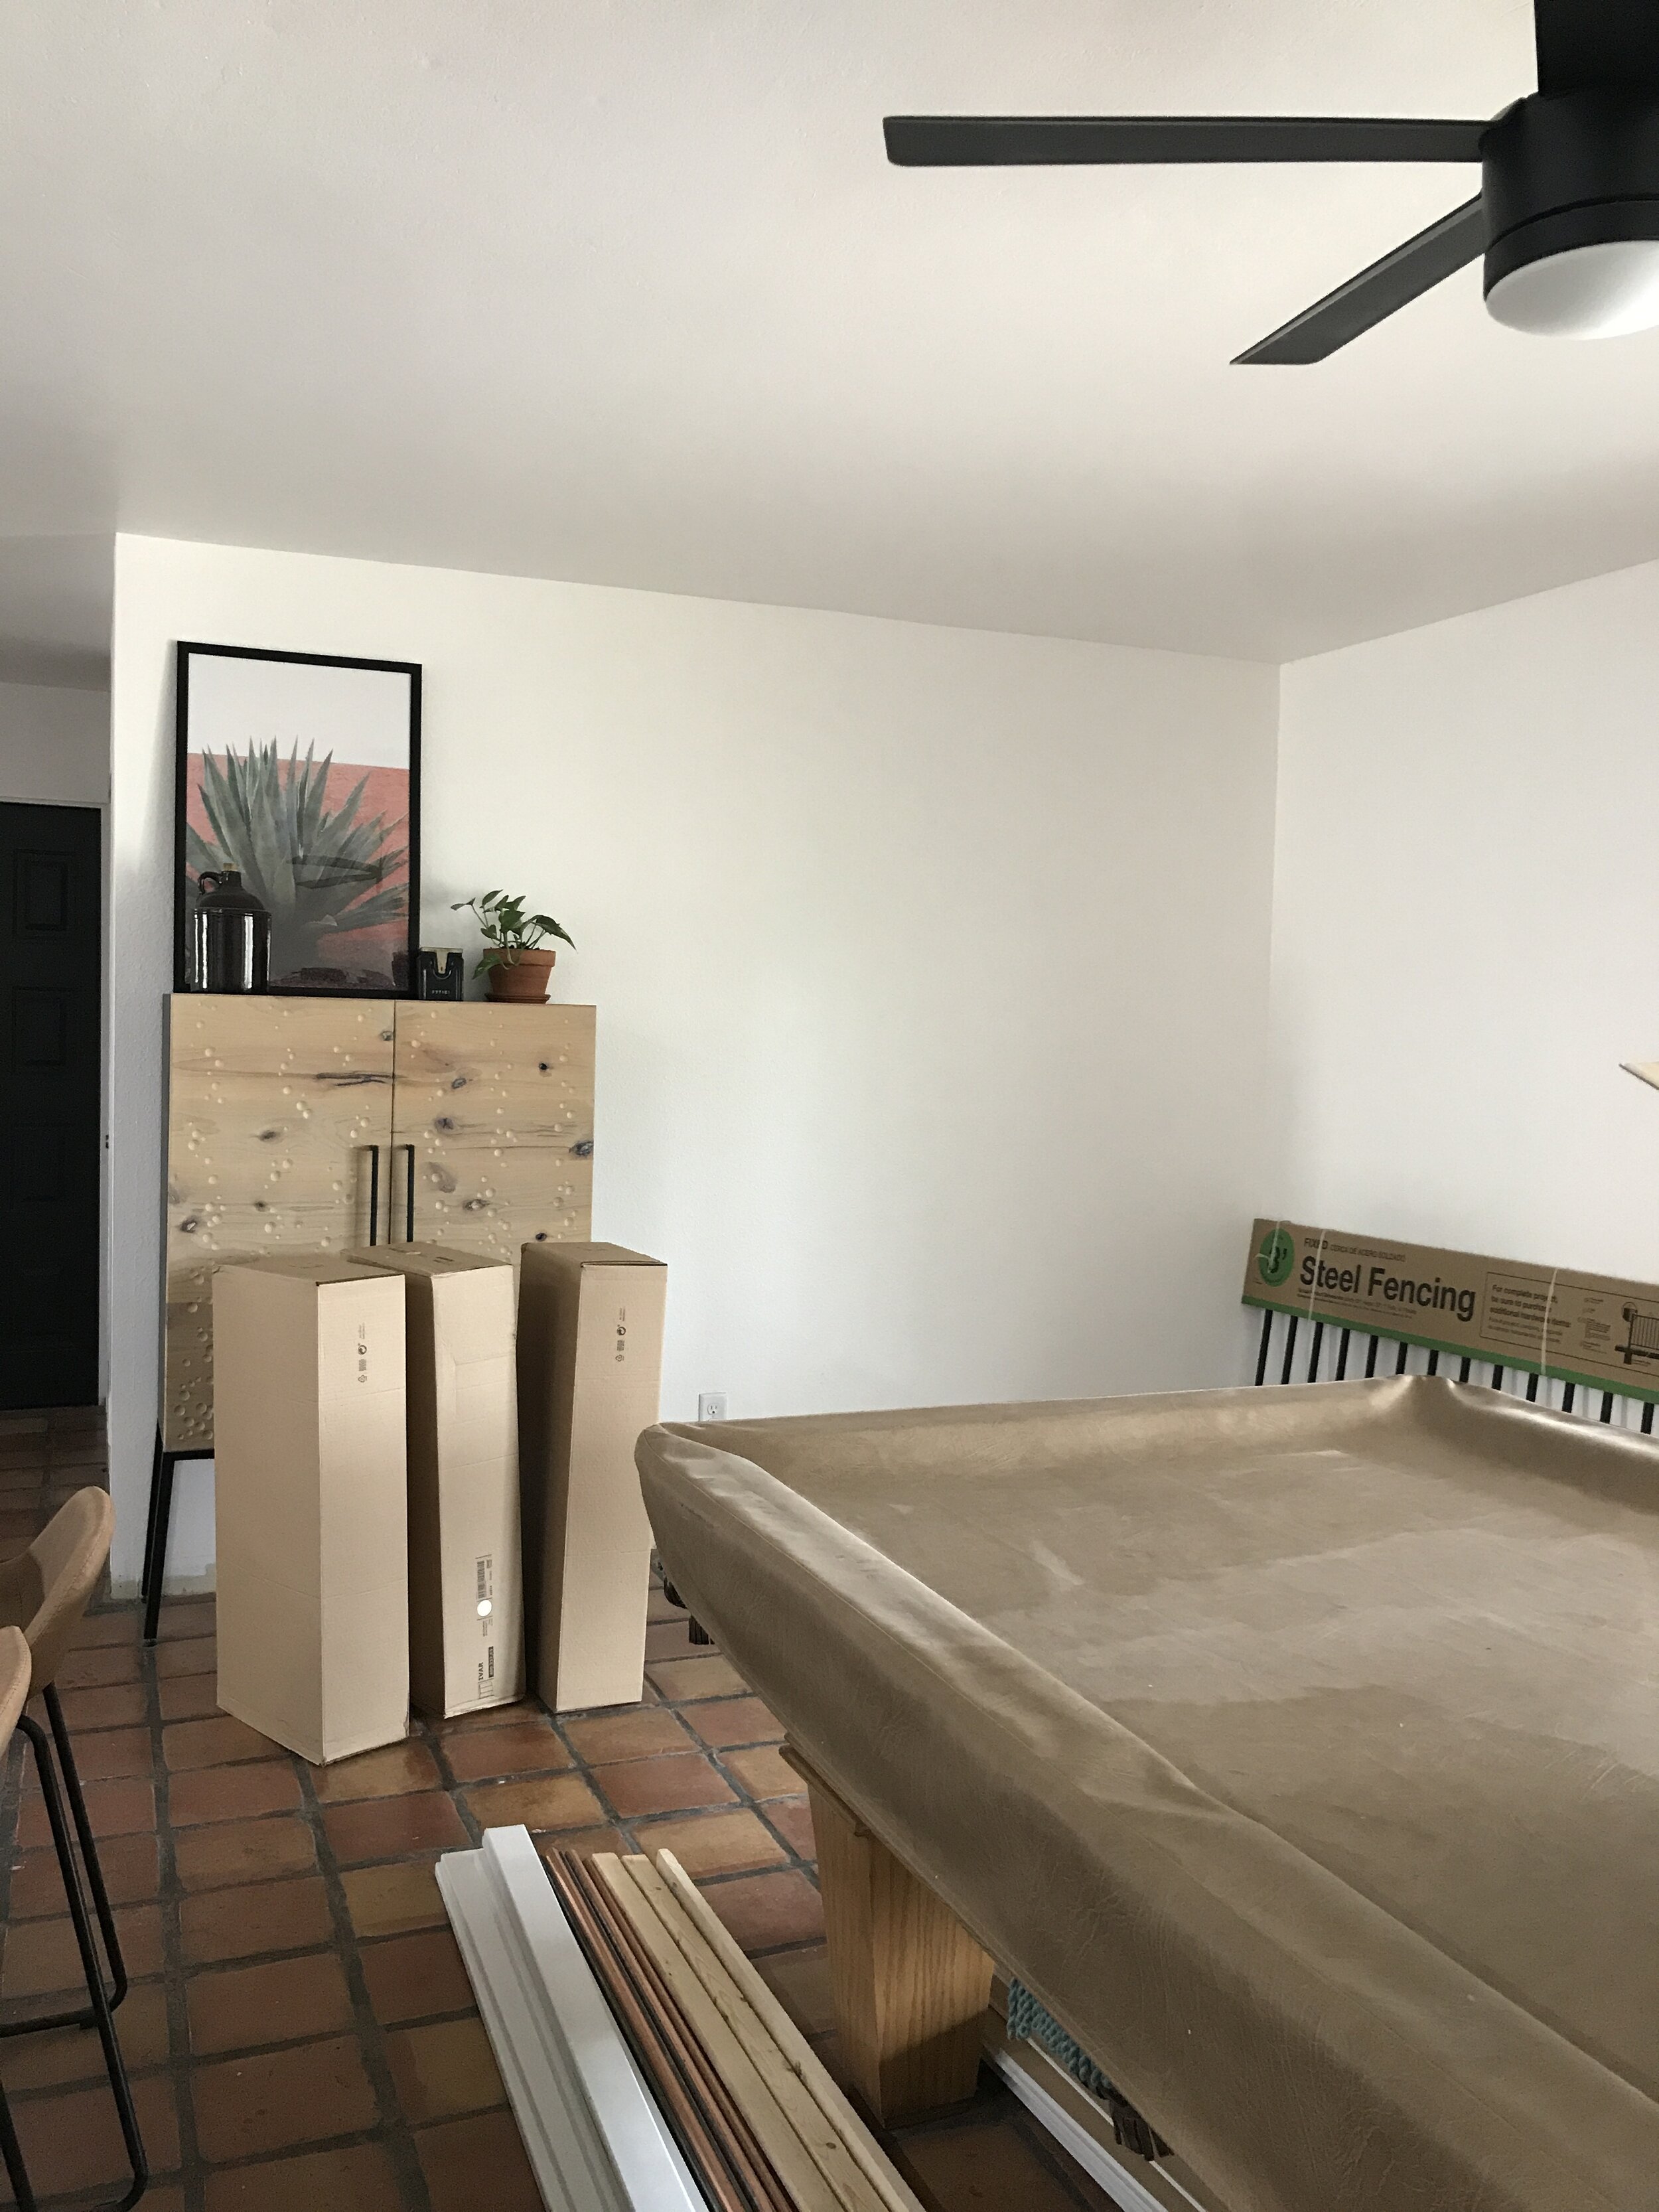
BEFORE
I knew I wanted it to have a lot of storage and look awesome, but I also wanted it floating. Floating so that I can easily vacuum underneath it, because you know there will be Oscar hair there all the time! I also didn’t have a lot of time or money to make this piece from scratch… hence why I went with an IKEA hack. Here is the design I came up with!

My Sketch Up Rendering… I love that it helps me do the math on spacing the battens.
The console itself is made up of three Ivar cabinets from Ikea. I like these cabinets because they are made of solid pine wood. They come in different sizes depending on your needs. I got the ones that were only 12”D so it wouldn’t take up too much of the room, but still be able to fit extra plates and pantry type stuff in it.
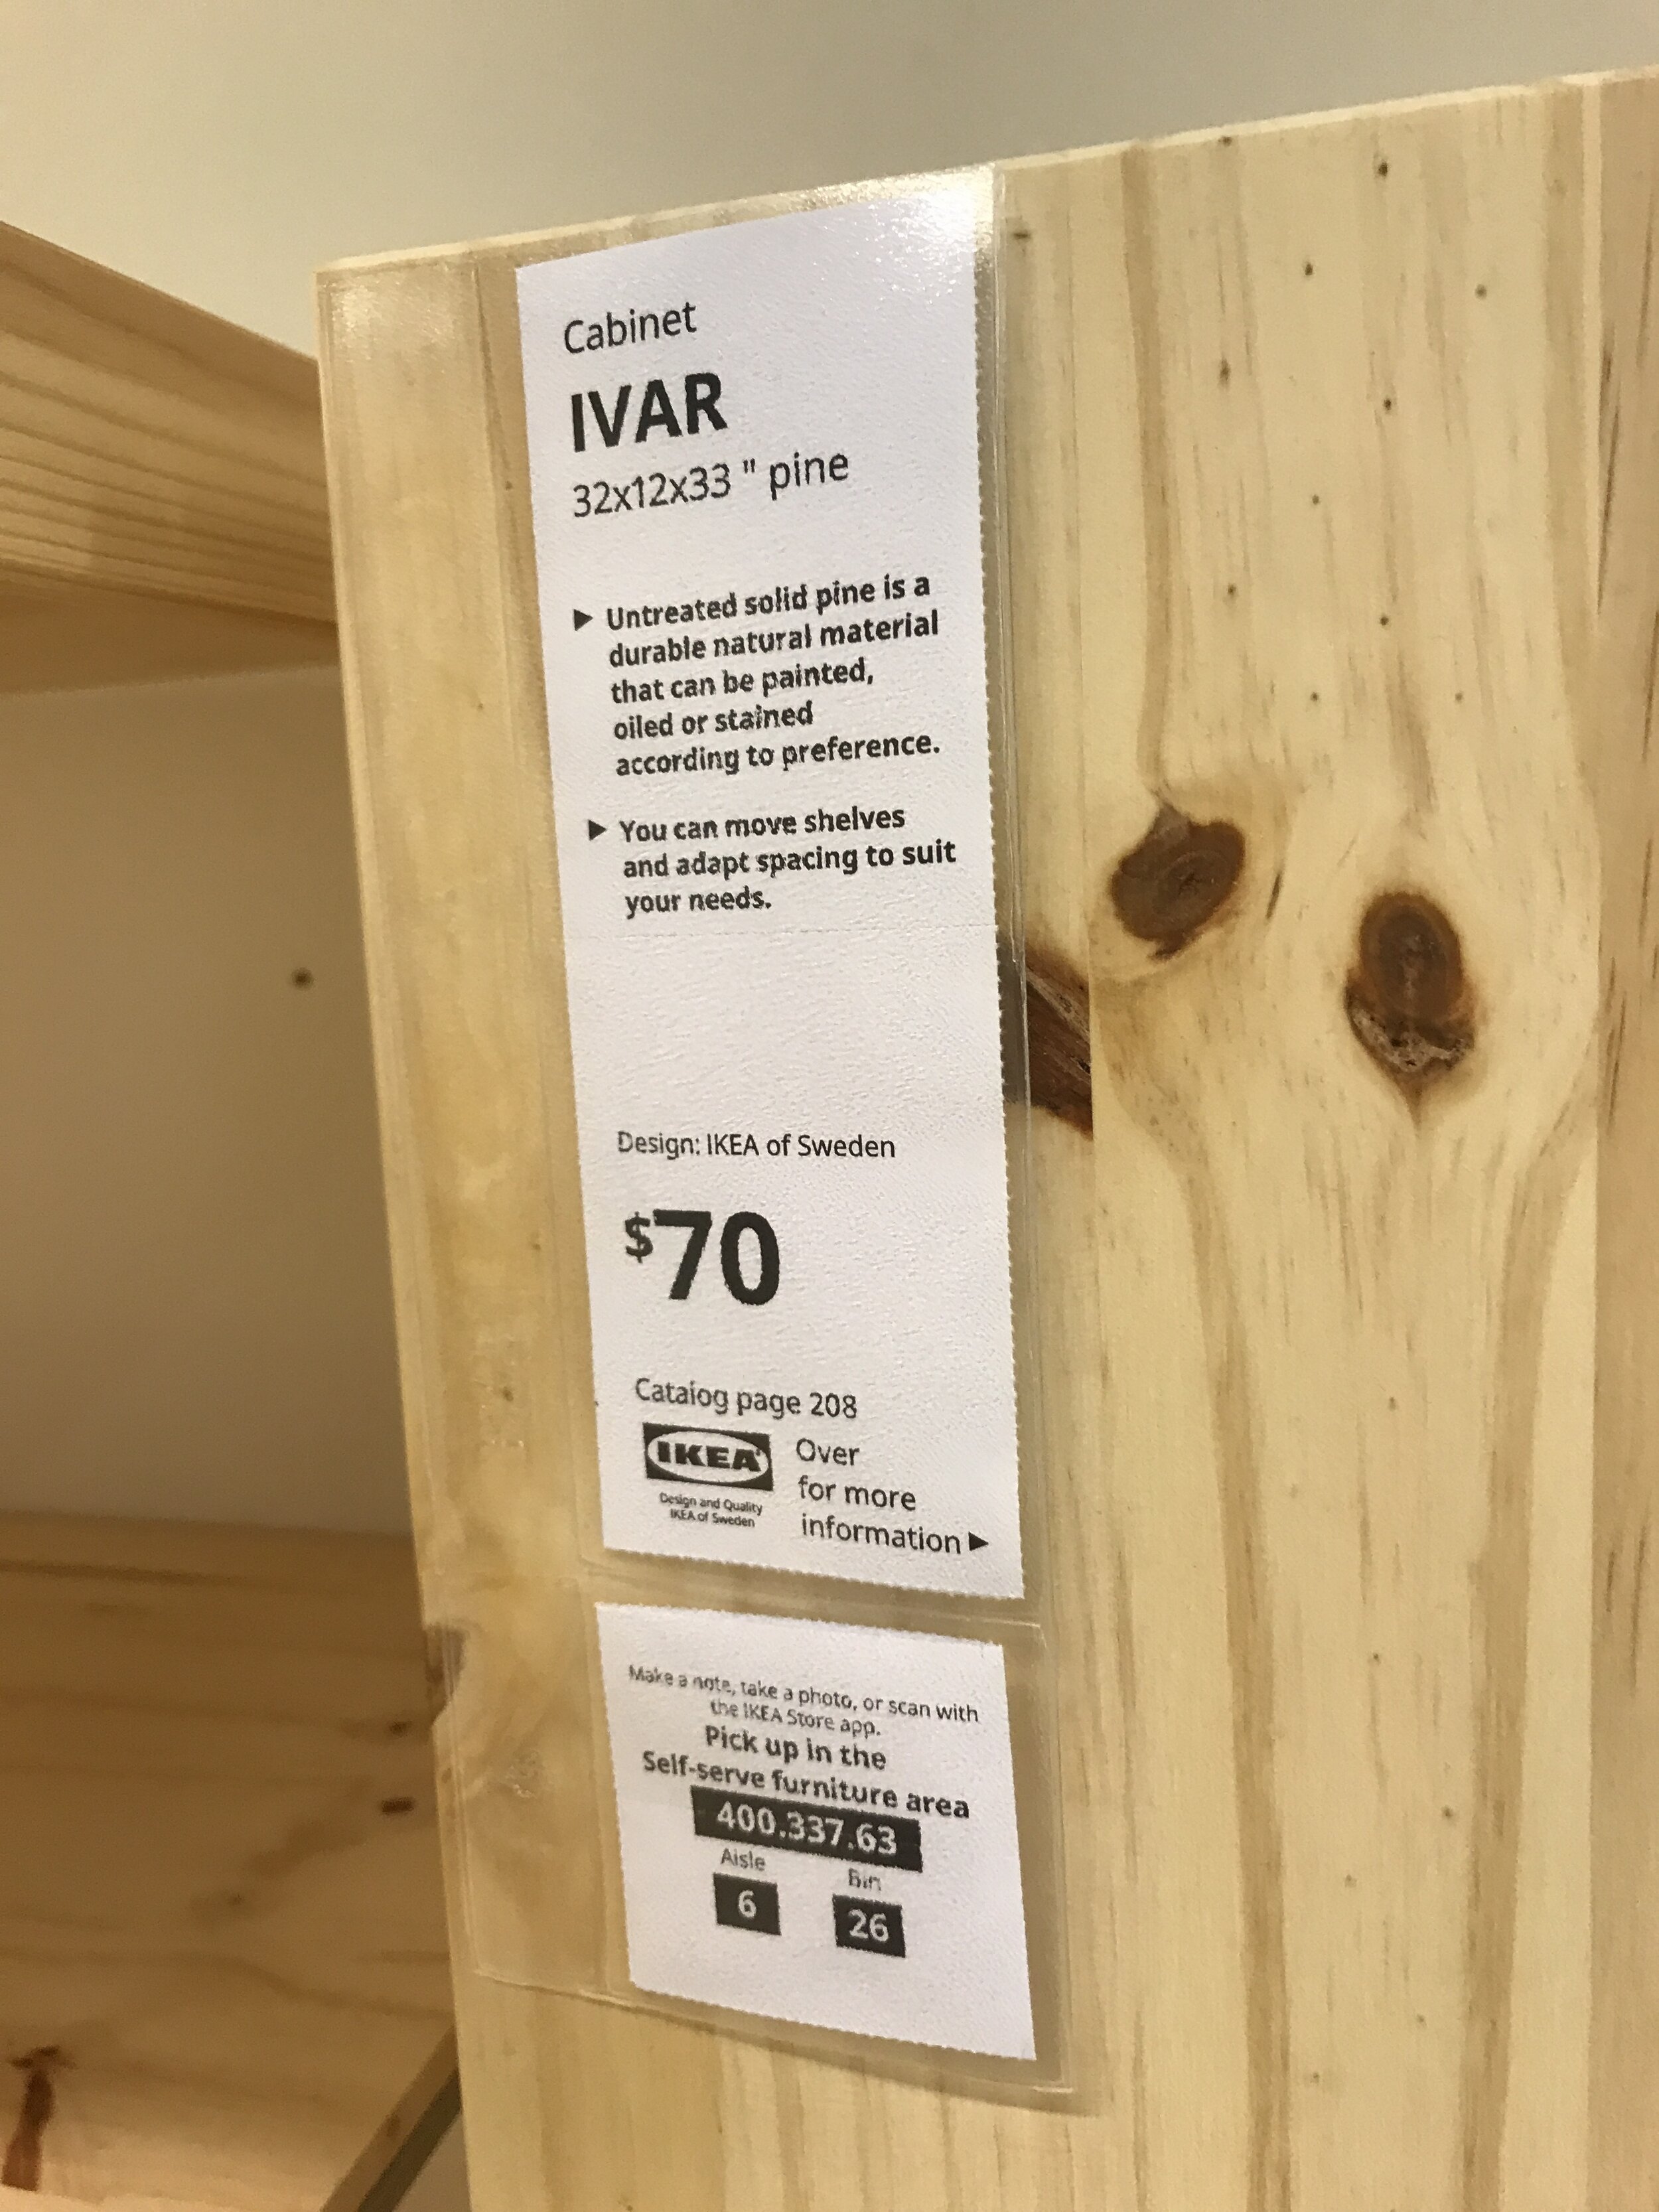
The Ivar cabinets come in different sizes depending on your project.
But before I could install those I need to do something about the orange wall texture because I wanted to put board and batten on the wall. You can put the battens directly on the wall and paint and be done, but I don’t like the look of the texture with board and batten, so I set out to make the wall smooth first.

My very textured wall before covering it with hardboard.
I could have put a skim coat of drywall mud on the wall and sand it down, but I did that on a smaller wall once and really wasn’t feeling it for this project. So, I decided to cover the wall with 1/8” hardboard. I made sure where the seams are a batten was going to go and cover it up. I would be a really pain to and hide the seam any other way.

I secured the hardboard with liquid nails and some brad nails into the studs.
Then I assembled the IKEA Ivar cabinets following the instructions they cane with. I did however use wood glue during assemble to ensure that these were going to be sturdy!

Oscar is such a tough supervisor!
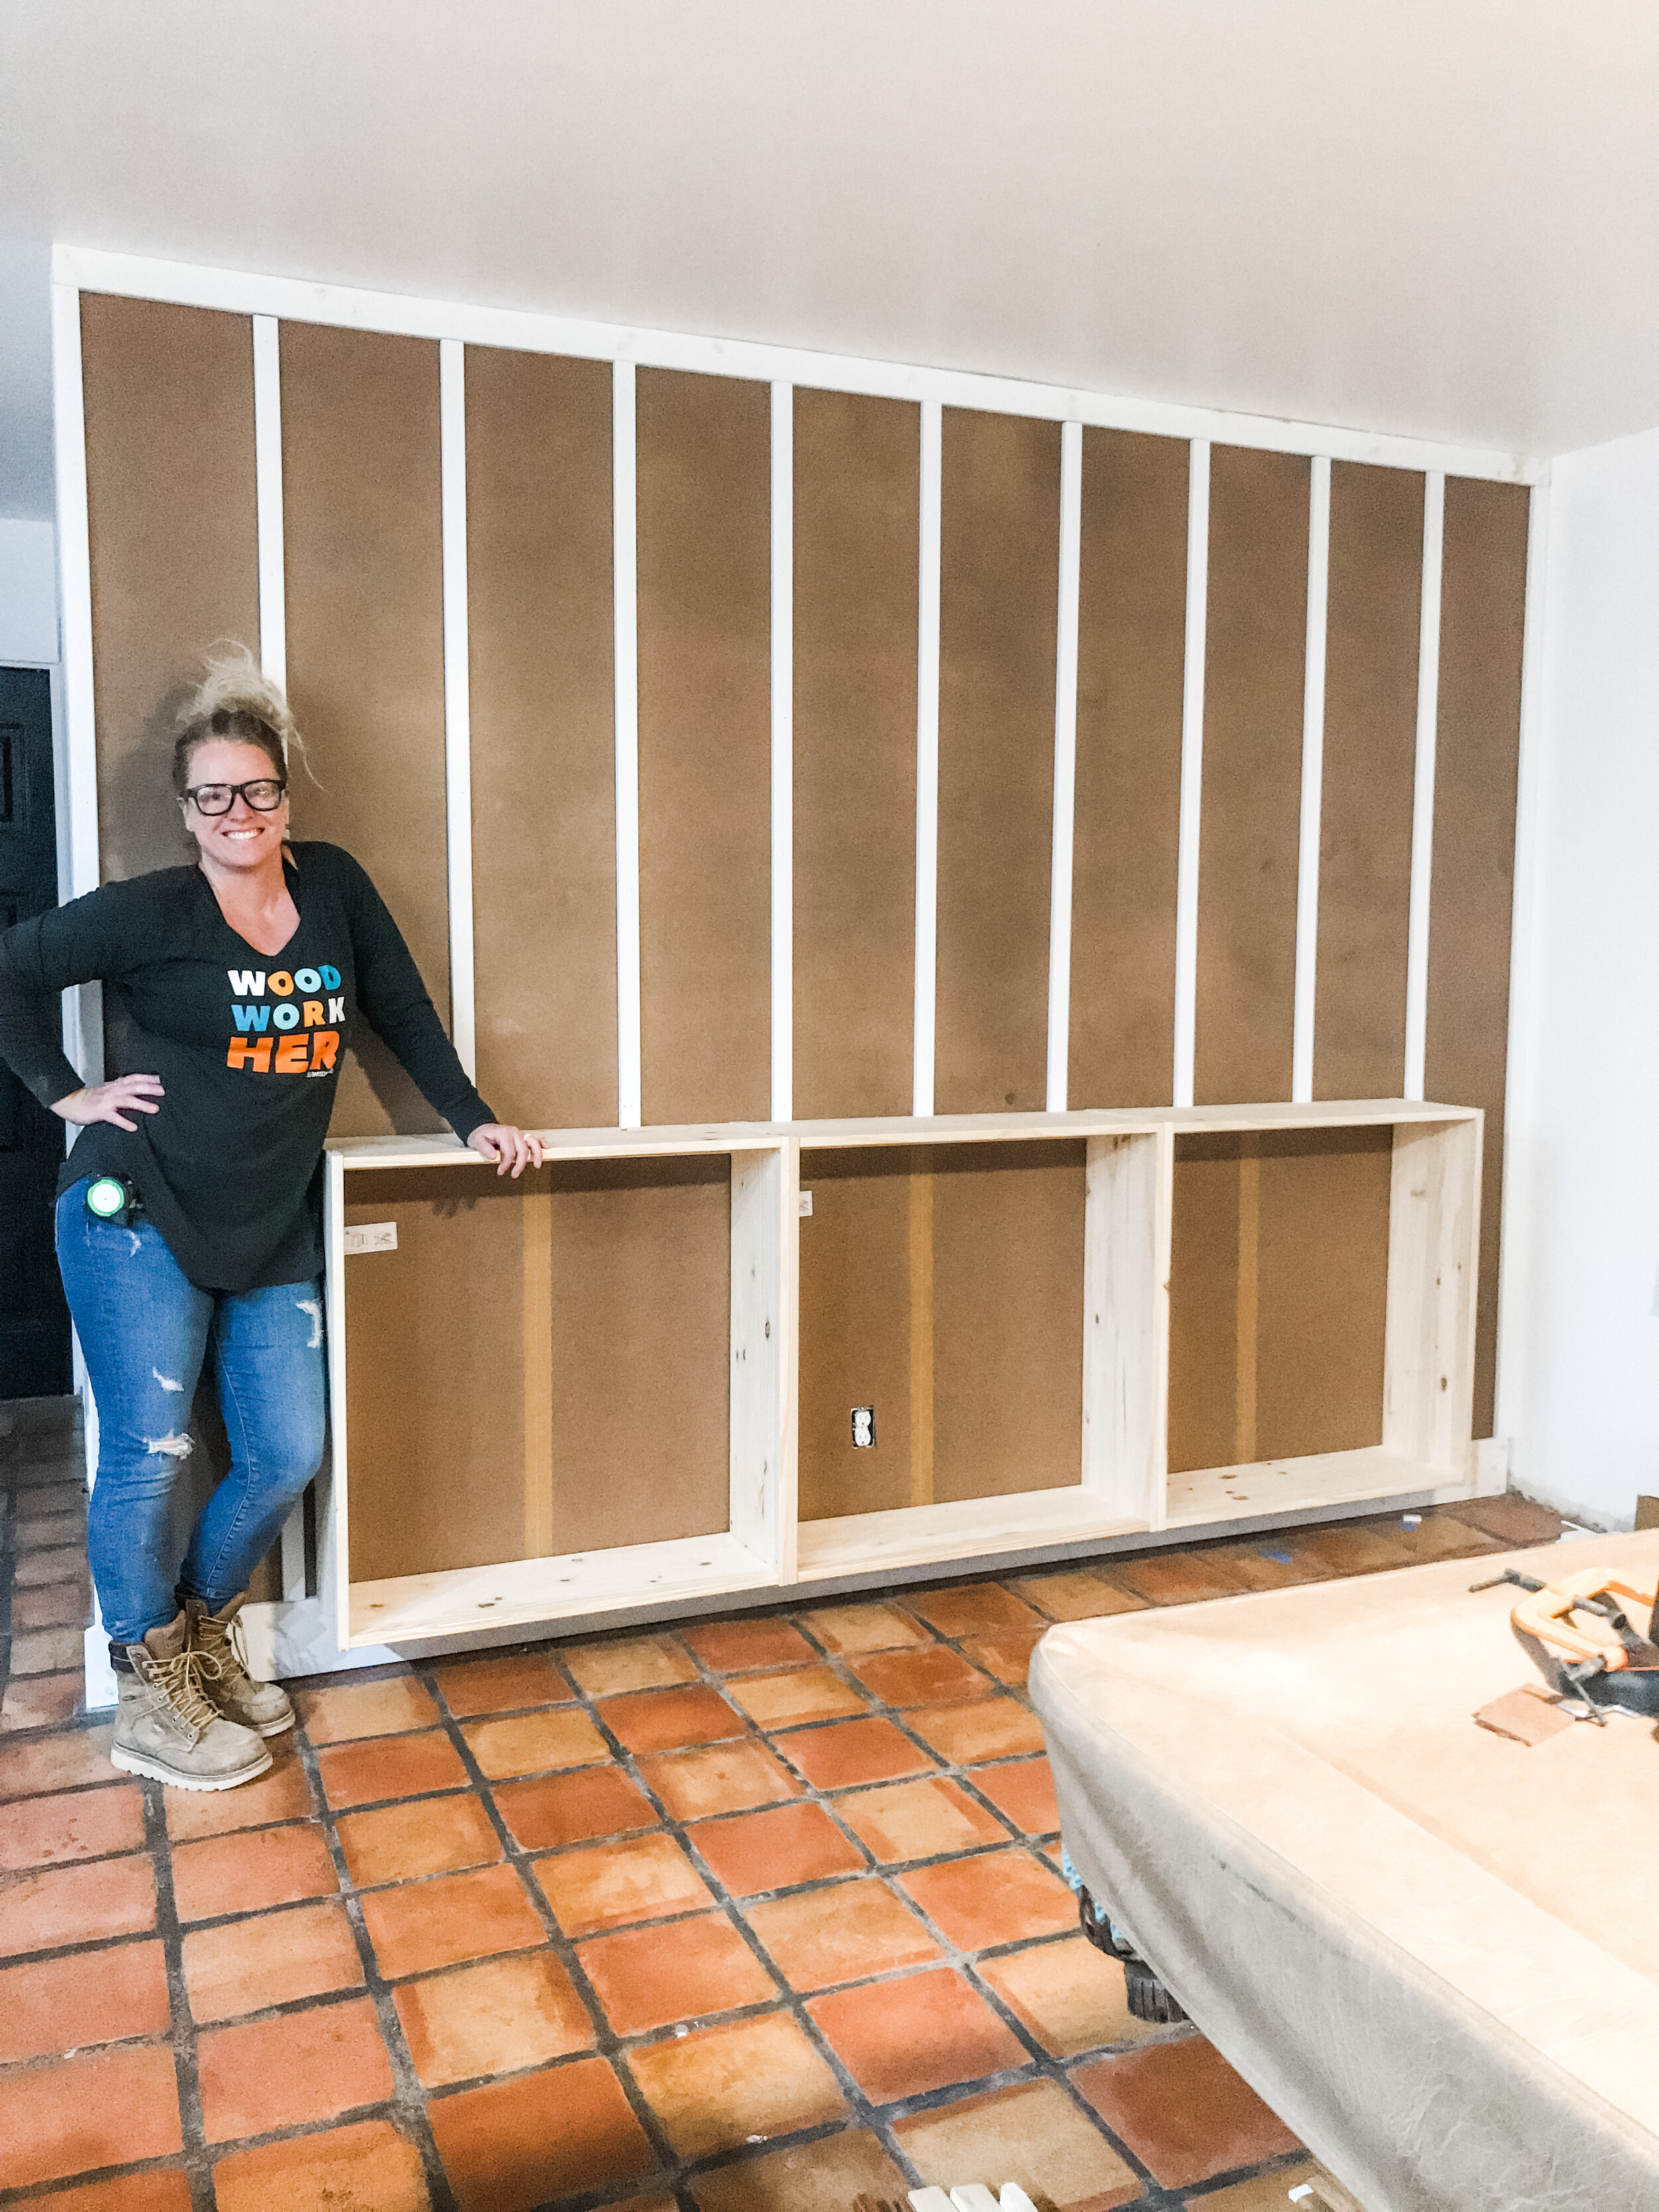
I installed the Ivar cabinets on top of the baseboards to give a floating look.
Then after I installed the baseboards I secured the Ivar cabinets to the wall using 3” wood screws into the studs. I also secured the cabinets together using 1 1/4” wood screws in the frame. And then attached the battens to the wall using 2” 18ga brad nails.

I screws the cabinets together in the front and the back.

I also used my jigsaw to make a hole for the outlet.
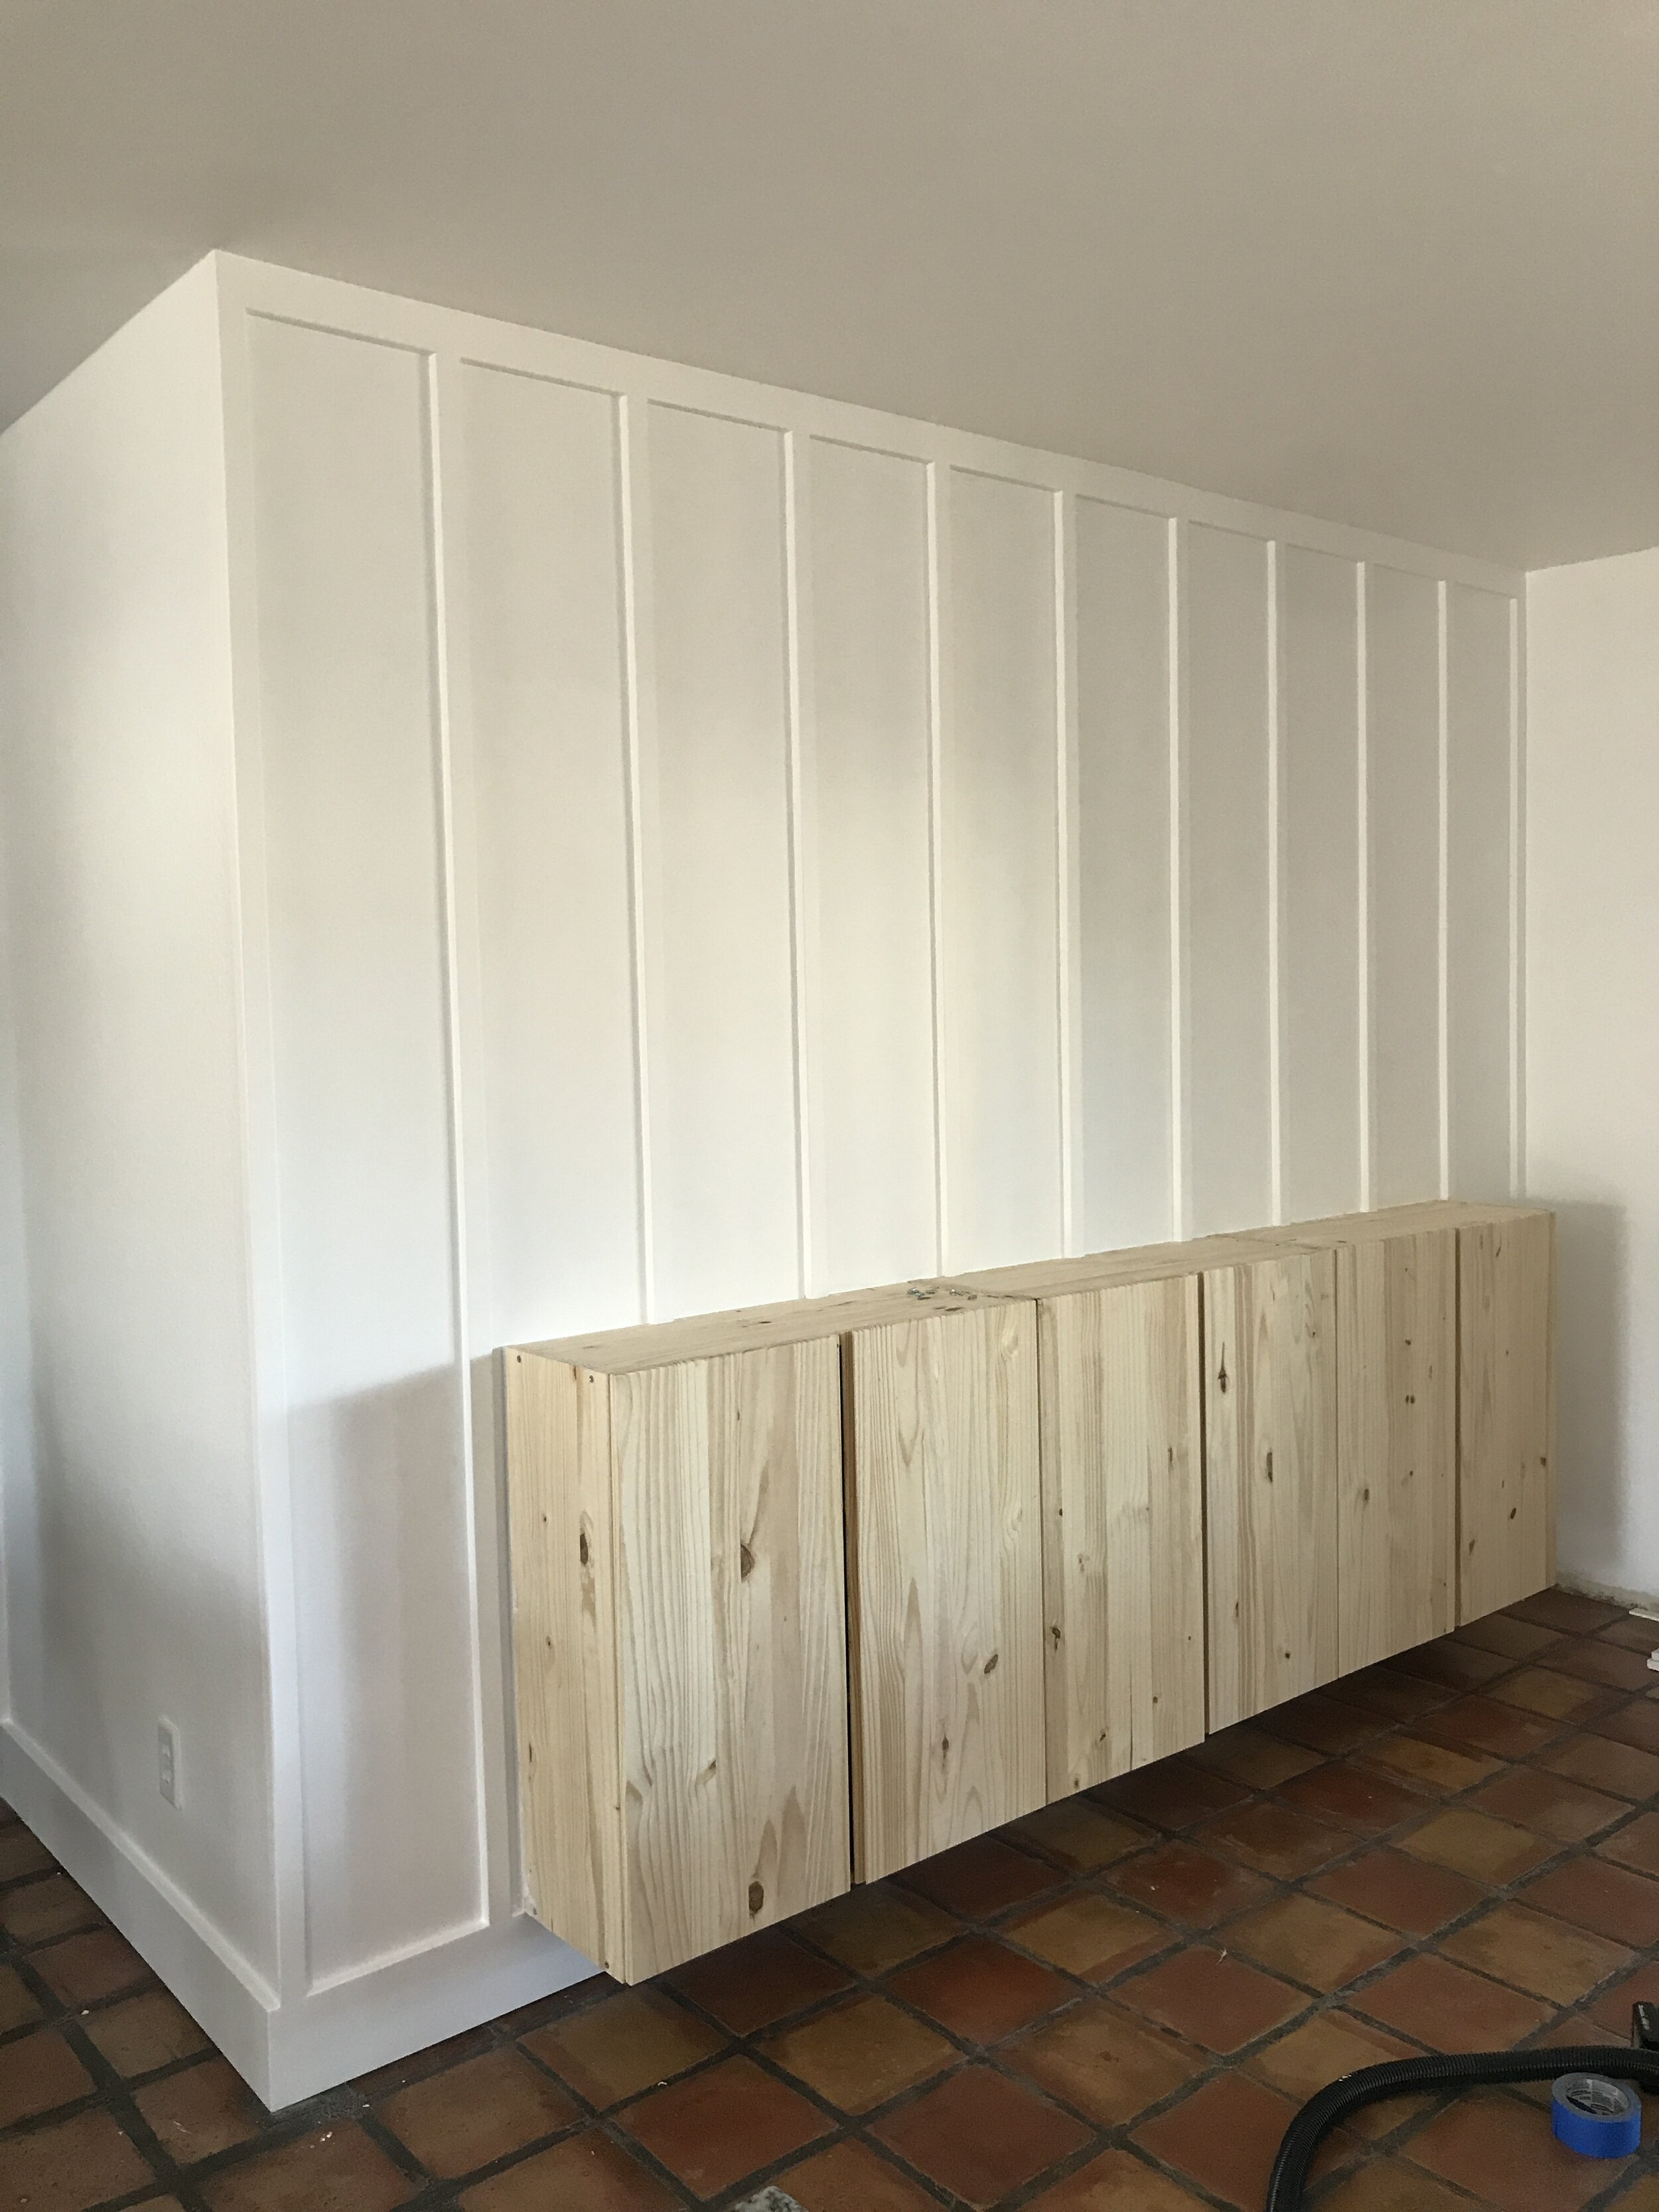
Then I caulked all the seams, wood filled the nail holes, primed and painted!!!! And tested out some decor to get a feel for the space. I already love the wall treatment and can’t wait to make the cabinet functional!

Then I caulked all the seams, wood filled the nail holes, primed and painted!!!!
Next, I installed the cabinet doors and shelves. This is super easy with IKEA cabinet because they already have the holes predrilled for you on the doors and the cabinet carcasses. All you have to do is screw them together…. really anybody can do it!

Doors and shelves are included with the cabinets.

Hinges are included as well!
Wow! I am loving the transformation already, but there are some features of the Ikea cabinets I don’t like. Like there is gap between the doors… I don’t know why IKEA just doesn’t make the bigger, but I have a solution I’ll share later. I also don’t like how the top of the cabinets look… you can see the seams where the cabinets meet and the hardware on the side where we put them together.
I love these cabinets, but hate the gap on the cabinet doors… fix coming right up!
To watch me make this piece check out my YouTube Channel!
But I have a hack to take this cabinet from cool to AWESOME! I found this screen molding at Home Depot. It is 3/4” with and 1/4” thick with rounded over edges on the top side. And I decided to buy a whole bunch of it and cover the entire cabinet to give it a custom high end look!

Up close look of the screen molding I used.
The process was super easy, but tedious.
Step 1:
Sand the top of the cabinets to make sure the are completely flat with one another. We don’t want any gapping when we put the molding on.
Step 2:
Install the top molding so it goes over all three cabinets. This will hide the seams and give you an AWESOME textured look. Oh, and make sure to put a 45” miter on the ends so when we install the side pieces it will give it a waterfall look. I installed each piece using wood glue and 23ga pin nails that were 3/4” long.

bye-bye seams

waterfall edge

loving the texture!
Step 3:
Now on to the cabinet doors. Again, this isn’t a hard process but it is time consuming. I sanded each edge of the molding, cut it to length and then attached with wood glue and pin nails over and over again! But it sure is looking AWESOME!

half way there!
Step 4:
Sometimes my pin nailer didn’t drive the nails all the way beneath the surface so I had to use a hammer and a nail setter thing… not sure on the technical term… to set them below the surface. I did go back and use wood filler to fill all the holes especially the ones that I had to set. Then gave the whole piece a good sanding.

Step 5:
Figure out how to cover up the gap between the doors! I ended up ripping a scrap piece of pine I had down to overlap the gap. Since it was 3/4” of an inch thick it did look weird on how far it stood out, so I ended up running them through my thickness planer several times until I had them to a thickness I liked. I also ended up rounding over the edges of piece with my trim router and a round-over bit. You could also sand the edges if you don’t have a router. And then attached them using wood glue and brad nails to one side of the cabinet door.
Since this piece overlaps the two doors, you will have to open the right door and then left door. I don’t think that will be big deal and it makes the cabinet look so much better.

I planned down the center piece using my thickness planer.
Step 6:
Decide on hardware placement… vertical or horizontal? I ended up going with horizontal because I liked the contrast of the line versus the slats being vertical. Plus, since this is going to be mostly a bar cabinet I could hang a towel on the pull when I am using it.
The pulls that you see in the picture below are not the ones I ended up going with. They were too long and wouldn’t let the cabinets open all the way. So I ended up getting the same hardware just shorter and it worked out fine. These are the pulls I used.

Vertical or Horizontal???
Step 7:
Finishing! I think this was the hardest part of the project… picking out the finish. I have saltillo tile floors in there and didn’t want the finish to complete or look to pink next to it. I ended up going with a paint wash finish and share all about that here…. Best Finish For Pine Furniture!

I made over 12 samples of different finishes and it was still hard to choice the perfect one.
Once the finish was done it was time to start putting everything back together. A couple of things to note, I didn’t end up finishing inside the cabinet because I didn’t think it would be worth the effort. And the hinges on the cabinets are adjustable, so be sure to tweak them until they all the doors lay flat and are lined up left to right and top to bottom just right!

So close to the finish line and Oscar was with me each step of this project!
And the hardware and you have yourself an AWESOME IKEA HACK!
I am so please with how this cabinet came out. If I made this piece from scratch it would have cost me so much more money and time! So not only it this piece affordable, easy to put together… it looks like a AWESOME custom piece of furniture!
I’d love to hear what you think of this build in the comments below!

I think this project is Oscar approved! or he just wants the treat in my hand!
And even this though this is my first time doing a paint wash finish on pine, I don’t think it will be my last! Again more details on the finishing process can be found here… Best Finish For Pine Furniture!

That finish though!
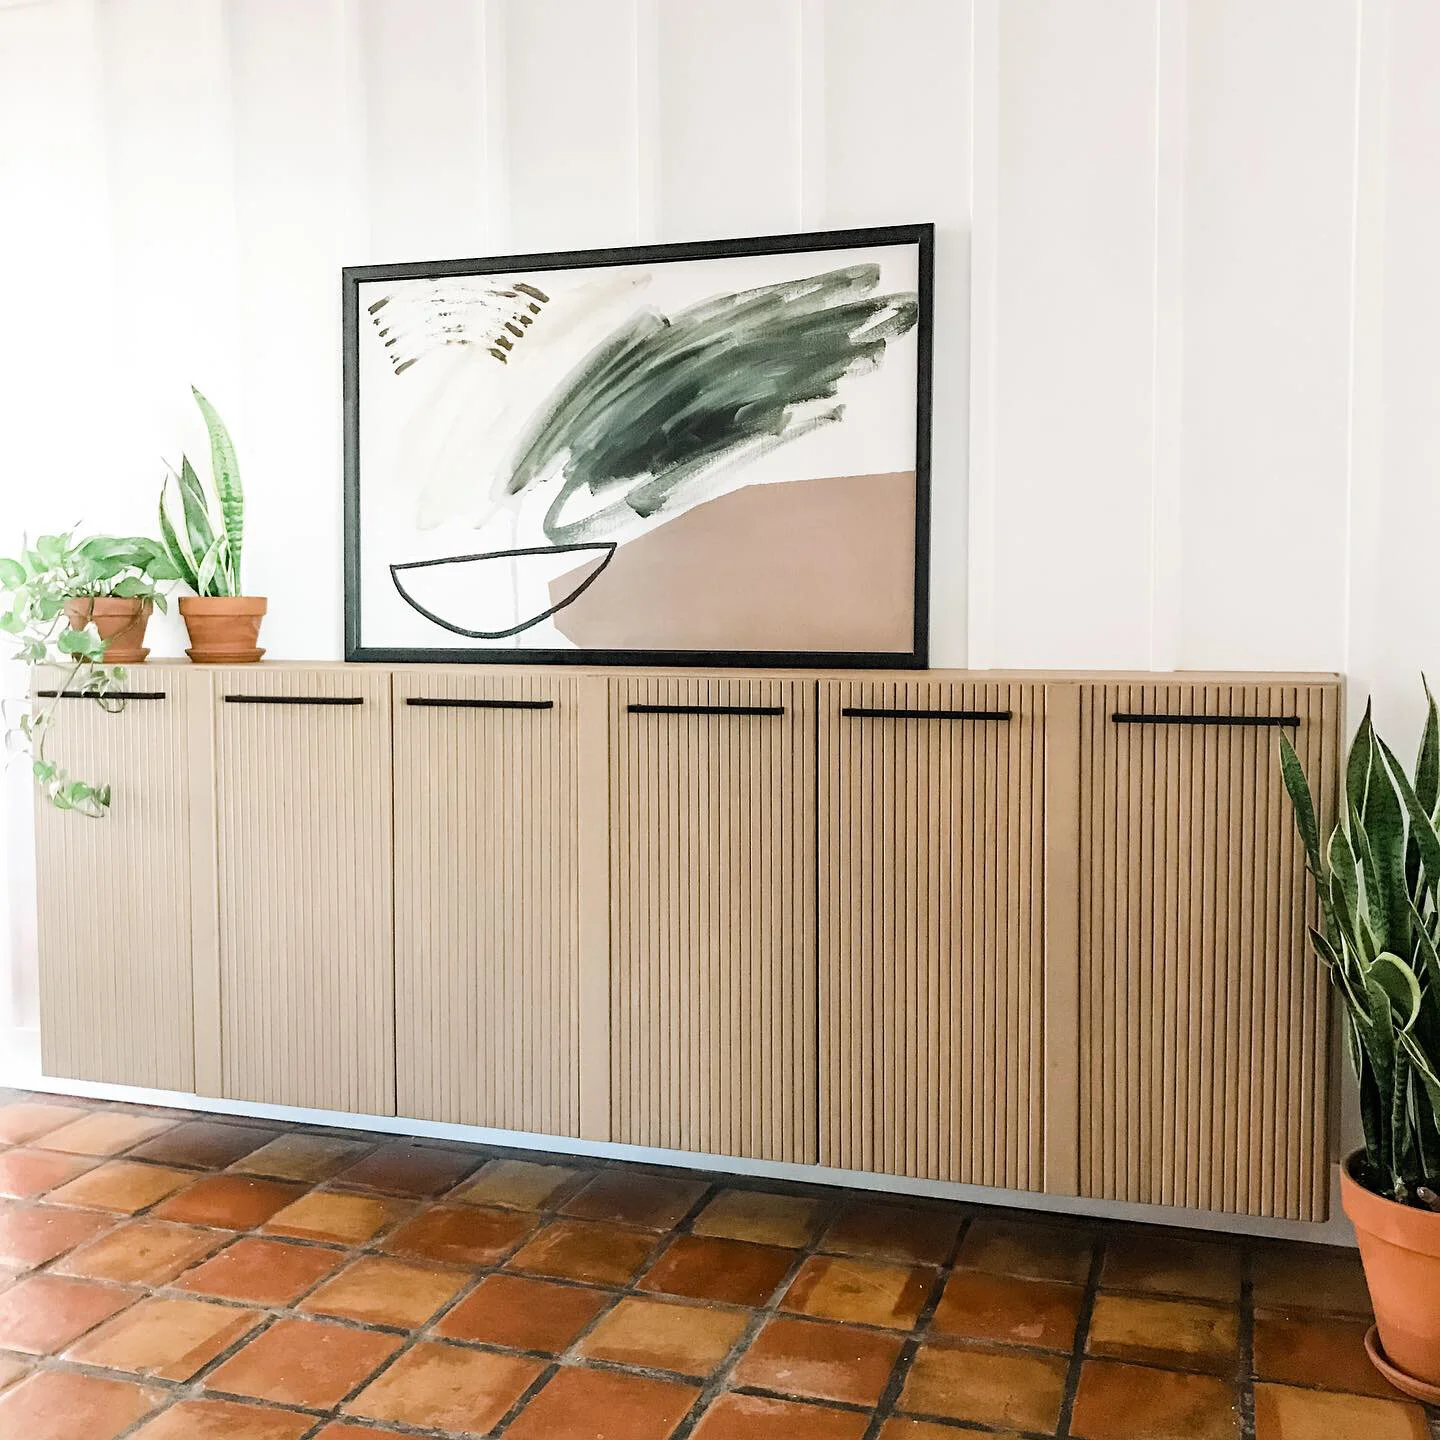
I love it… now to find permanent art work for this space and fill it up!
Thank you for following my building journey! Remember Build LOUD, Build WILD and have an AWESOME day!
Sadie Mae
Can’t make this now? PIN it and save for later!


