DIY Workbench | An AWESOME Match for Harvey's G700
I recently got a new dust collector, Harvey’s G700 Dust Processor, and with its low profile I am going to show you how I built an AWESOME workbench around it. Having a small shop, I have to utilize every inch. And with this workbench I gained 10 sq. ft. of work surface and 15 sq. ft. of wall space!!!
This post IS sponsored by Simpson Strong-Tie. All opinions are my own. The post DOES contain affiliate links. For more information on my affiliate programs, see my DISCLOSURES page.
This is a super simple build that anybody can build. And if you don’t have the same dust collector as me you can simply store other tools on wheels underneath or even a shelf! Totally customizable.
For the construction I am using Simpson Strong-Tie connectors. I choose them because they are easy to use and create a super strong joint that will last. These are the connectors I used:

You can get some Simpson Strong-Tie connectors powder coated black or traditional galvanized finish.
*NOTE: if you want a shelf on your bench you will need 8 - RTC2Z’s and not RTA2Z’s or you could just get Simpson Strong-Tie’s Workbench and Shelving Hardware Kit.
Watch Video Tutorial on my YouTube Channel!
Step 1: Cut out 2x4’s
For complete cut list for this exact size workbench, get build plans here!

Everything is cut and I am ready for assembly!
Step 2: Mark location for connectors
Top connectors are 1 1/2” for top and bottom are 6” up.

Marking where the connectors are going to line up.
Step 3: Attach connectors to 2x4’s using 1 1/2” Simpson Strong-Tie Connectors Screws
Be sure to put a screw in every hole of the connectors for strongest joint.
Assemble both sides first, ensuring hardware is facing opposite directions.
Then install three (3) cross supports the same way.
Using a Pony | Jorgensen ez-hold clamps helps hold connector in place while securing.

Line up connector with line and then clamp and secure with Simpson Strong-Tie Connector Screws.

And repeat! Make sure that for each leg you have the hardware facing the opposite directions.

Last step for each leg is to secure the front bottom with a Simpson Strong-Tie RTA2Z Connector.

It was a little bit of a balancing act to add the cross supports, but the hardware made it easier.

Ensure that every hole on the connectors gets a connector screw.
Step 4: Attach back top support using 3” wood screws

Top cap is secured with 2 1/2” wood screws to the back legs.
Step 5: Cut 3/4” plywood for top and secure with 1 1/4” wood screws.
I used scrap plywood.
I also added a support 2x4 in the middle for extra support.
To notch the back corner of the plywood, I traced a 2x4 and cut it out with my jigsaw.

Trace a scrap 2x4 on the back of the 3/4” plywood for top and notch using a jigsaw for a perfect fit.

I used two (2) pieces of scrap plywood I had rather than buying a new piece.

Clamp the top into place and then secure with 1 1/4” wood screws.
Step 6: Cut & Install 1 1/2” furring strips to fit inside of the back for Wall Control panels.
I held mine in place with brad nails and then came back with screws to permanently secure them.

Back supports are inset 3/4” so that Wall Control Metal Pegboard panels sit flush.

I used some scraps to create a spacer block so the back support didn’t move while securing.

Only thing left is the back Wall Control Metal Pegboards. Use code AWESOME for 10% off.
Step 6: Install Wall Control Panels
With the size of the workbench there will be a gap between the panels. This worked for me because I have electrical outlet there and wanted to still have access to it.
To close up the hole I attached some furring strips with my brad nailer.
Use code AWESOME for 10% on Wall Controls website.

They are super easy to install. Mark, pre-drill and then secure with the provided screws.
Step 7: Admire your new workbench and get to work make something AWESOME!
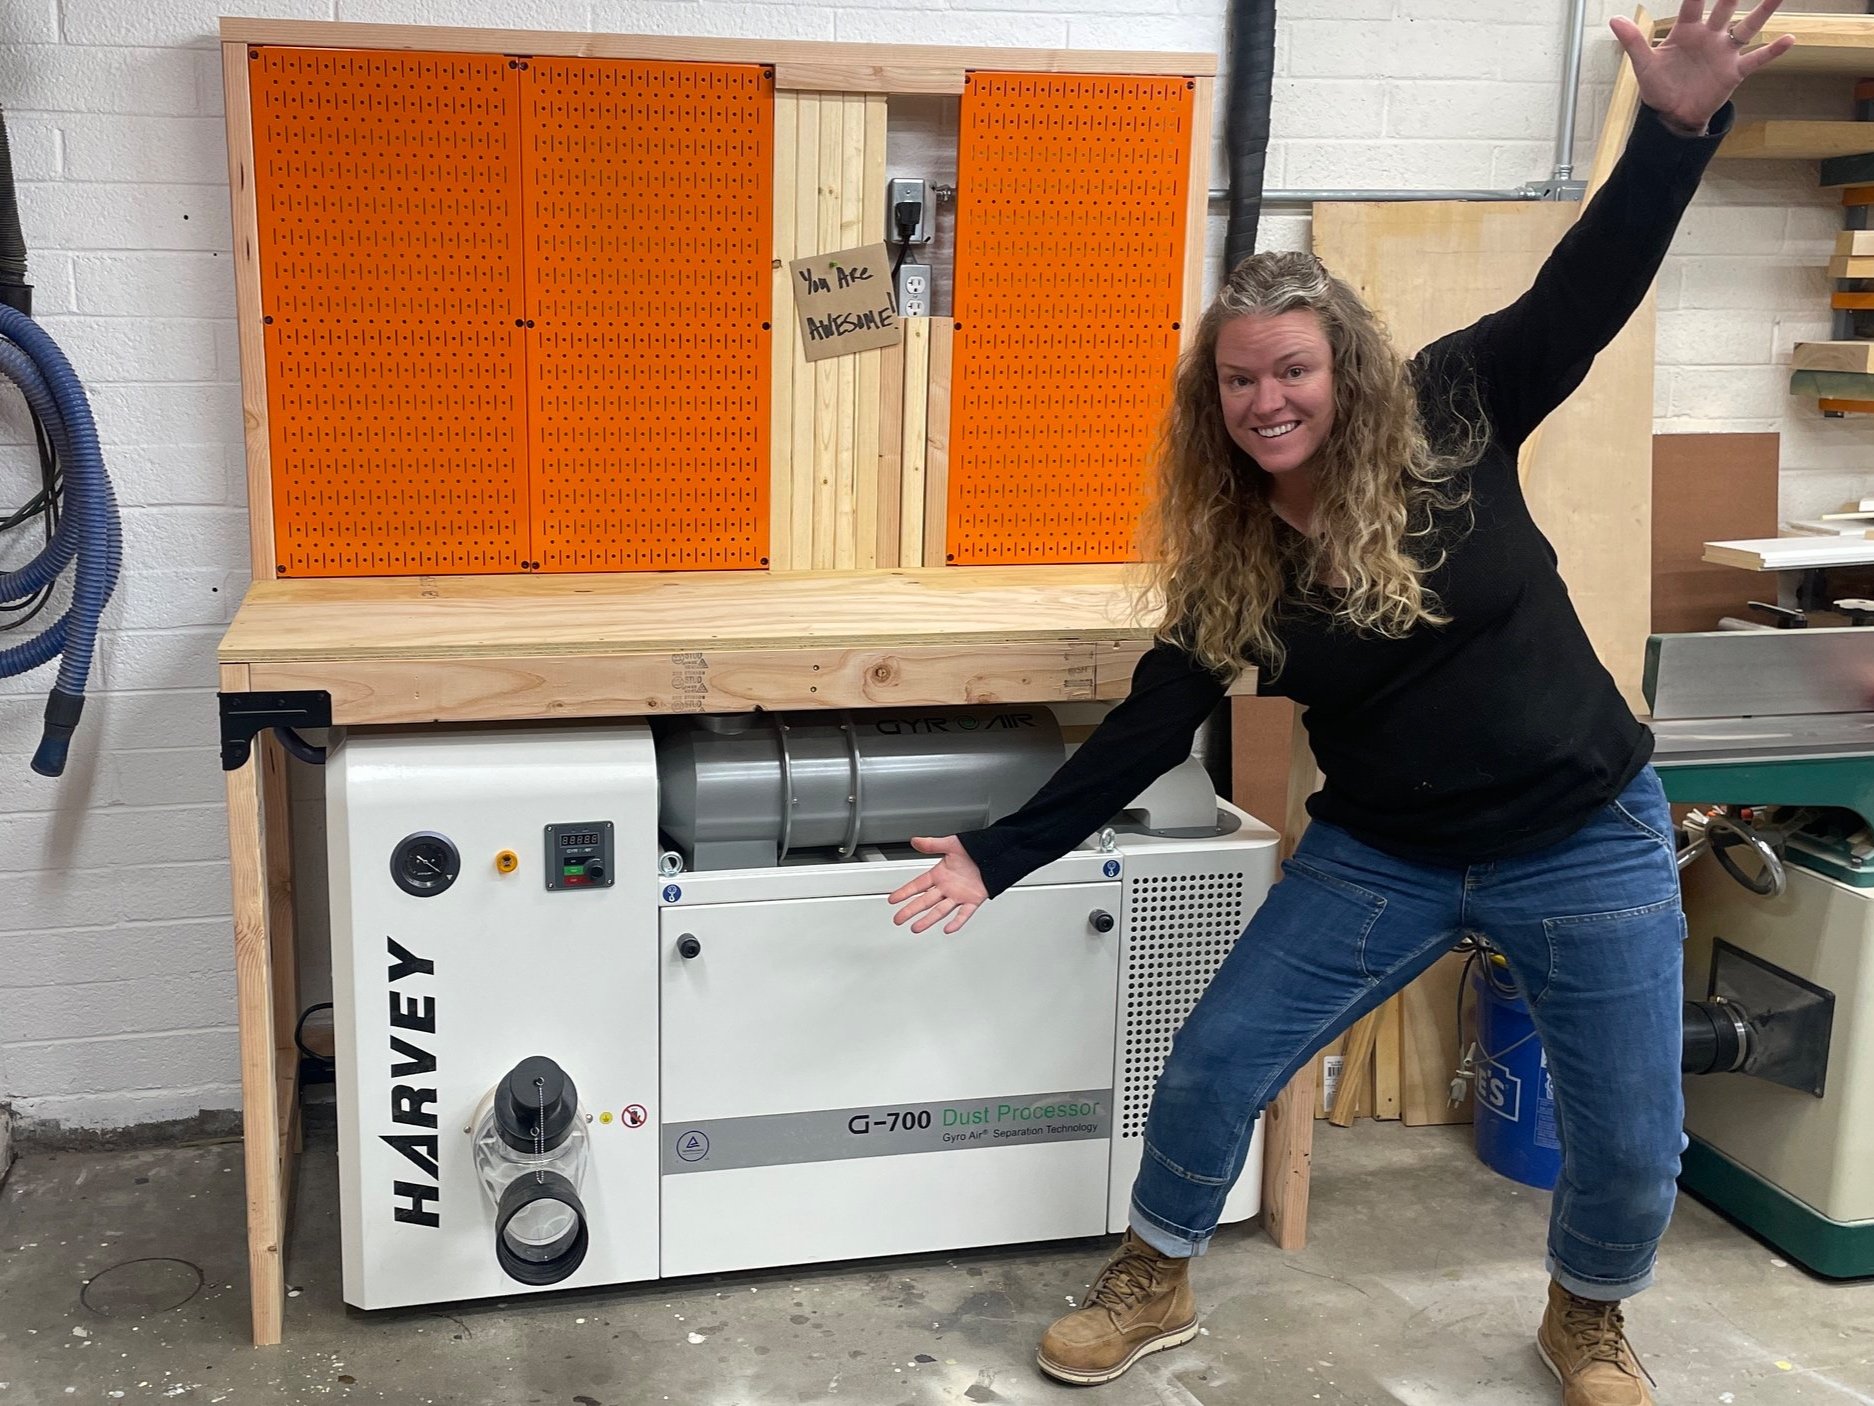
Oh yeah! I love my new DIY Workbench! What do you think?
I love my new workbench! So much added usable space in my shop. I can still easily access my dust processor for emptying and cleaning, plus the pop of color on this wall of my shop makes me happy!

With the front of workbench open, I can still easily empty my dust processor.
Get complete build plans for this workbench, here! They include material list, tool list, cut list and step-by-step instructions.
If you end up building this workbench for you shop, I’d love to see a pic of it and how you use it!
Thanks for the support! Until my next AWESOME build remember Build LOUD, Build WILD and have an AWESOME day!
Sadie