DIY Modern Floating Nightstands featuring Kreg's New 720PRo
Howdy! When Kreg Tool asked me to team up and be one of the first to try out their new 720 Pro pocket hole jig… I jumped at the opportunity! My original pocket hole jig was the one tool that really opened my eyes to making AWESOME stuff. It made joinery quick and easy… and now they have one that is even better!?! What? What?

And I knew exactly what build I wanted to test it out on… some new floating nightstands. I have had this design on my list for forever and was so excited at the opportunity to bring it to life. I love this design because #1 it is floating… meaning I can actually easily clean up all of Oscar’s dog hair that will definitely find its way underneath it. But I also love this design because the shelf is open to the side of the bed, meaning that you have easy access to your stuff without having to let it clutter up the top of the piece. Oh and lastly it is AWESOME because it has a drawer to hide everything else!!!

The post IS sponsored by Kreg Tool. All opinions are my own. This post DOES contain affiliate links. For more information on my affiliate programs see my DISCLOSURES page.
All you need is:
1 - scrap piece of 1/8” plywood or hardboard (drawer bottom)
If you don’t have scraps you can easily buy a 2x4 piece at the project panel section of your big box store.
By using the pine project panel you don’t have to mill your wood or do any glue-ups… you just get to start building! Each panel is about $42 each, not cheap… but in my opinion, I didn’t do the math, it is so much better than buying individual pieces and doing the extra work. That is unless you are want a different wood type… but I digress.
So the project panel along with the drawer slides ($15) made each nightstand $57 in materials. I already had screws, glue, stain etc on hand, but if you don’t you could still make these for less than $70 each… now that is a bargain!!!
So let’s get building!
Step #1:
Cut out all the pieces to the carcass of the nightstand, but wait on cutting the drawer pieces til later. We want to make sure everything goes together as intended before cutting them because we need them to fit just right, so that the drawer slide smooth!
I have complete build plans available with step-by-step detailed assembly instructions, dimensions and 2D diagrams… available here!

The Kreg Rip Cut & Makita circular saw helped cut down the panels quickly.

Time to mark pieces on where the pocket holes go.
Step #2:
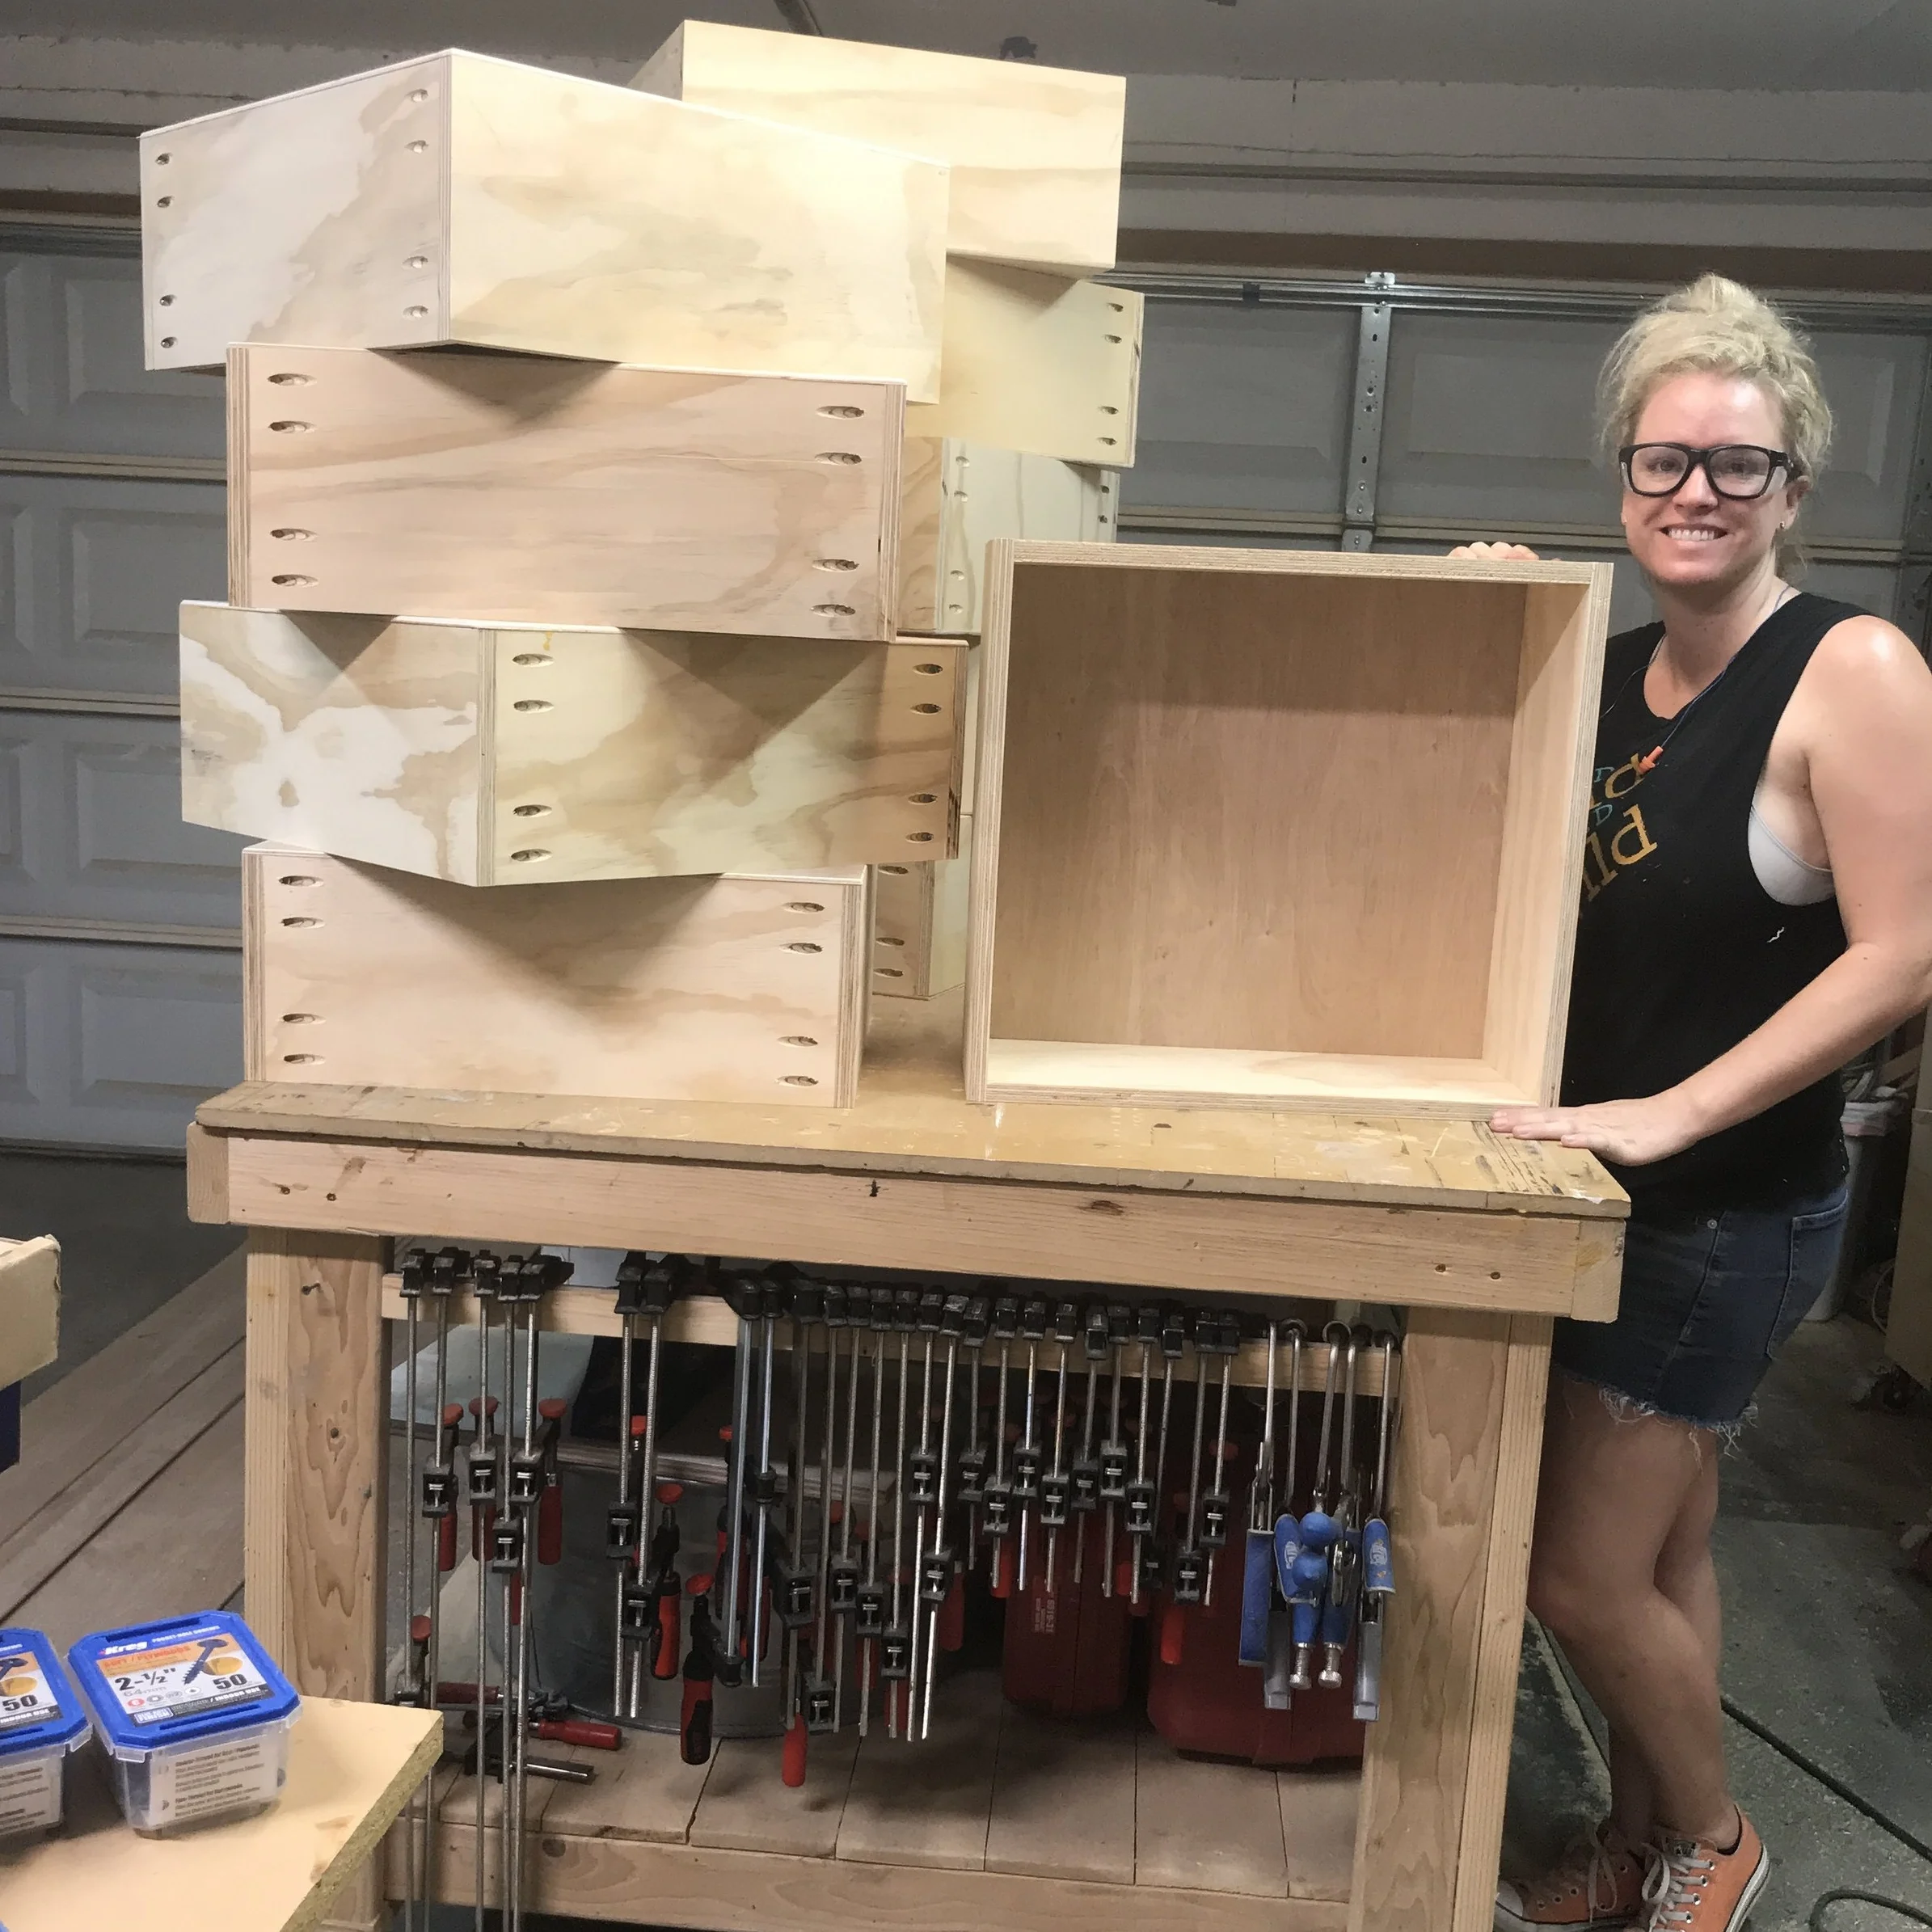
Drill 3/4” pocket holes using the NEW Kreg 720 Pro or whatever kreg jig you have. I put four (4) pocket holes in each of the pieces. I also face the pocket holes on the outside of the side piece because i didn’t want to be able to see it when sitting in bed and the other side of my nightstand won’t be visible because of how close it is to the wall. You can put your pocket holes on either side or fill them, whichever is your preference.

Love this jig!


Ready for assembly!
Step #3:
Assemble carcass using 1 1/4” coarse threaded pocket hole screws and wood glue. I started at the bottom, sides and then top support and finally top.
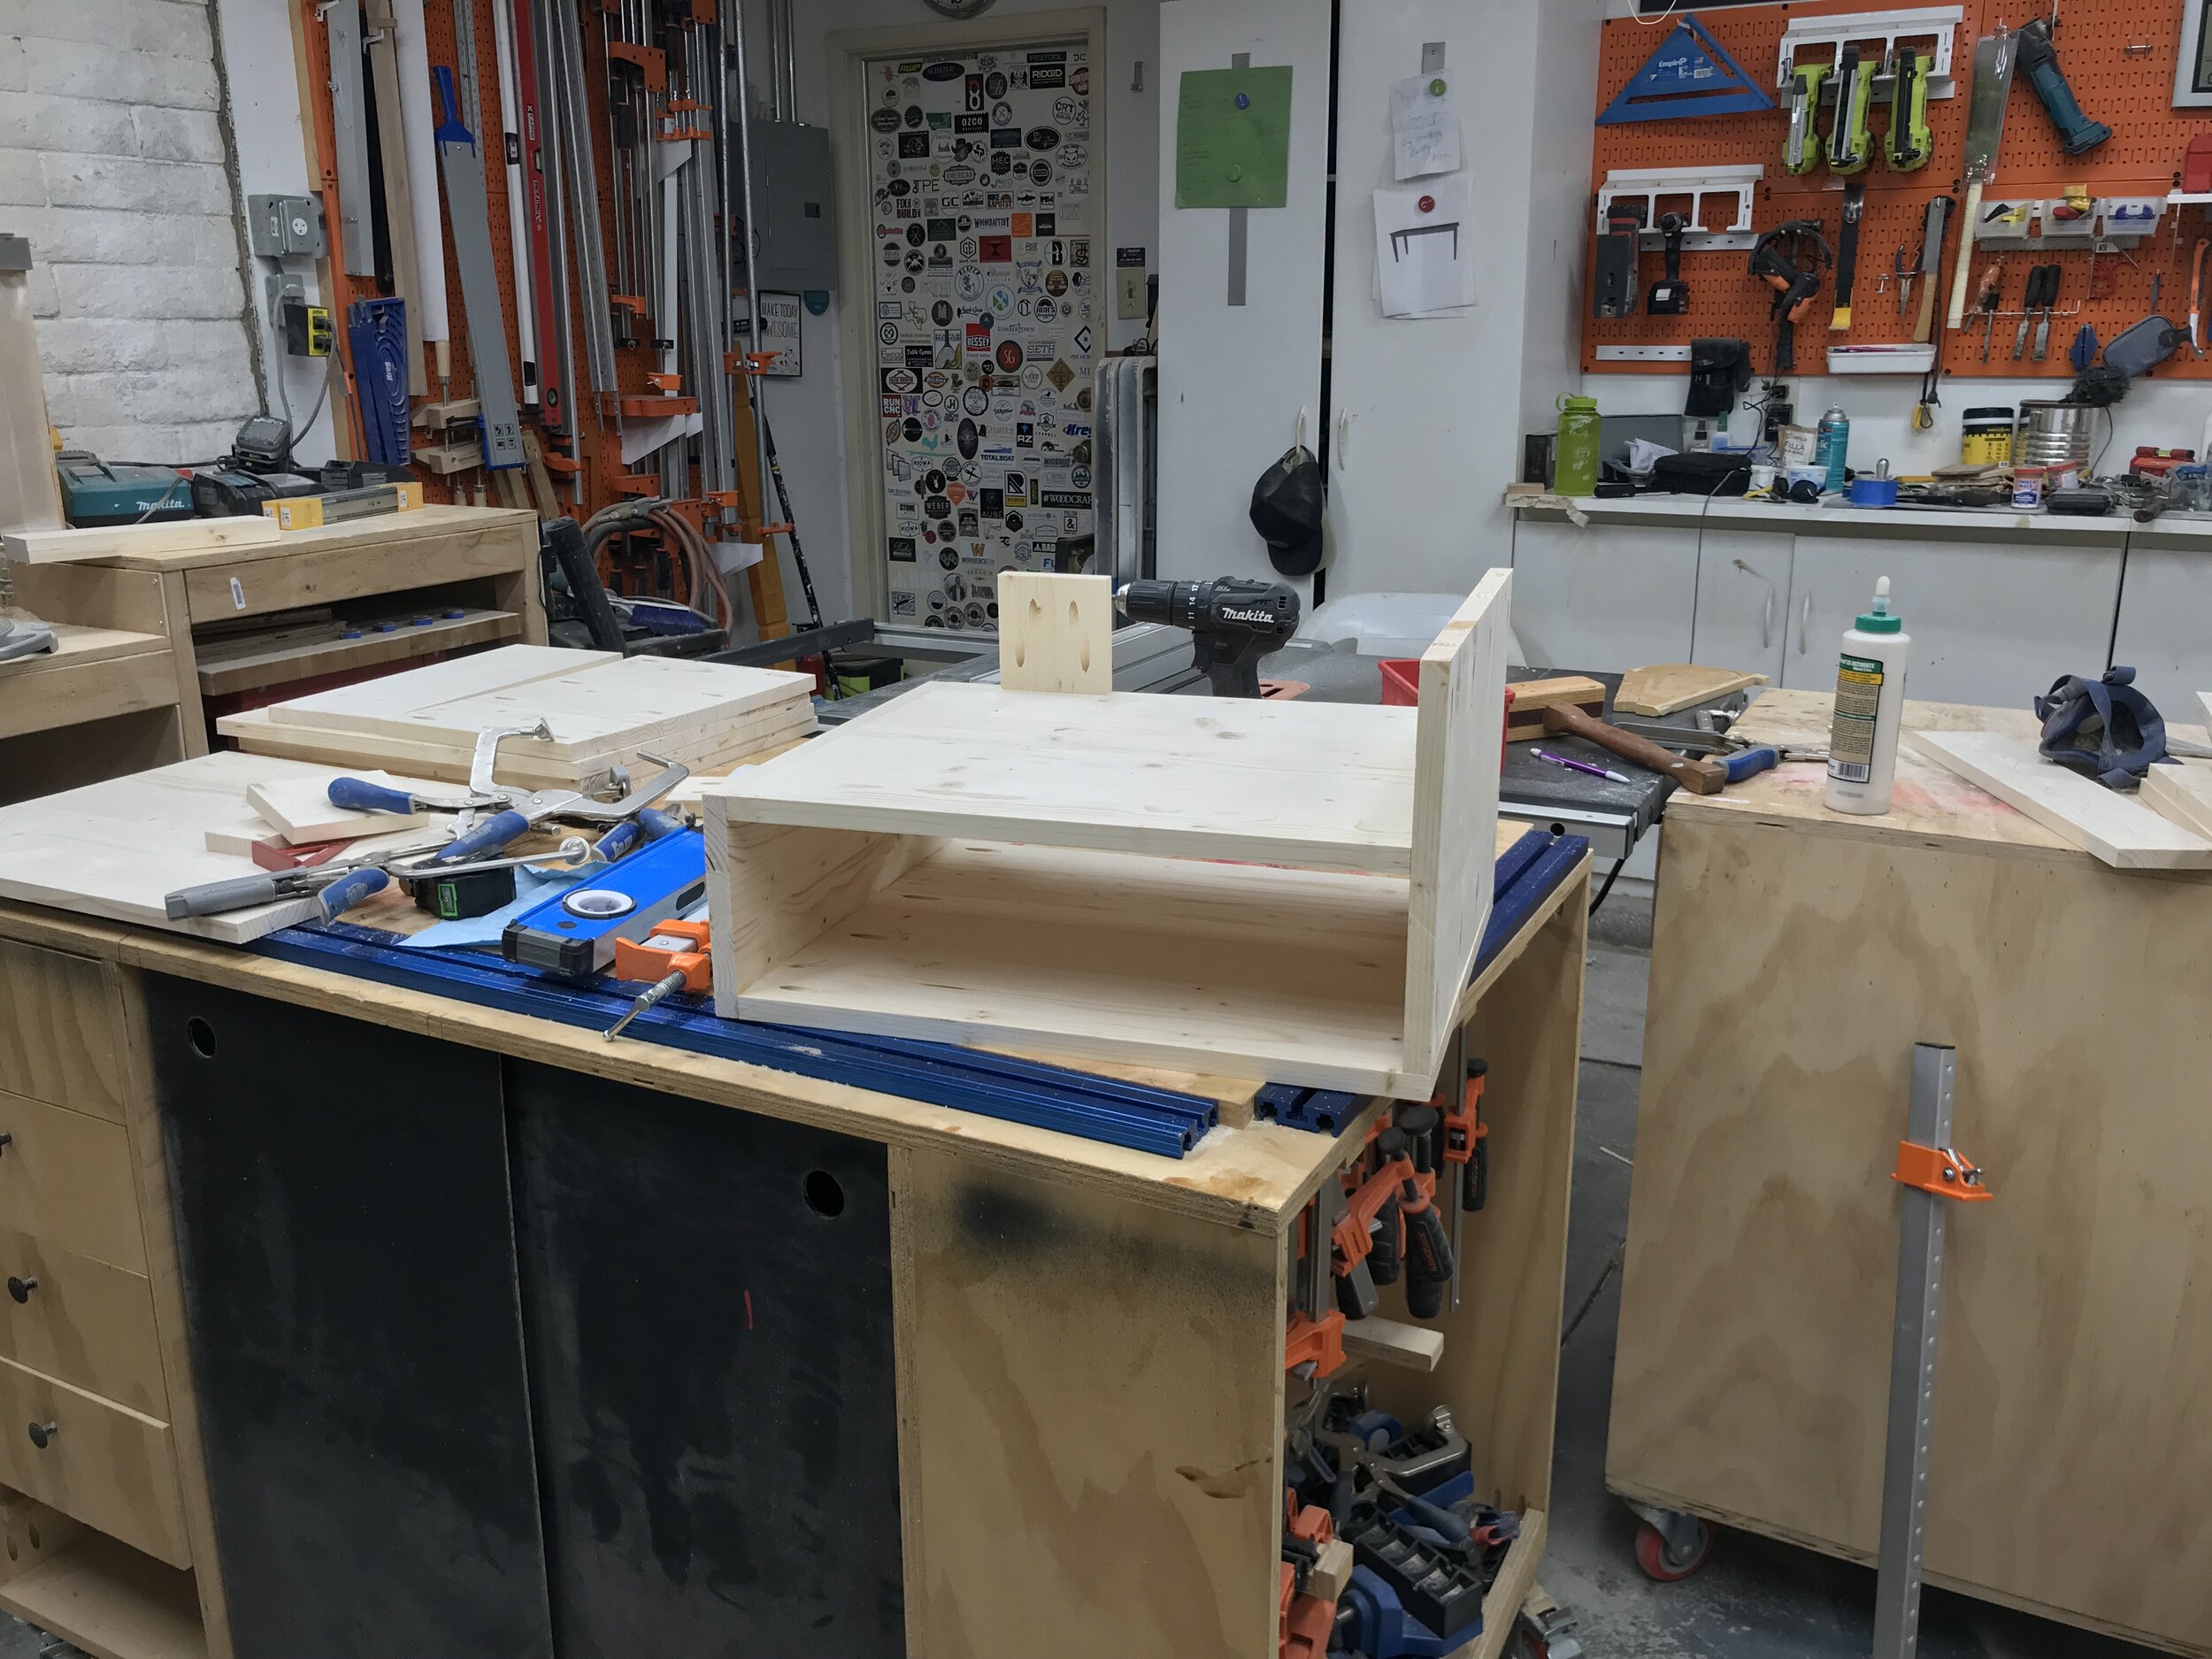
In the build plans I change the bottom panel to match the shelf, so less PH’s are visible after assembly.

I measured and cut the top supports after the shelf was installed, so it would be exact.

Ta-Da! And yes… I think my eyes are open and that is just a glare! haha
Step #4:
Cut a french cleat and install in the back drawer section. A french cleat is a piece of wood that is cut down the middle at a 45 degree angle. You screw one side to the carcass and one side to the wall (with anchors or in studs) and then the nightstand can hang on it. I did end up adding another screw with anchor thru the top support piece to help the balance nightstand out and keep it snug to the wall.
I attached french cleat to carcass with 1 1/4 wood screws and wood glue.

Be sure french cleat is in studs are use drywall anchors.

Additional support screw to keep nightstand from being top heavy.
Step #5:
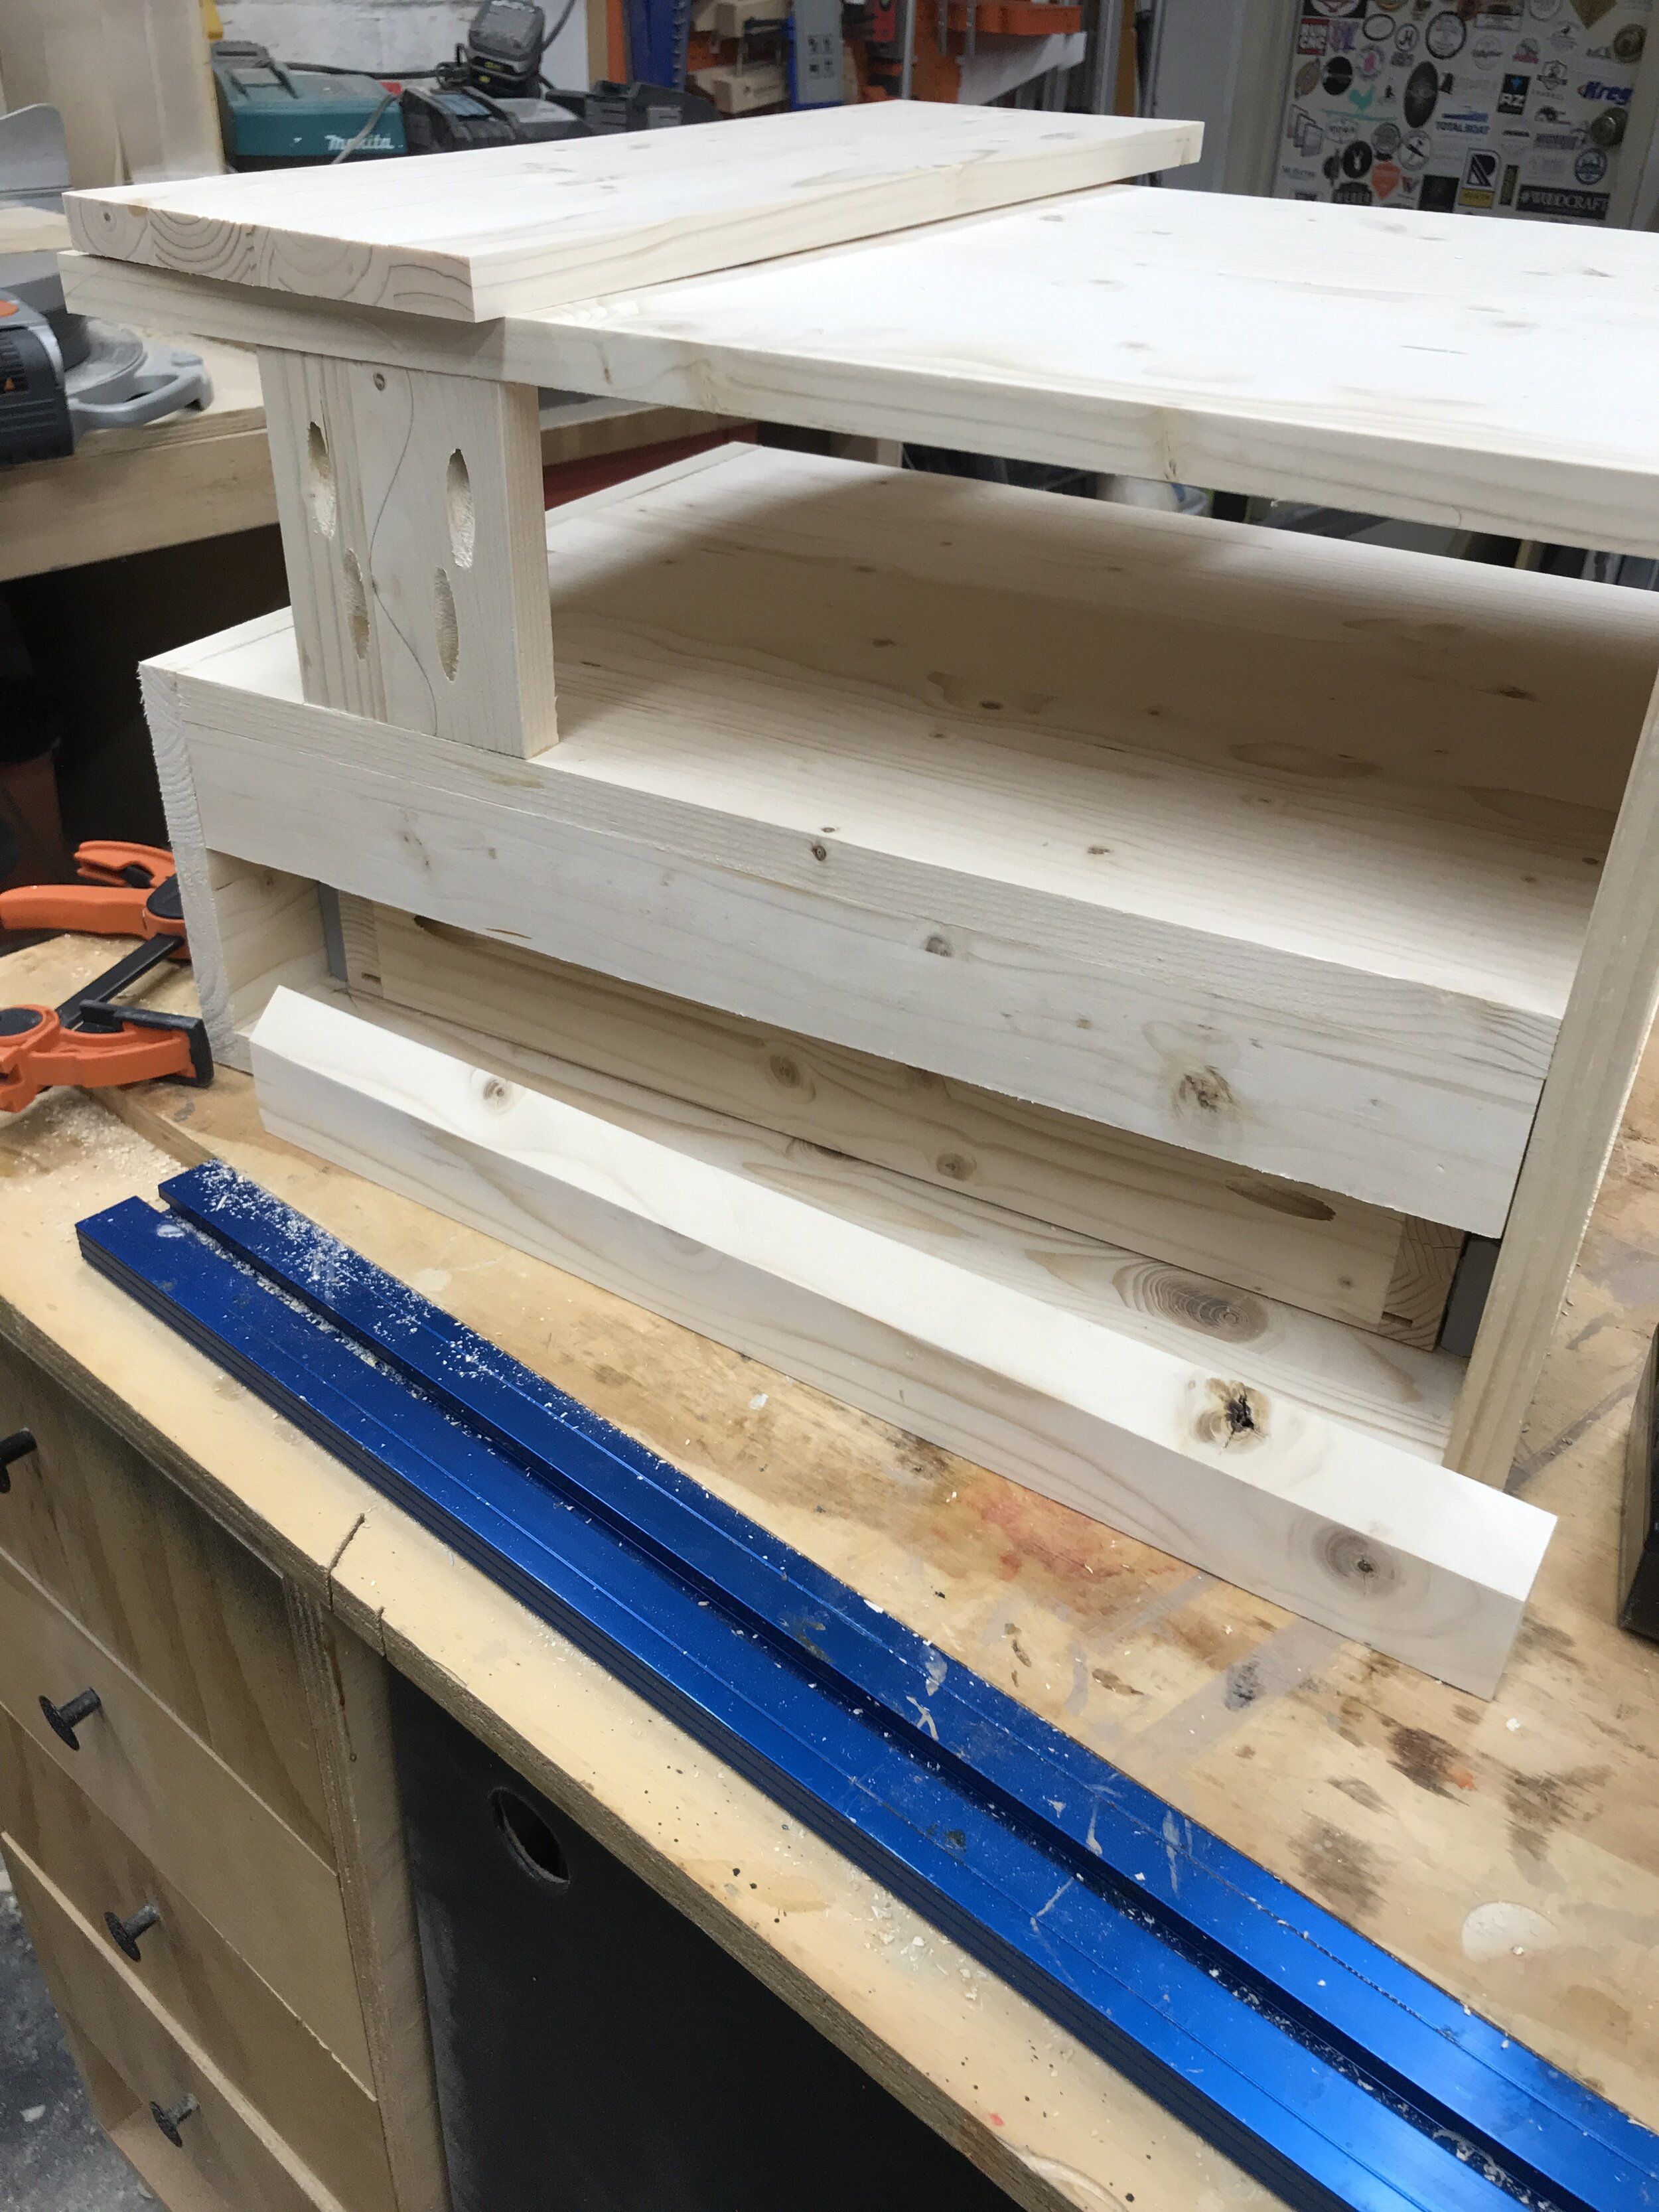
Cut and assemble drawer. I have a full tutorial on how to measure and make drawer boxes… How To Make Drawer Boxes - the Easy Way! I always wait til the carcass is assembled to make the drawers to make sure we have a good fit. I did end up making these drawer boxes a little different than in that tutorial. I cut a dado (groove) with my table saw 1/4” from the bottom of the sides pieces approximately 3/8” deep into all four sides pieces. Then slid in 1/8” scrap hardboard that I had on hand. My table saw blade is 1/8” thick so the kerf from the blade was wide enough for just one pass. If your blade is thinner or the material you are using for the drawer bottom is thicker you might need to make more than one pass.

Making sure that all the components were cut properly before assembly of drawer boxes.

Ripped dado/groove for the drawer bottom to slide into.

Perfect fit using 1/8” hardboard and the kerf of the blade on my table saw.
To watch me build these nightstands… check out my YouTube Channel!
Step #6:
Install drawer boxes into carcass following the instructions that come with the nightstands. With my drawer slides I was able to just place the outside of the slides on the bottom of the carcass flush with the front of the box and screw them in. Then I marked a line on the drawer boxes up 7/8” from the bottom and installed the inside portion of the slide right on that line.
Step #7:
Sand, stain/paint and seal using your choice of finishes. I almost did my in a two tone finish, but decided to stain in all a wood tone and if I wanted to change it later I could always paint the drawer front.

I used Rustoleum’s pre-stain conditioner and Gold Oak stain.
Note: I recommend sanding the pieces before assembly, because once assembled it is hard to sand the inside of the shelf.
Step #8:
Install drawer fronts and hardware. If you are using pulls, like me, and not knobs I have an easy way of installing everything so it lines up perfectly. Check out my post… How to Install Drawer Fronts.

The secret to installing drawer fronts… install pulls first and use those holes to attach to drawer boxes. These are the pulls I used… 13” Square Bar Black Pulls.

OOOOO la la! I love how the shelf is open to the bedside!
Step #9:
Take pics of your AWESOME work and tag me! I love see your AWESOME builds!
I have complete build plans available with step-by-step detailed assembly instructions, dimensions and 2D diagrams… available here!

Storage for days!

Rooms for decor, books and more!
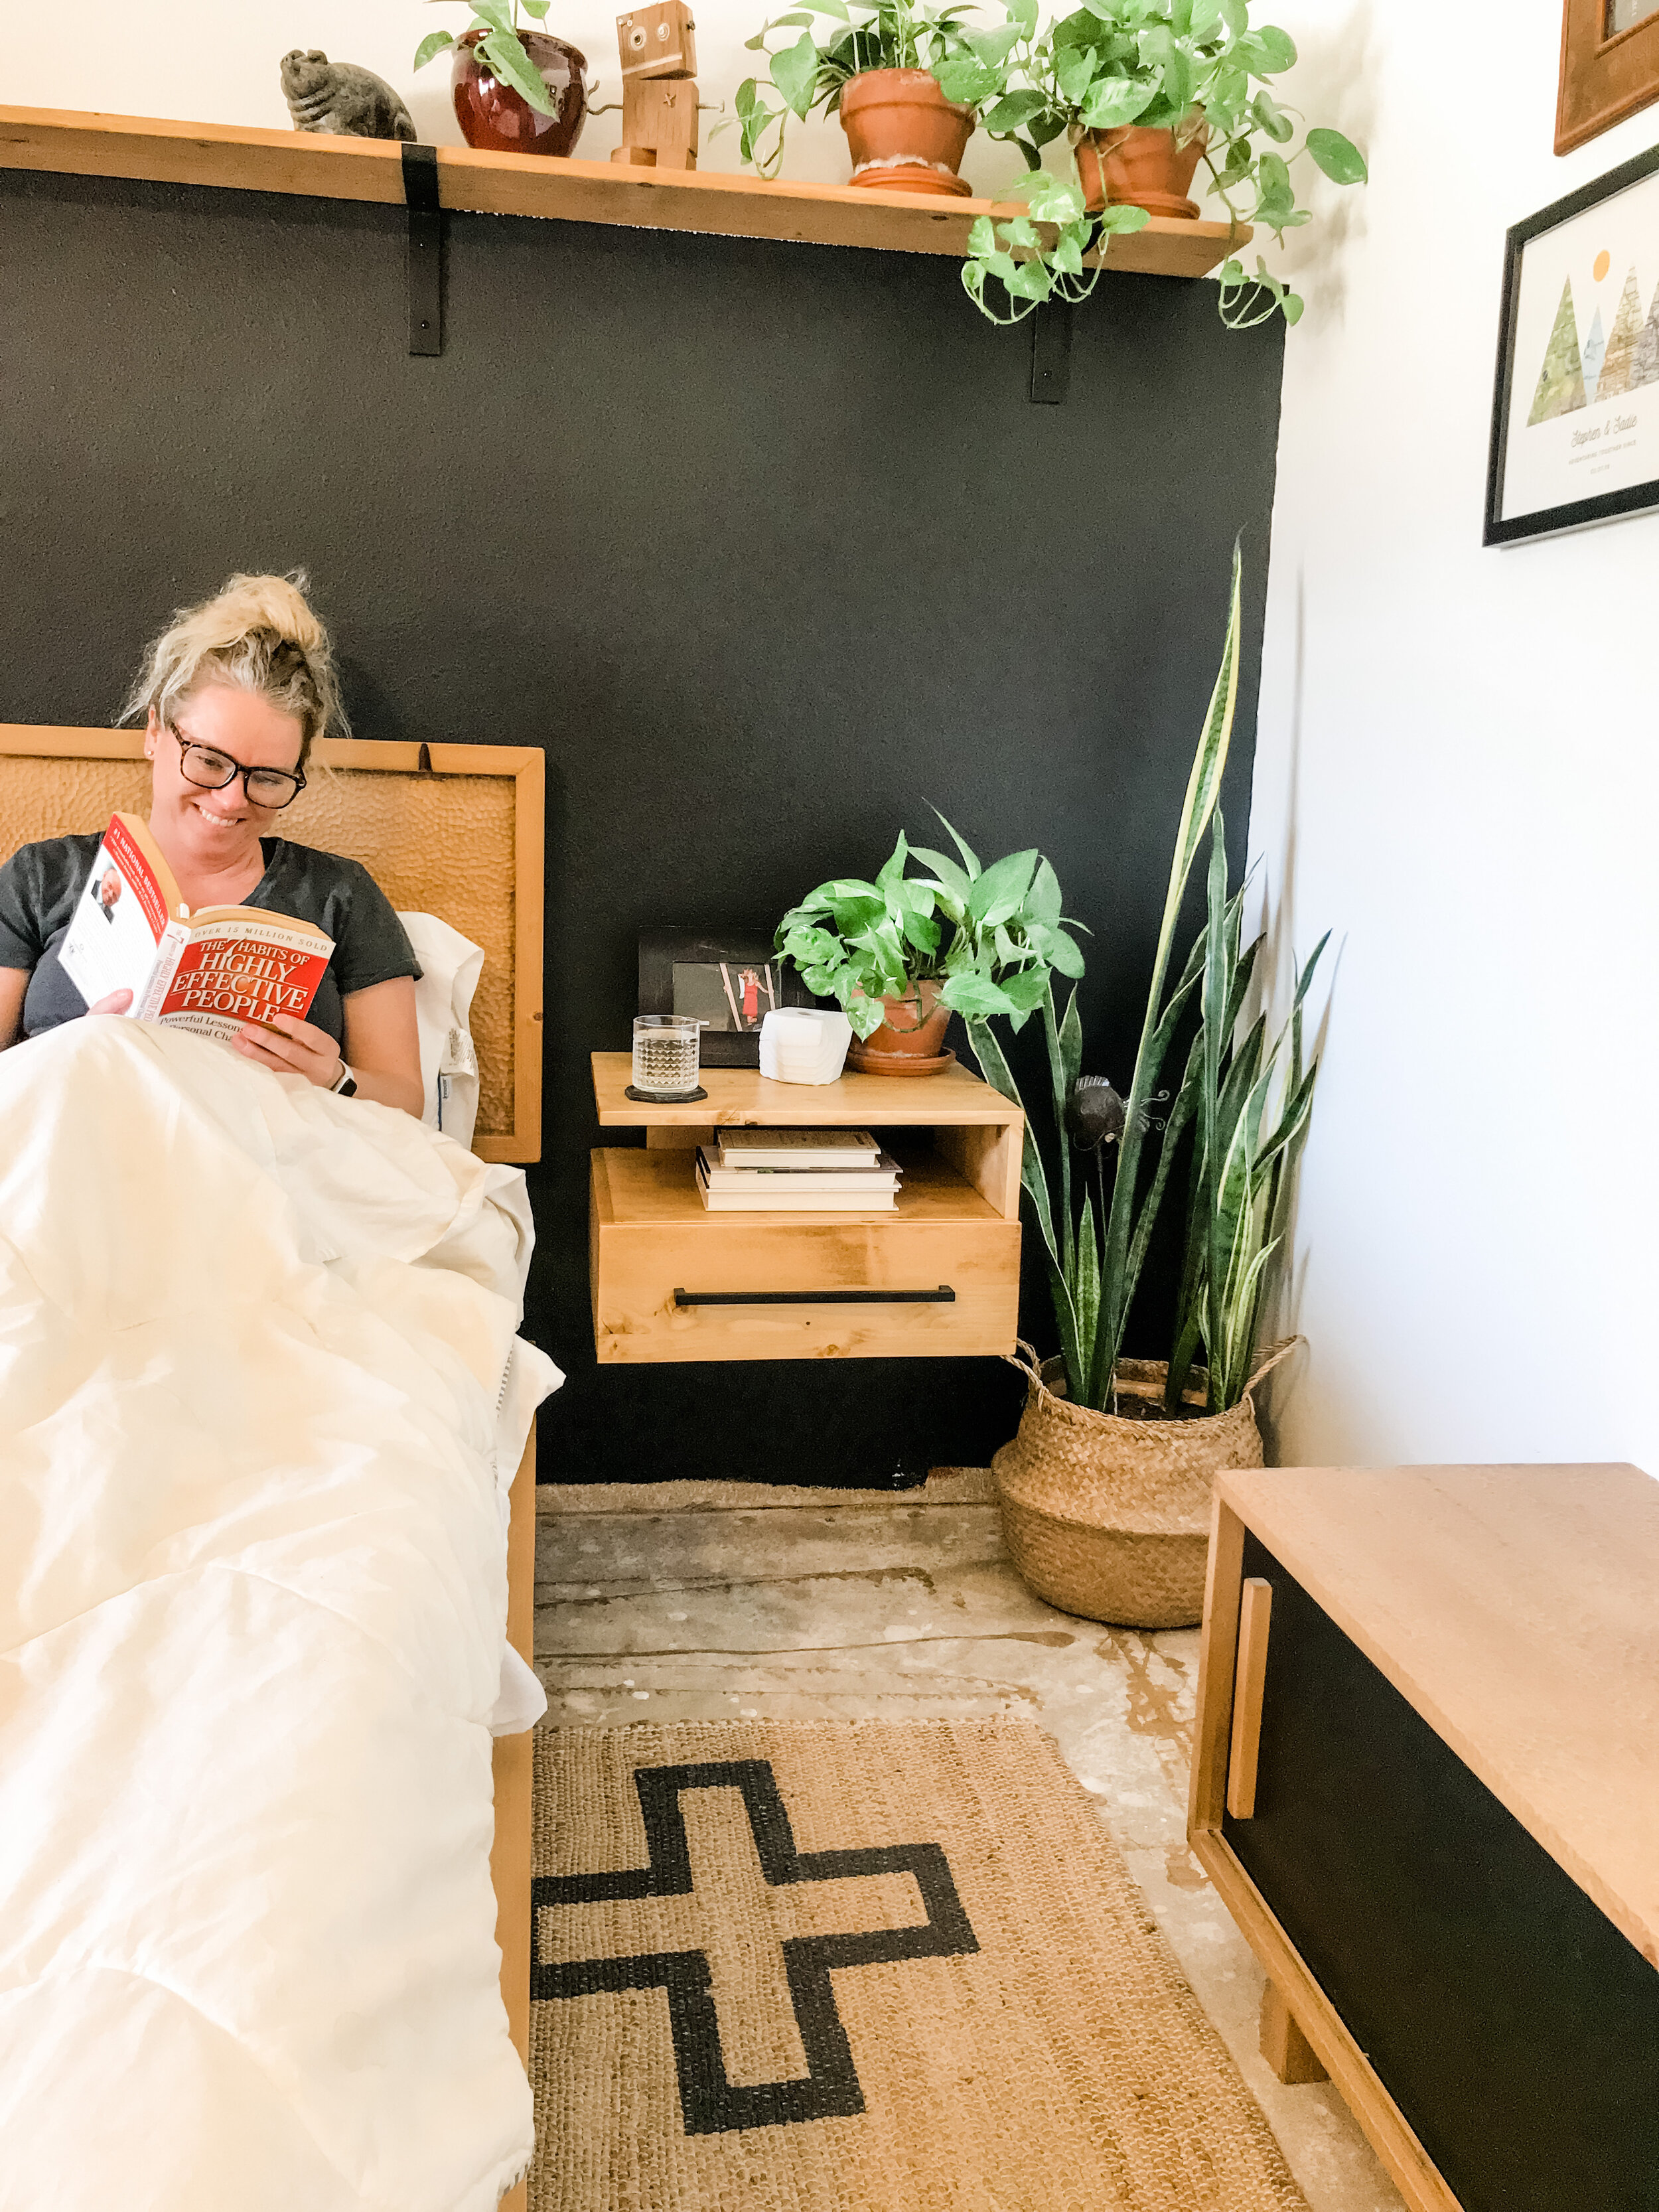
You might find me doing more of this now that I have legit nightstands. How many Awesome Orange projects do you spot in this picture?
I love my new nightstands! Definitely an improvement from the yellow barstools I had been using! What do you think? Tell me in the comments below!

Bye bye yellow bar stools!
Thank you for following my building journey! Remember Build LOUD, Build Wild and have an AWESOME day!
Sadie Mae
Can build this now? PIN it and save it for later!