DIY Outdoor Lounge Chairs
I recently built a floating deck that turned out AWESOME, but it didn’t have anywhere to sit. So, I designed a super simple and AWESOME set of loungers that you can easily make in 1 day.
All you need is some 2x4’s, 2x6’s, hinges, wood glue and outdoor rated wood screws. Oh and a saw and a drill! This is truly a beginner project. Let me show you how to build them.
This post IS sponsored by Simpson Strong-Tie. All opinions are my own. The post DOES contain affiliate links. For more information on my affiliate programs, see my DISCLOSURES page.


Oh and a couple EZ-Hold clamps will make assembly so much easier.

Using the PONY | Jorgensen EZ-Hold Clamps to keep everything aligned when securing.
Rather watch my build these, check out the full build video on my YouTube channel! And while you are there be sure to subscribe so you don’t miss my next AWESOME build.
Step 1: Cut Base Pieces & Assemble
I am making two lounge chairs so I have a total of four (4) base assemblies. Super simple, just assemble using butt joints with wood glue and two (2) Simpson Strong-Tie DSV Deck Drive wood screws at each joint.
I love using these Simpson Strong-Tie screws for all of my outdoor projects. They come with a Quik Guard Coating. The coating helps with the longevity of the screw in the outdoor elements and they are safe to use with pressure treated lumber. Plus, pre-drilling isn’t necessary!
I didn’t use pressure treated lumber on my loungers because I will be painting them and didn’t feel the added expense was necessary.

No pre-drilling required with the Simpson Strong-Tie DSV Deck Drive Wood Screws.

The base assemblies for two loungers.
Step 2: Add Base Supports
This base support is attached the same way roughly 3/4 of the way up the base. I put this in here because this is where the majority of the weight will be when sitting on the lounger. Plus, It will give us a reference to attached some cross supports in the next step.
I used my mini speed square to extend the lines around the board to ensure everything was straight and square.
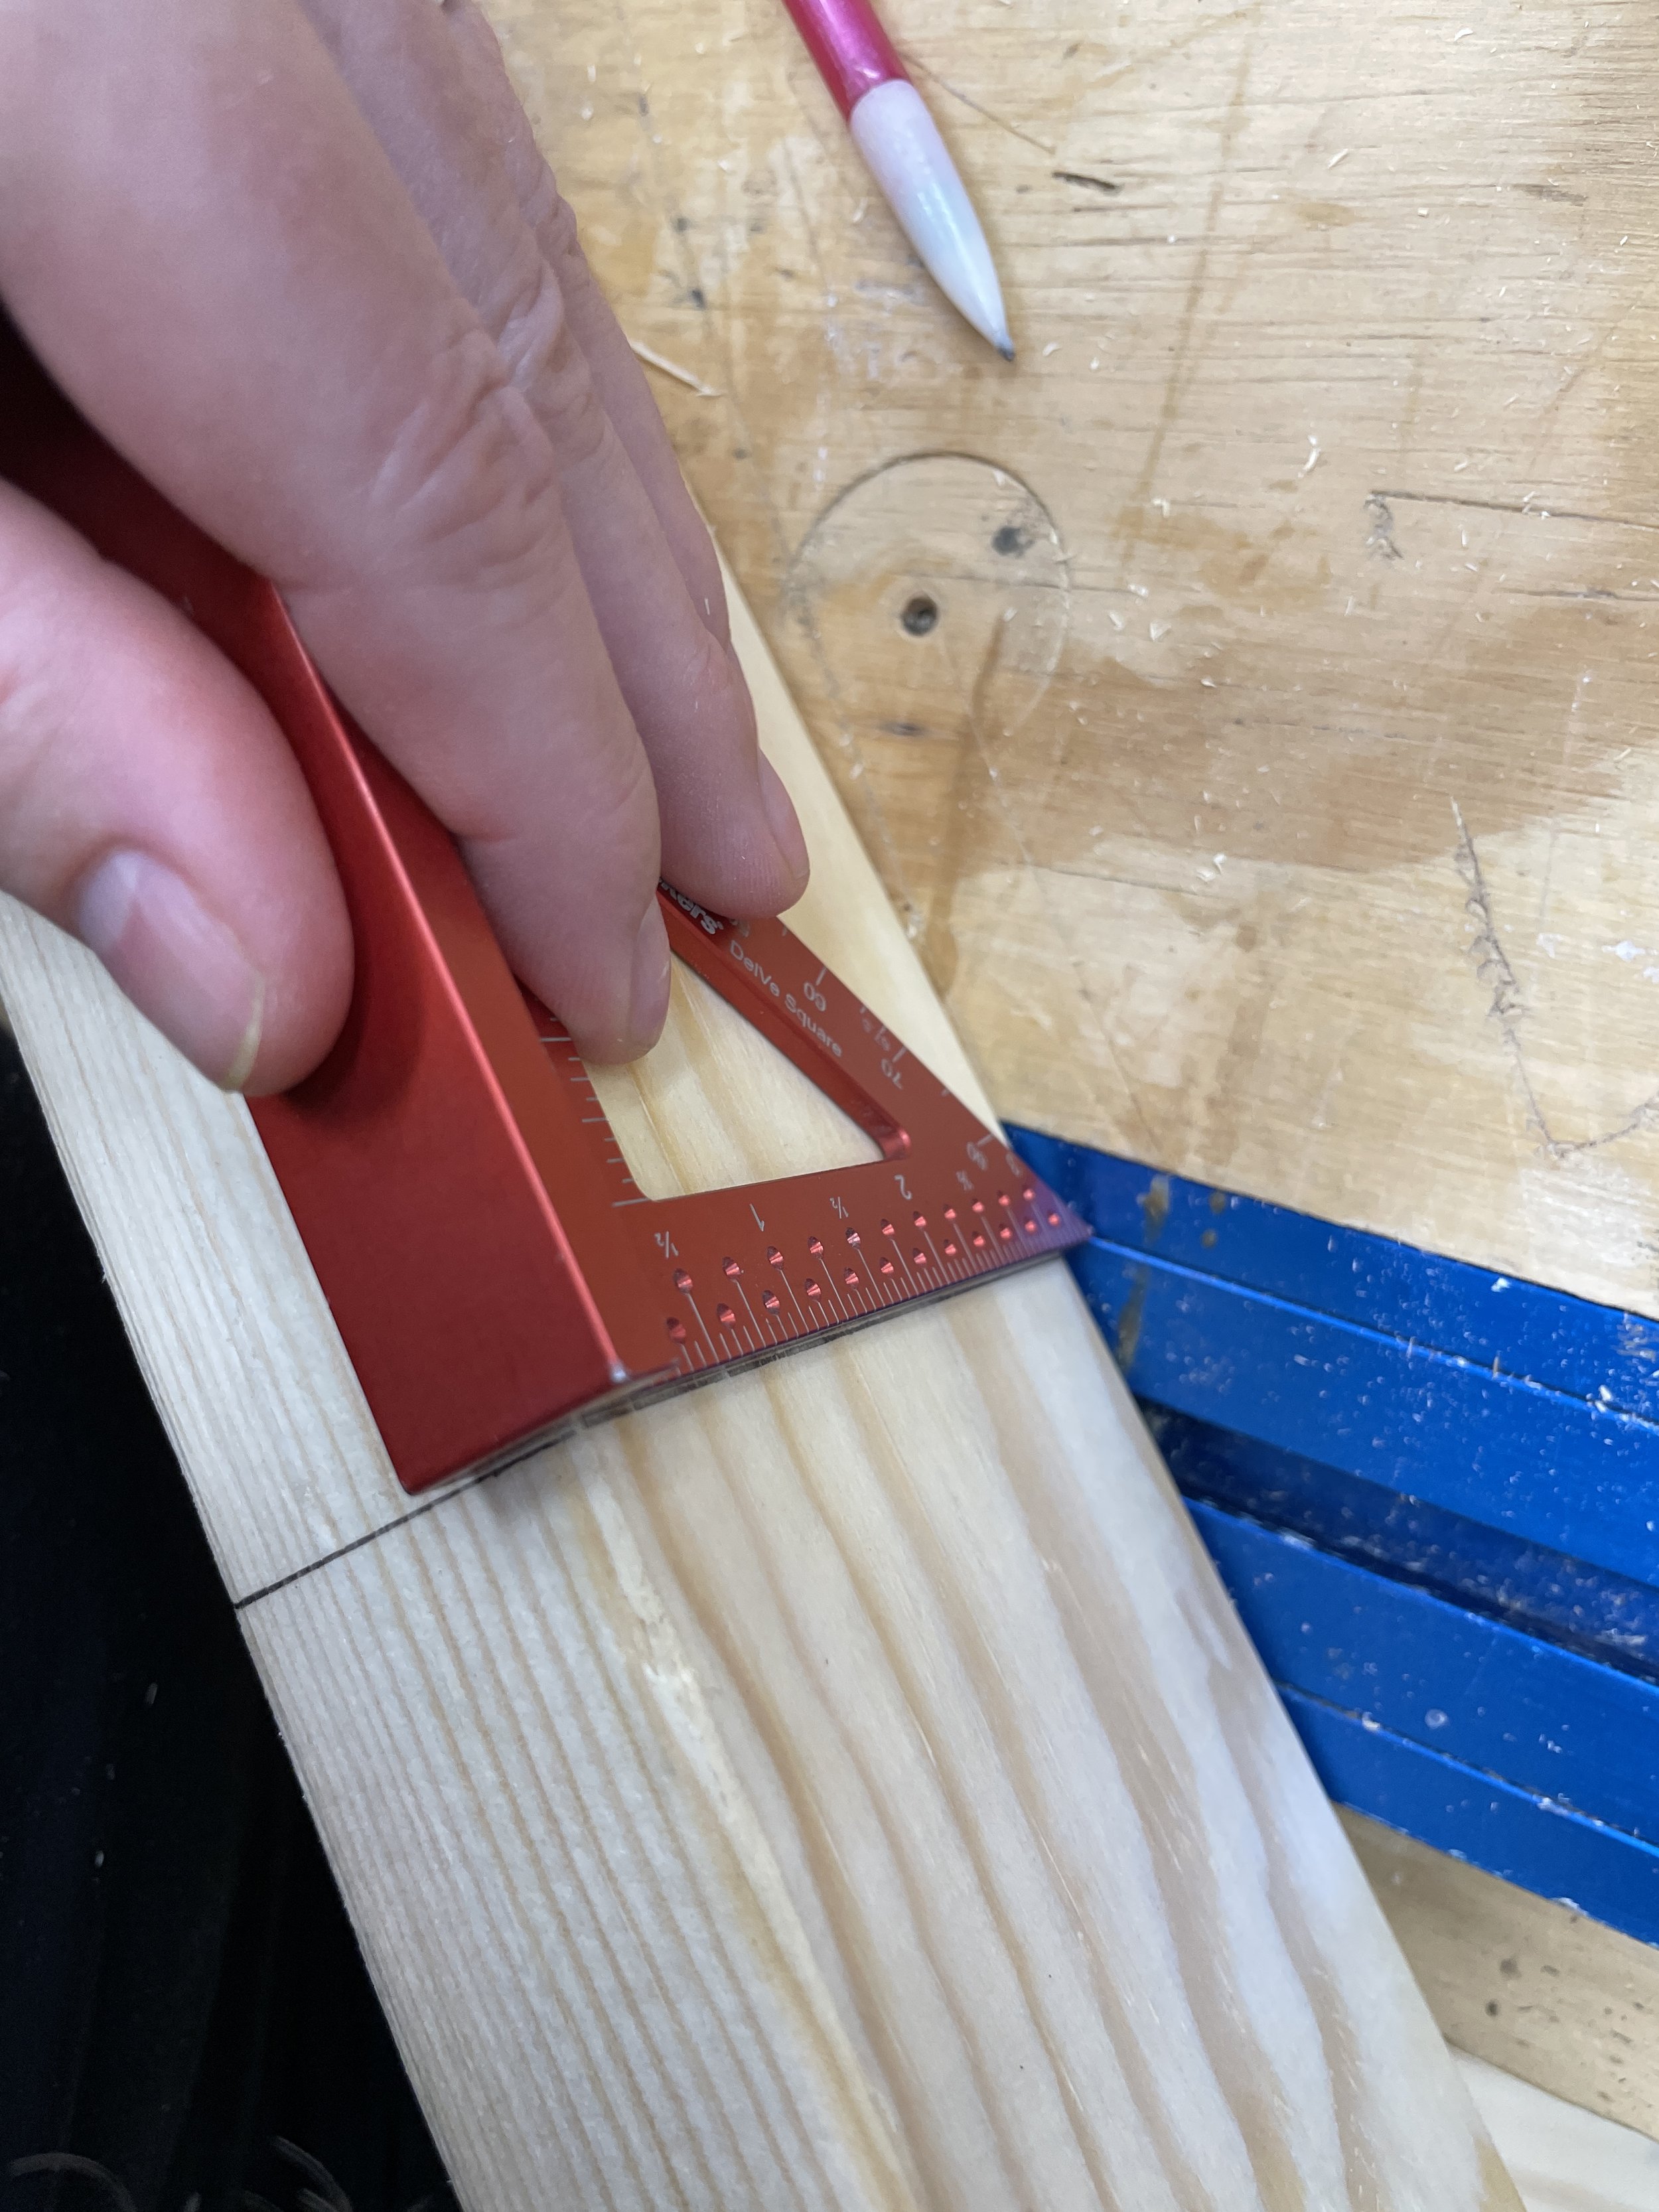
You a speed square to extend lines down board.

Adding base support piece.
Step 3: Add Base Cross Supports
Add the top cross support to two base/leg assemblies by using the ez-hold clamps to hold them in place while screwing them together with 2- 2 1/2” wood screws. Note: before screwing them into place be sure to make check everything for square. Then add the mid cross support flush with the top side of the base support.

Be sure to check square before attaching the base cross supports.
Step 4: Cut Back Rest Supports and Install
Cut two (2) back rest supports at 33” and one (1) at 29” roughly 1 1/2” from sides of base. I used a scrap piece of 2x4 as a spacer. You will attached the two (2) 33” back rest supports to the middle cross support using 3” stainless steel hinges. The hinges that I bought came with the appropriate screws. This will allow the seat back to pivot.

Time to add the hinges!

I used some simple 3” stainless steel hinges to attach the back rest supports.
Then attach the 29” back rest support in the middle in the opposite direction the same way as the other two. This piece will hold the back rest in the upright position. It is also long enough that when it isn’t in use it will rest on the middle base cross support. This creates a roughly 30 degree angle for the backrest. You can adjust the length of this board to work with angle that you like.

Attaching the back rest support piece with another 3” stainless steel hinge.
Step 5: Attach Lounger Seat Slats
I started with he bottom of the back rest slat first. I installed it 1/2” up for the bottom of the back rest supports. This allows the back rest to pivot to that roughly 30 degree angle. When screwing this one into place attach to the back rest supports and not to the outside base pieces.

All back rest seat slats get attached to the inner 2x4’s or back rest support boards, not the base frame.

Success… the back rest pivots to roughly a 30 degree angle.
Then I attached the first bottom half of the lounger seat slat. This one is attached roughly 2” from the other one. This will be the biggest gap on the base and will give them back rest enough room to pivot. The screws for this slat are attach to the base frame.

There is approximately a 2” gap between the back rest slat and the first bottom half slat.
Next, I attached the bottom seat slat. My 2x4’s were a little out of whack so I did have to use my ez-hold clamps to get them in the right position before then screwing them together. This ensures that the base is the same width across.
OH… VERY IMPORTANT…. I cut the seat slats at 23 7/8” that way I could get 4 slats from each 2x6.

Sometimes you need more than one set of hands or clamps to hold 2x’s in there place.
Then next I added the top seat slat again attached it with two (2) Simpson Strong-Tie DSV Deck Drive Wood Screws to the back rest supports.

I installed the top and bottom slat of each section 1st and then eye balled the spacing of the rest of slats.
Once I had the four (4) main seat slats attached I just eye balled the spacing of the interior slats and attached. And you can see here once I completed that on my first loungers I used it as a guide for aligning the slats on the second lounger.

Once I had the first lounger done I used it to help me line up the seat slats on the 2nd one.
Step 6: Sanding and Finishing
Since these are going to be outside furniture I ended up only sanding the tops of the seats and the edges… basically anywhere you would touch to 120 grit.

I sanded all the edges that are sharp to the touch.
Then using my Graco cordless airless sprayer I painted them Behr Ultra Pure White. Using the sprayer saved so much time because these have so many grooves and nooks. I love this sprayer for its convenience and speed, but it does shoot a lot of paint. I used 1 whole gallon on these two chairs.

I love this sprayer for these kinds of projects. And for a sprayer the clean up on this one isn't that bad.
Step 7: Add Feet and Wheels
I added some rubber feet to the bottom so that when it rains the wood wouldn’t be sitting in water. These are super affordable and easy to install. The ones that I got came with their own screws. Elevating the loungers with the feet will also help allow the wheels to engage and the loungers to be level.

Rubber feet were super easy to install and ensure that that wheels have room to spin.
I got these 7” wheels on Amazon and used some 3/8” x 3” lag screws and washers I had on had to install them. Once the rubber feet where installed I placed the wheel next to the lounger and marked the hole, then pre-drilled a hole with a 1/4” drill bit. Then with washers on each side of the bolt I attached the wheels. Just be sure to not install the wheels super tight or else they won’t spin freely.

Wheels make these so much easier to move around.

Be sure to pre-drill before install the lag screws.

These wheels give the loungers so much personality and make it easy to move them around.
And just like that I made myself some AWESOME DIY Outdoor Lounge Chairs. I just need to wheel them over and put them on my floating deck!

Yay! I love them and can’t wait to put them to use on the floating deck!
And I added some black and white striped cushions to make this space even more cozy!

I love these cushions! So comfy and fun to look at out the back windows of the house.
Here is a closer look of the back rest support in action.

Super easy to adjust from upright to flat!
I absolutely love how they turned out and have already been hanging out here in the mornings drinking my coffee and watching Oscar run in circles around the orange tree! Hopefully, the time spent out here getting my vitamin D will also help me get a little color on my super white legs!
If you would like to build yourself some lounge chairs… I have complete build plans available here! They come with all dimensions, cut list, shopping list, tool list and step-by-step instructions with 2-D diagrams.
So what do you think? Are you up for building some of your own! I love to hear from you or see your builds, so please share with me.

I love how this space is coming together!
Thank you for following my building journey! Remember Build LOUD, Build WILD and have an AWESOME day!
Sadie Mae
Can’t build these now? PIN THIS and save for later!