
DIY Torched Epoxy Table | Shou Sugi Ban
I recently teamed up with Bernzomatic to be part of their “Torch Bearer” program…. what does that mean you might ask. Well, it means that over the next year I will be bringing you several projects that include some sort of torched element. I am so excited to get to add this element to my making… just another way to bring you more AWESOME DIY projects!
This post is sponsored by Bernzomatic. All opinions are my own. This post contains affiliate links.
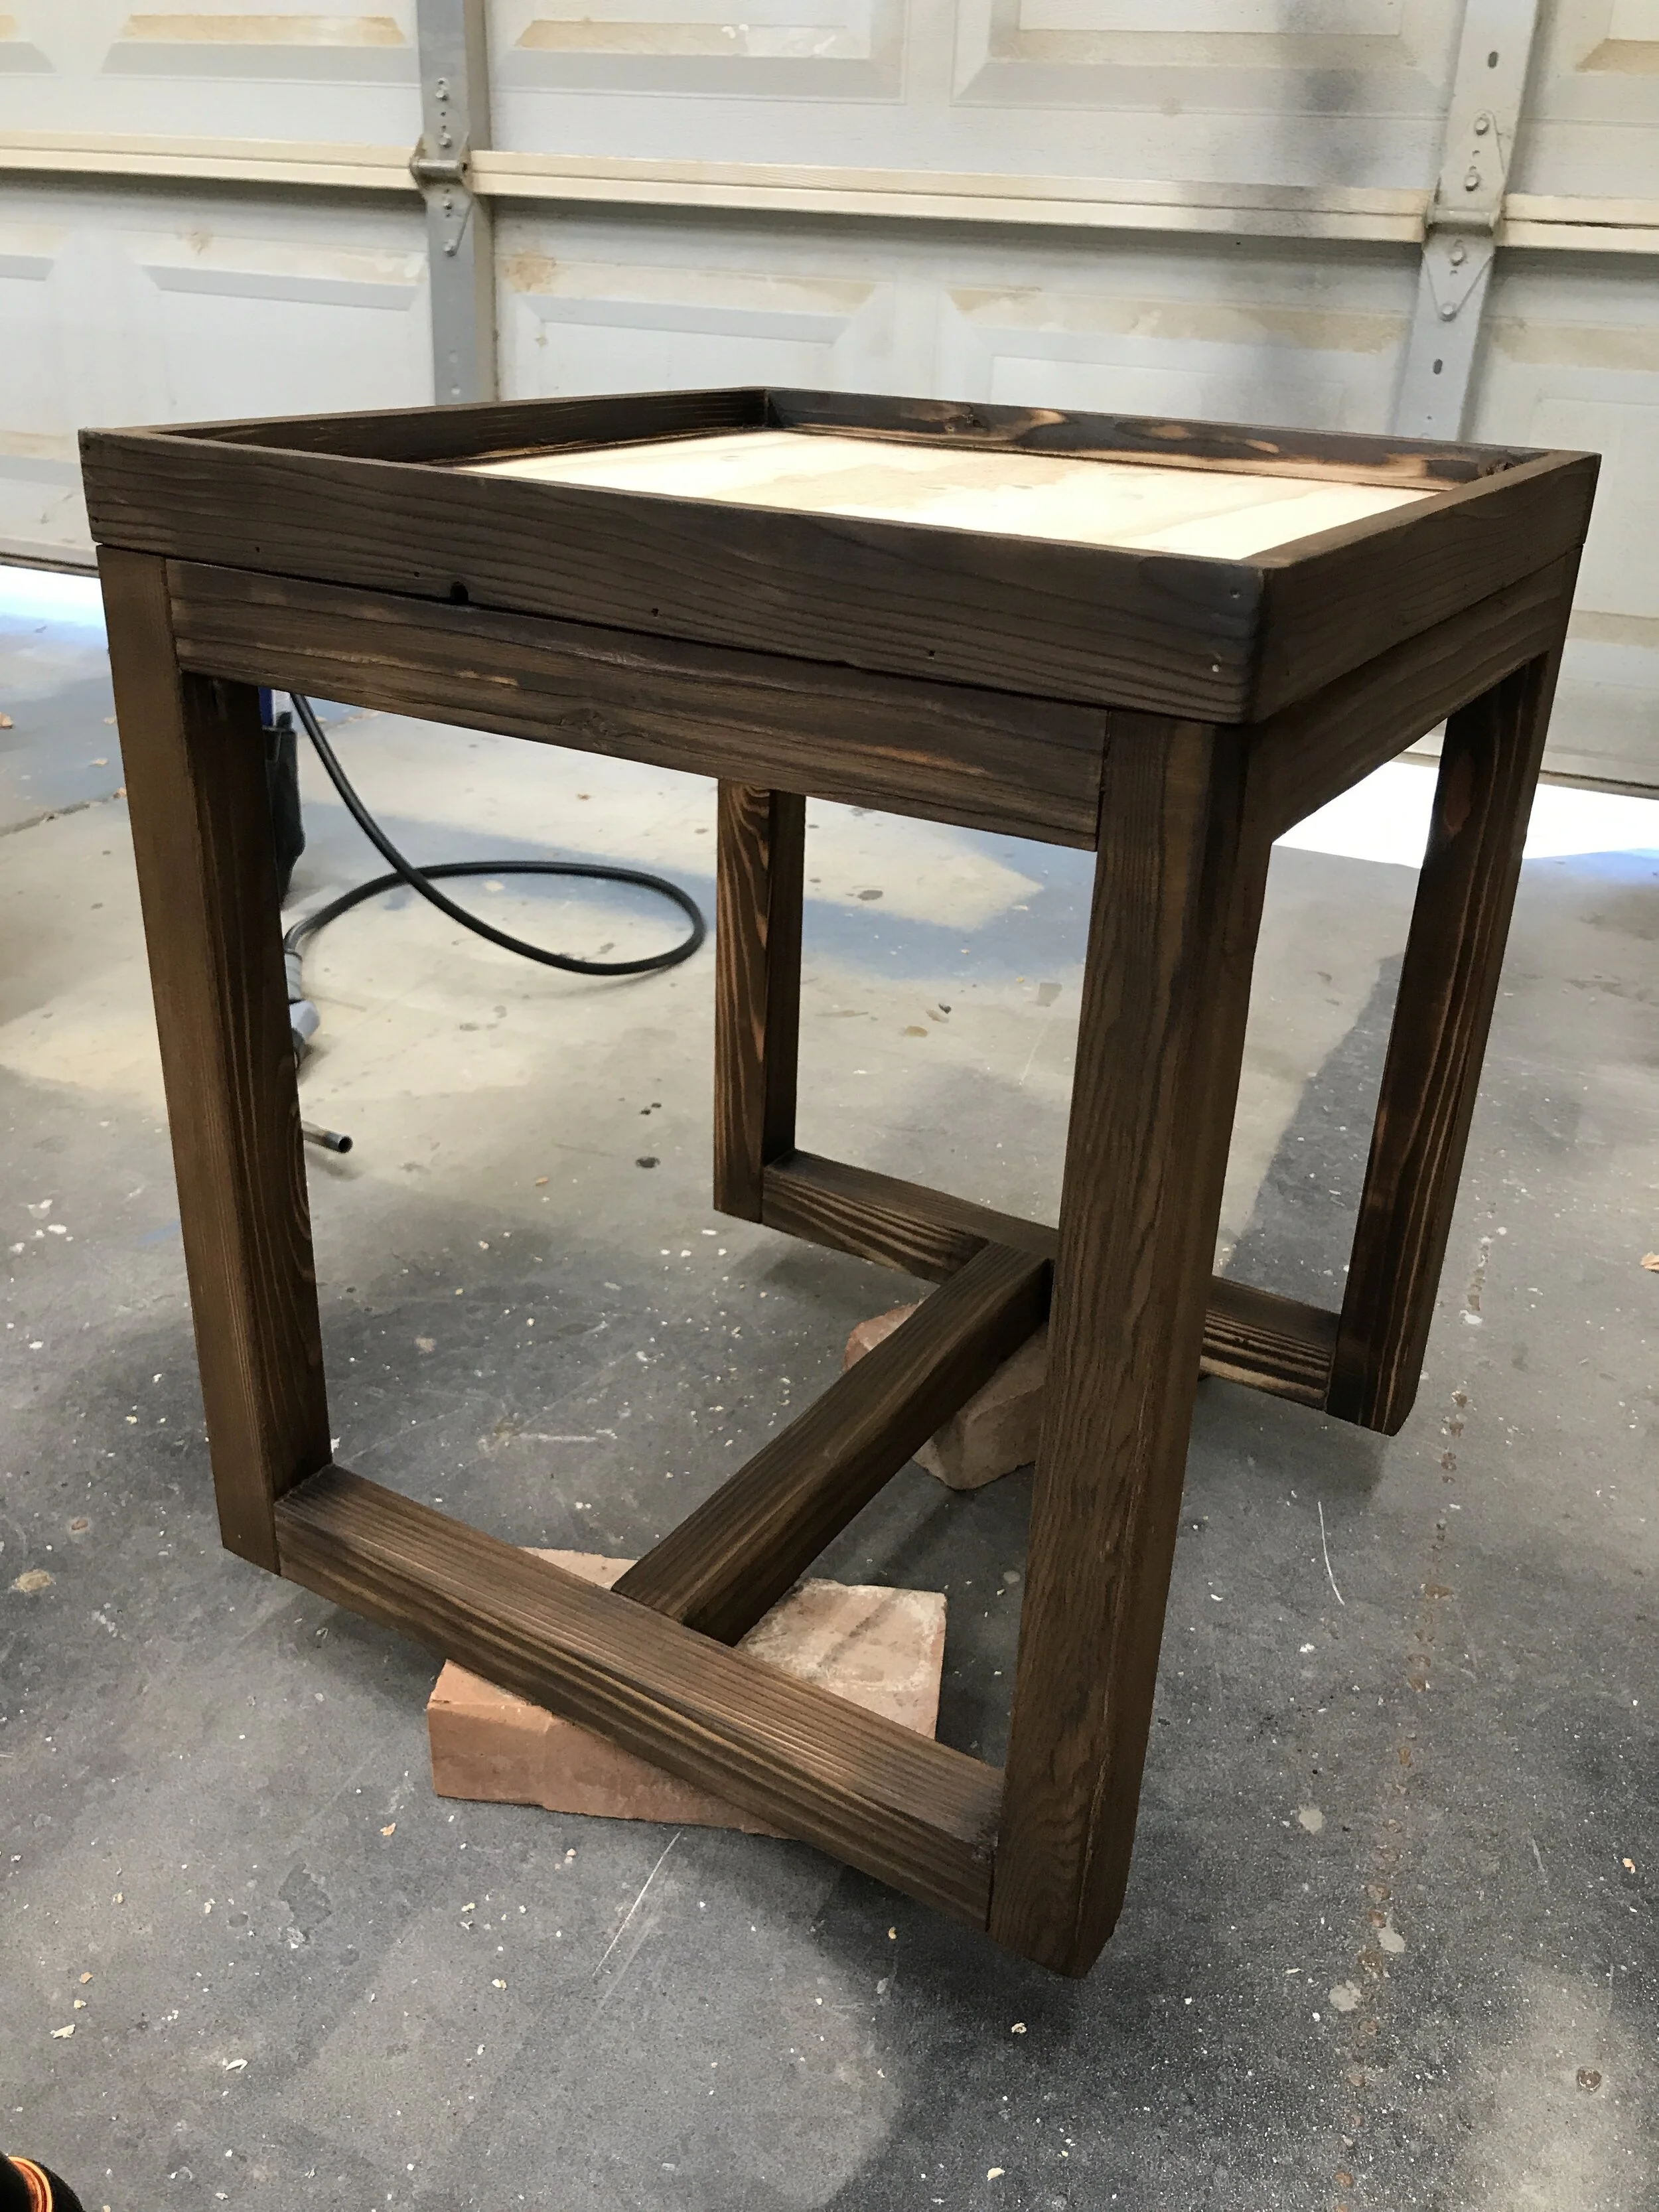
For my first project I went with a Shou Sugi Ban table, but took it a little further by adding an epoxy resin table top. And let me tell you… this was such a fun project. It started with building a simple side table, which by itself doesn’t look very fancy, but when I got done with it boy was that a different story. But before I get ahead of myself let me show you how I built the table.
All you need is a few boards. And since I had a scrap piece of 3/4” plywood on hand, the wood for this project only cost $5.70!
Full FREE shopping list, cut list and tool list Printable available below.

1 - 1x2x8ft

2 - 2x2x8ft
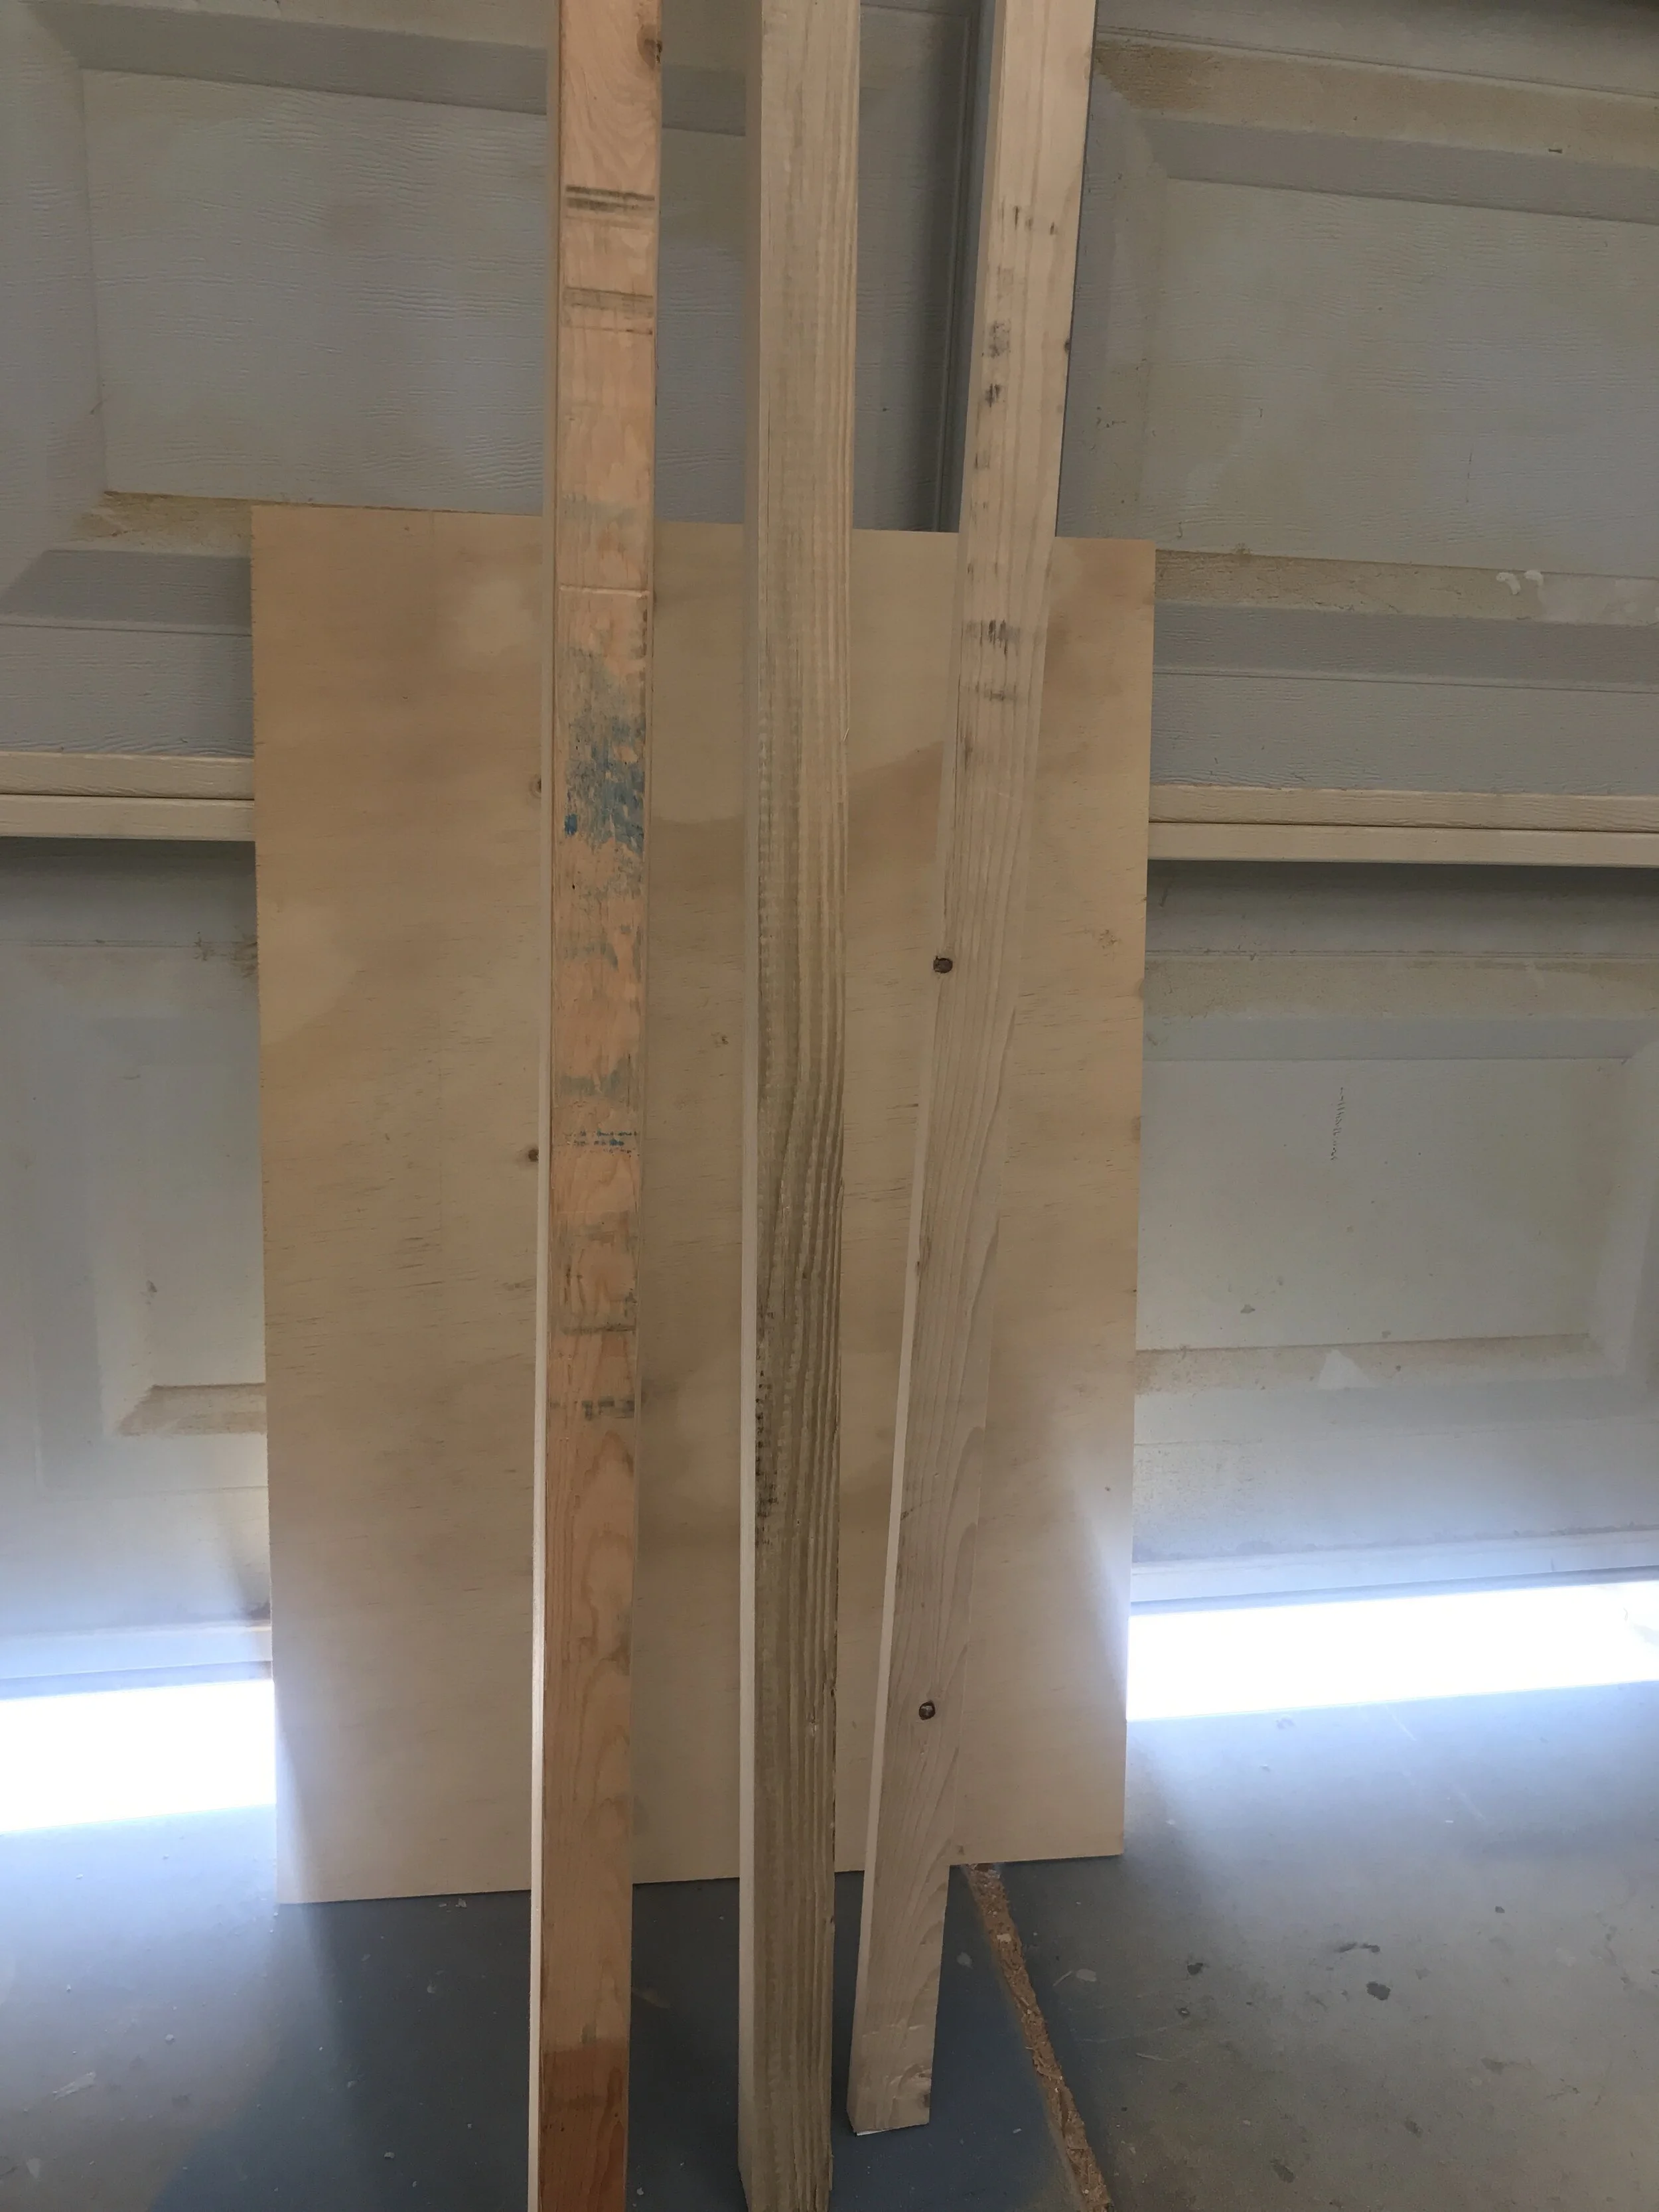
1 - Scrap Piece of 3/4” Plywood
Step 1:
Once I got it home first step was to get the plywood cut. I started there because I really want the base to be flush with the top and to ensure that I built the top first, double checked my measurements and then cut the base pieces. And good thing that I did, because the 1x2’s that I ended up getting were only 5/8” thick rather than the standard 3/4”.

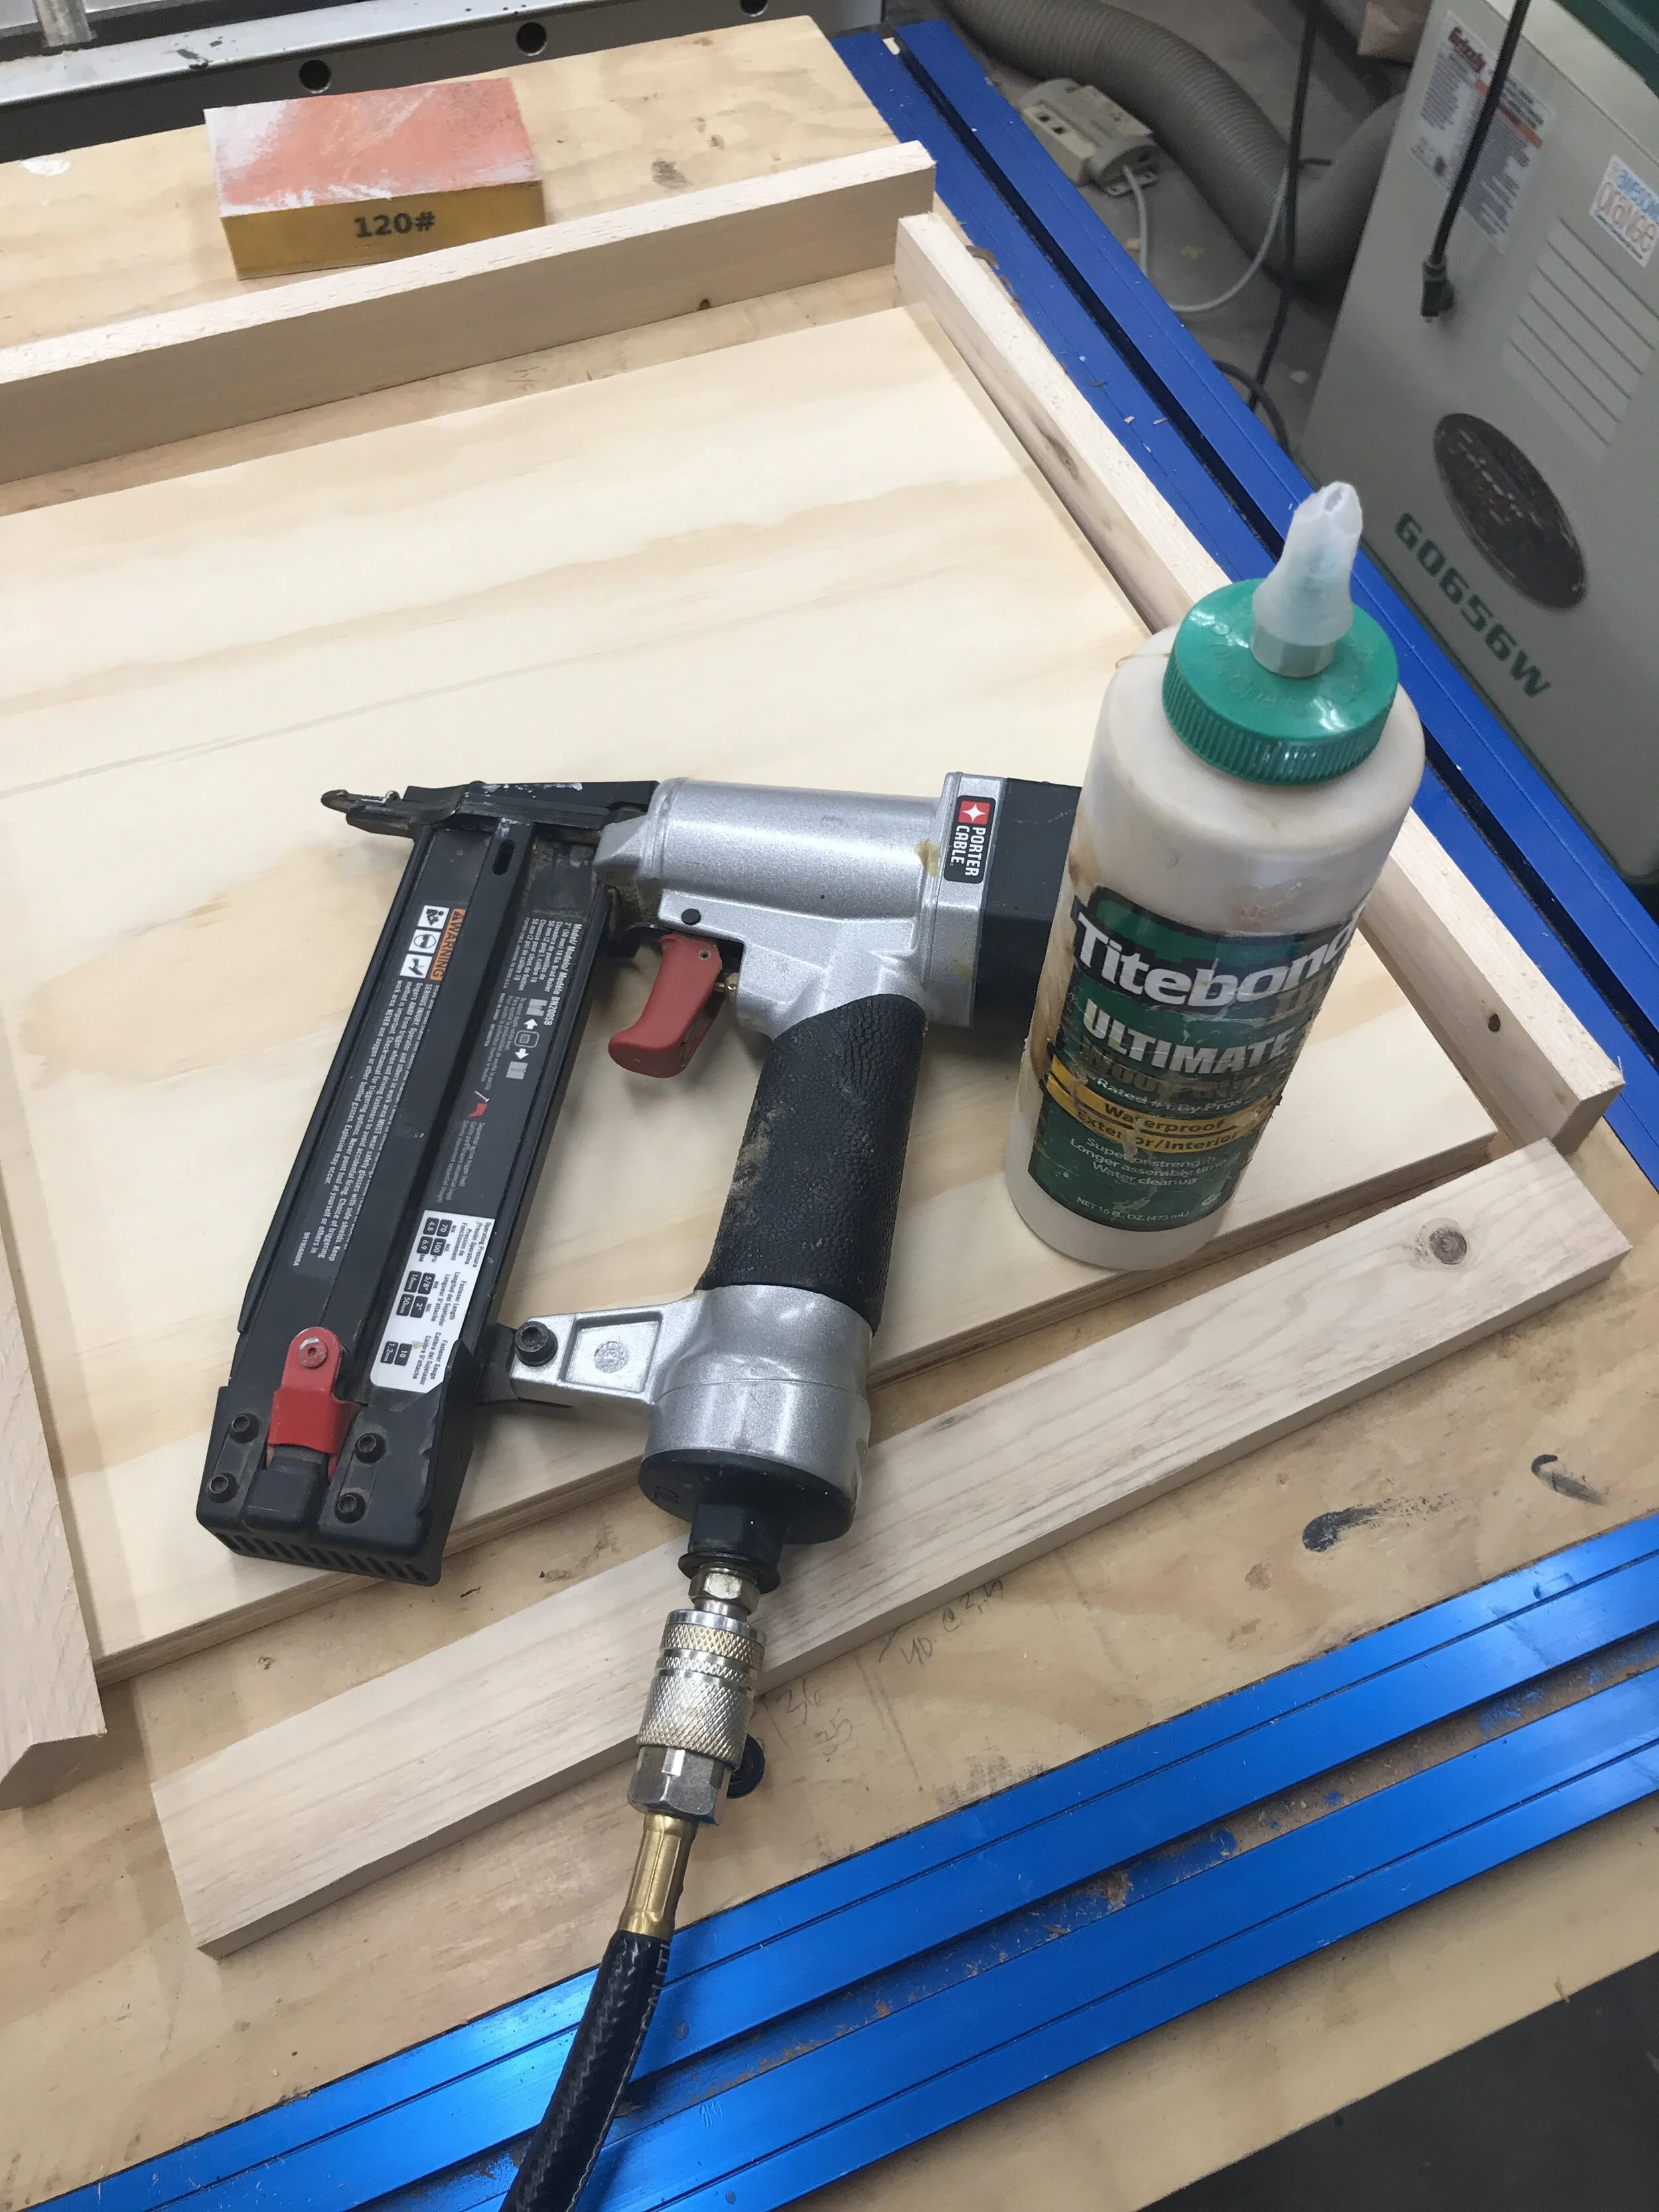
I used 1 1/4” 18 ga brad nails and wood glue to attached the trim to the plywood top piece. Be sure to use wood glue for this step and spread it out over the edges of the plywood, because it will help a create seal so the epoxy won’t leak later in the project. Also, the lip that this creates will give you a nice mess free surface when pouring the epoxy.

Step 2:
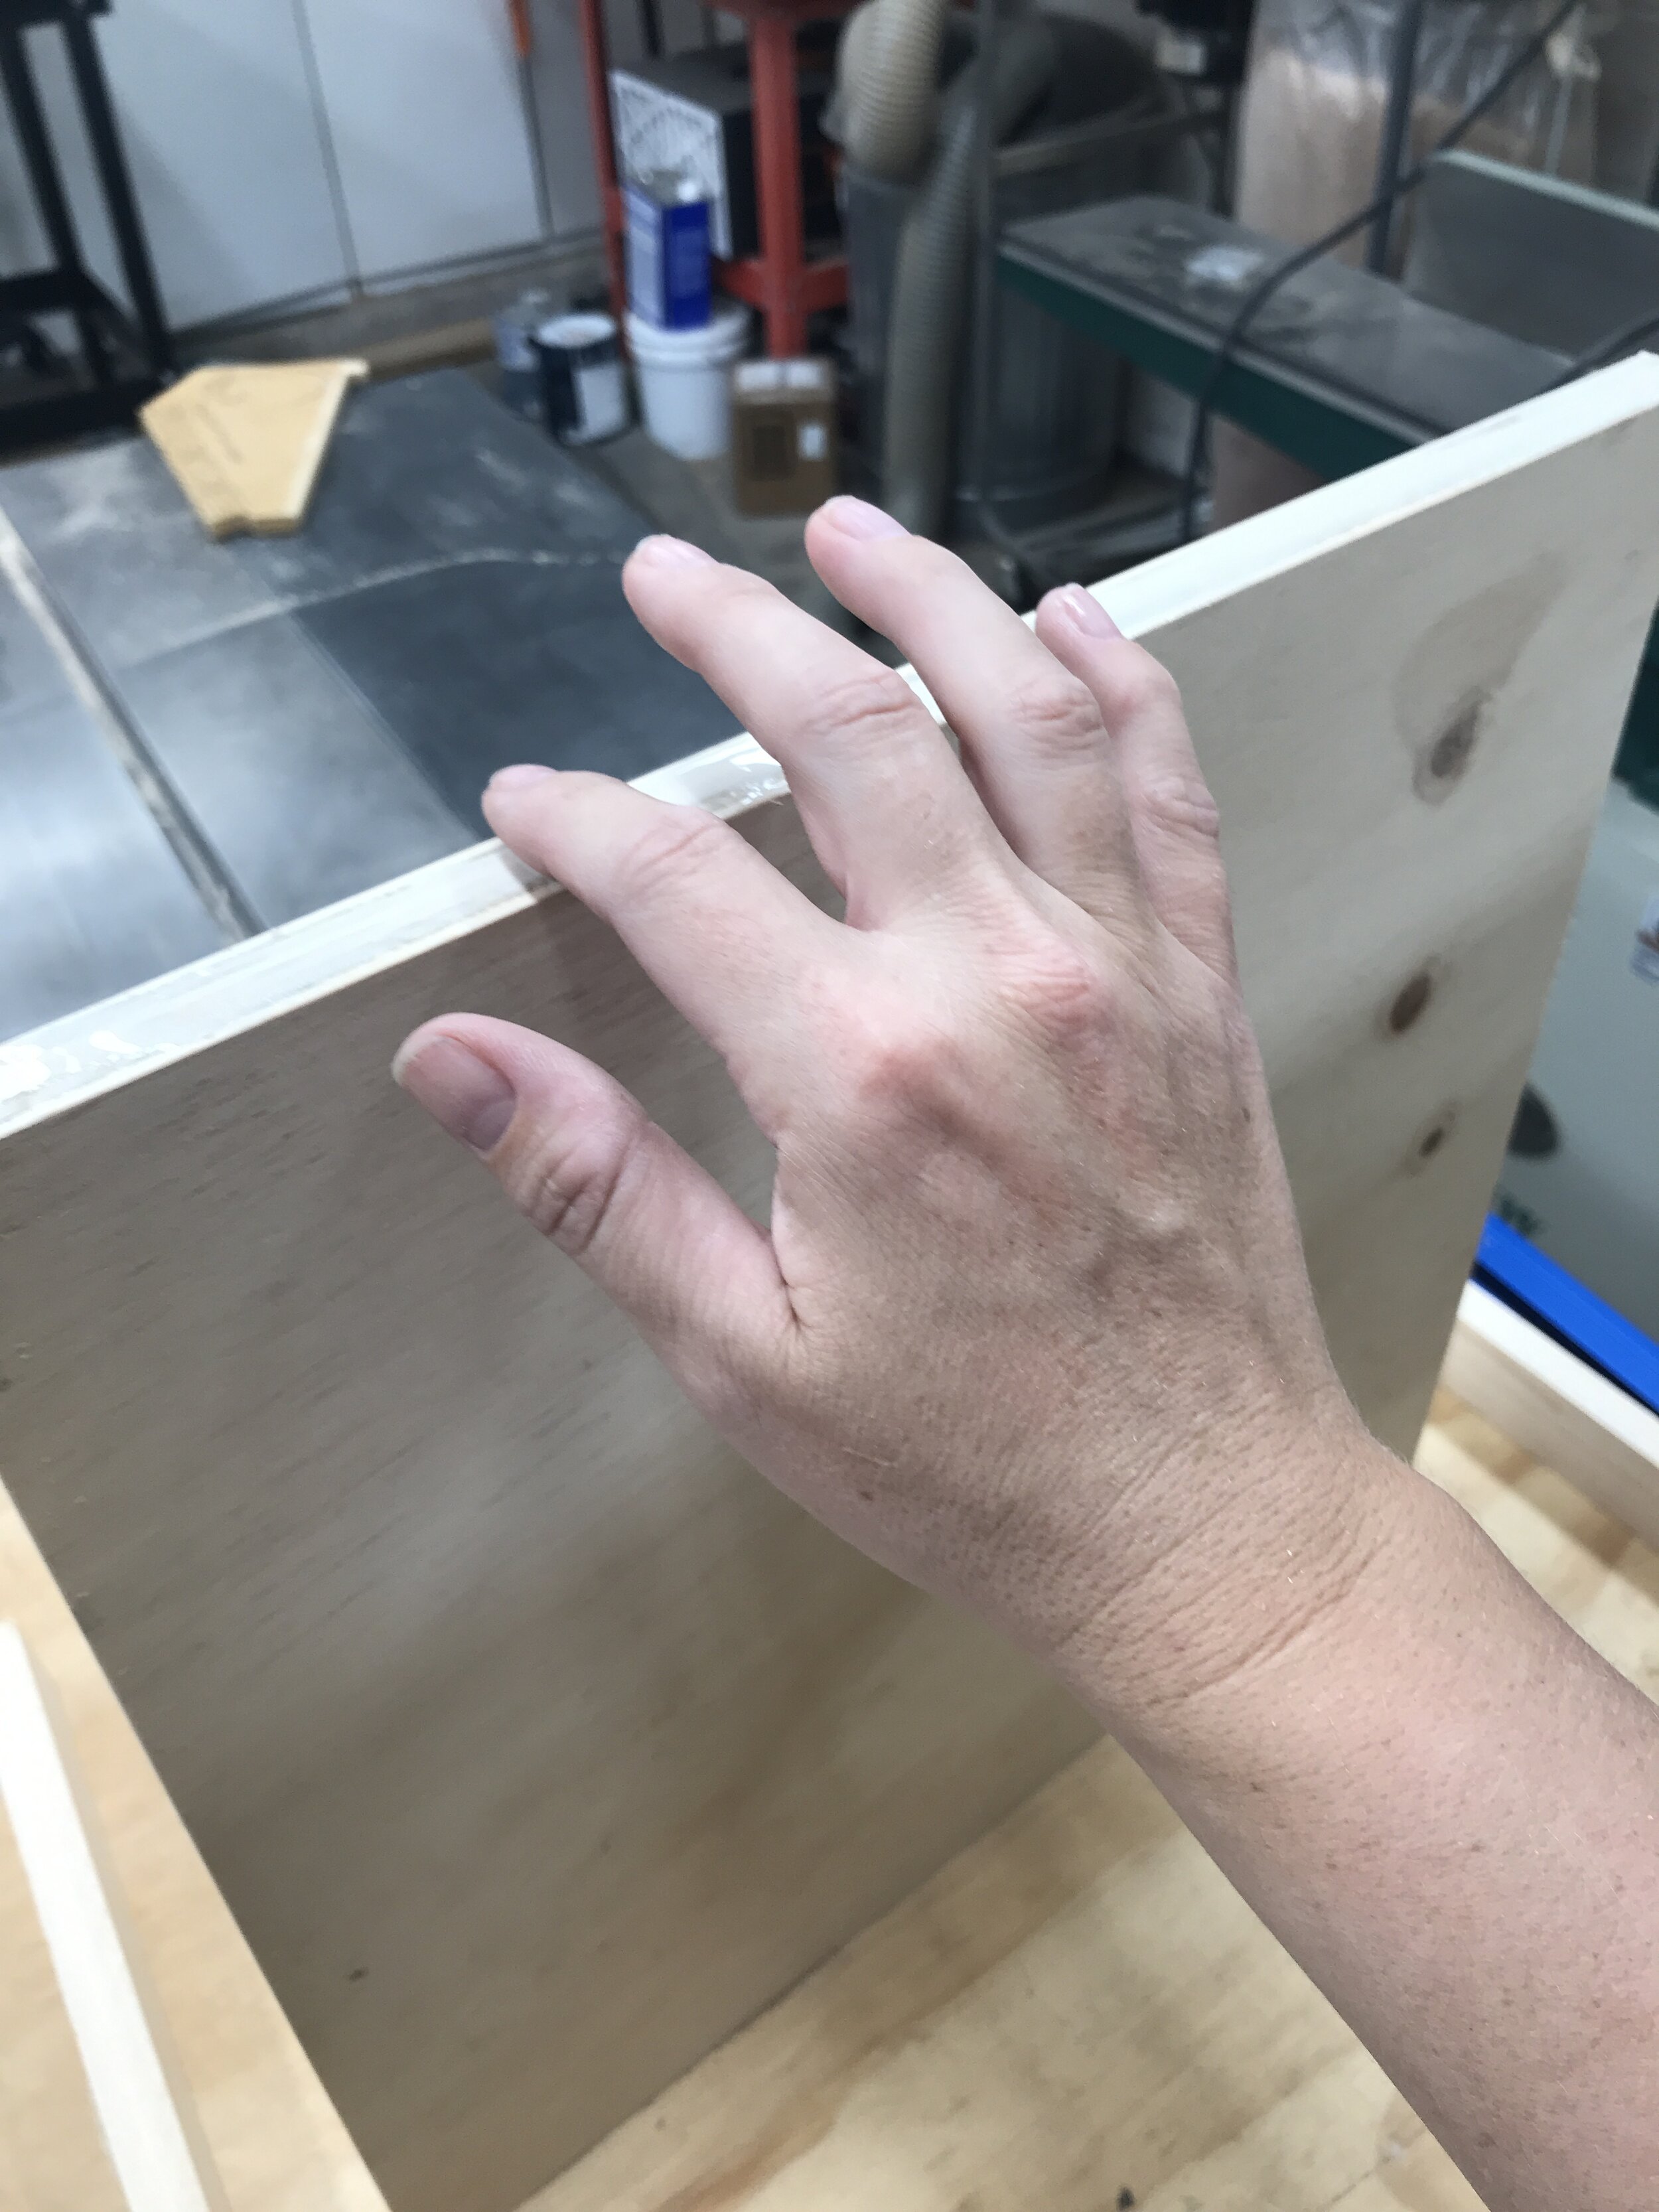
Remeasure to make sure your base measurements will work with your finished top. Then cut your pieces to size and drill 1 1/2” pocket holes on each end of the bases pieces (not the legs). Then assemble using 2 1/2” pocket hole screws and wood glue.


I used the blue coated pocket hole screws because they are rated for outdoors and that is where my table will be. Also, note that I faced the pocket holes either up or down during assembly so that when the table is upright you won’t see any pocket holes!

Step 3:
Attach base to top using 2” wood screws. I didn’t have any exterior rated ones on hand so I used what I had, but I do recommend using exterior rated ones for your table if you are going to have it outside.

Once the base was assembled I lightly sanded it and got rid of any sharp corners. I didn’t sand a ton, because after all it was gonna get shou sugi ban’ed. So less sanding means more time to test out my new torch from Bernzomatic, the BZ8250HT Hose Torch. It has a 5ft hose that helps allow you to get into hard to reach places. And since the Bernzomatic propane cylinder sits in a hip belt it helps prevent fatigue of holding the weight of the cylinder.

Get ready!

Set!

Go!
Step 4:
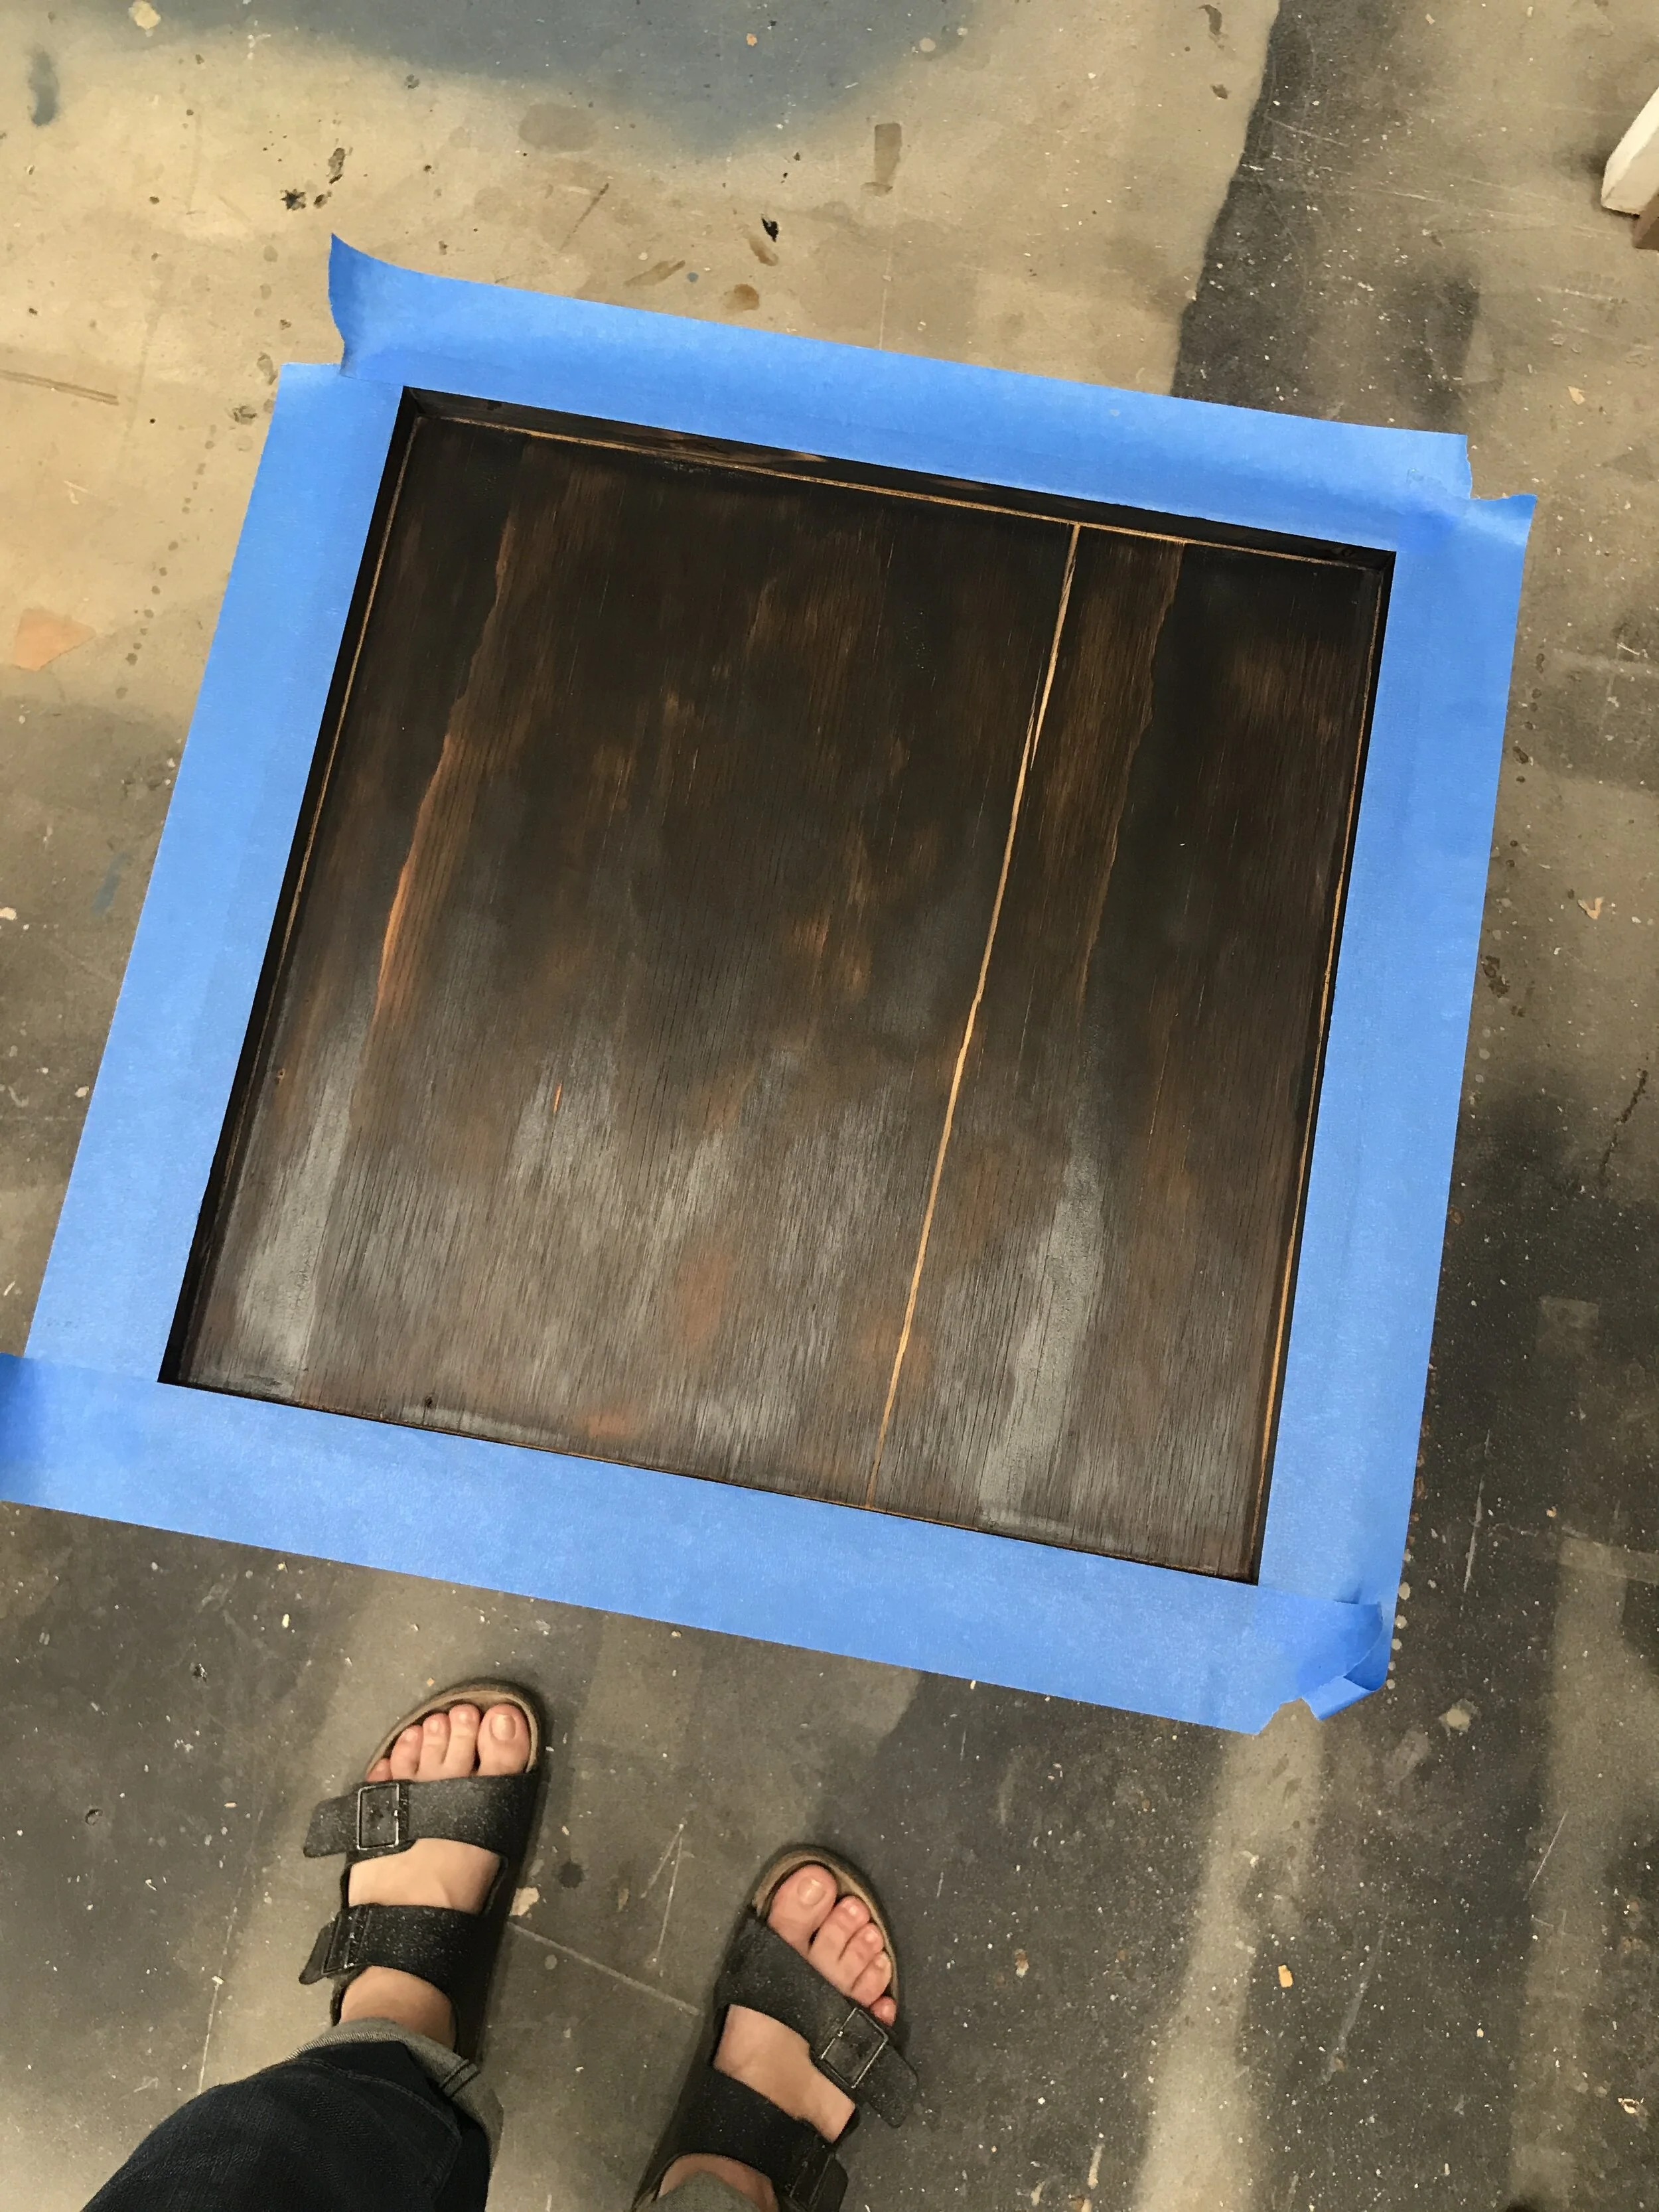
Shou Sugi Ban the base.
First off, what does shou sugi ban mean… it means the art of preserving and finishing wood using fire. If you are interested you can read more about the process and how it got started, here.
You will see the technique being used all over the place, some in the traditional way and some just to add an aged looking element to a piece. My preferred method is to go more traditional and really get a charred finished, but you can burn the wood as much as prefer. Any time you are working with a flame be sure you are comfortable with the instructions and safety features and always have a fire extinguisher or water on hand, just in case.


Step 5:
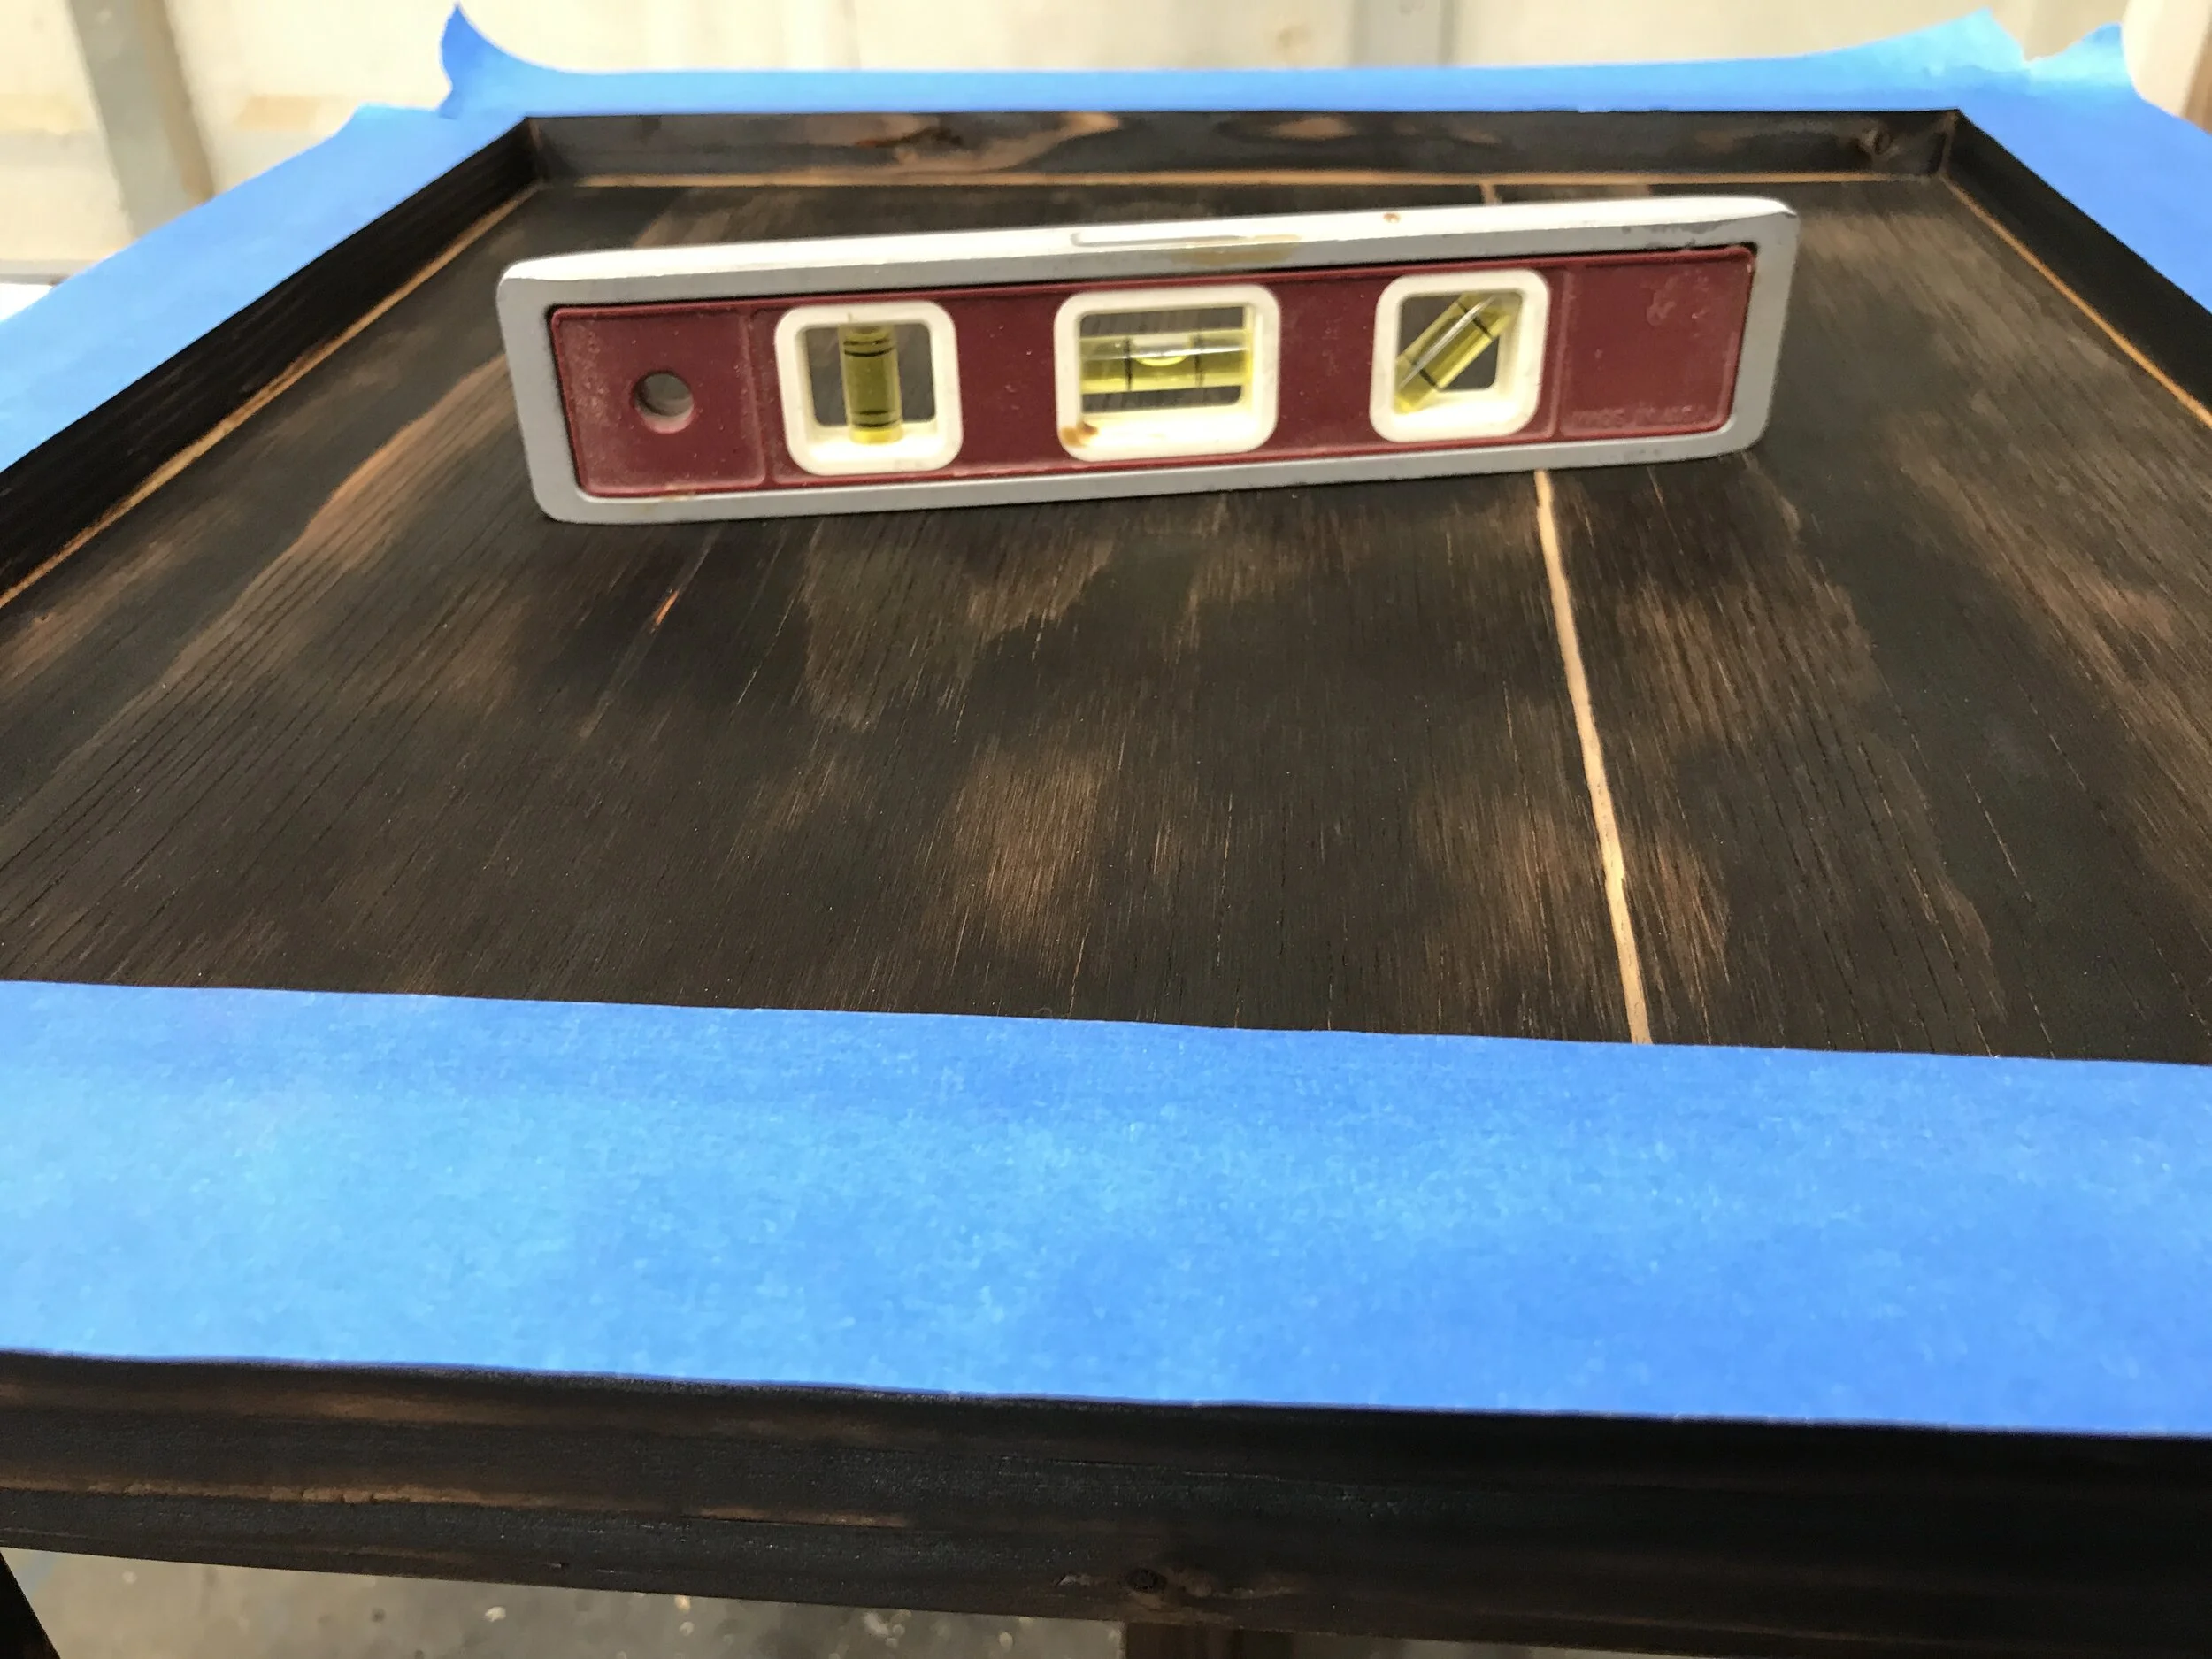
Epoxy top! I started by taping off the top trim edges because I didn’t want to accidentally drip epoxy on them. Then I mixed up enough epoxy to cover the base and to mix with the colors I was gonna use. I also made sure that the base was level so that the epoxy would be level.

Use code: AWESOMEO to get 20% off your epoxy!
I don’t have many pictures of this process because your hands get messy, but I did video it and you can watch it on my Facebook page here.
But here are my tips, process, steps….
Have your base painted a color you don’t mind showing thru. In my case, I shou sugi ban’ed mine for a nice charred finish.
Pour a base layer of clear epoxy and spread evenly to the corners. Having this base layer will allow the colors you add to flow and mix better.
I then popped all the air bubbles with my Bernzomatic ST2200T Micro Flame Butane Torch. You can use a Bernzomatic Butane cylinder to fill this torch.
Then I randomly poured a color or two and used my hair dryer on hot and high to move the epoxy. Be sure to move it all different directions so as to not get thin spots in the epoxy.
Repeat until you get desired look.
In spots where the colors weren’t mixing how I like I added some clear epoxy and this helped break up colors and add depth.
Then I let that cure overnight and added a top coat of clear epoxy the next day. I did this so if the top get scratched down the road it won’t affect the color design.
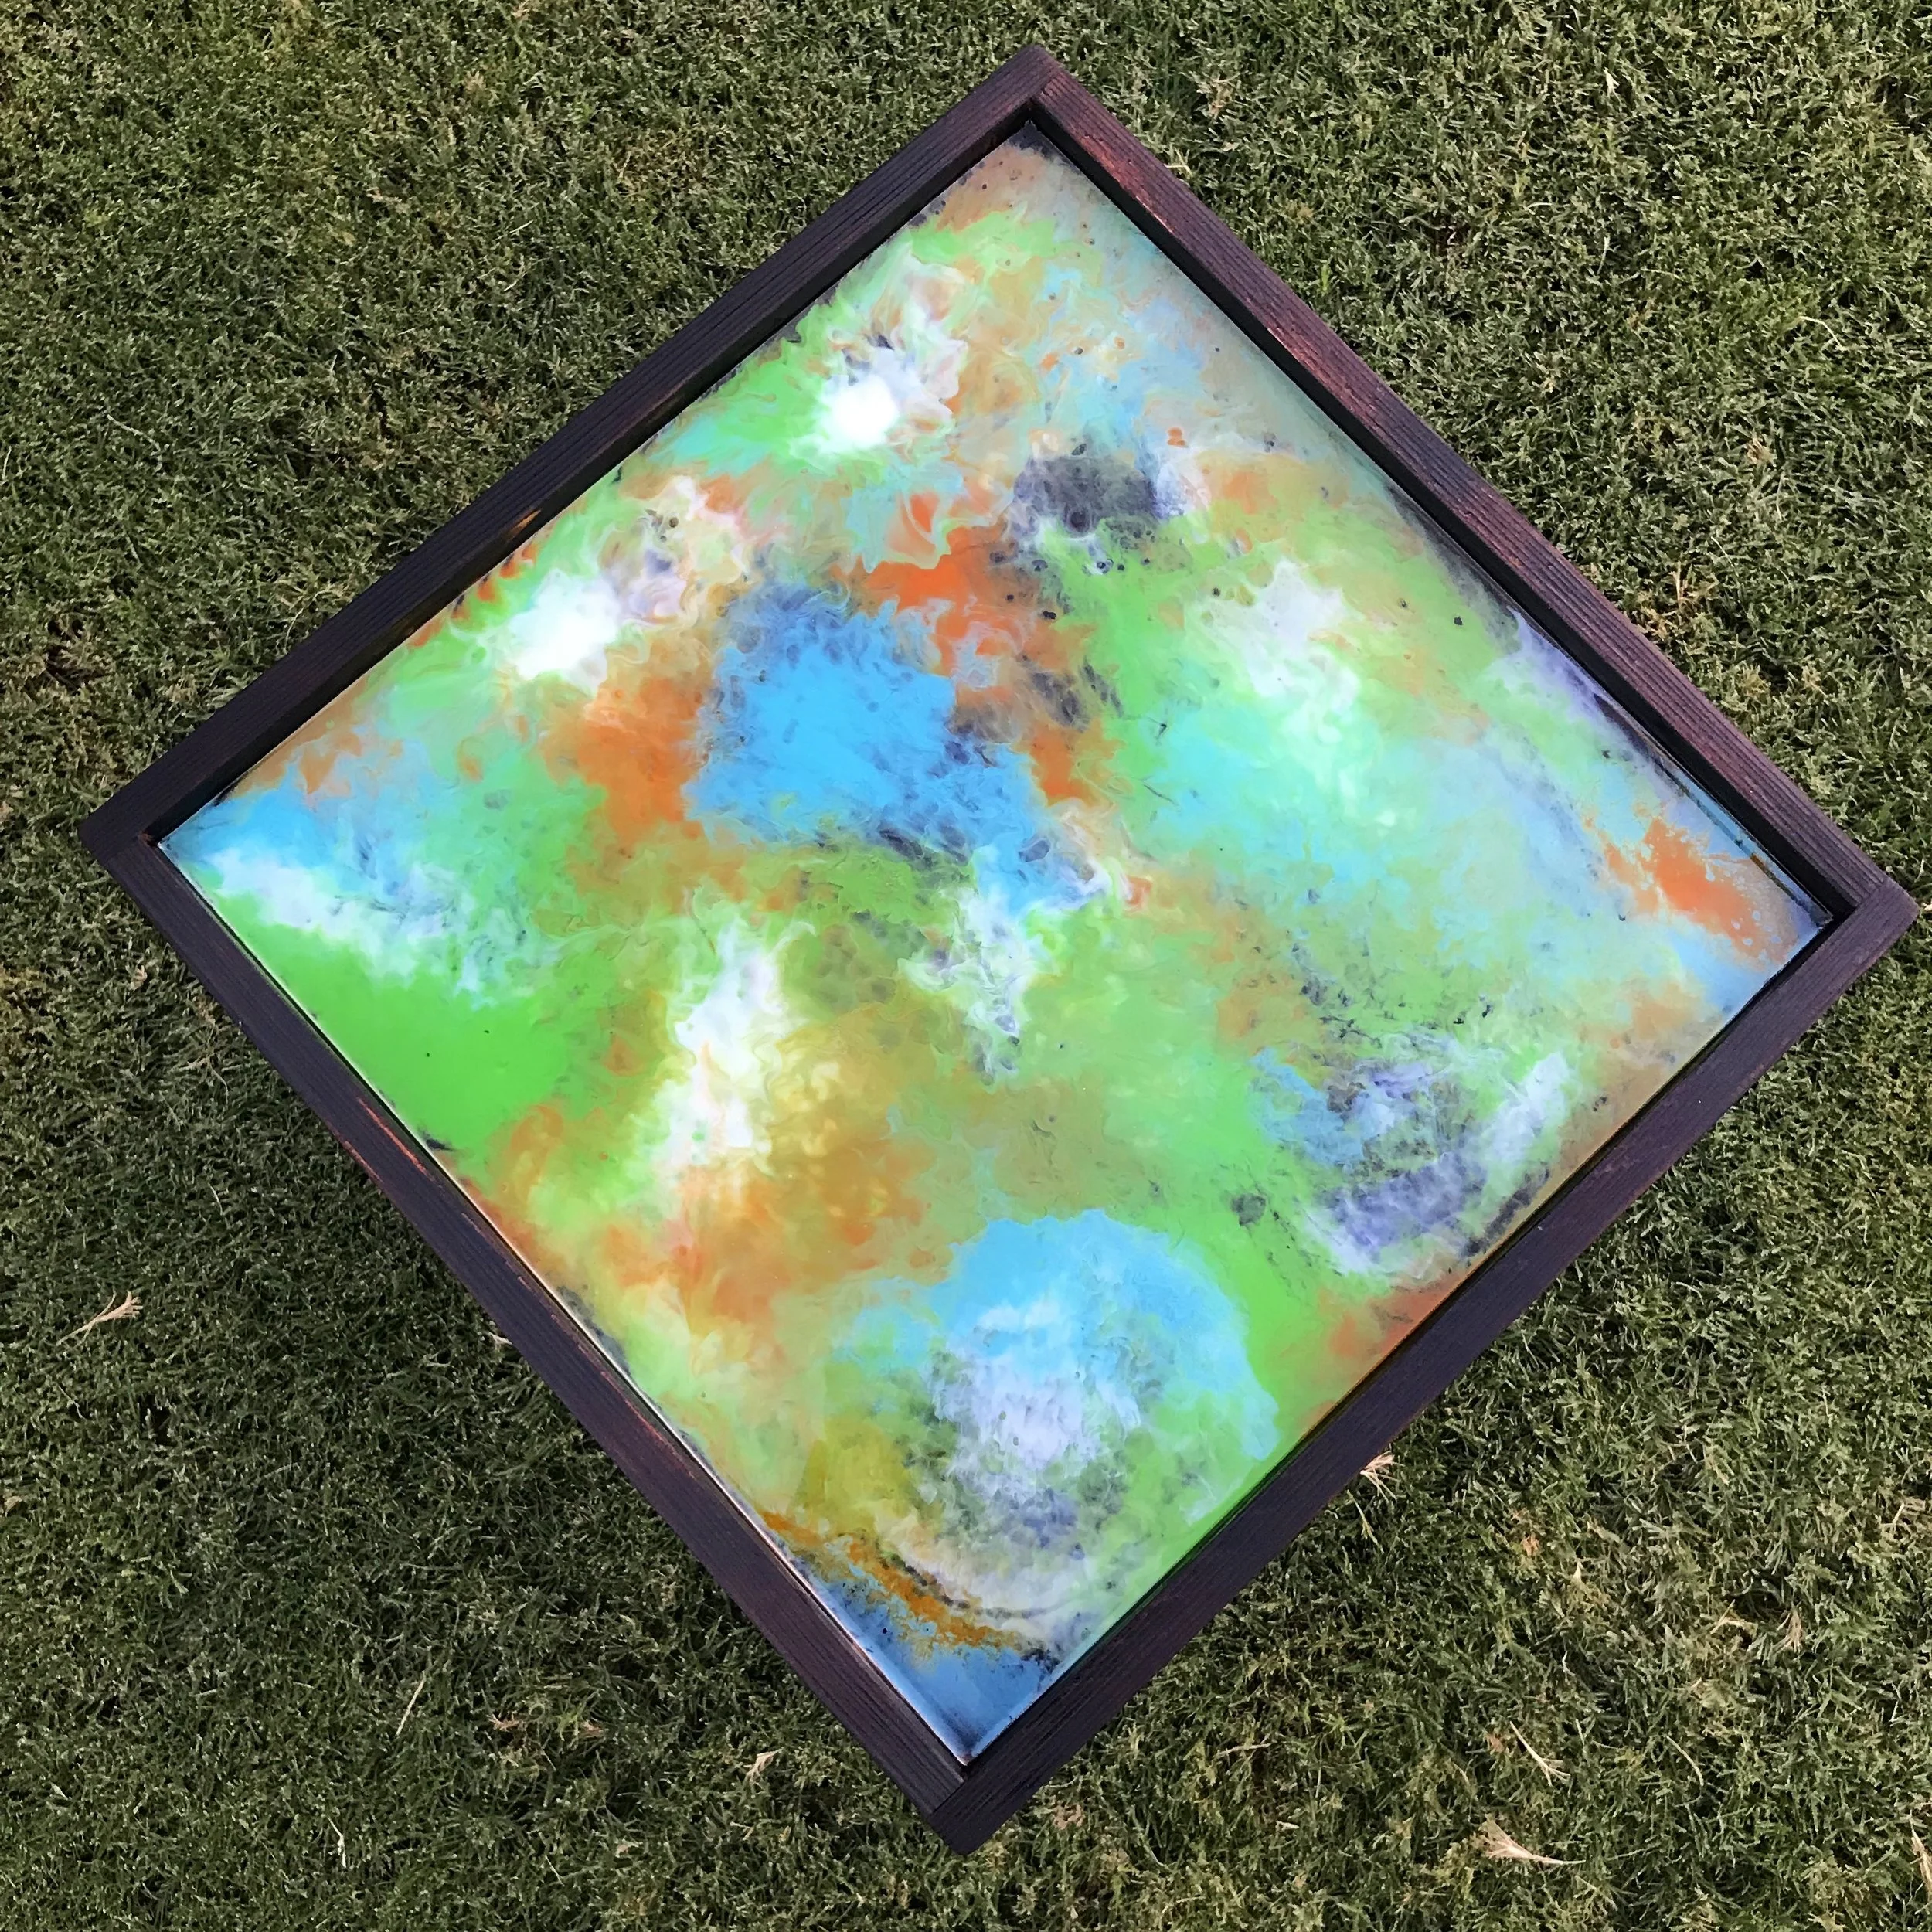
And here is how it came out! I think it is totally rad, groovy, and AWESOME. The fun thing about doing epoxy like this is you really can’t mess up. If you aren’t getting a look you like, let it cure and add another layer until you like it. Oh and remember to pop the bubbles after every pour in order to get a nice glassy finish.

Totally Groovy!
Step 6:
Add a coat of clear on the base. Traditional shou sugi ban you add a coat of oil to finish it so that none of the char comes off, so added a couple of coats of General Finishes Outdoor Oil.

And wow, I just love how this table came out. It might be a simple table, but it packs a punch in the looks category. It will also last for a really long time to come and I found the perfect spot on my porch for it… next to my DIY Modern Deck Chairs.


I hope you enjoyed this project as much as I did! And if you make one for yourself I’d love to see it, so please tag me in your post and use the hashtag #BuildingAwesome.
Til next time, keep #BuildingAwesome and have an AWESOME day!
-Sadie Mae


Click on picture below to get FREE Printable Plans!

Like working with epoxy…. check out this art piece I made Epoxy Inlay Sunshine Art.

The Awesome Oscar is the best furniture model!


