Easiest Way to Finish Outdoor Furniture
My backyard is slowly turning into one of my favorite parts of my house… and one reason for that is all the gathering spaces.
And today I’m going to put together another one. Let me show you how!
This post IS sponsored by Cabot. All opinions are my own. This post does contain affiliate links. For more information on my affiliate programs, see my DISCLOSURES page.
To make any outdoor space inviting you need somewhere to sit and usually a place to set a cold drink. Let’s start with seating.
SEATING
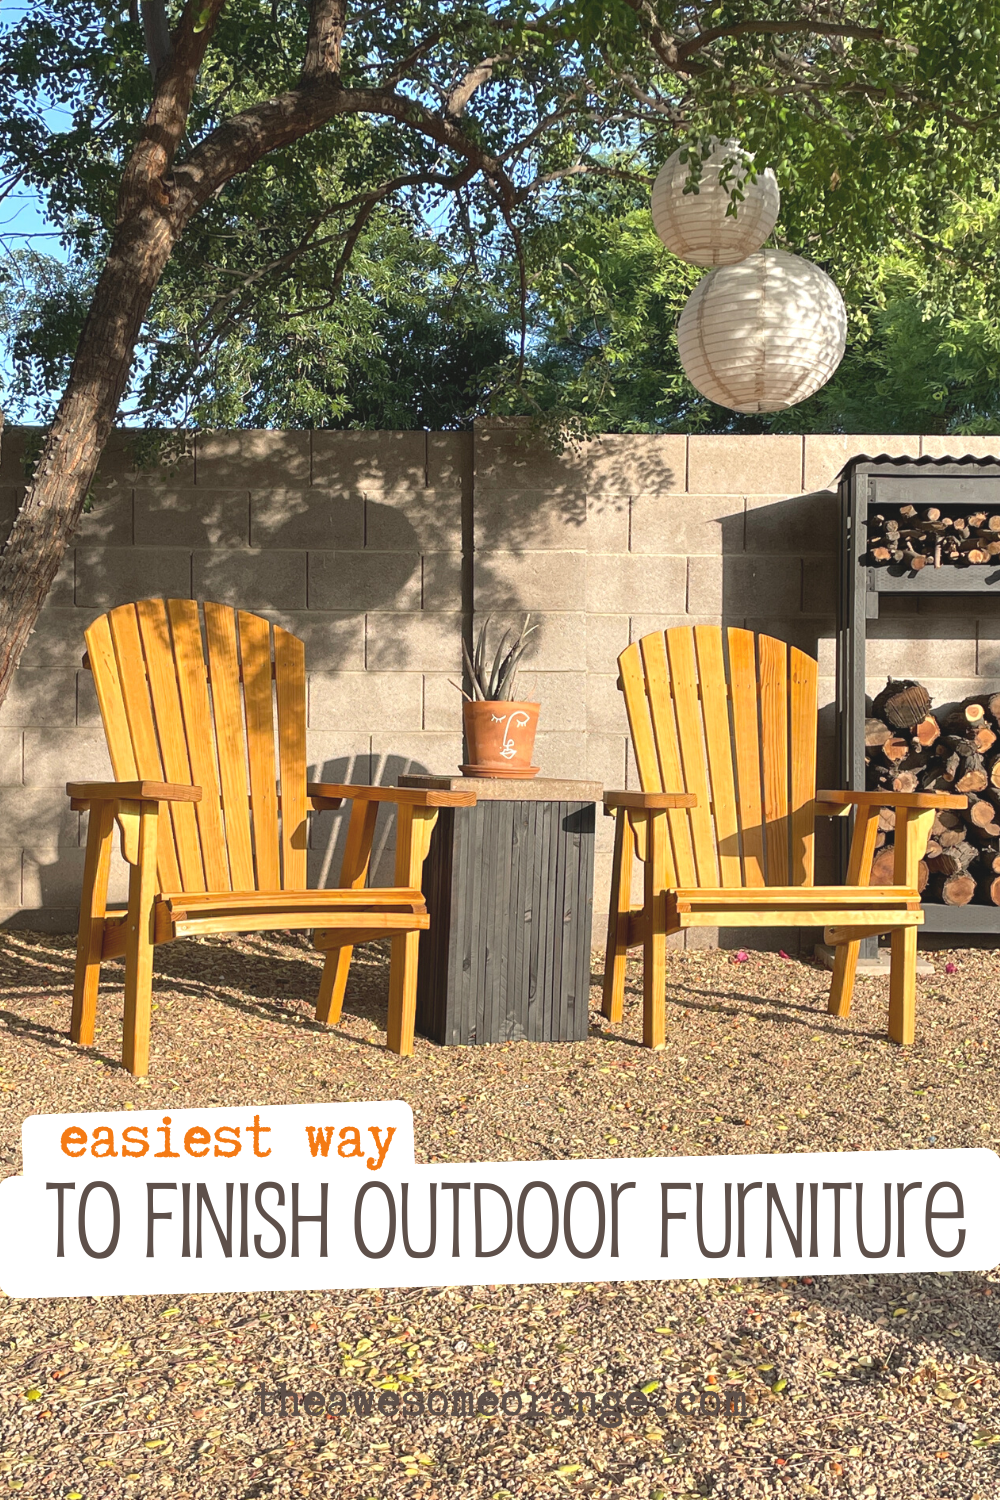
I recently got these solid wood Adirondack chairs that were super easy to assemble… just a few screws and bolt. They are super well made from the Amish. They are also good for outdoors because they are made with pressure treated wood. Which means they will resist rot and bugs better than standard wood.
But I let mine sit in the rain a couple of times before finishing them and it raised the wood grain. So before finishing I sanding them down with 180 grit sandpaper to get rid of the fuzzes.
Since these chairs are made with pressure treated wood, which is great for outdoor furniture, I didn’t need to finish them. But I want to put a finish on them to extend their life as long as possible and give them a more warm wood tone and help prevent them from graying. So stain it is.
Generally my go to finish for outdoor wood furniture is to shou sugi ban, burn, the wood and then applying a penetrating oil. I over the years I have found that been the best way to finish outdoor furniture to increase lifespan and to make maintenance easy.
CHECK OUT MORE ON HOW TO SHOU SUGI BAN HERE…
But since these chairs are made with pressure treated wood we are going to go straight to the penetrating oil. We don’t want to burn pressure treated wood and release any of the chemicals in it.
I like penetrating oil because it soaks into the wood and will never peel or crack… which makes maintenance down the road super easy.
CHECK OUT HOW TO MAINTAIN OUTDOOR WOOD FURNITURE HERE…
Today I am using Cabot’s Timber Oil, but in an aerosol can. I’ve used it before by brushing it on and really like it, but with all the nooks and crannies of these chairs spraying it on should save a ton of time!
This was my first time using an aerosol can to spray finish on outdoor furniture and ’m never going back to brushing on finish again. Spraying was so easy. No clean up, way less drips and saved me a ton of time!
While those are drying let’s put together somewhere to hold a cold drink for the space.
Watch me bring this space together on YOUTUBE!
DRINK HOLDER/SIDE TABLE
I have this old DIY slatted scrap wood planter I made just sitting around because I could never keep anything alive in it outside. So I decided to turn it into a side table.
Burn it - Shou Sugi Ban it for color and protection. Get torch here.
Spray it - with Cabot’s Timber Oil to seal char and for protection
Glue it - apply landscape adhesive to join planter and stepping stone
Sand it - just knocks off the sharp edges
Seal it - seal concrete for protection and a nice finish.
Add a plant and now I think the space is complete. I have somewhere cozy in the shade to hang out, read a book, have a drink with a friend or watch Oscar swim in the pool.
Any question on the easiest way to finishing outdoor wood furniture, leave your questions in the comments below!
Thanks for following my building journey… remember Build LOUD, Build Wild and have an AWESOME day!
Sadie