DIY Simple Outdoor Dining Table
If you have been following along with me on Instagram you know I have recently been completed making over my patio and when we demo’d the old patio I saved the wood in hopes of repurposing it one day. Well, once the new patio was finished I knew that I wanted to have a dining table out their for dinner parties once the the weather gets a little nicer… so that is what I set out to do.
This is NOT a sponsored post. This post contain affiliate links.
How to Make DIY Simple Outdoor Dining Table
Want to watch this build in action? Check it out on YouTube and subscribe to my channel for more #BuildingAwesome adventures!

First step was making sure I had enough wood to make the table the size I wanted… 72”L x 30”W. You might be thinking that is narrow, but I have been on a kick lately for narrow tables. I think they are more conversational and casual, so I have been calling them Community Table Size. Plus, its nice because their footprint doesn't take up as much space in narrow rooms and leaves plenty of chair room and walk around space. So, help me start a new trend for community tables!
I had enough wood, so next was looking over the wood… since it was reclaimed I wanted to make sure all the nails and screws were out of it before I send it thru my tools. Plus, looking it over I was able to pick any cool features or character of the wood I like and put it in spots that would highlight it. Oh and hide stuff I didn’t like… the fun of working with reclaimed wood or barn wood.

This build is super simple and a great beginner project. If you use 2x8’s like I did you will need a table saw to rip the base pieces. Or you can just use 2x'4’s for the base and then you will only need a drill, pocket hole jig (I use the Kreg Foreman and love it, but a simple K4 would work just as well) and miter saw to complete this build. Either way it will be AWESOME!
So lets it started making you your own DIY Simple Outdoor Dining Table!
You can get downloadable plans here that include Shopping List, Materials List and Cut List and Step-by-Step Instructions.
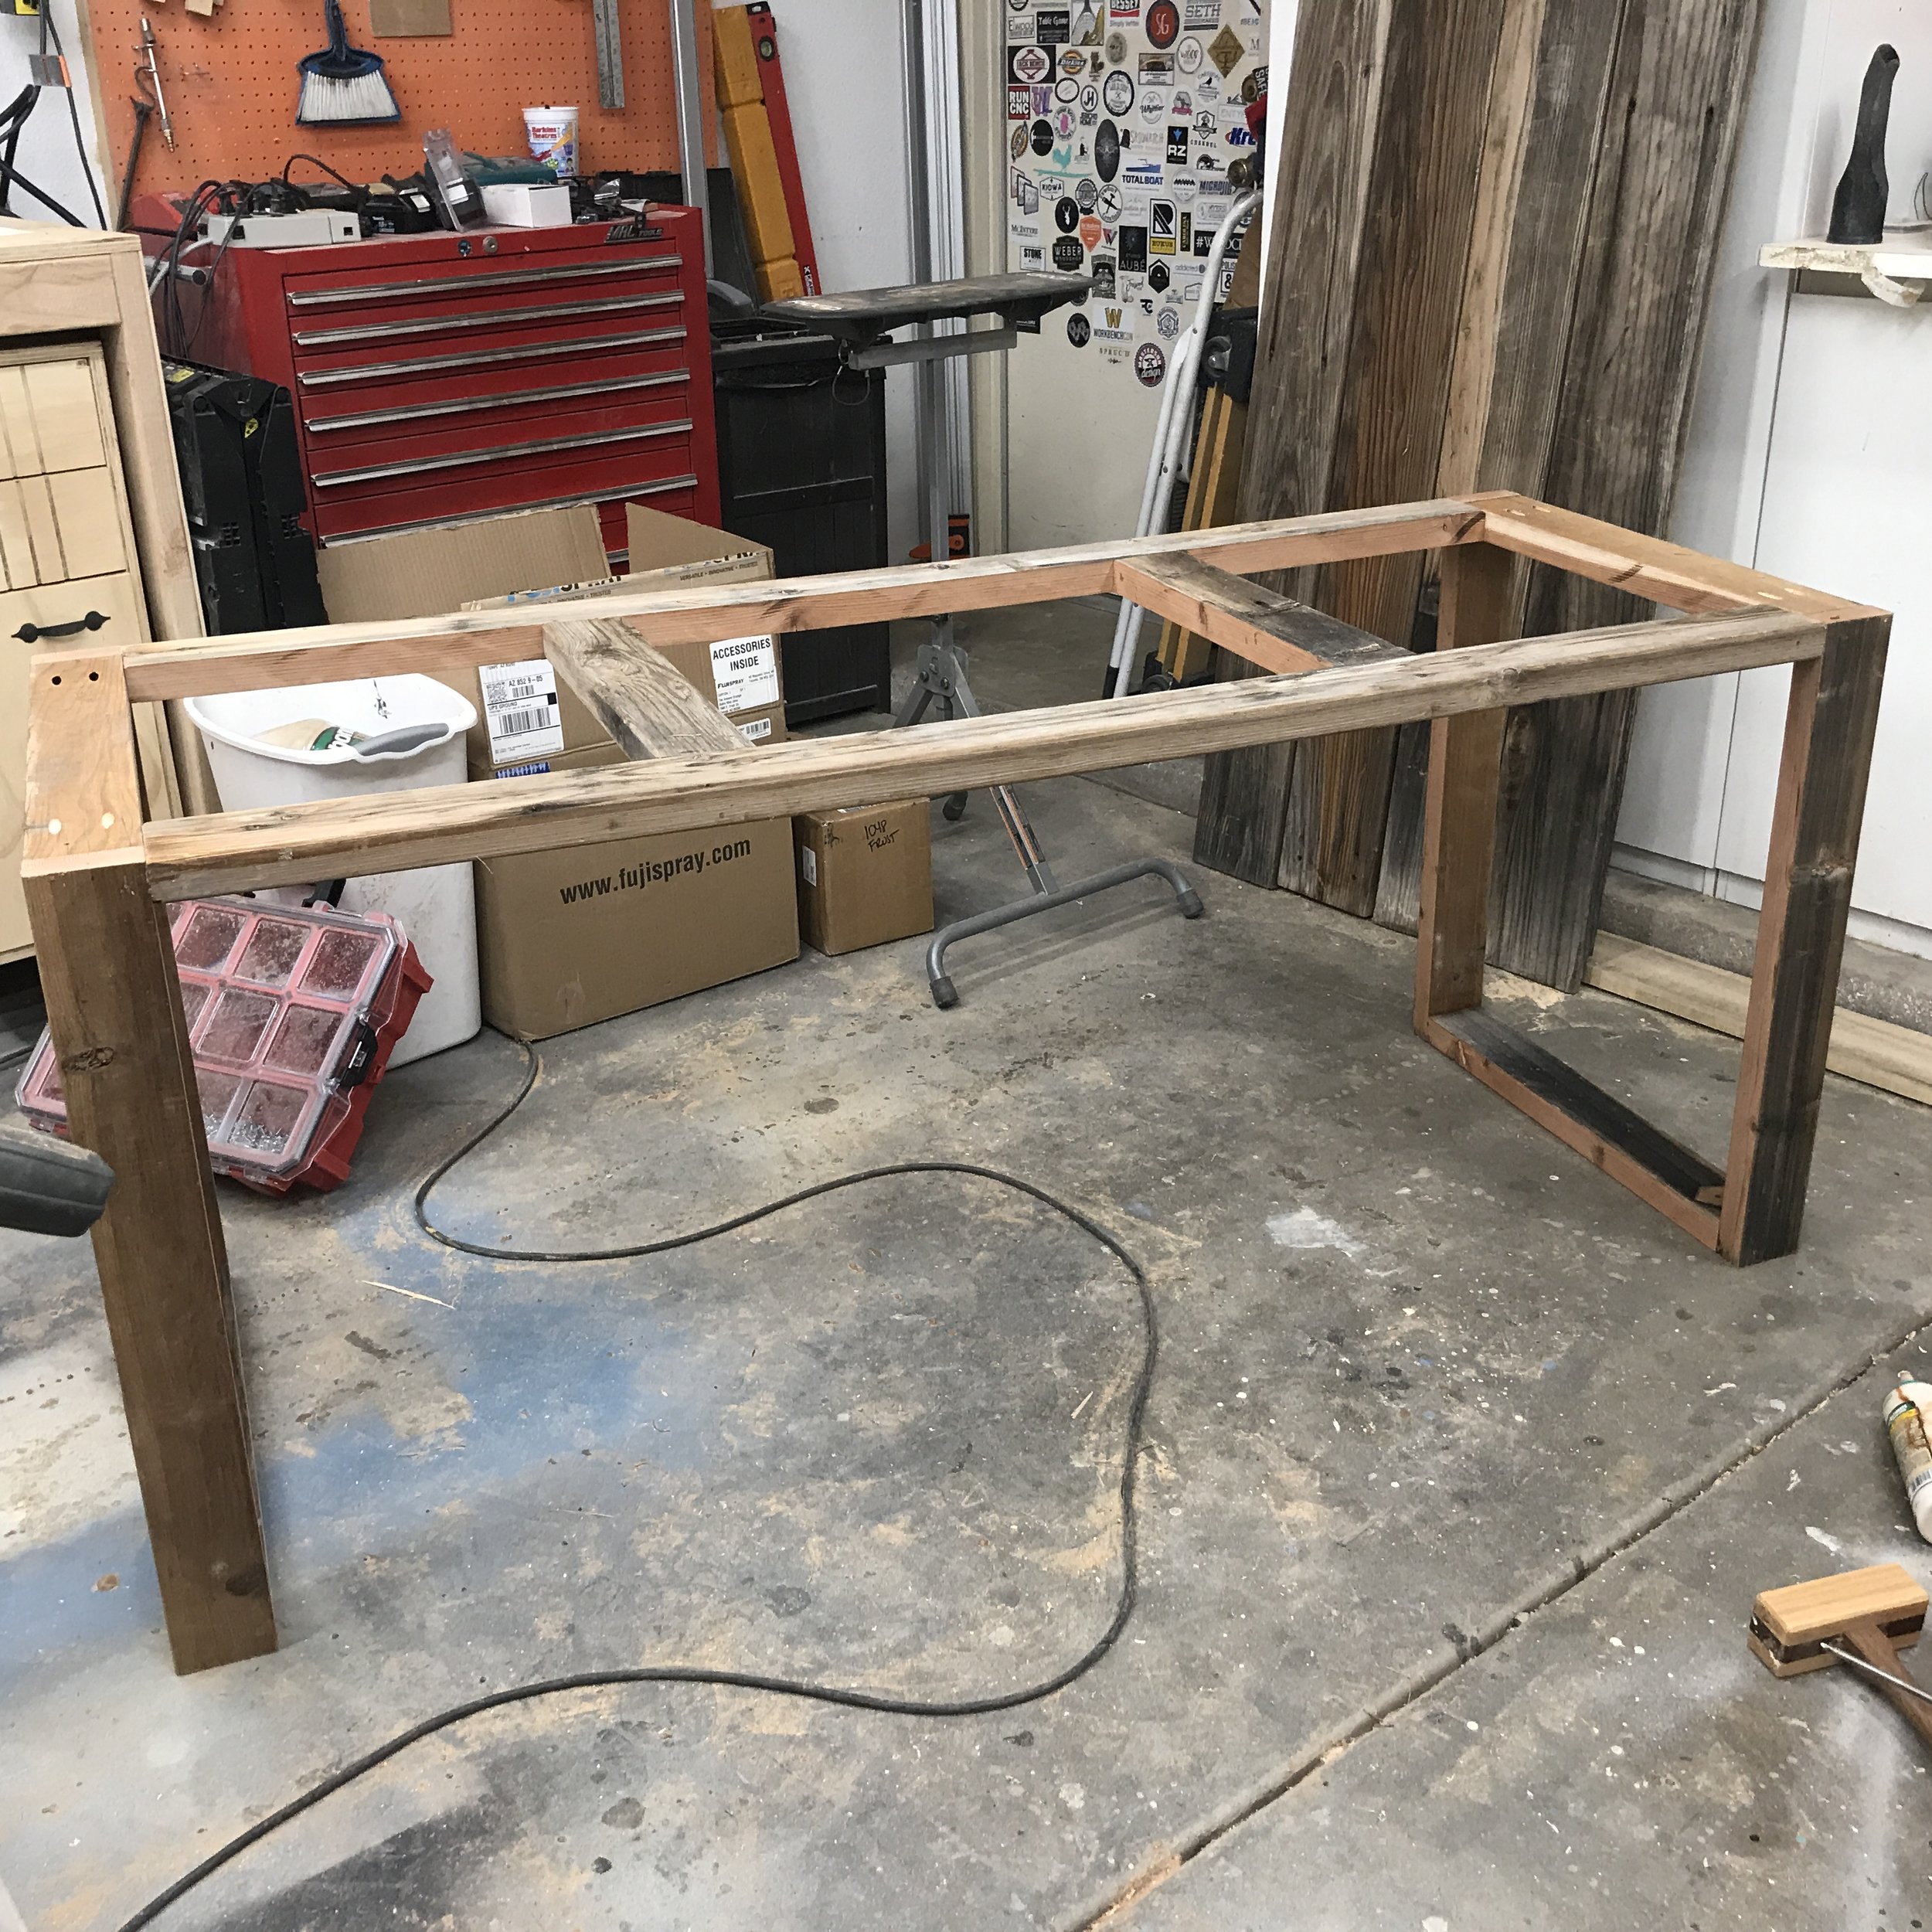
Step 1
Assemble legs. Tip: be sure to face pocket holes down on the bottom and up on the top, so they aren’t visible once assembled. Also, use wood glue rated for the outdoors and blue pocket hole screws rated for outdoors.

Step 2
Attach apron. Tip: screwing a scrap piece of wood to the apron piece and setting it on top the leg will act as a second hand allowing you to face pocket holes up so they aren’t visible after assembly.
Step 3
Attach apron support pieces. Tip: I wait to measure and cut these once the base it assembled so that I can get a nice tight fit.
Step 4
Drill oversized holes in apron to attach top. Tip: I countersink my holes so that I could use standard 1 1/4” screws to attach the top. The holes are wider than the screws you will be using to attach top to base to allow for seasonal wood movement.
Step 5
Attach top planks to base. Tip: Use 1/4” scrap pieces of woof to help keep consistent gaps between each plank. The gap also allows for drainage (in case of rain) and allows each board to expand and contract.

Step 6
Sand and finish table as desired. Tip: If using table outdoors be sure to use a finish rated for outdoors.

See just that SIMPLE and you have yourself an Outdoor Dining Table!!! If you want to make one for yourself I have downloadable plans here that include Shopping List, Materials List and Cut List and Step-by-Step Instructions with 2D graphics. If you do make one for yourself, I’d love to see it so please tag me in your photos!
Can’t Make It Now?
Pin It and Save it for later!

I love how this table is a little rustic and a little modern and fits right in on the new patio. I can’t wait for some cooler weather so we can really start enjoying this space. Thanks for following all my #buildingawesome adventures!
Happy building and have an AWESOME day!
Sadie