

Modular Miter Station - Phase 3 - Assembly Cart
Have you ever assembled something on the ground? Or been assembling something at your workbench, but the tool you need is across the shop hanging on the wall? So for Phase 3 of the Modular Miter Station series I knew that I wanted to make the ultimate “Assembly Cart”. A cart that would house everything in arms reach when I assembling my next project… clamps - all kinds of clamps, screws - and all kinds of fasteners, and anything else I can fit on it.
This post contains affiliate links. This post is sponsored by Kreg Tool & BuildSomething.com. All opinions, pictures, design, and published plans are my own!
This is Phase 3 of a 4 part series I teamed up with Kreg Tool to put all the build plans on their DIY project plan website BuildSomething.com. But before you go check out the plans on their site let me tell you a little bit more about the build and accessories!


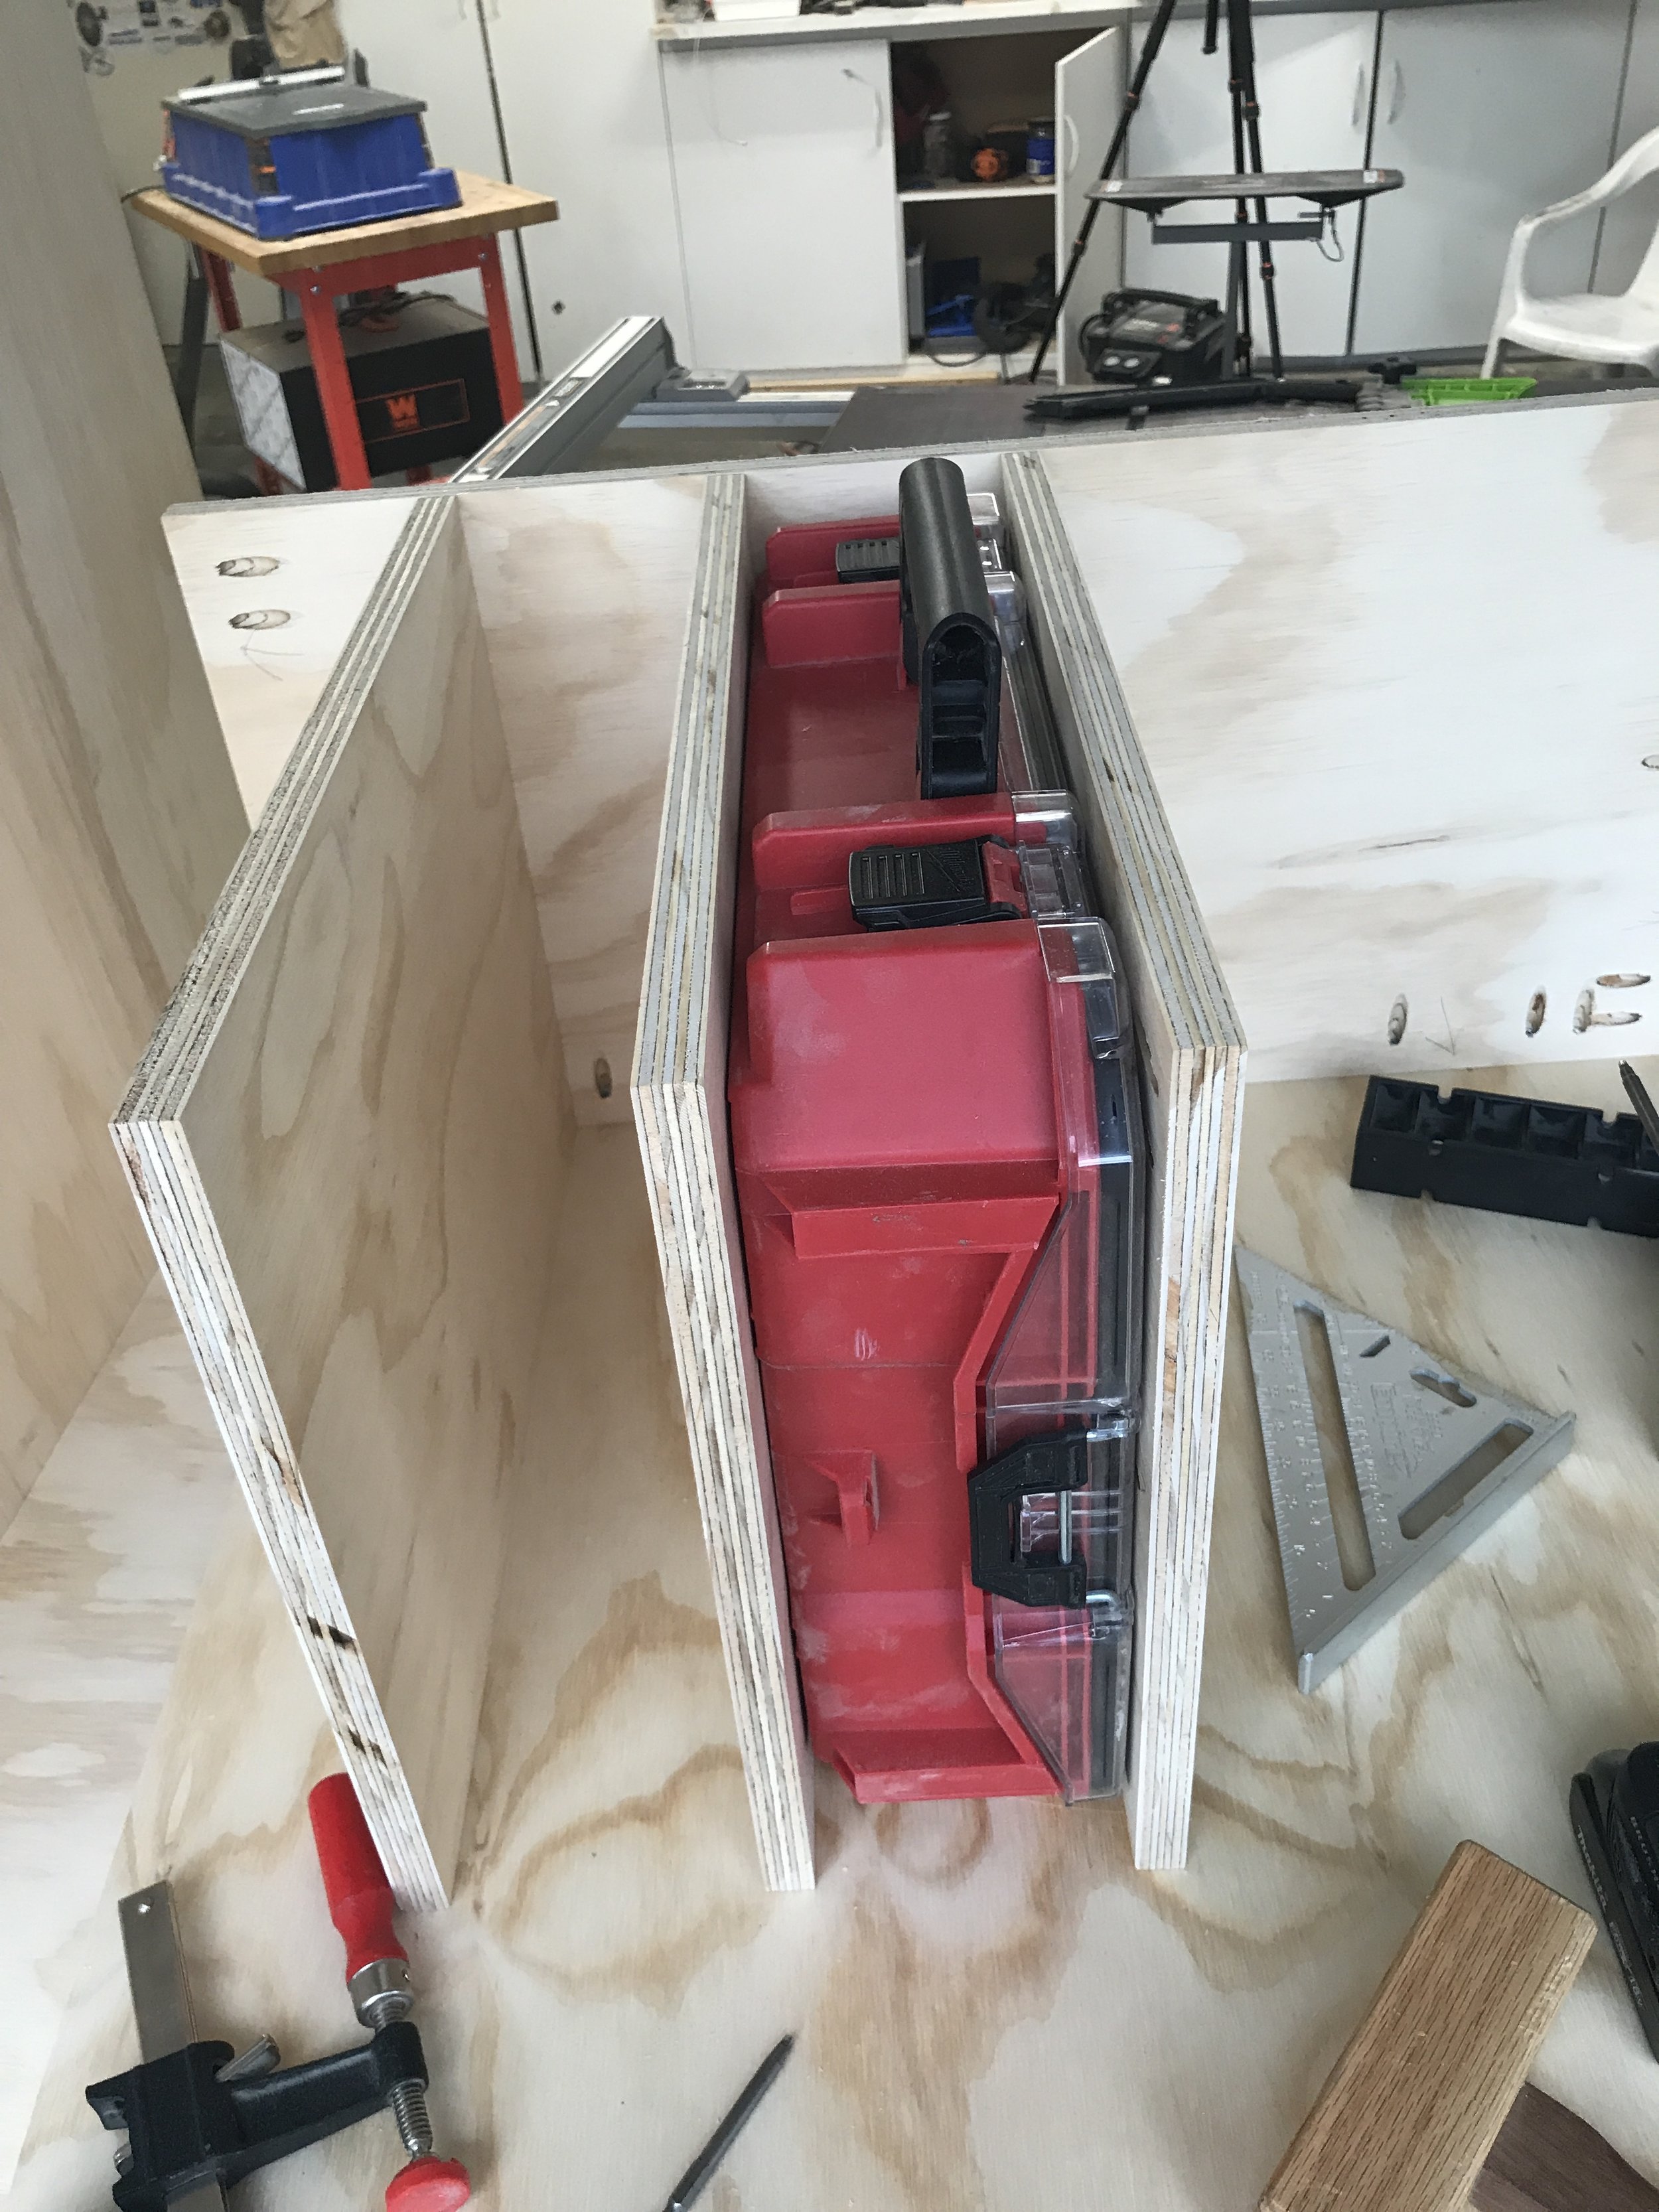
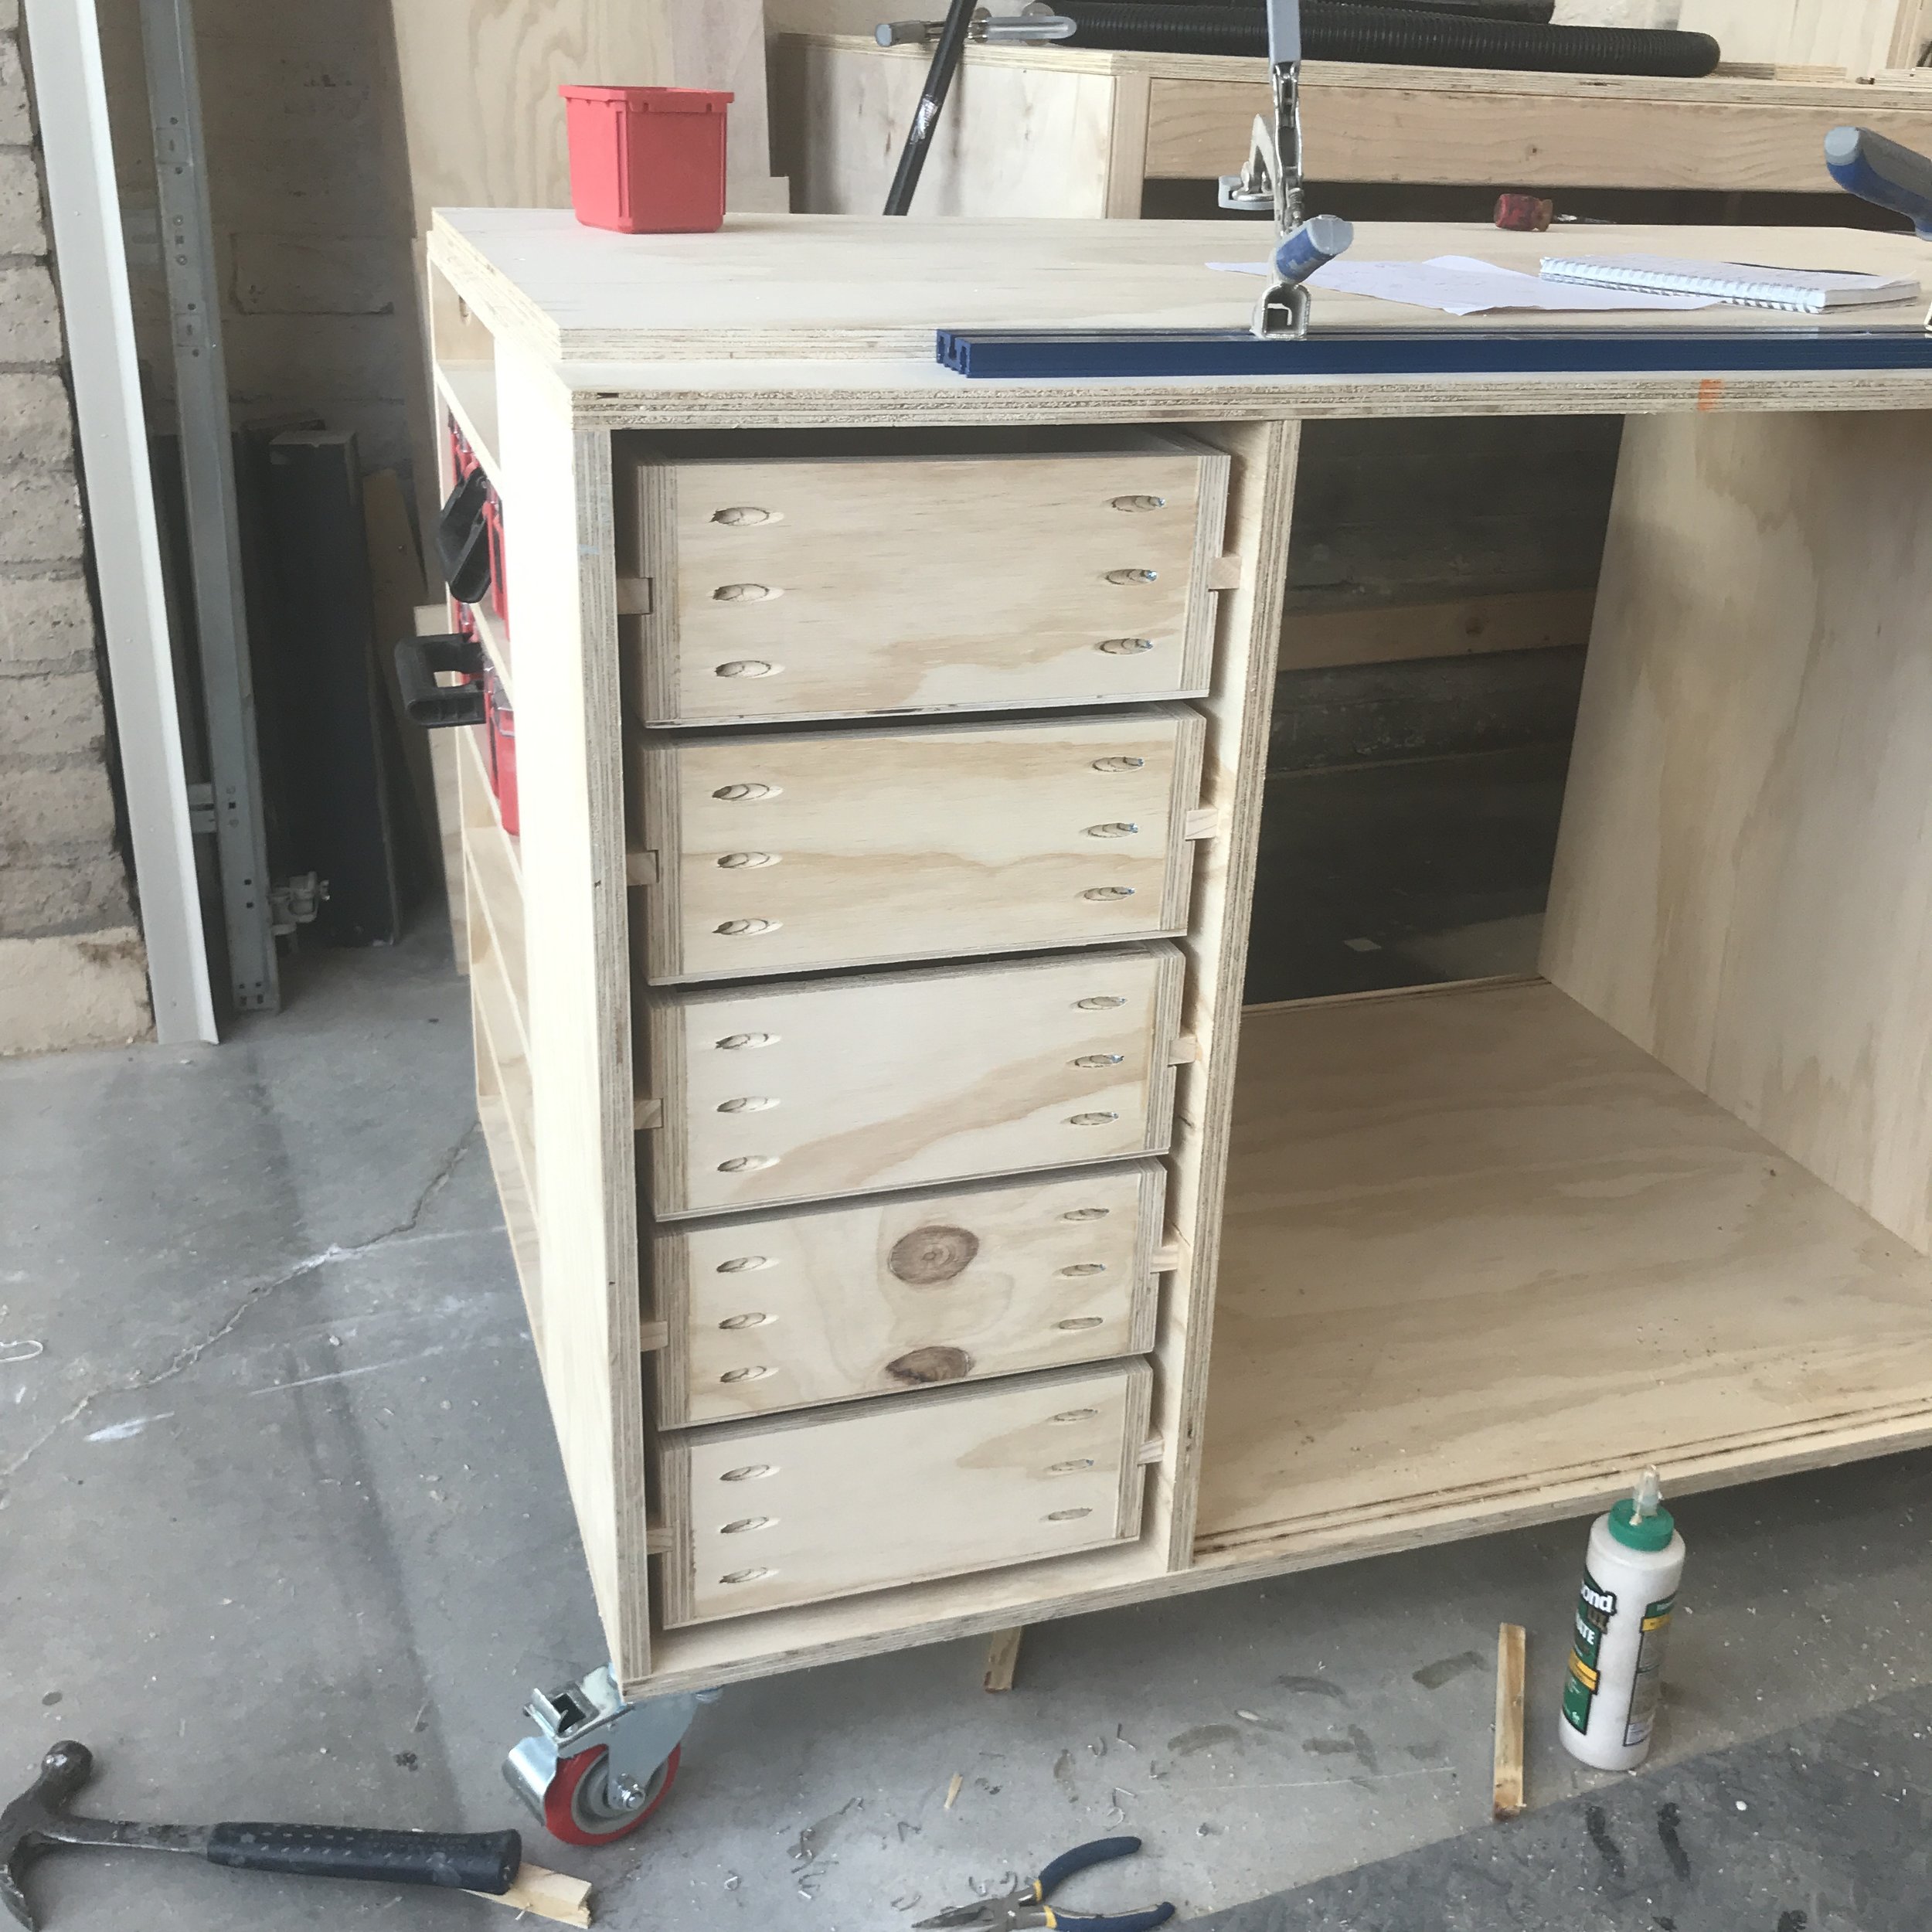
A couple of months ago when I was trying to get more organized I pick up some Milwaukee small parts organizers. They are awesome for housing and organizing all my screws, but they haven’t had a home in my shop since I bought them. They were on the floor, on top of workbenches, on top of my table saw… basically everywhere in the way, so I knew I wanted to incorporate storage for them on my new assembly table. So I created some shelves that they can slide in and out of. But since I only had originally bought two and now had 5 shelves I went out and picked up a few more and will organize all the random hardware that is all over my shopping them.
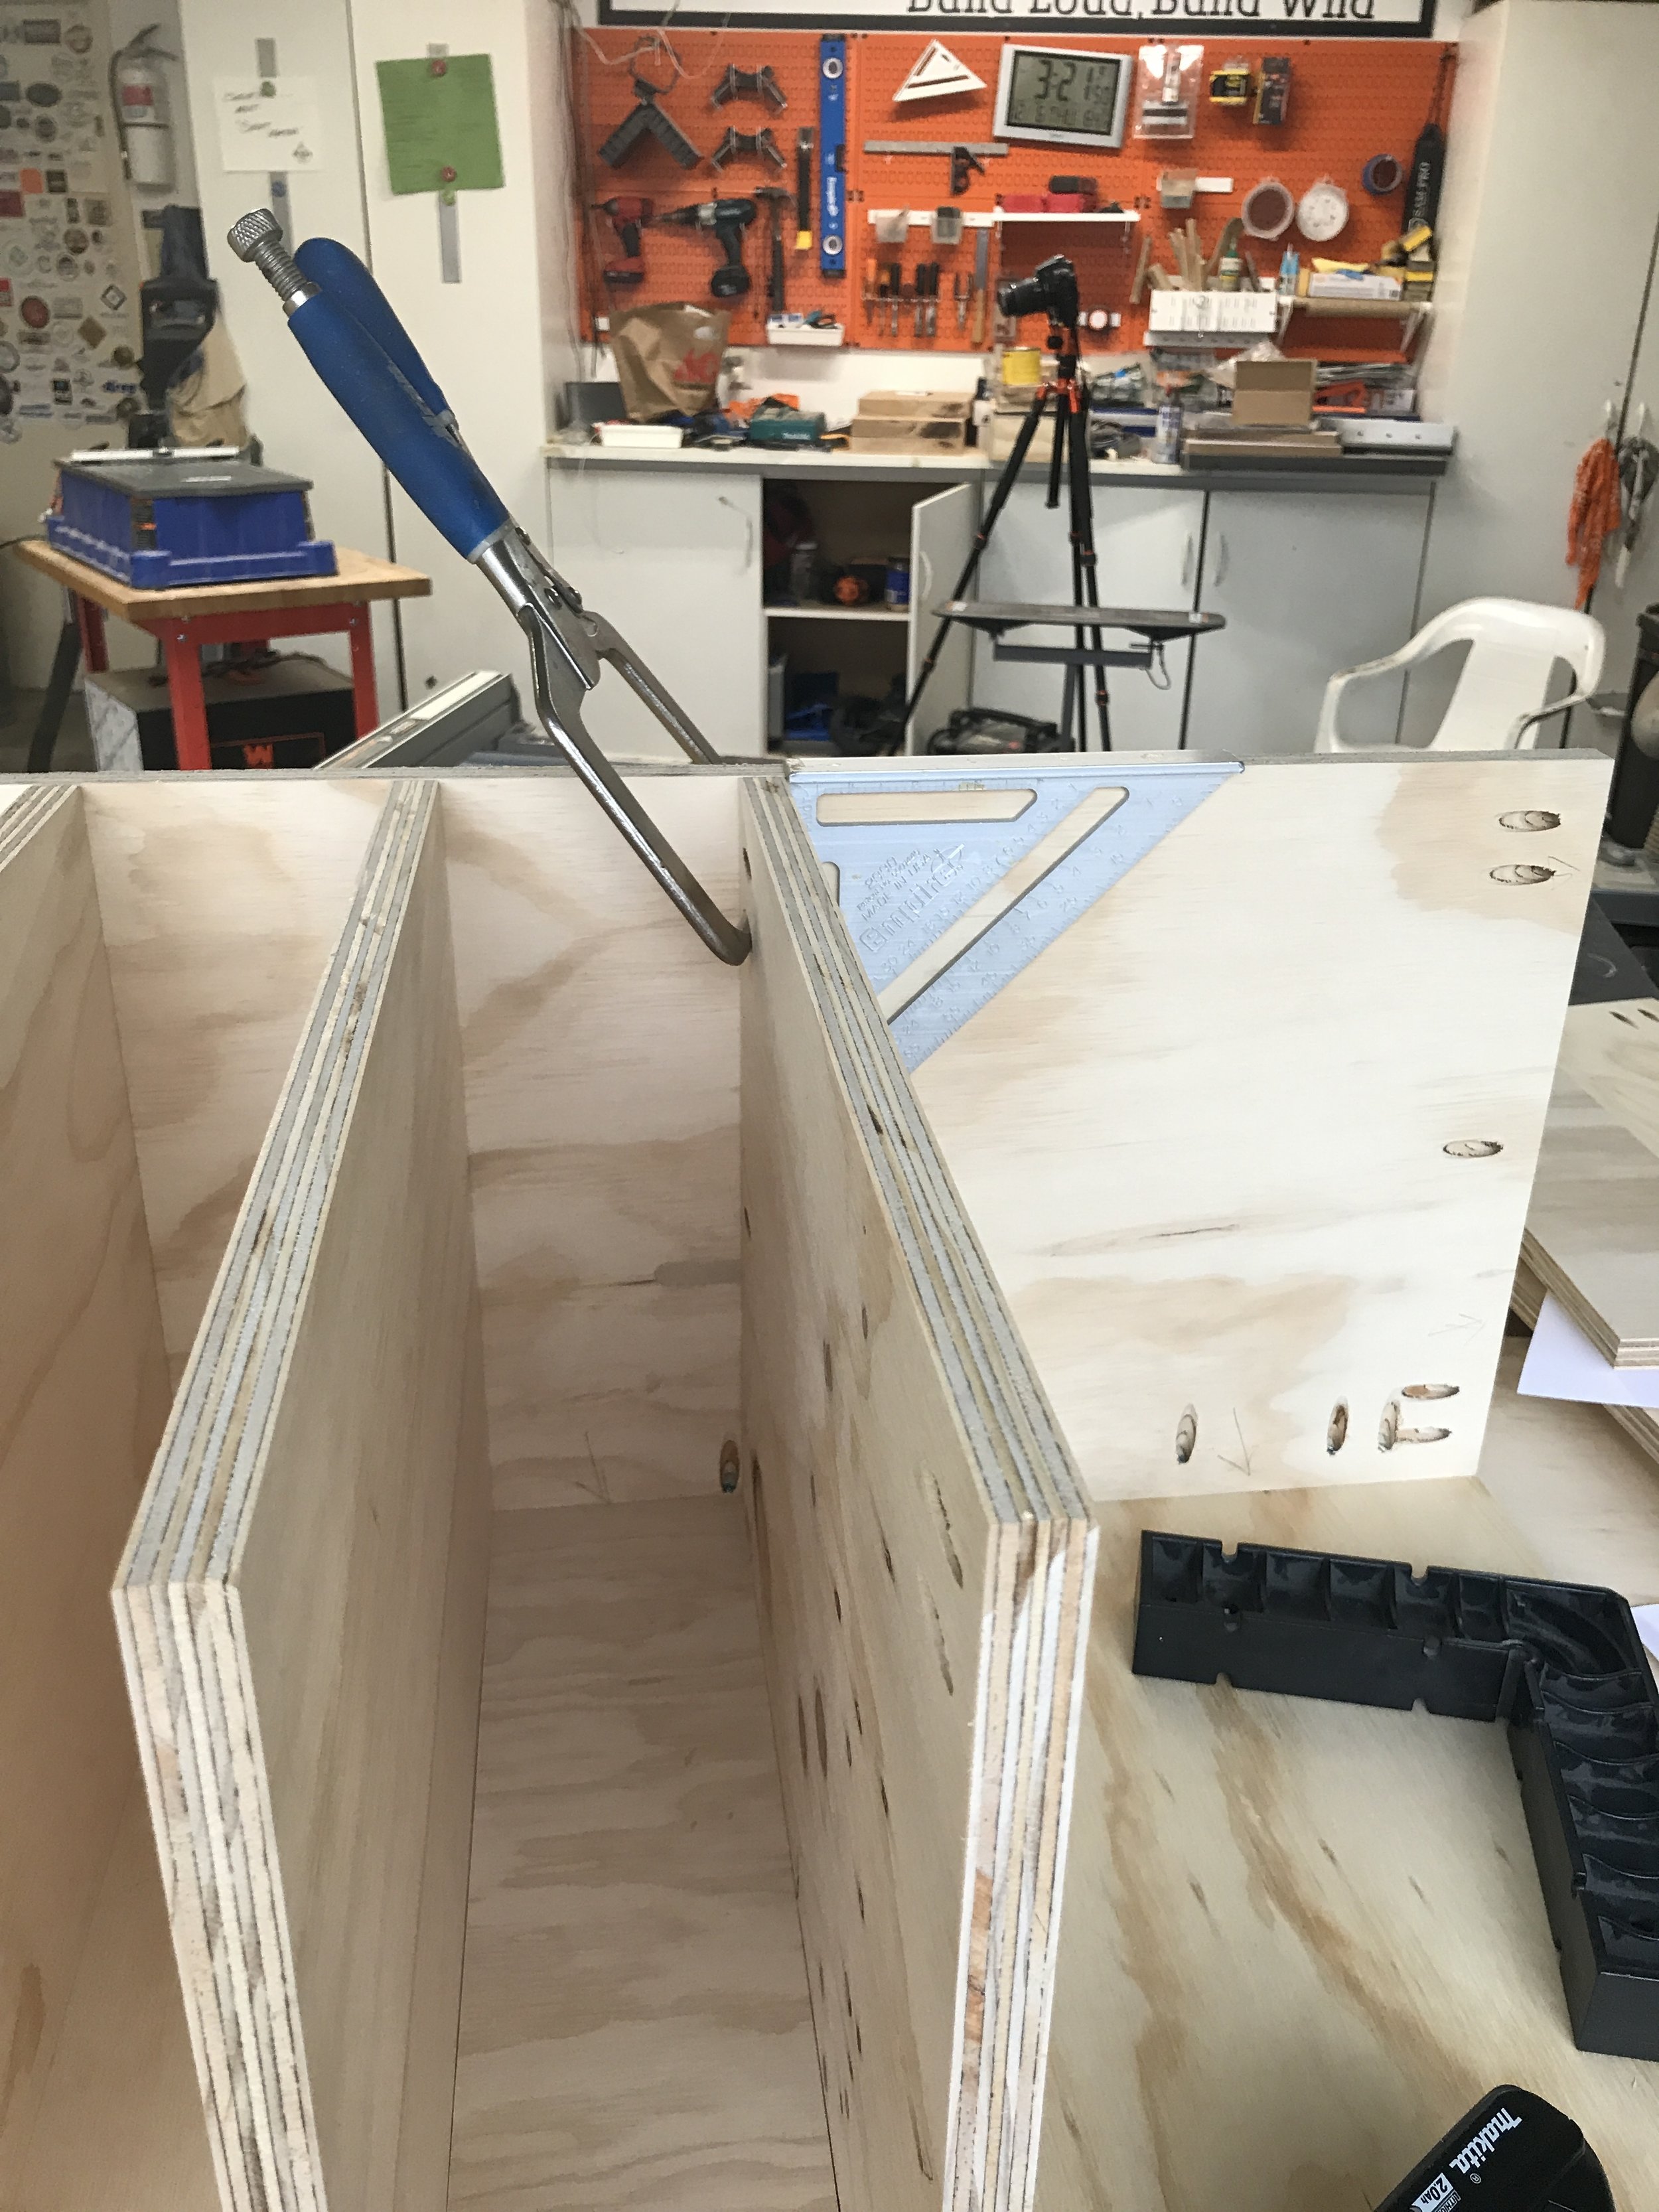
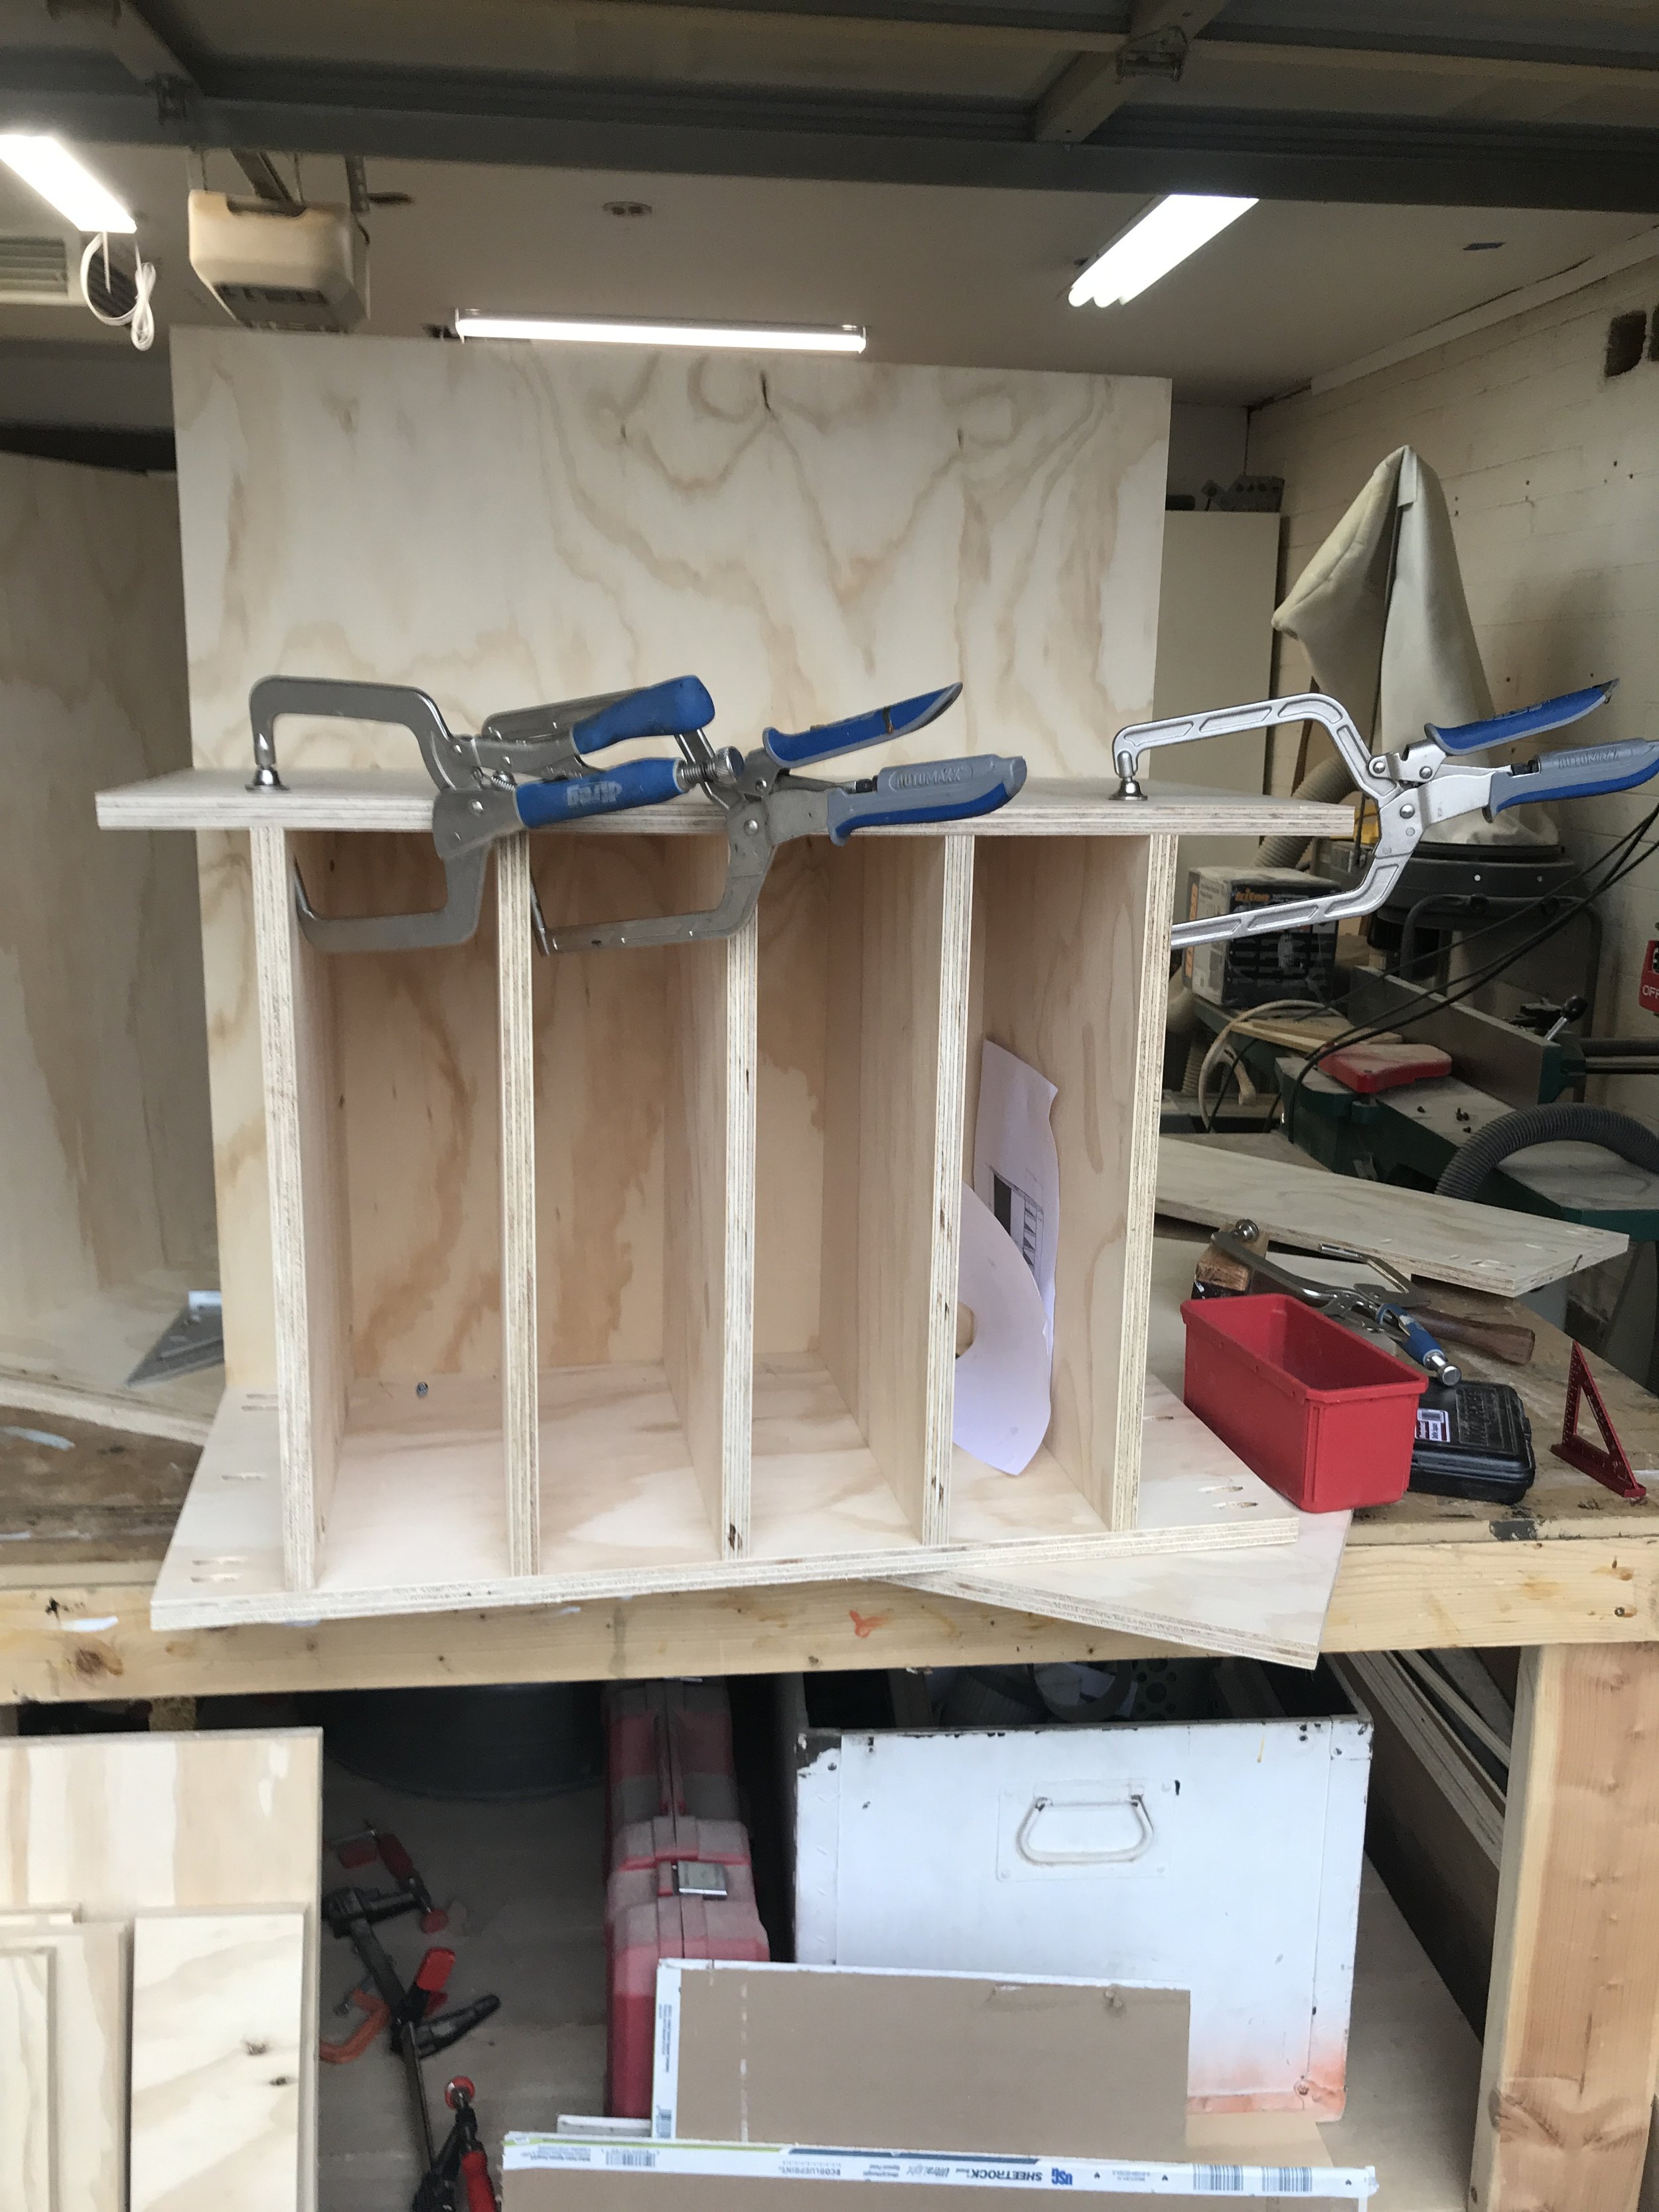

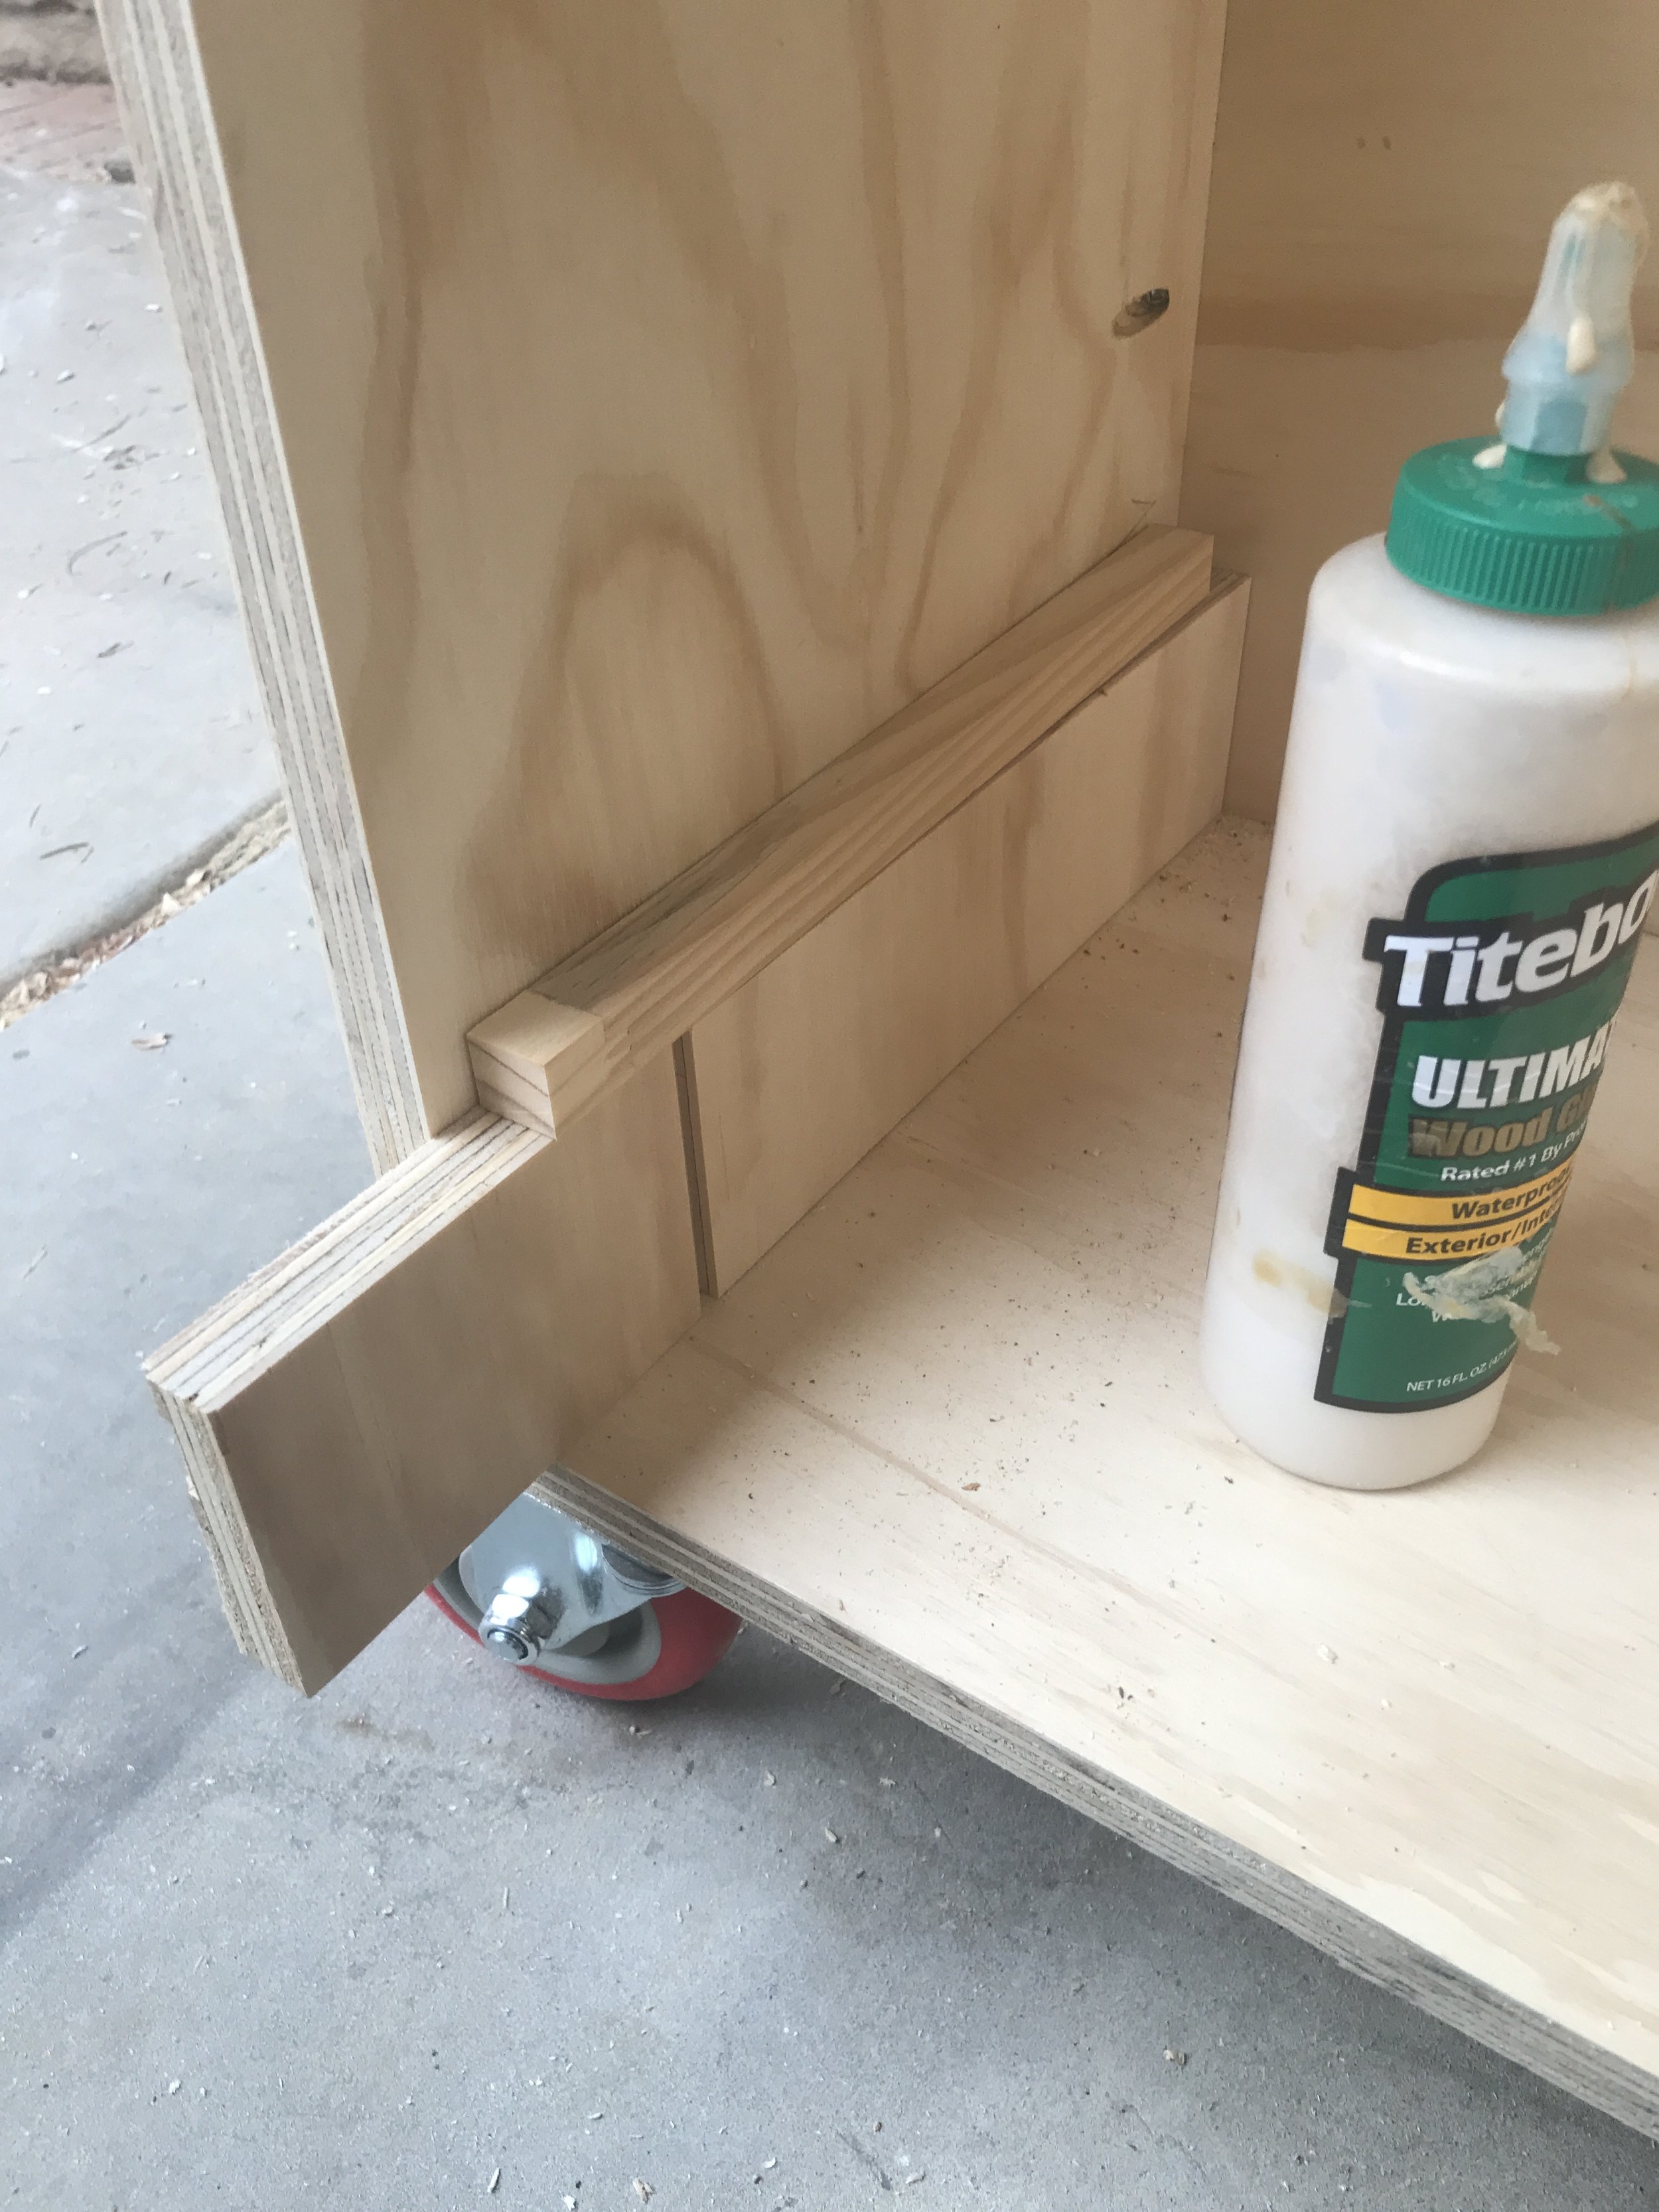
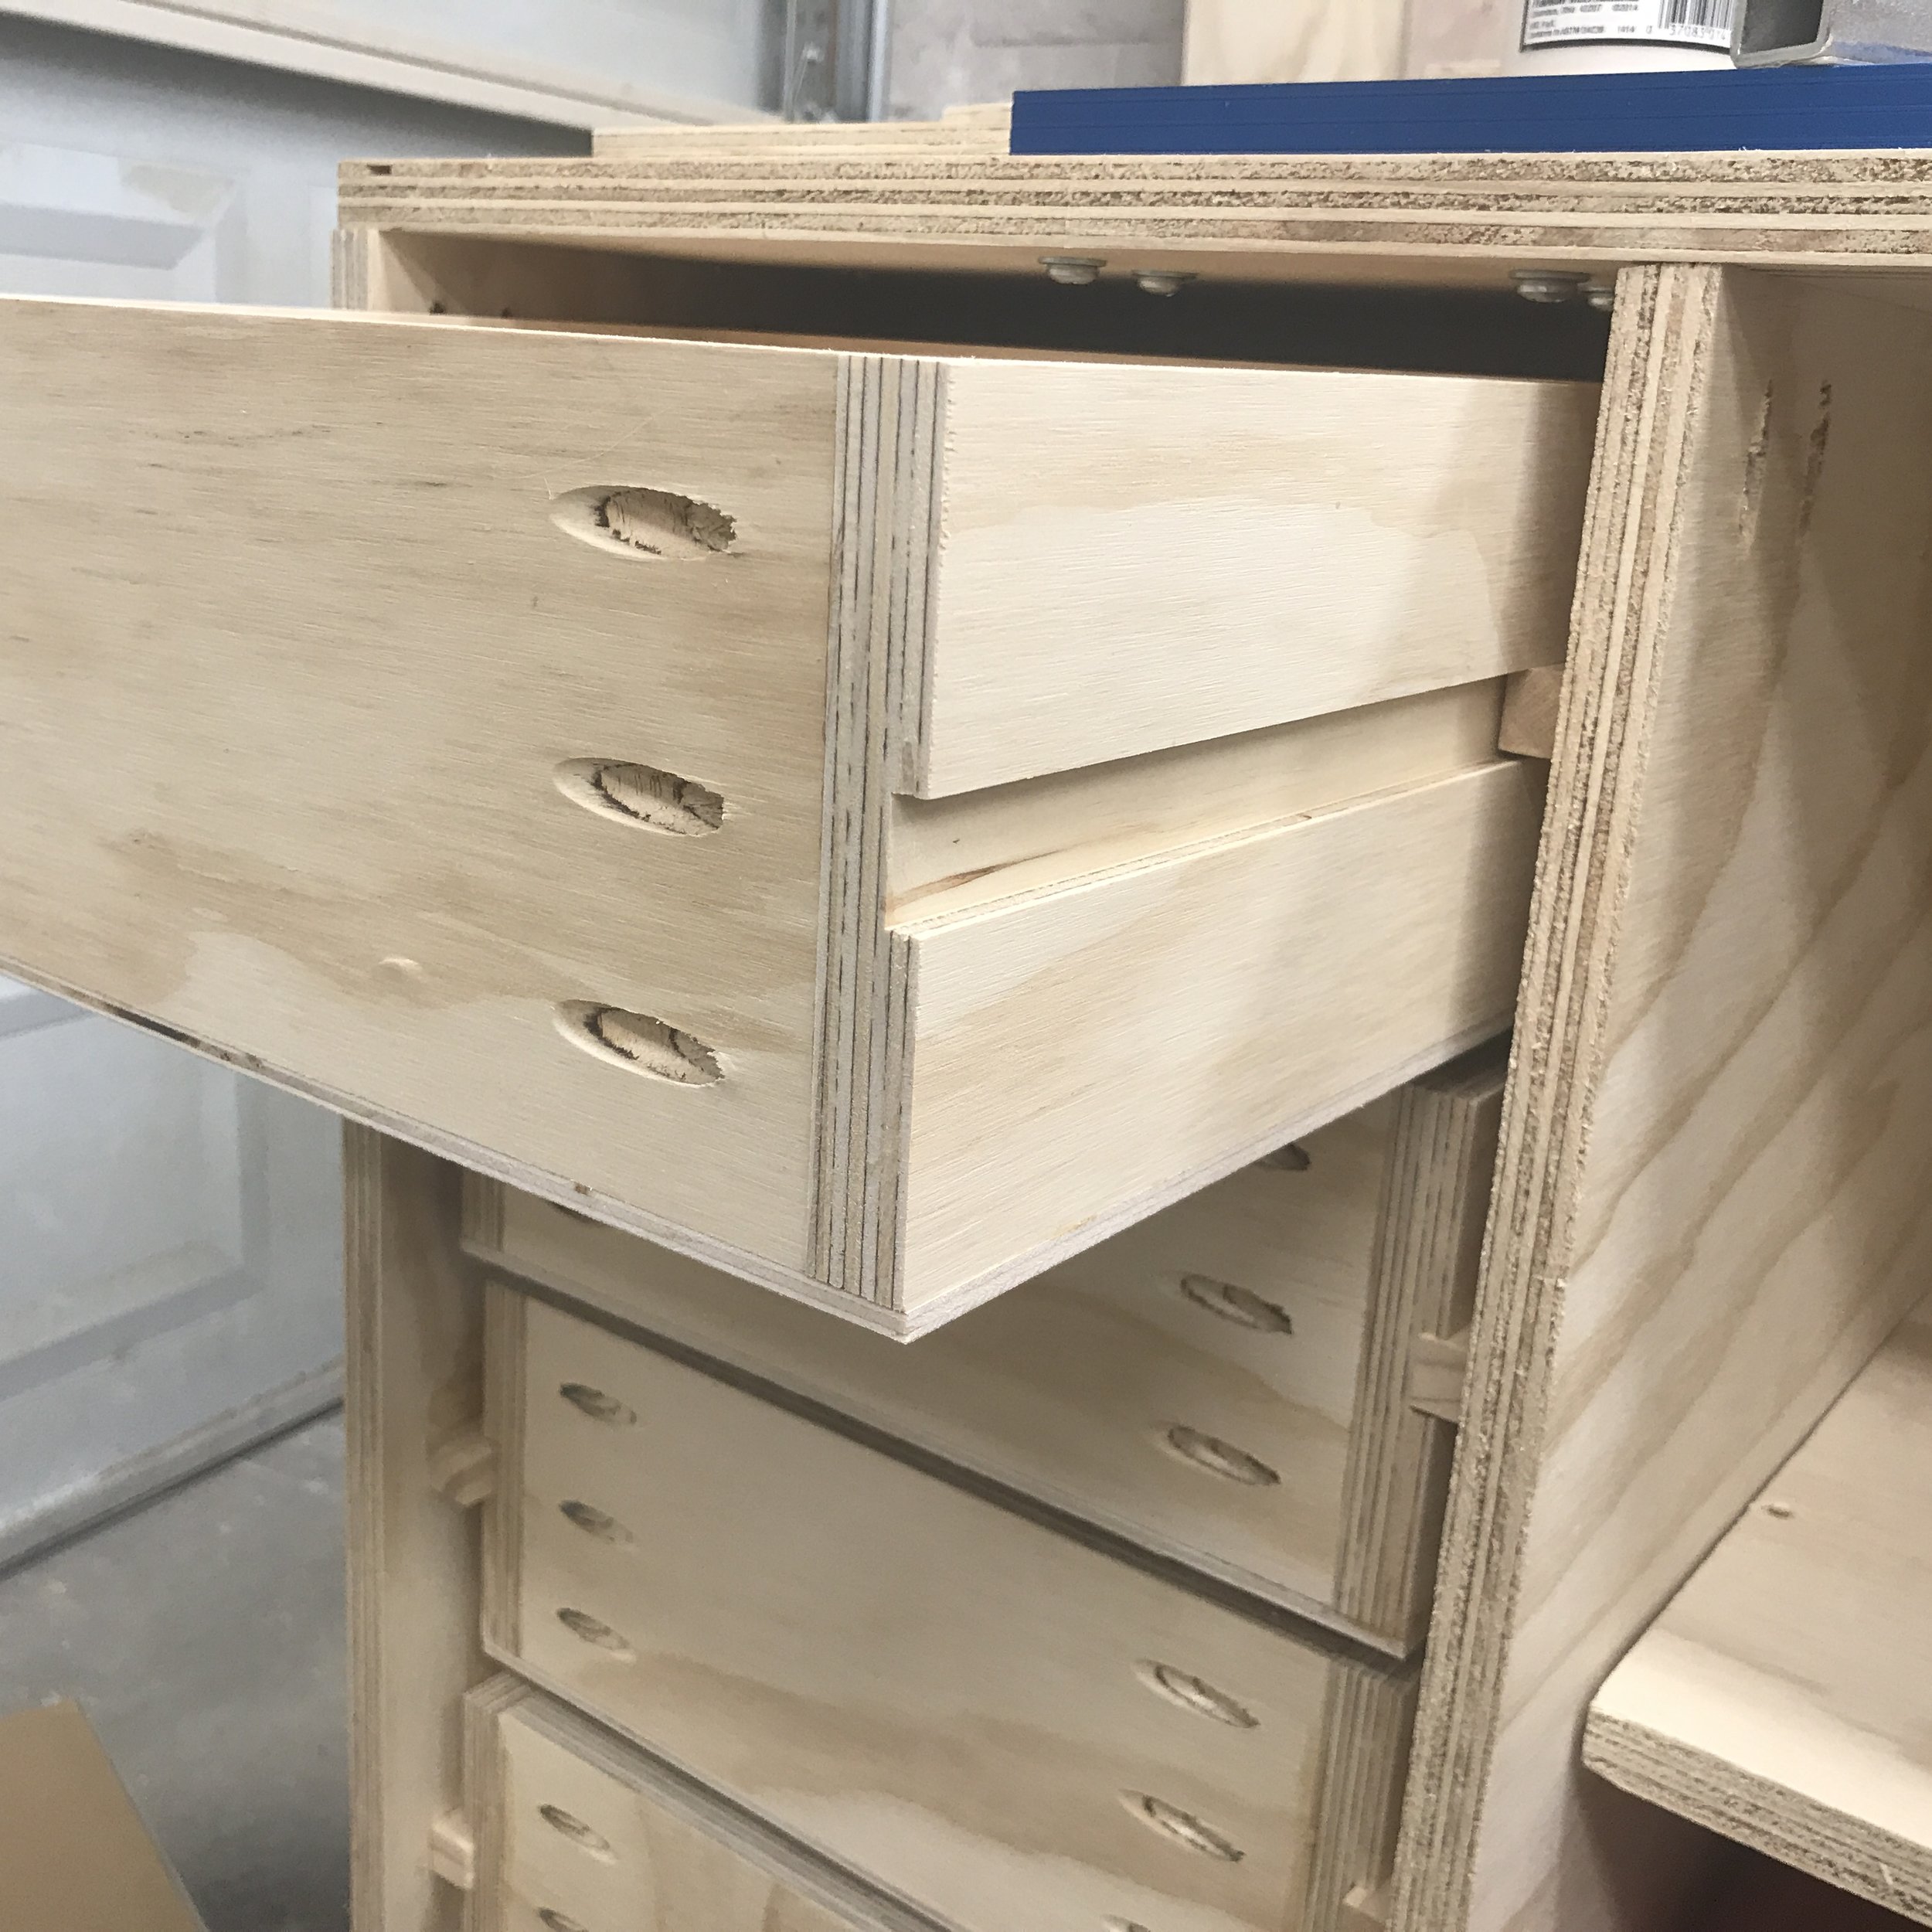
Once I had the shelves in the design I had this little awkward space on the side of it, so I decided to make some more drawer to fill the space. After making the ones with wooden drawer slides on Phase 2 - Air Cart I knew this would be a breeze. I actually have no idea what I am going to put in them yet, but it feel good to have options. My first thought was drill bits, router bits, and all other bits.

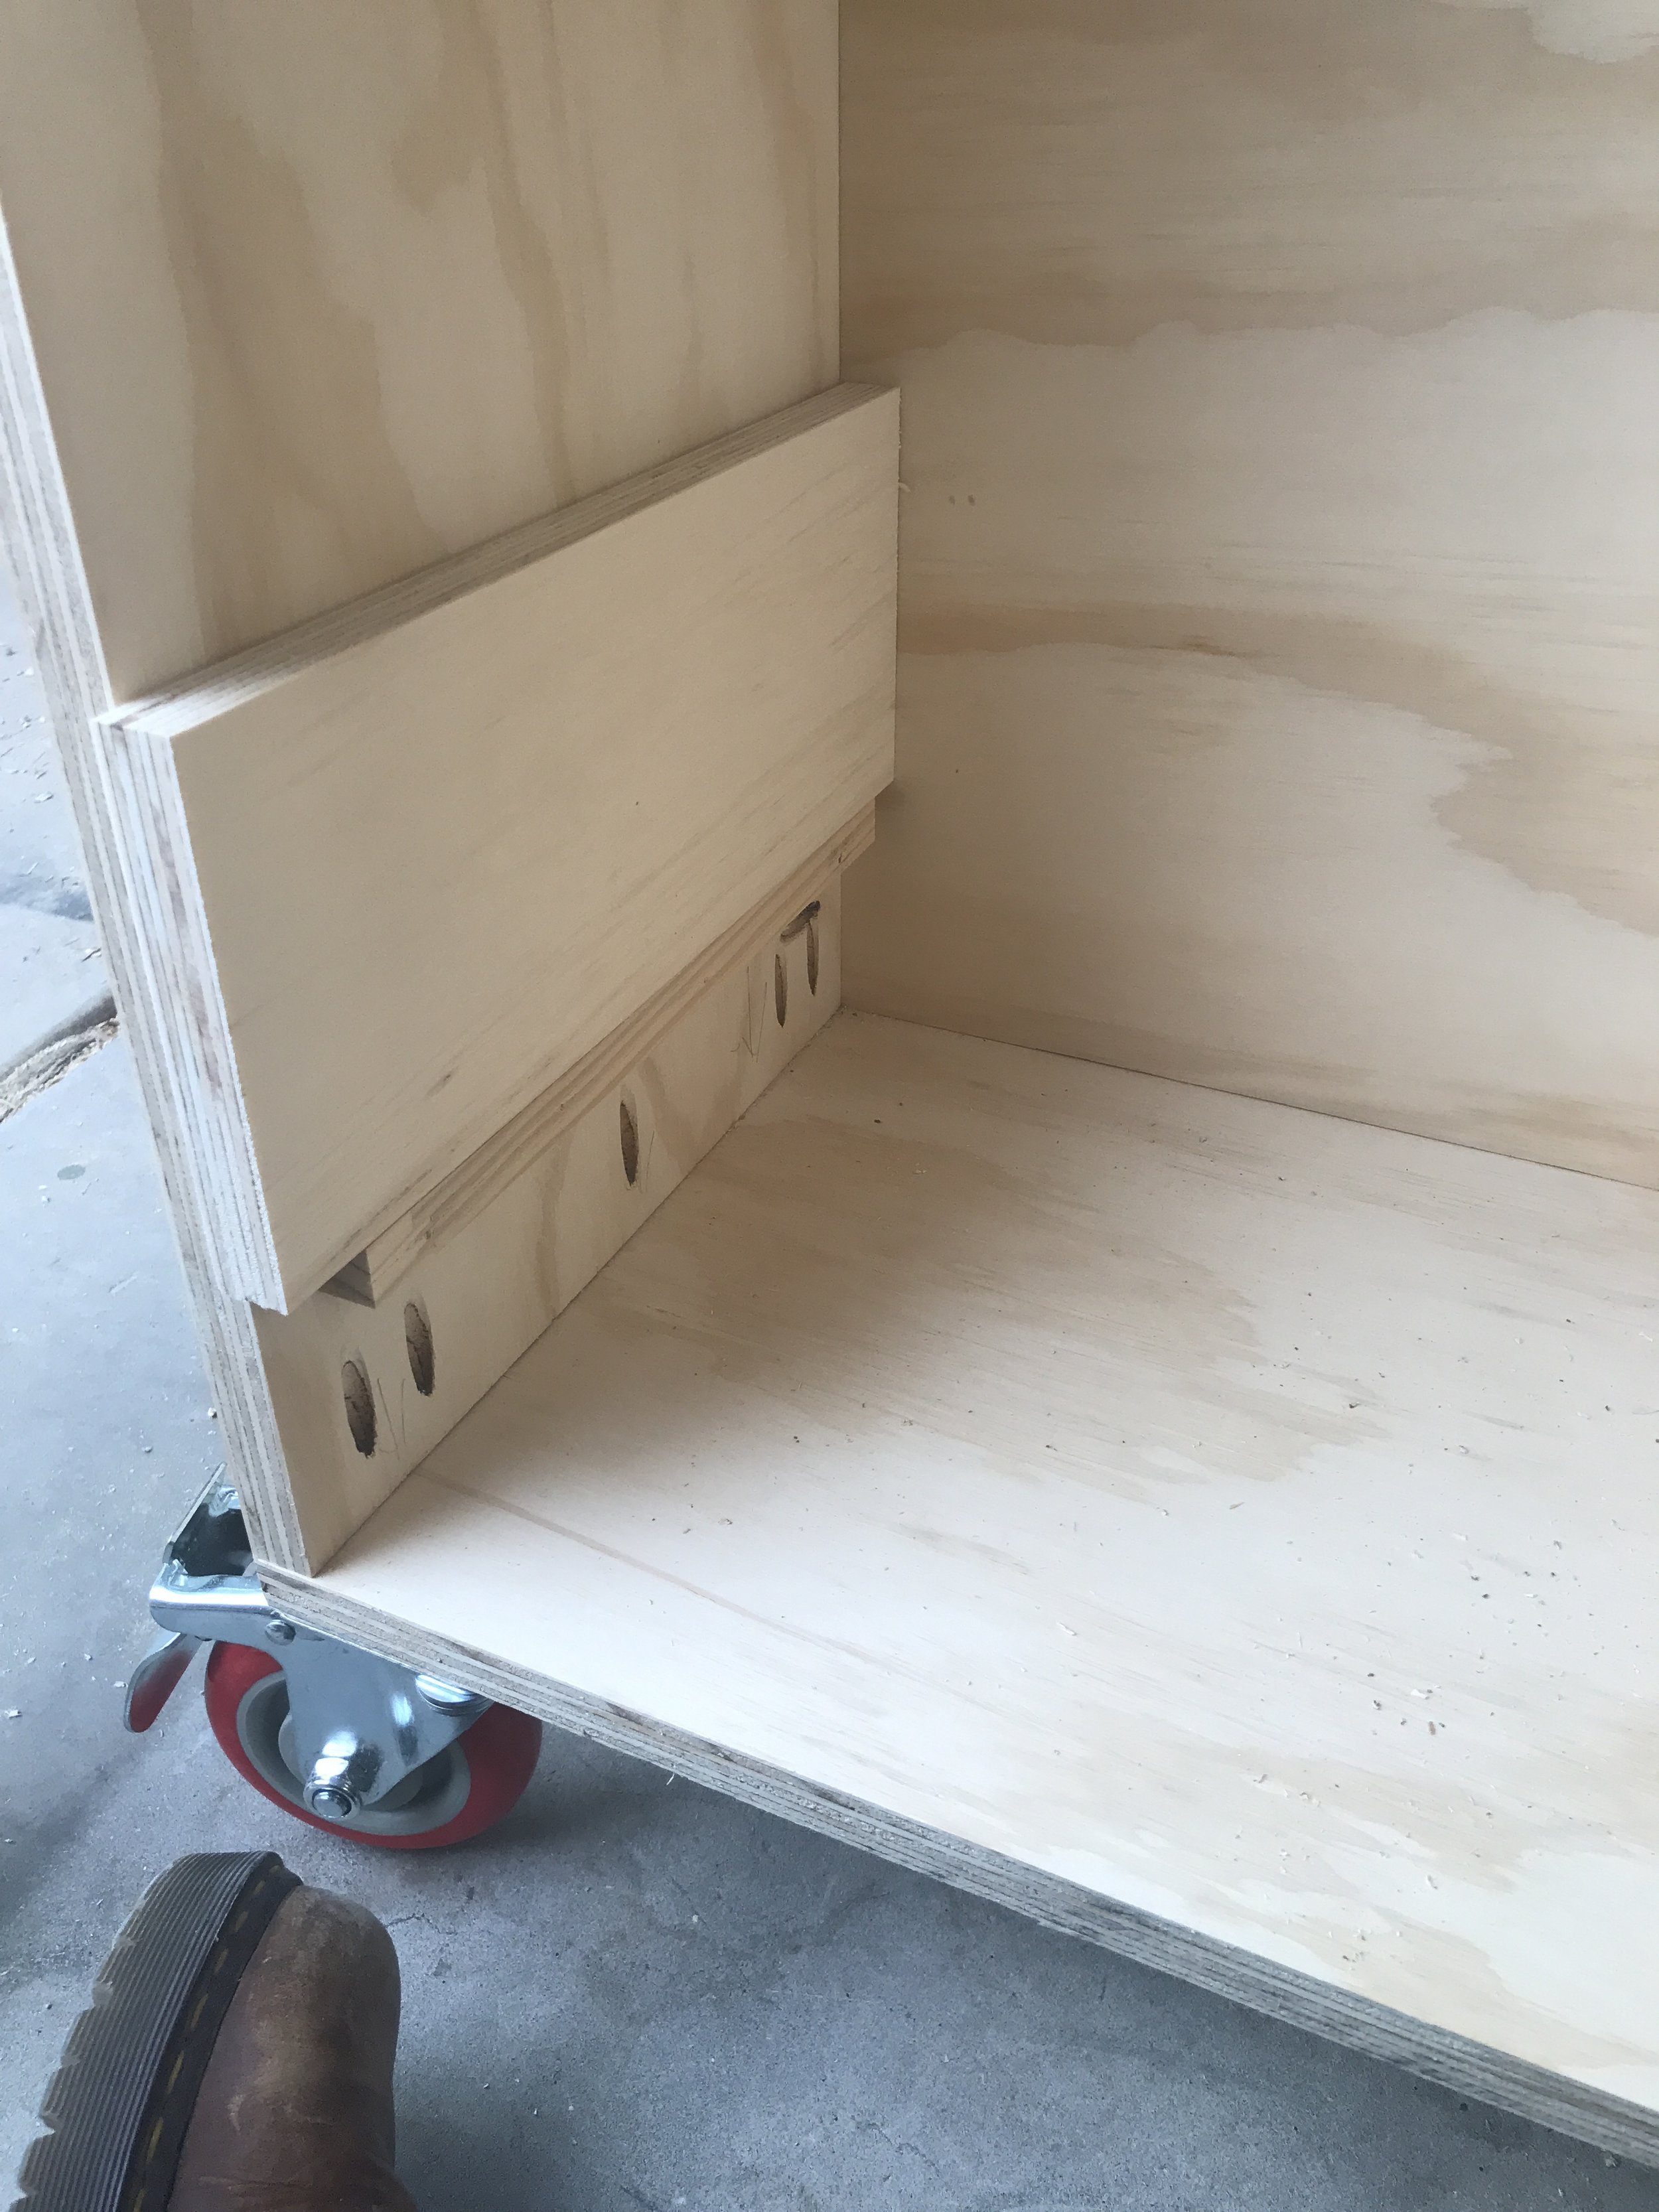
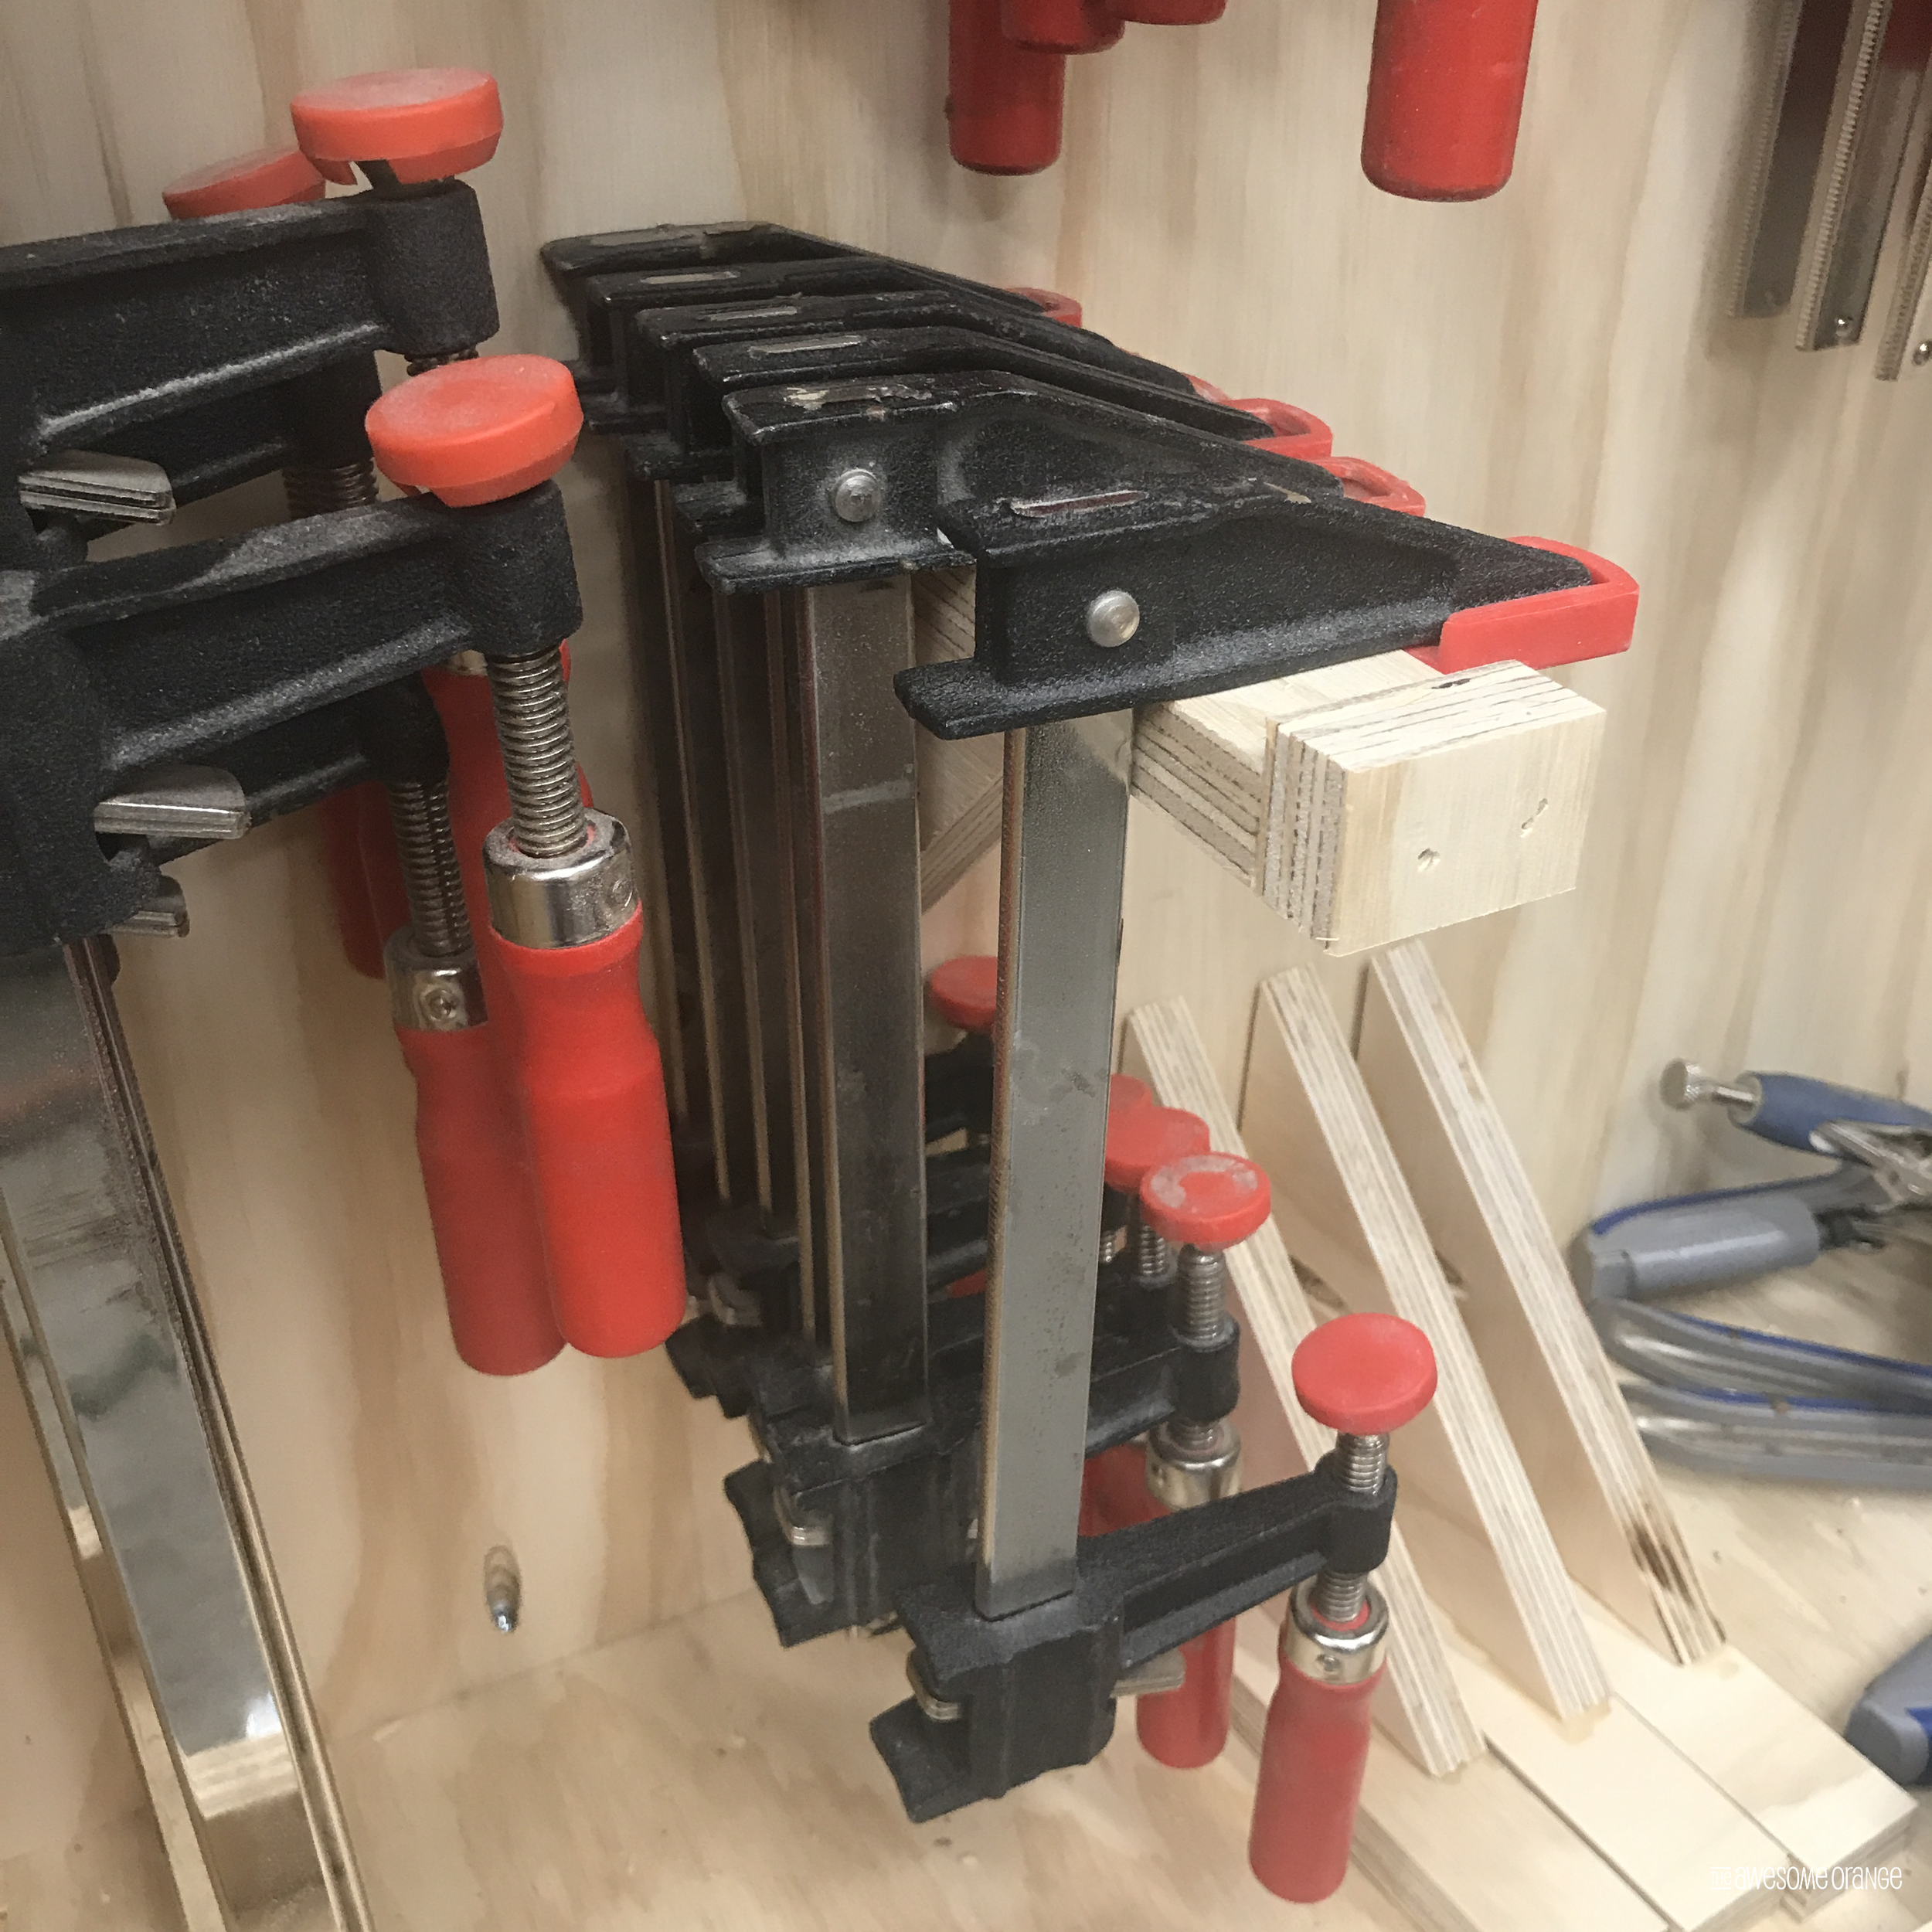
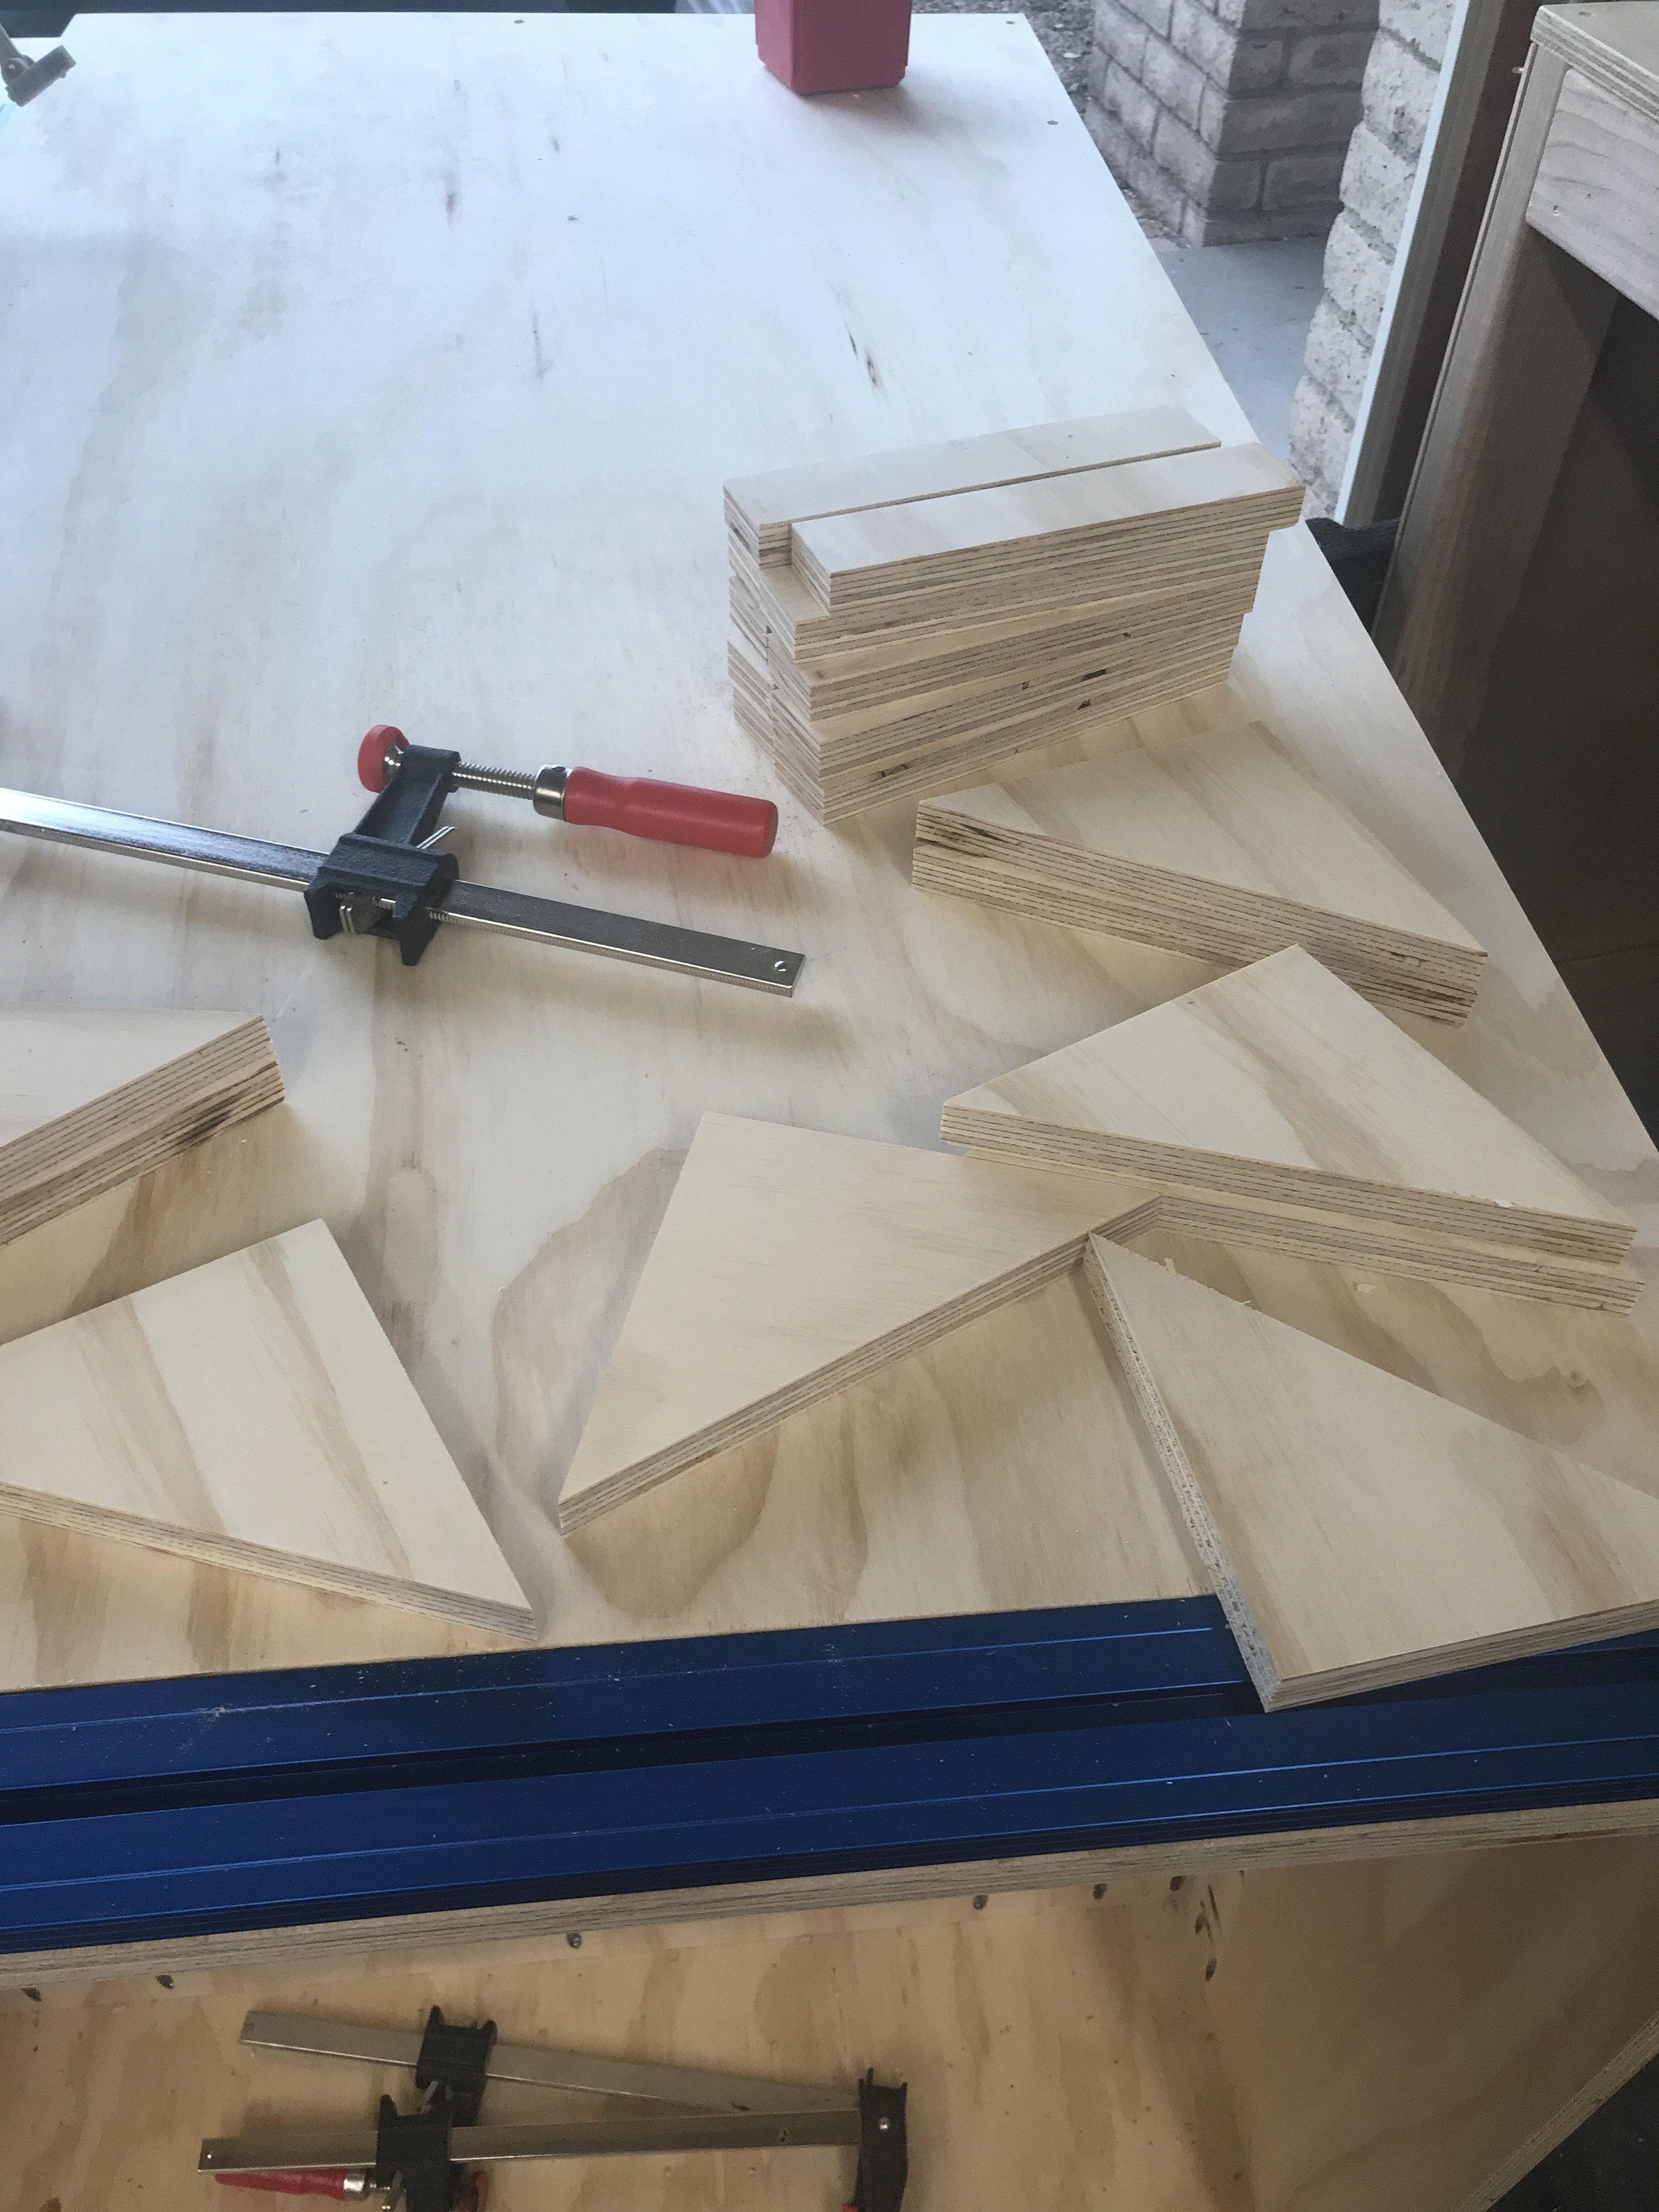
Then next on the list was to create a spot of my smaller clamps. I have them on my current outfeed/assembly table and l like how close they were, but they were a little too close. Every time I would lean up against the bench on that side I would hit the clamps and sometimes they would fall off… super annoying. So the clamps storage on the new assembly cart needed to be inset. And that is just what I did… I inset it about 10”. This allows me to store about 6-7 F-style clamps without anything coming out the side of the cart. I used simple wooden brackets to hang these… just a triangle with a flat top and a couple of pocket hole screws and they were super sturdy!
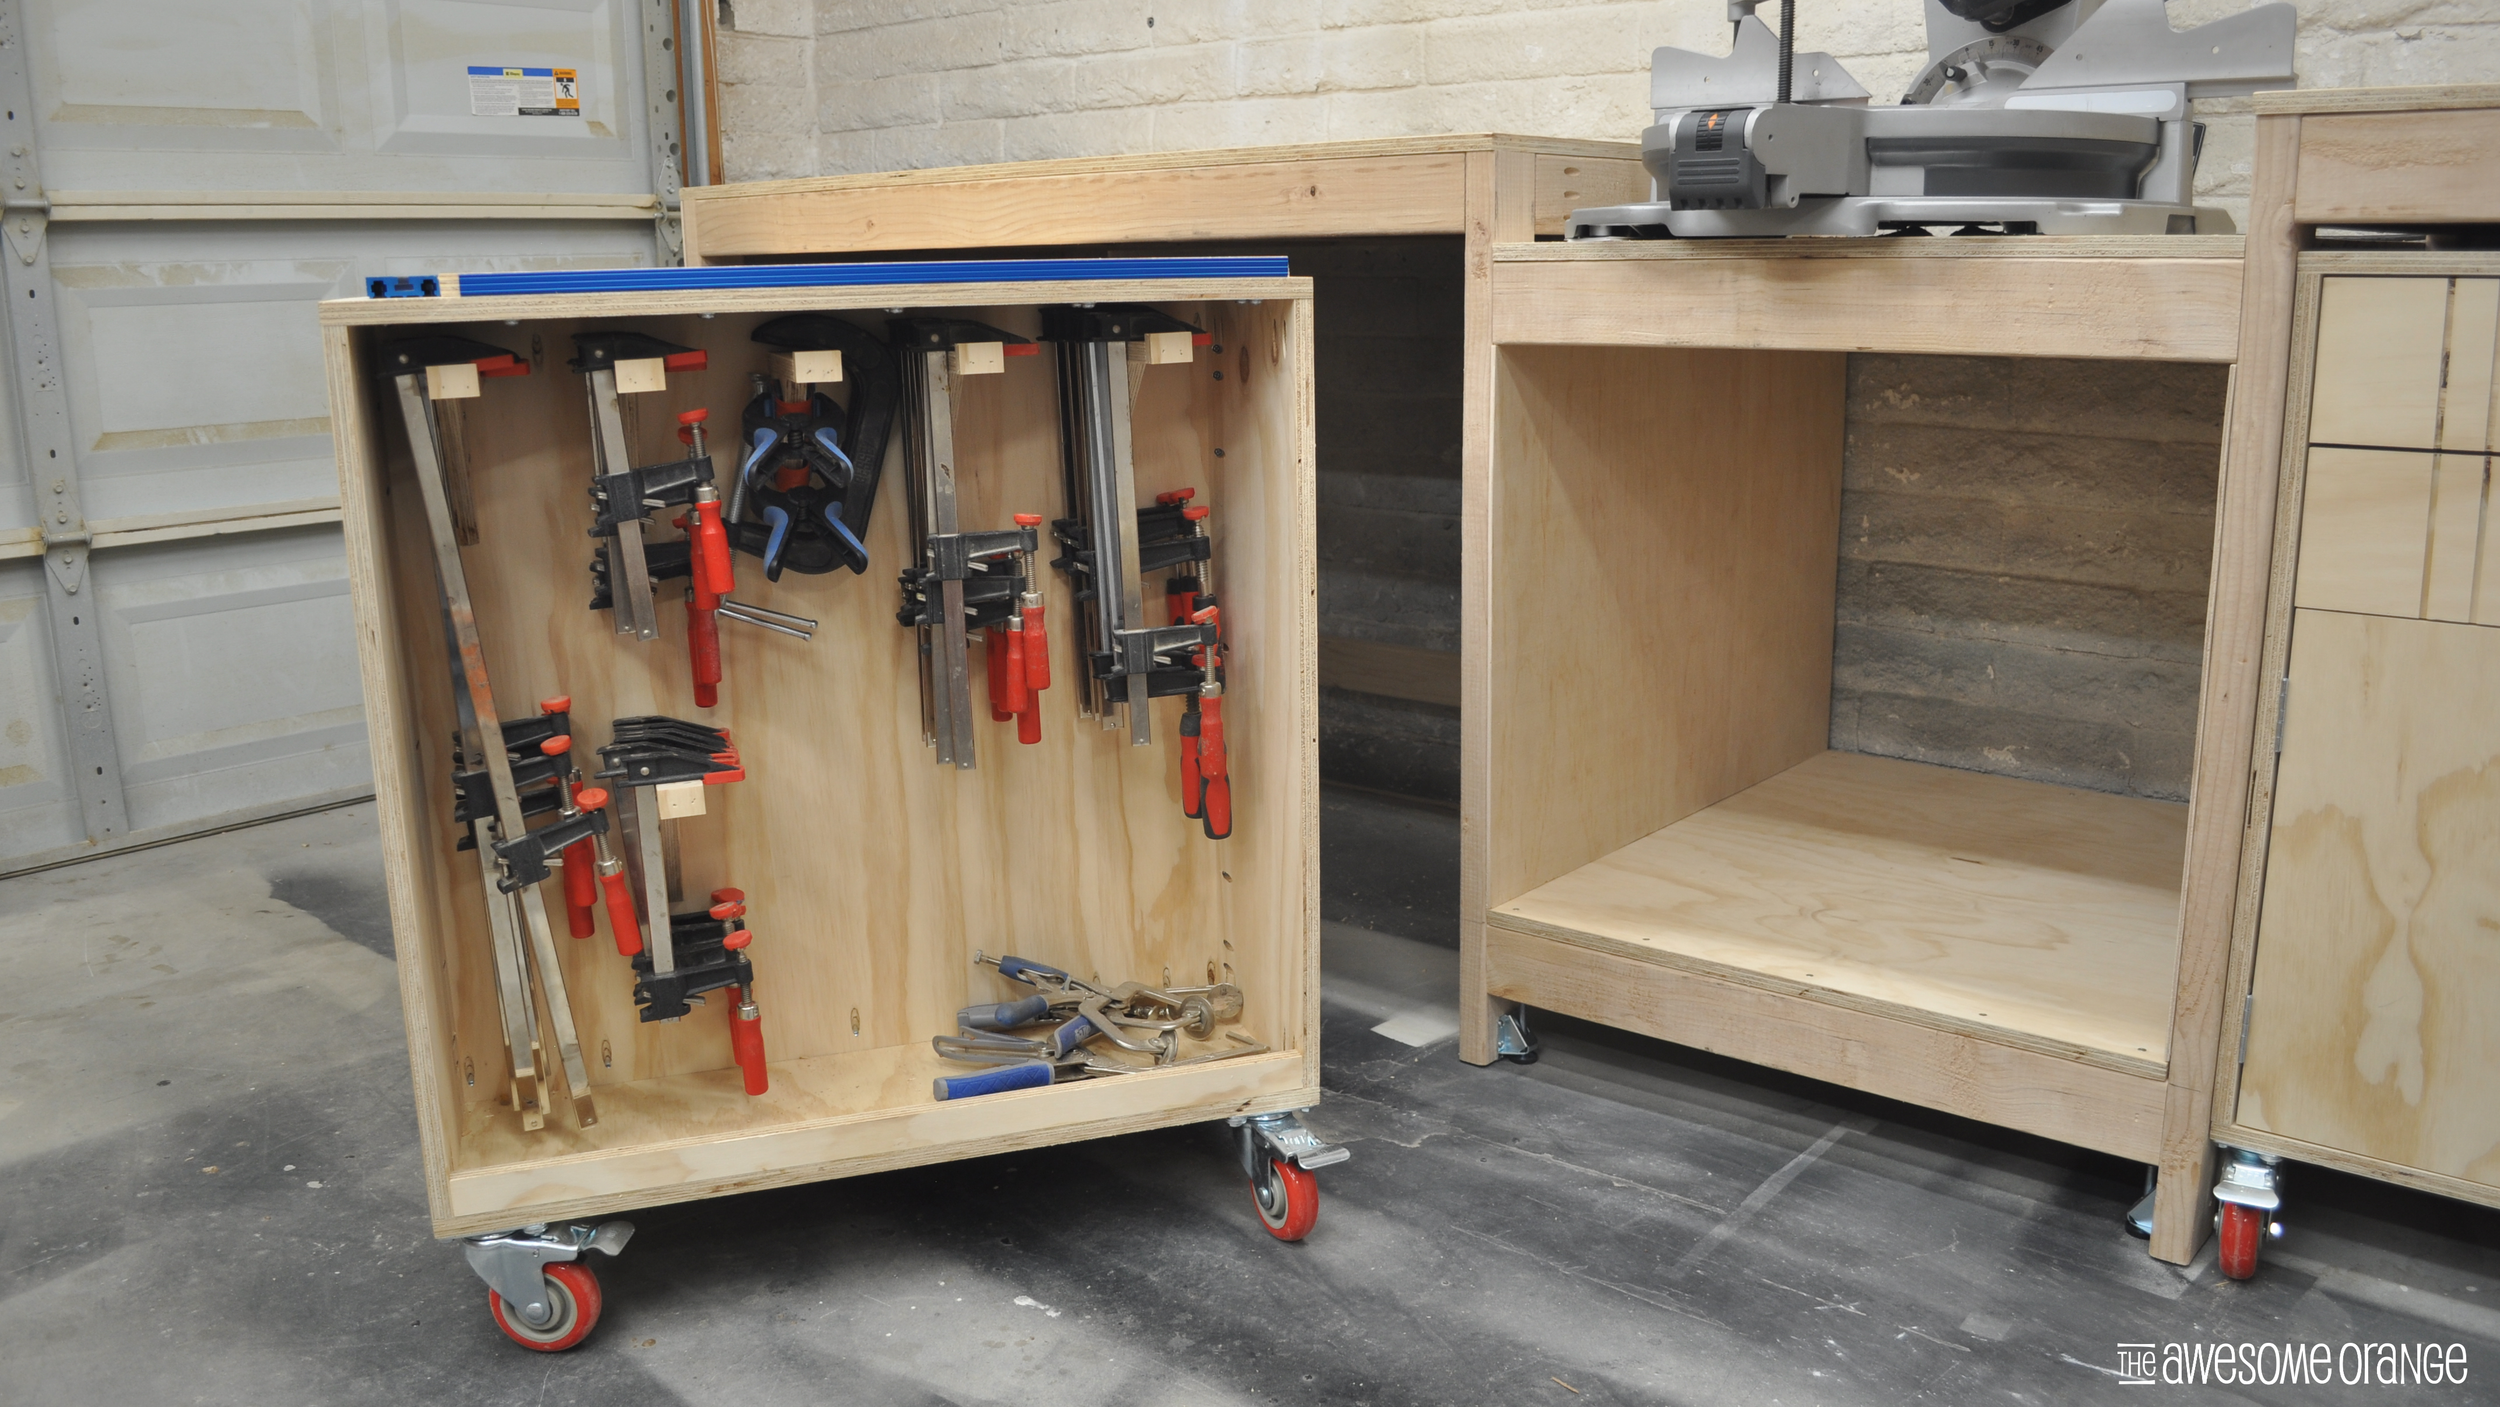

With all that done I had a big section in the middle… so I add a shelf with the idea that all the table saw jigs I am going to build in the future can go on it and be protected down there. Plus there is room for my circular saw and possibly sanders! But I hate looking at the tools and hate how dusty they get, so I added some sliding doors. I love putting these types of doors on furniture, so that why not on shop furniture? I have a full write up on how you do them here.
And lastly what I think is my favorite part of the cart is the Universal Clamp Trak Kit that I added to the top. It was super easy to install… here is a video from Instagram of me installing it. It ensures that you always have a way to clamp your piece to during assembly.

Oh and did I mention that Phase 3 - Assembly Cart is the same height as Phase 2 - Air Cart so you can push them together to make a larger work surface. Plus, they both are the perfect height to use as an out feed table for my table saw. Absolutely love all the different ways I can use the pieces depending on the project that I am working on.
This post is sponsored by Kreg Tool & BuildSomething.com. All opinions, pictures, design, and published plans are my own!
Okay so here is the link to the plans so that you can start building Phase 3 - Assembly Cart for your very own Modular Miter Station.
Happy Building and have an AWESOME day!
Sadie Mae


