

DIY Outdoor Bench with Back
It’s that time of year again where I start thinking of all outdoors projects! You see spring is my favorite time of year and I like to spend as much time outside, so having that right bench to hang out on is very important. The bench not only has to look good, but be comfortable and durable to with stand the AZ sun and monsoon season. Well, I teamed up with my friends over at Simpson Strong-Tie and I think I came up with the perfect bench that is easy on the eyes, easy to build, comfortable and is gonna last a long time no matter where you live.
The post is sponsored by Simpson Strong-Tie. All opinions are my own. This post does contain affiliate links. For more information on my affiliate programs, see my disclosures page.
Like I said this is a super simple build and only requires a couple of tools:
This would be a great beginner project or even a great Saturday project with the kiddos!
For the materials, I used all 2x fir materials. You can go with pressured treated wood for some added resistance for outdoors, but since I was going to completely paint mine I didn’t think that the extra expense was worth it.

Gonna turn this into an AWESOME bench!
But what is more important than the material is the screws that are going to be holding everything together. You want to make sure that you are using screws that are treated and rated for exterior use. If not, your screws will rust and break making the life of your project a short one. I used Simpson Strong-Tie SDWS Framing Screws. I have used these screws on several other projects and love them!

Materials and plans… I think I’m ready to go!
A few other projects I have used these screws on, click pic to check out each project.
These screws have a SawTooth™ point that ensures fast starts, reduces installation torque and eliminates the need for predrilling in most applications… who has time for predrilling. Plus, its specially designed head countersinks easily to provide a clean, flush finish. They also have Quik Guard® coating which provides protection in indoor and outdoor applications. And lastly they take a T25 bit which is so much better than a Phillips head and reduces head stripping. So now that we know what screws we are using… let’s get started building!
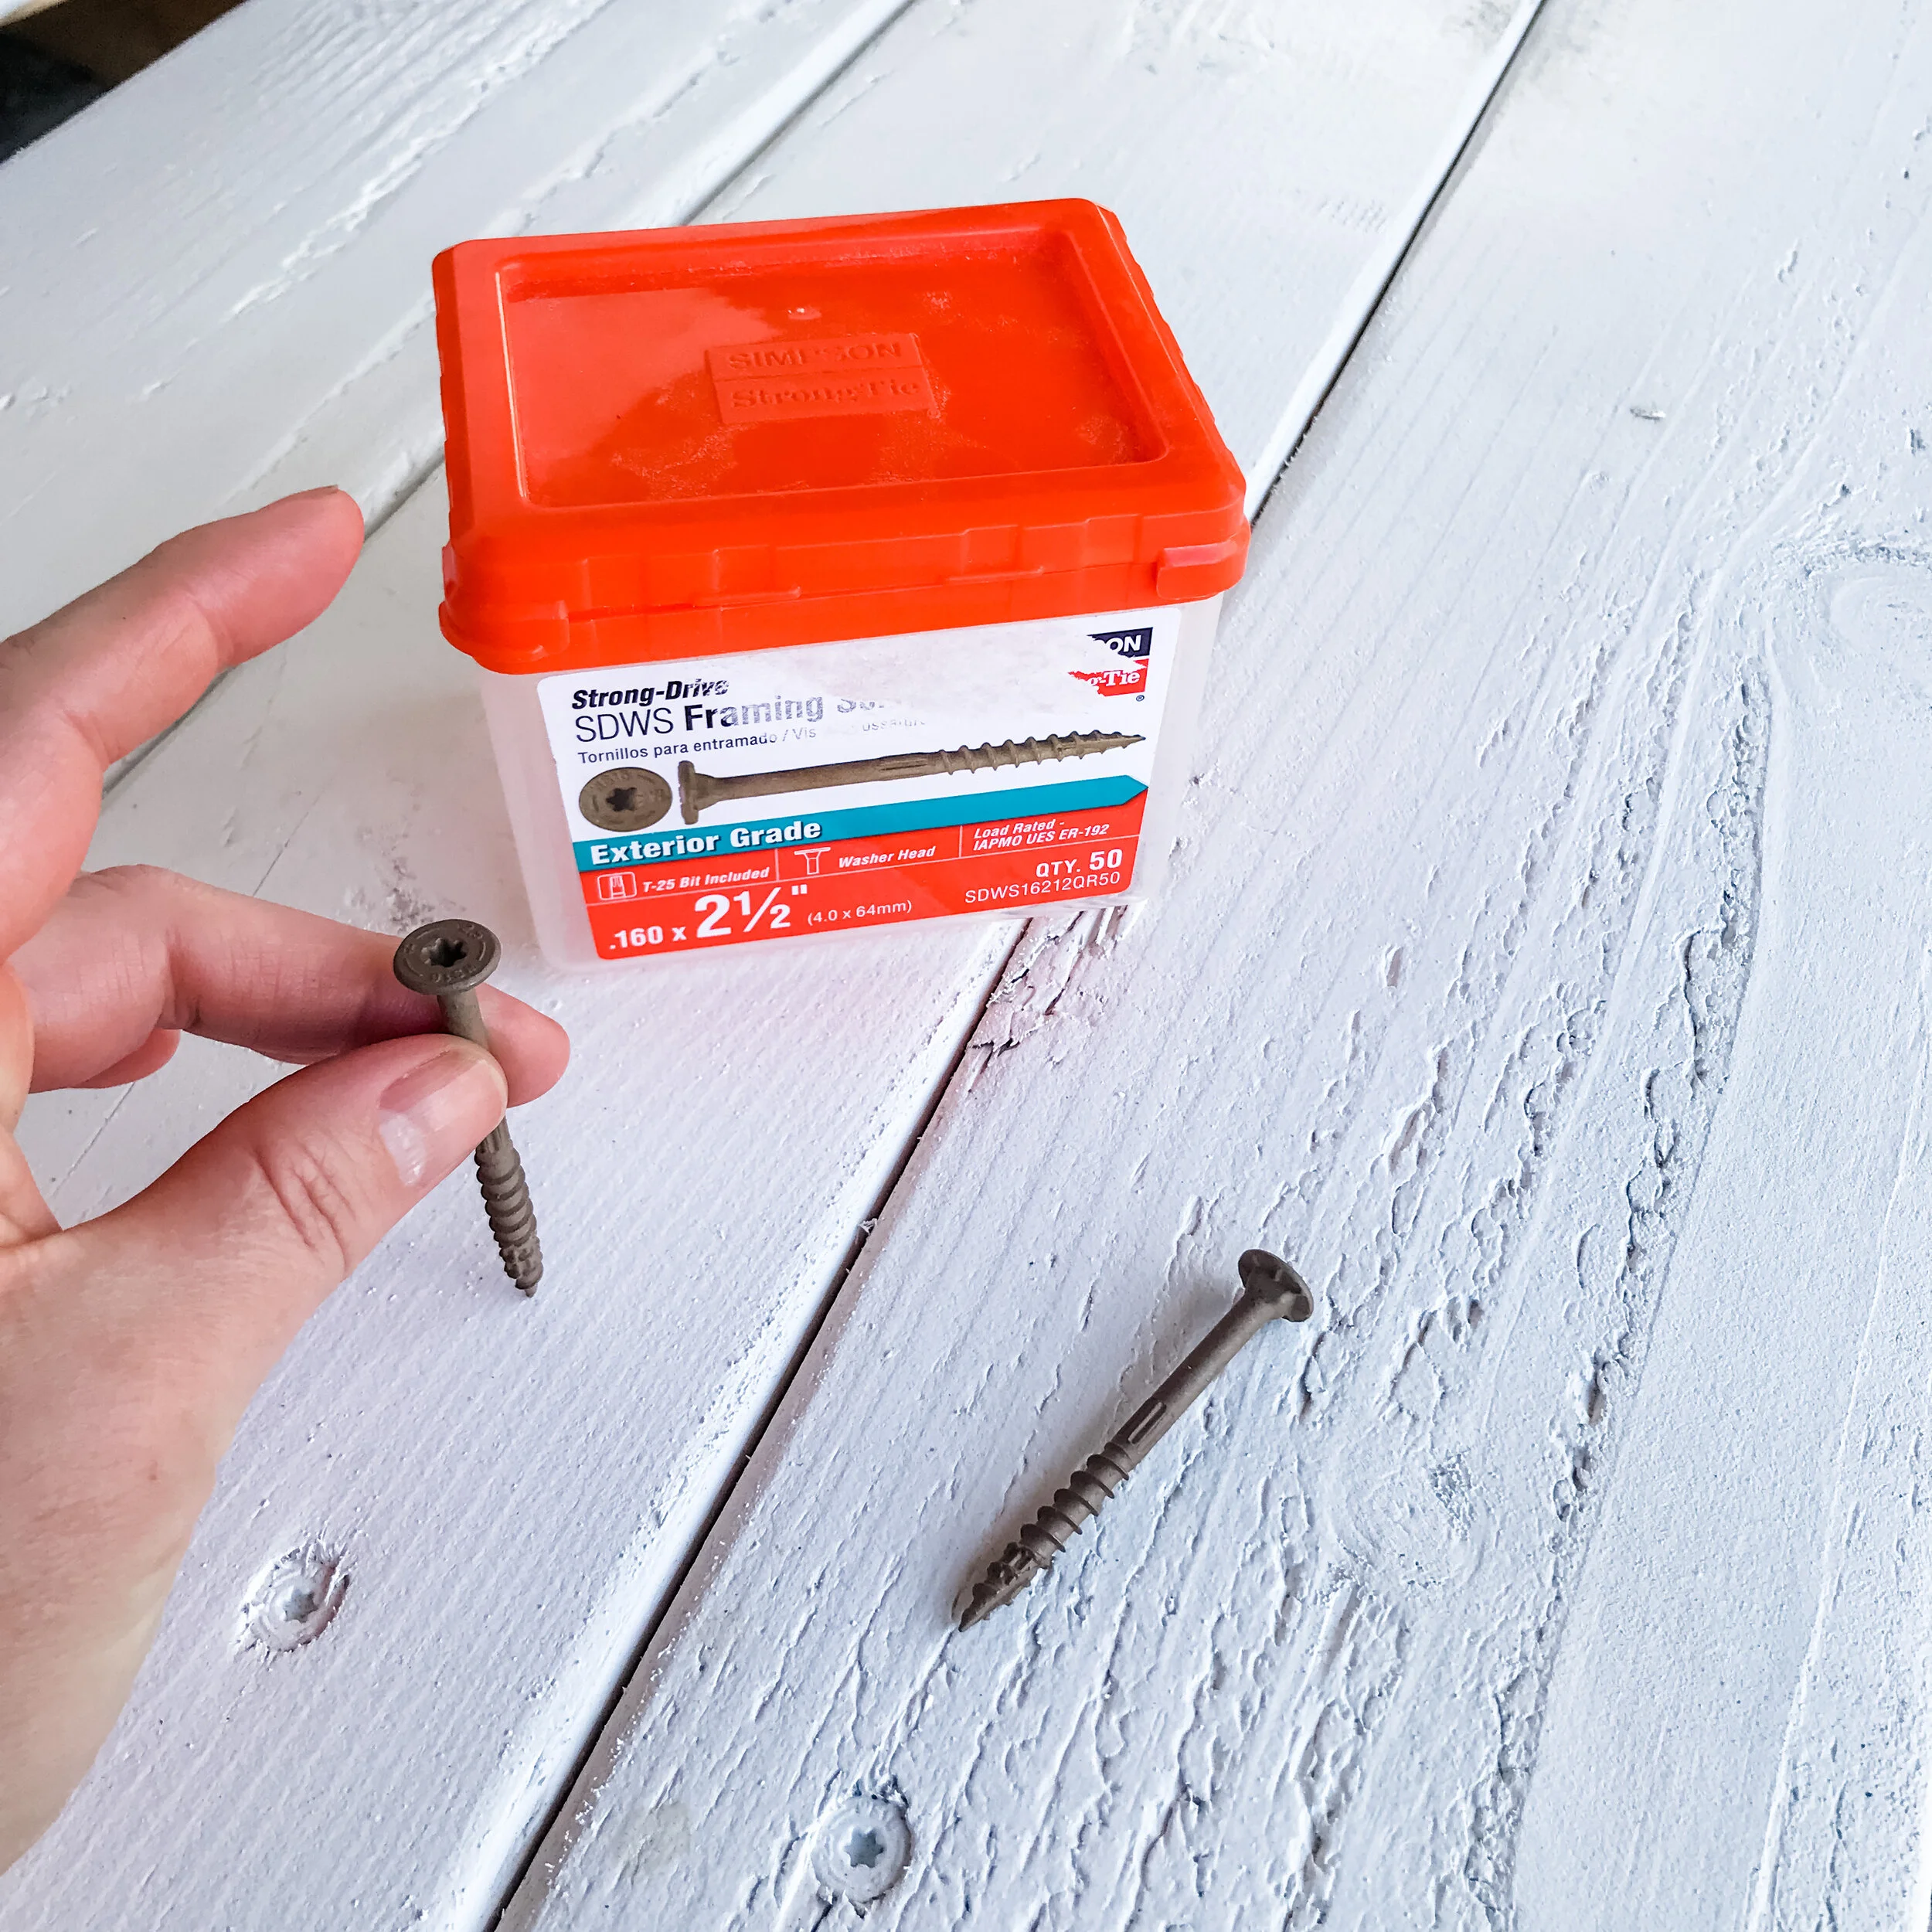
Simpson Strong-Tie SDWS16212QR50
Watch me build this bench on my YouTube Channel, and while you are there make sure you are subscribed for more AWESOME Build!
Step #1:
Cut all pieces per cut list.
If you want to build a bench the same size as mine you can get complete build plans that include a cut list, a material list, a tool list and detailed step-by-step instructions here… DIY Outdoor Bench with Back.

It’s assemble time!
Step #2:
Assemble legs.
I really love these clamps from Pony | Jorgensen. They are better than a second set of hands because they don’t move as you are screwing the pieces together. Plus, they have a cut out that allows to to screw in two screws without removing or moving the clamp… super handy!

This corner clamp is AWESOME!
Step #3:
Attach back support board.
This board sets the width between the legs and will add additional support to the back rest in the next step. I clamped this board in place using these clamps. They are great because you only need one hand to close them. Once you have those set I did check for square, so that the legs are parallel, before attaching them.

Always check for square!
Step #4:
Cut desired angle on back rest supports and attach to base.
I cut a 15 degree angle on my and think that worked well as a comfortable angle for seating. Also, when attaching to base it is best to install on a level surface and measure to make sure you are installing them at the same spot on both sides of the bench.

Love these clamps to hold everything in place, they make assembly so easy and smooth!
Step #5:
Attached seat boards.
I included a 1” overhang on each side and didn’t space the boards. My boards were pretty wet, so they will shrink a little and make a natural gap for drainage. If your boards are dry, I recommend adding a 1/8”-1/4” spacer in between each board for drainage.

This multi-mark tool is so great for checking overhangs.
Step #6:
Attach back support boards.
I installed the top board first with a 1” overhang on the back rest support boards. I also used those EZ-Clamps as a second set of hands to hold everything in place as I attached the two pieces. I would also note, I laid my level on the seat boards and matched the back support boards up to that to make sure they were flush… or on the same plain. I hope that makes sense.


These screw drive so easily and countersink beautifully!
Step #7:
Sand.
My boards were in pretty rough shape, but I kinda liked that about them. So, I ended up just sanded everywhere I could touch with 120 grit. I made sure to round over the sharp edges and corners. I love how rough the finish looks but how smooth it feels.
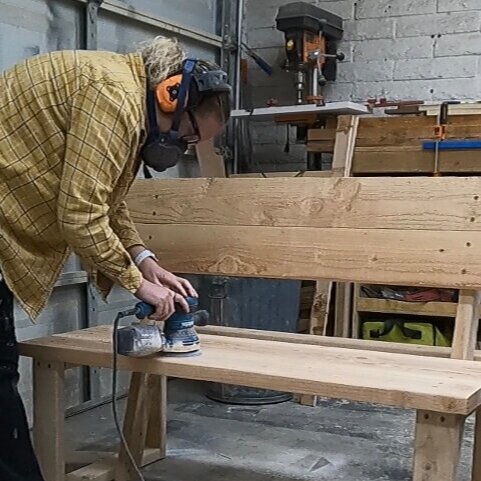
Sanding sucks…. but luckily there wasn’t that much of it for this project.

Ta-Da…. AWESOME bench!
Step #8:
Finish.
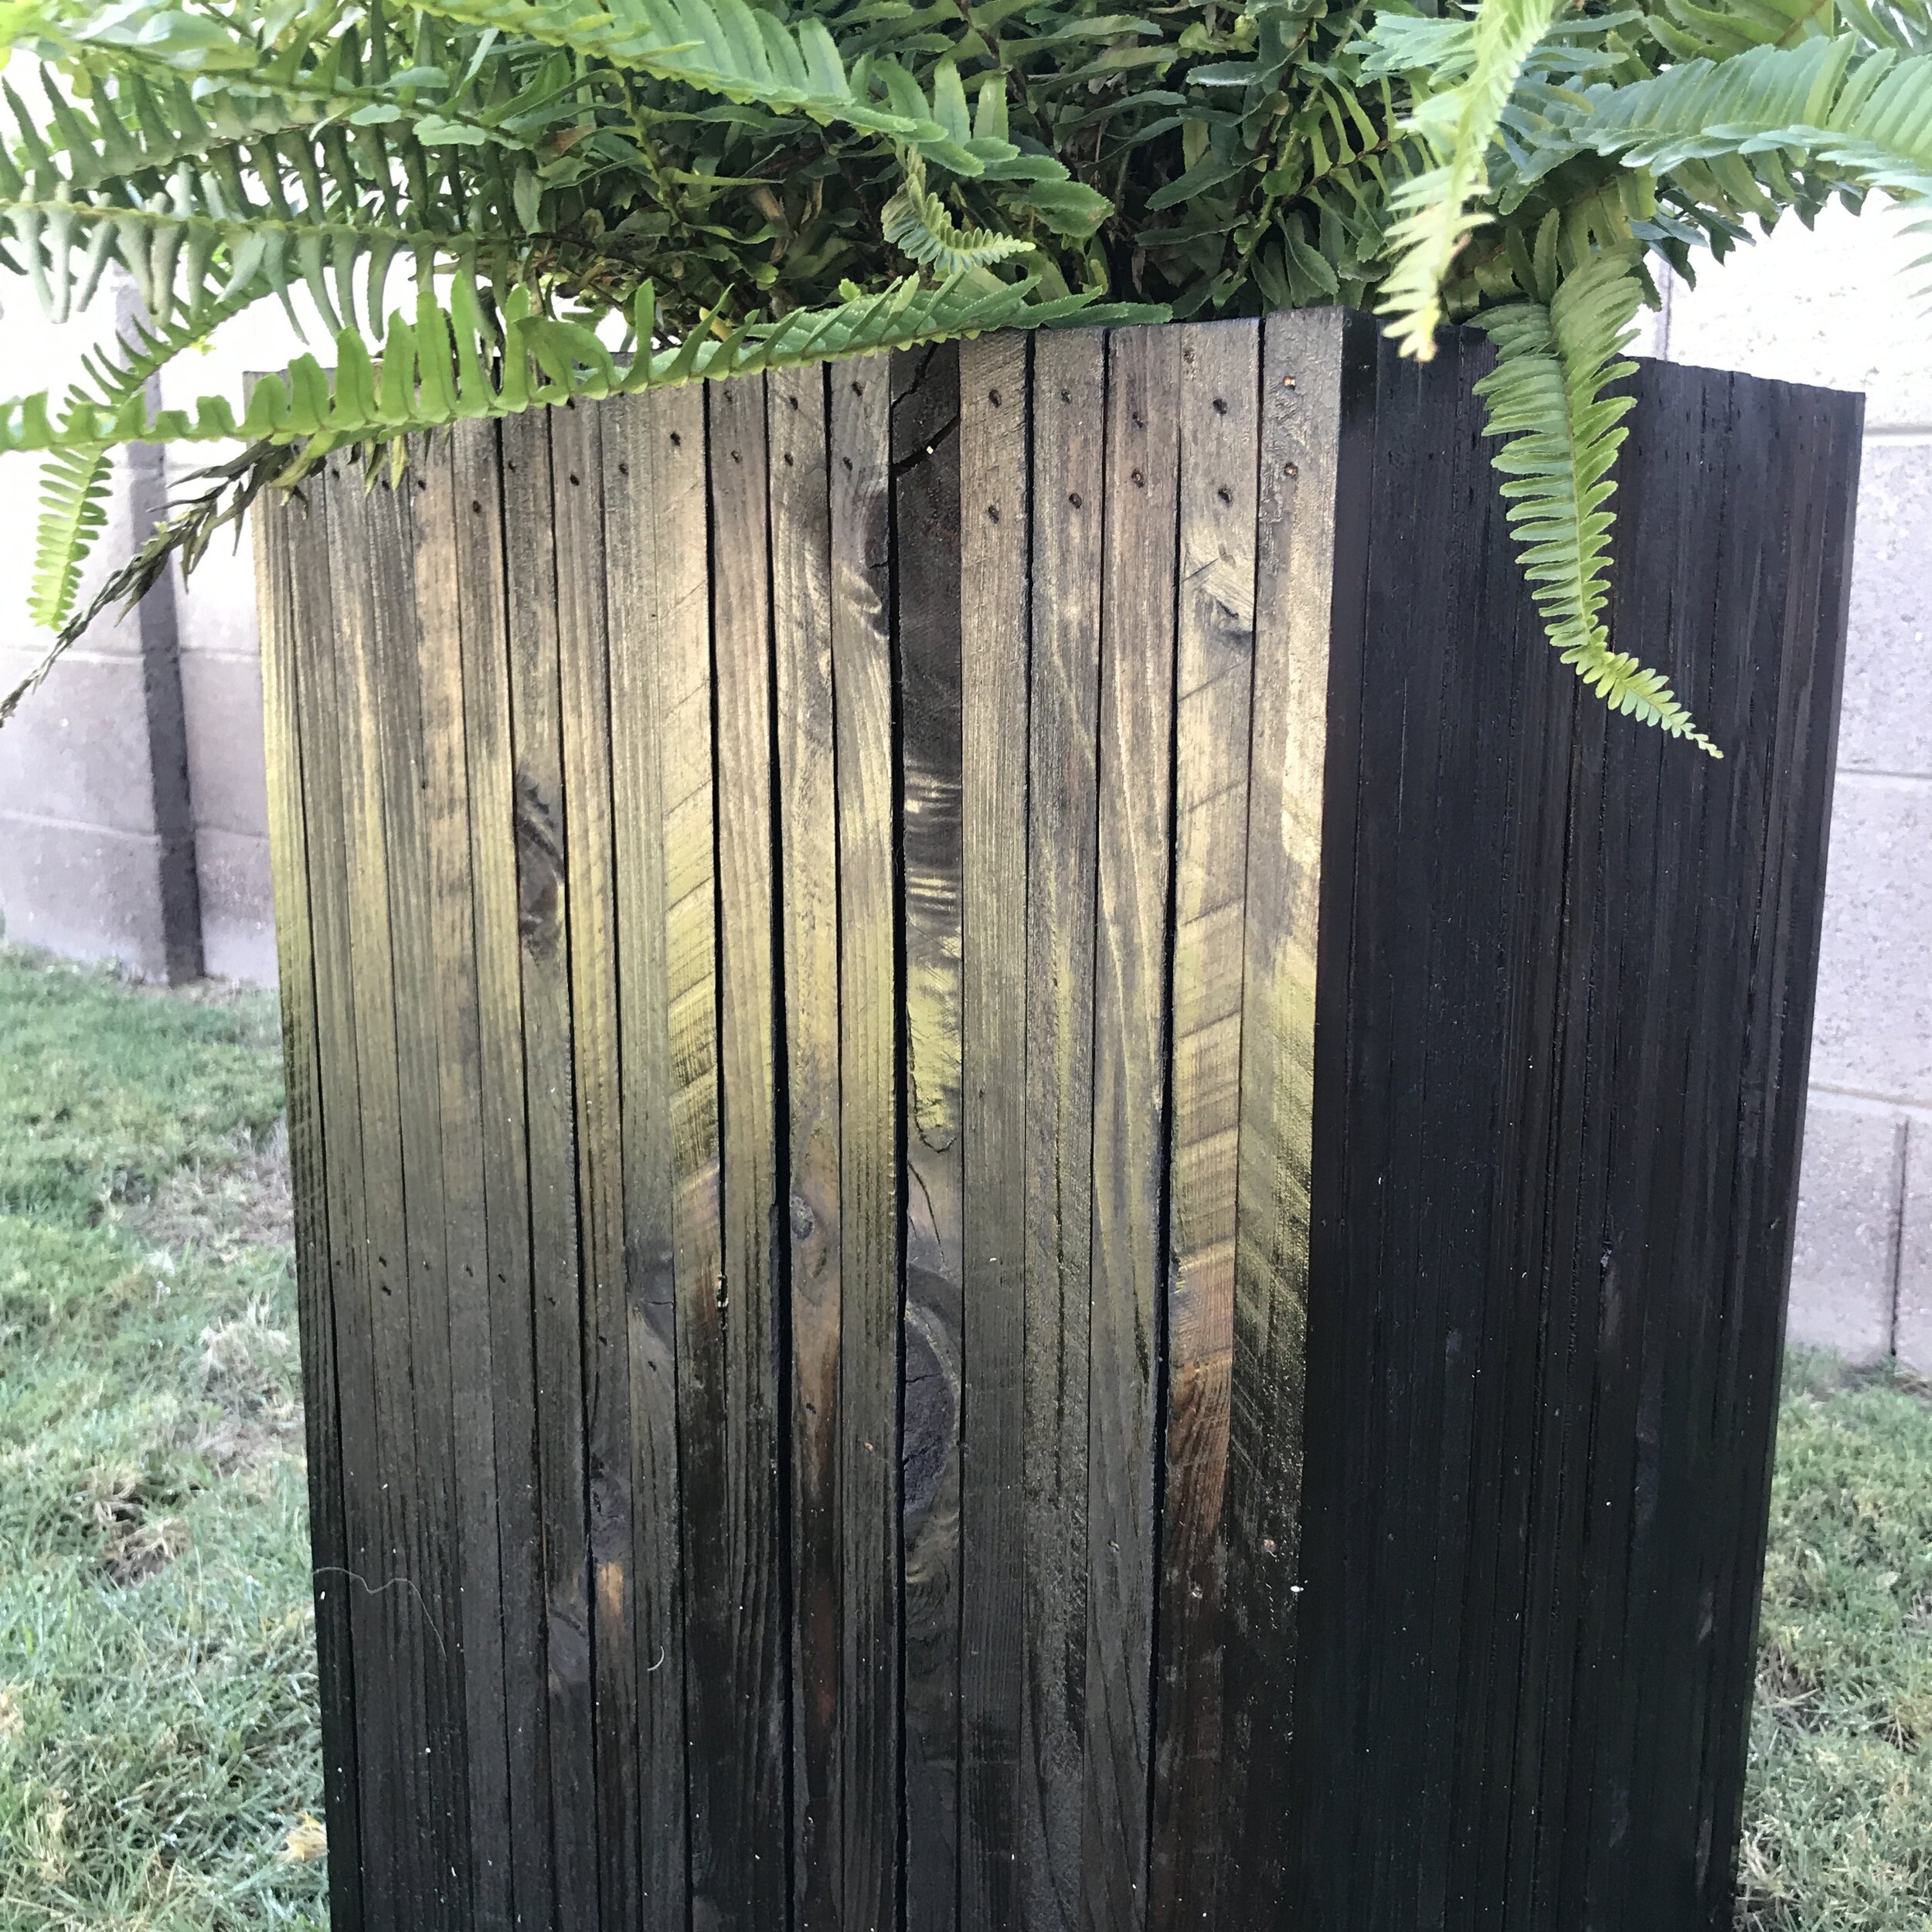
For outdoor projects I have had the most success with either painting them with an exterior paint or Shou-Sugi-Ban’ing them. Shou-Sugi-Ban’ing is basically charring the wood. But in this case I decided to paint it white! Ultra Pure White from Behr. I had it on hand and it is also one of my favorites… every room in my house is basically this color. Just be sure you use an exterior paint so your finish looks good for a long time.

Ready for paint.

This Graco cordless sprayer makes quick work of any smaller paint job!
Want more details on Shou-Sugi-Ban, check out these projects for more details!
Step 9:
Add rubber feet.

The feet help keep the wood out of water when it rains.
I like to add rubber feet to my exterior projects so that that wood isn’t resting in water after it rains or when you hose of the patio. These are the ones I used… rubber feet. This is my first time using them, so I don’t know how well they will hold up… but they were easy to install and feel heavy duty.
And well now you have an AWESOME bench! Crazy what you can make with 3 - 2x4’s, 3 - 2x6’s and a box of screws!

THE

AWESOME

OSCAR!
I love this bench… it is comfy, heavy duty and looks great. I think I am going to put it with my Simple Outdoor Dining Table, but might also just put it next to the pool. I don’t know but it will definitely have a home in my backyard for a long time to come.

Who is ready for dinner in the yard?

So happy with how this bench turned out!
I hope you enjoyed this project as much as I did! And if you end up making one I would love to see how yours turns out and how you finish it, so please share photos with me!
Thank you for following my building journey! Remember Build LOUD, Build WILD and have an AWESOME day!
Sadie Mae
Can’t build it now? PIN it and save for later!


