How To Install Laminate Flooring
I have lived with painted concrete floors in my living room for 3 years! And before that I had some old musty carpet, so to say I love my new floors is an understatement. I went with a water resistant laminate flooring because I love the color and texture that they came in and that they are pet-friendly with extra stain and stretch resistance. Which you know I need living with Awesome Oscar!

Before - nearly impossible to keep these floors clean with Awesome Oscar!
This post IS sponsored by Audacity Flooring. All opinions are my own. This post DOES contain affiliate links. For more information on my affiliate programs, please see my DISCLOSURES page.
These floors from Audacity Flooring are also wet moppable, come with a pre-installed comfort pad and you can have seamless room transitions over large areas… up to 4000 sq. ft. But what I love most about them is how easy they are too install.
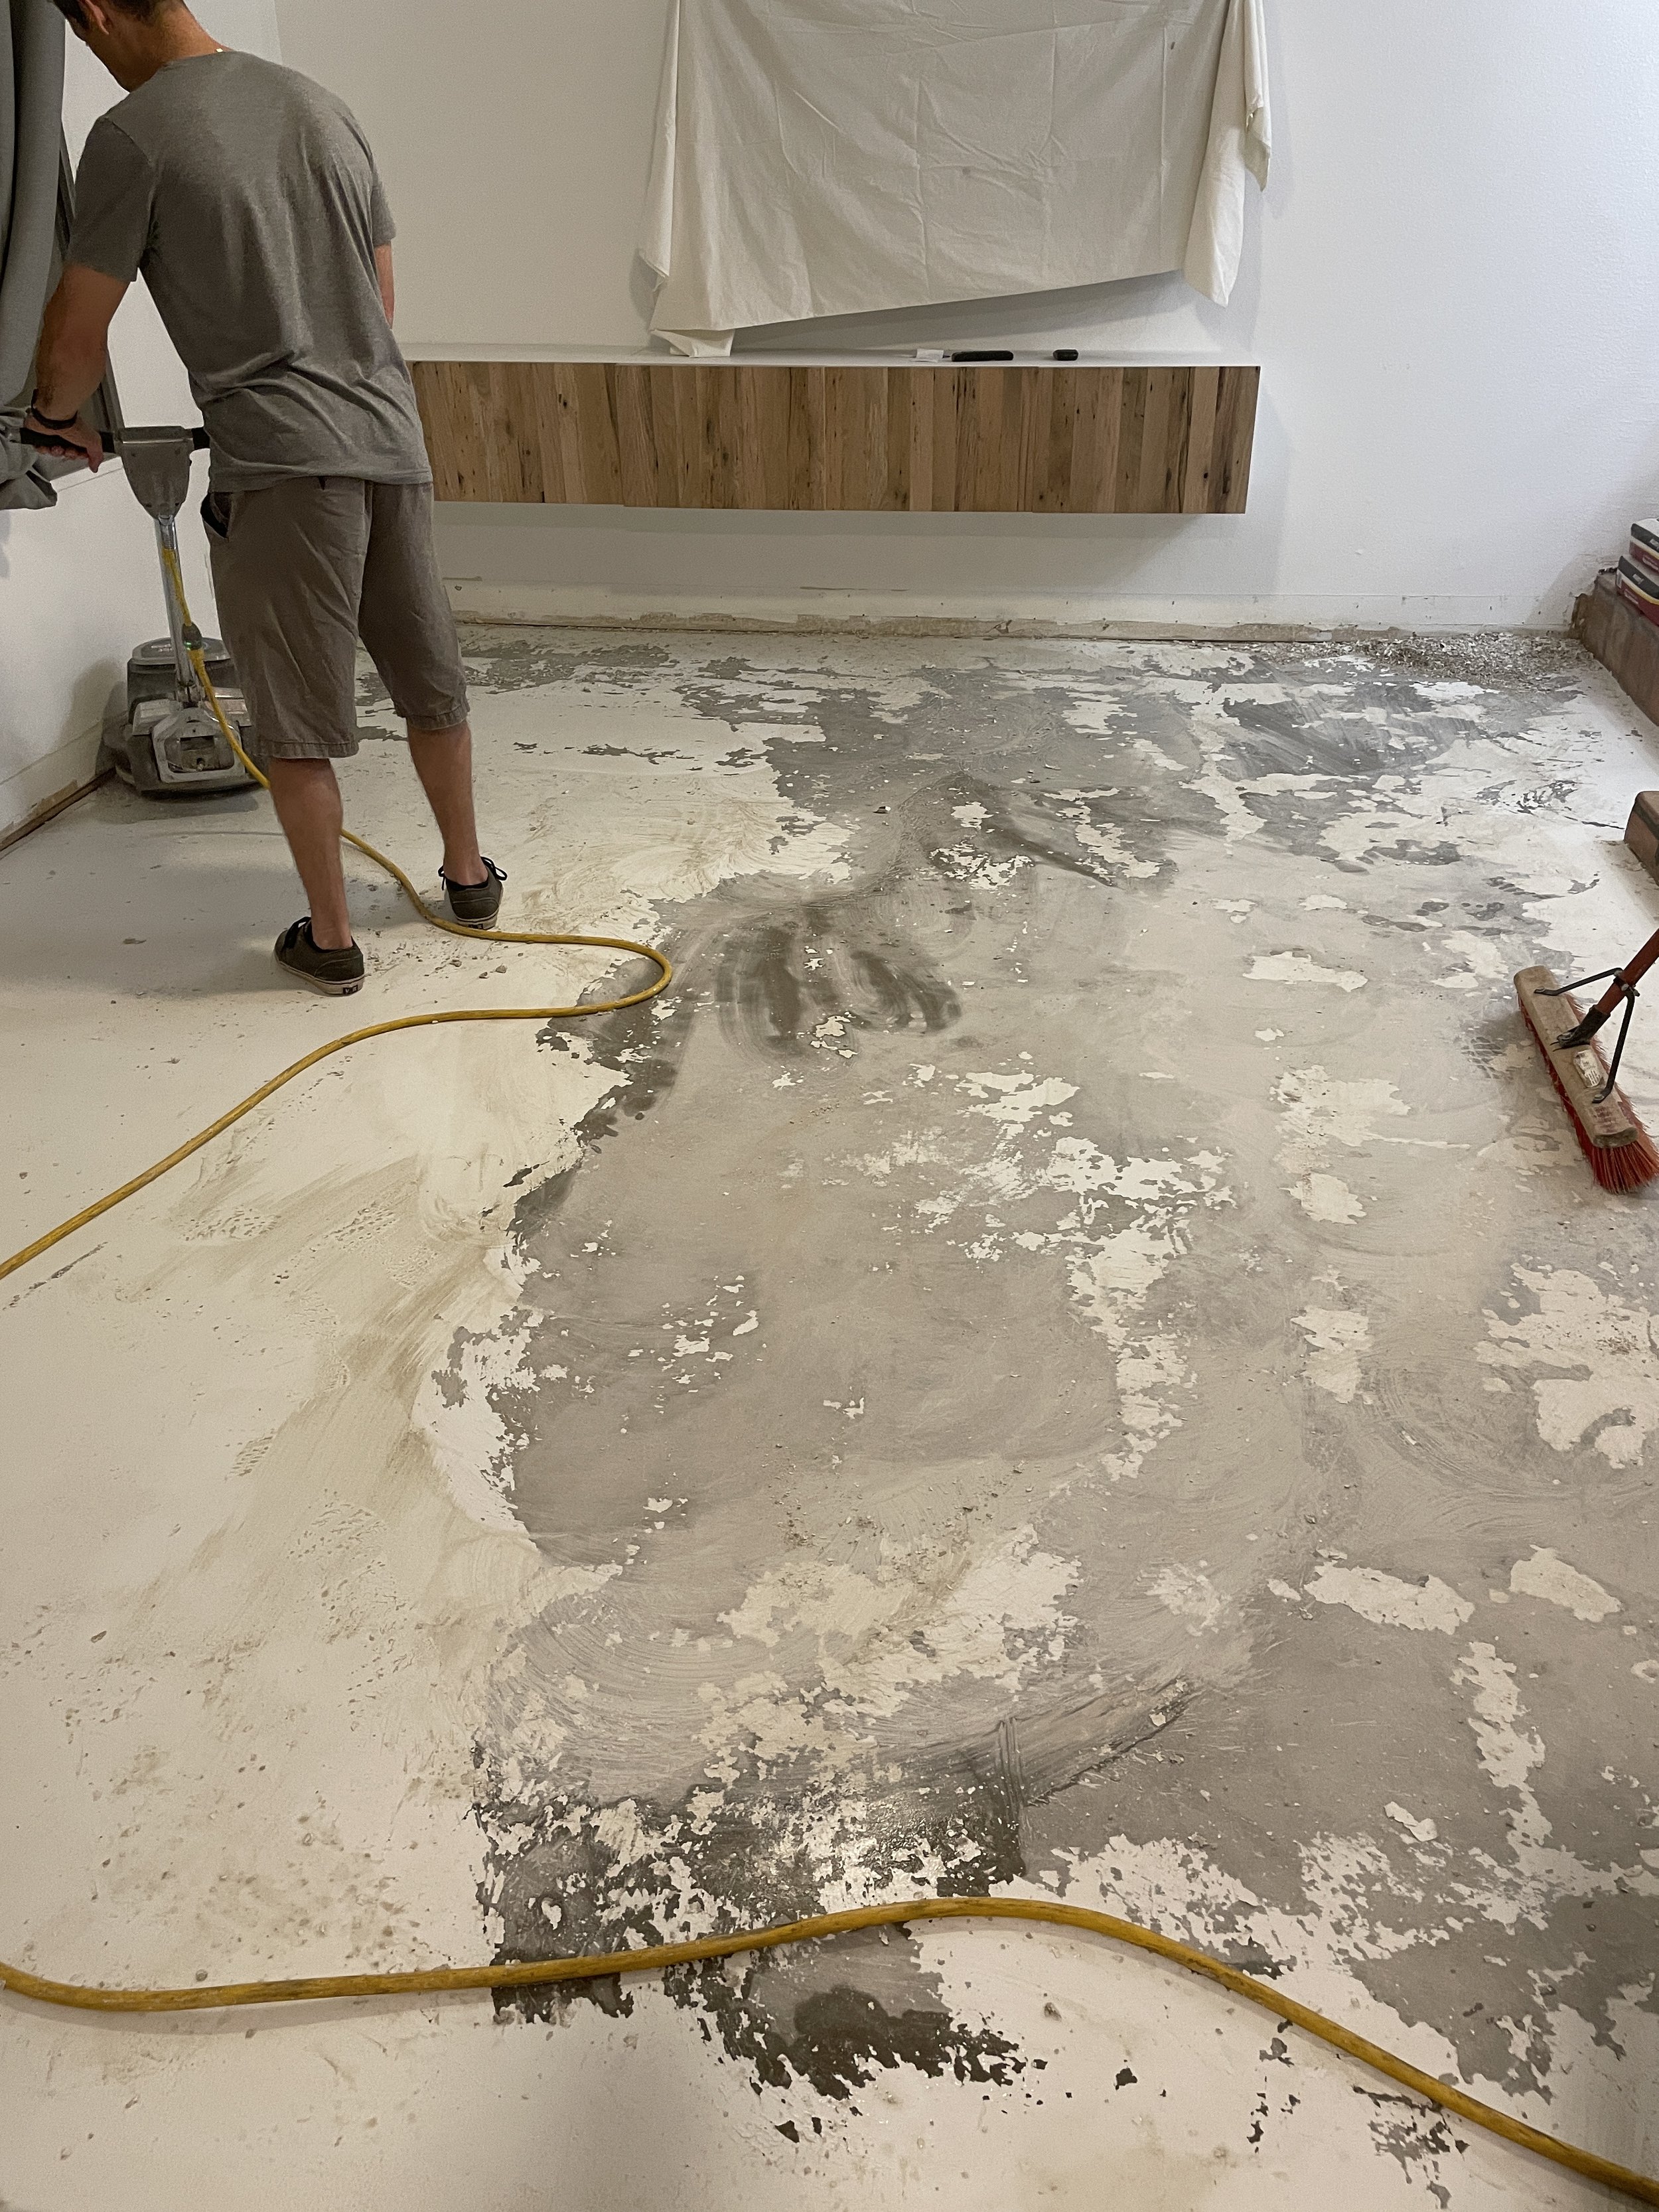
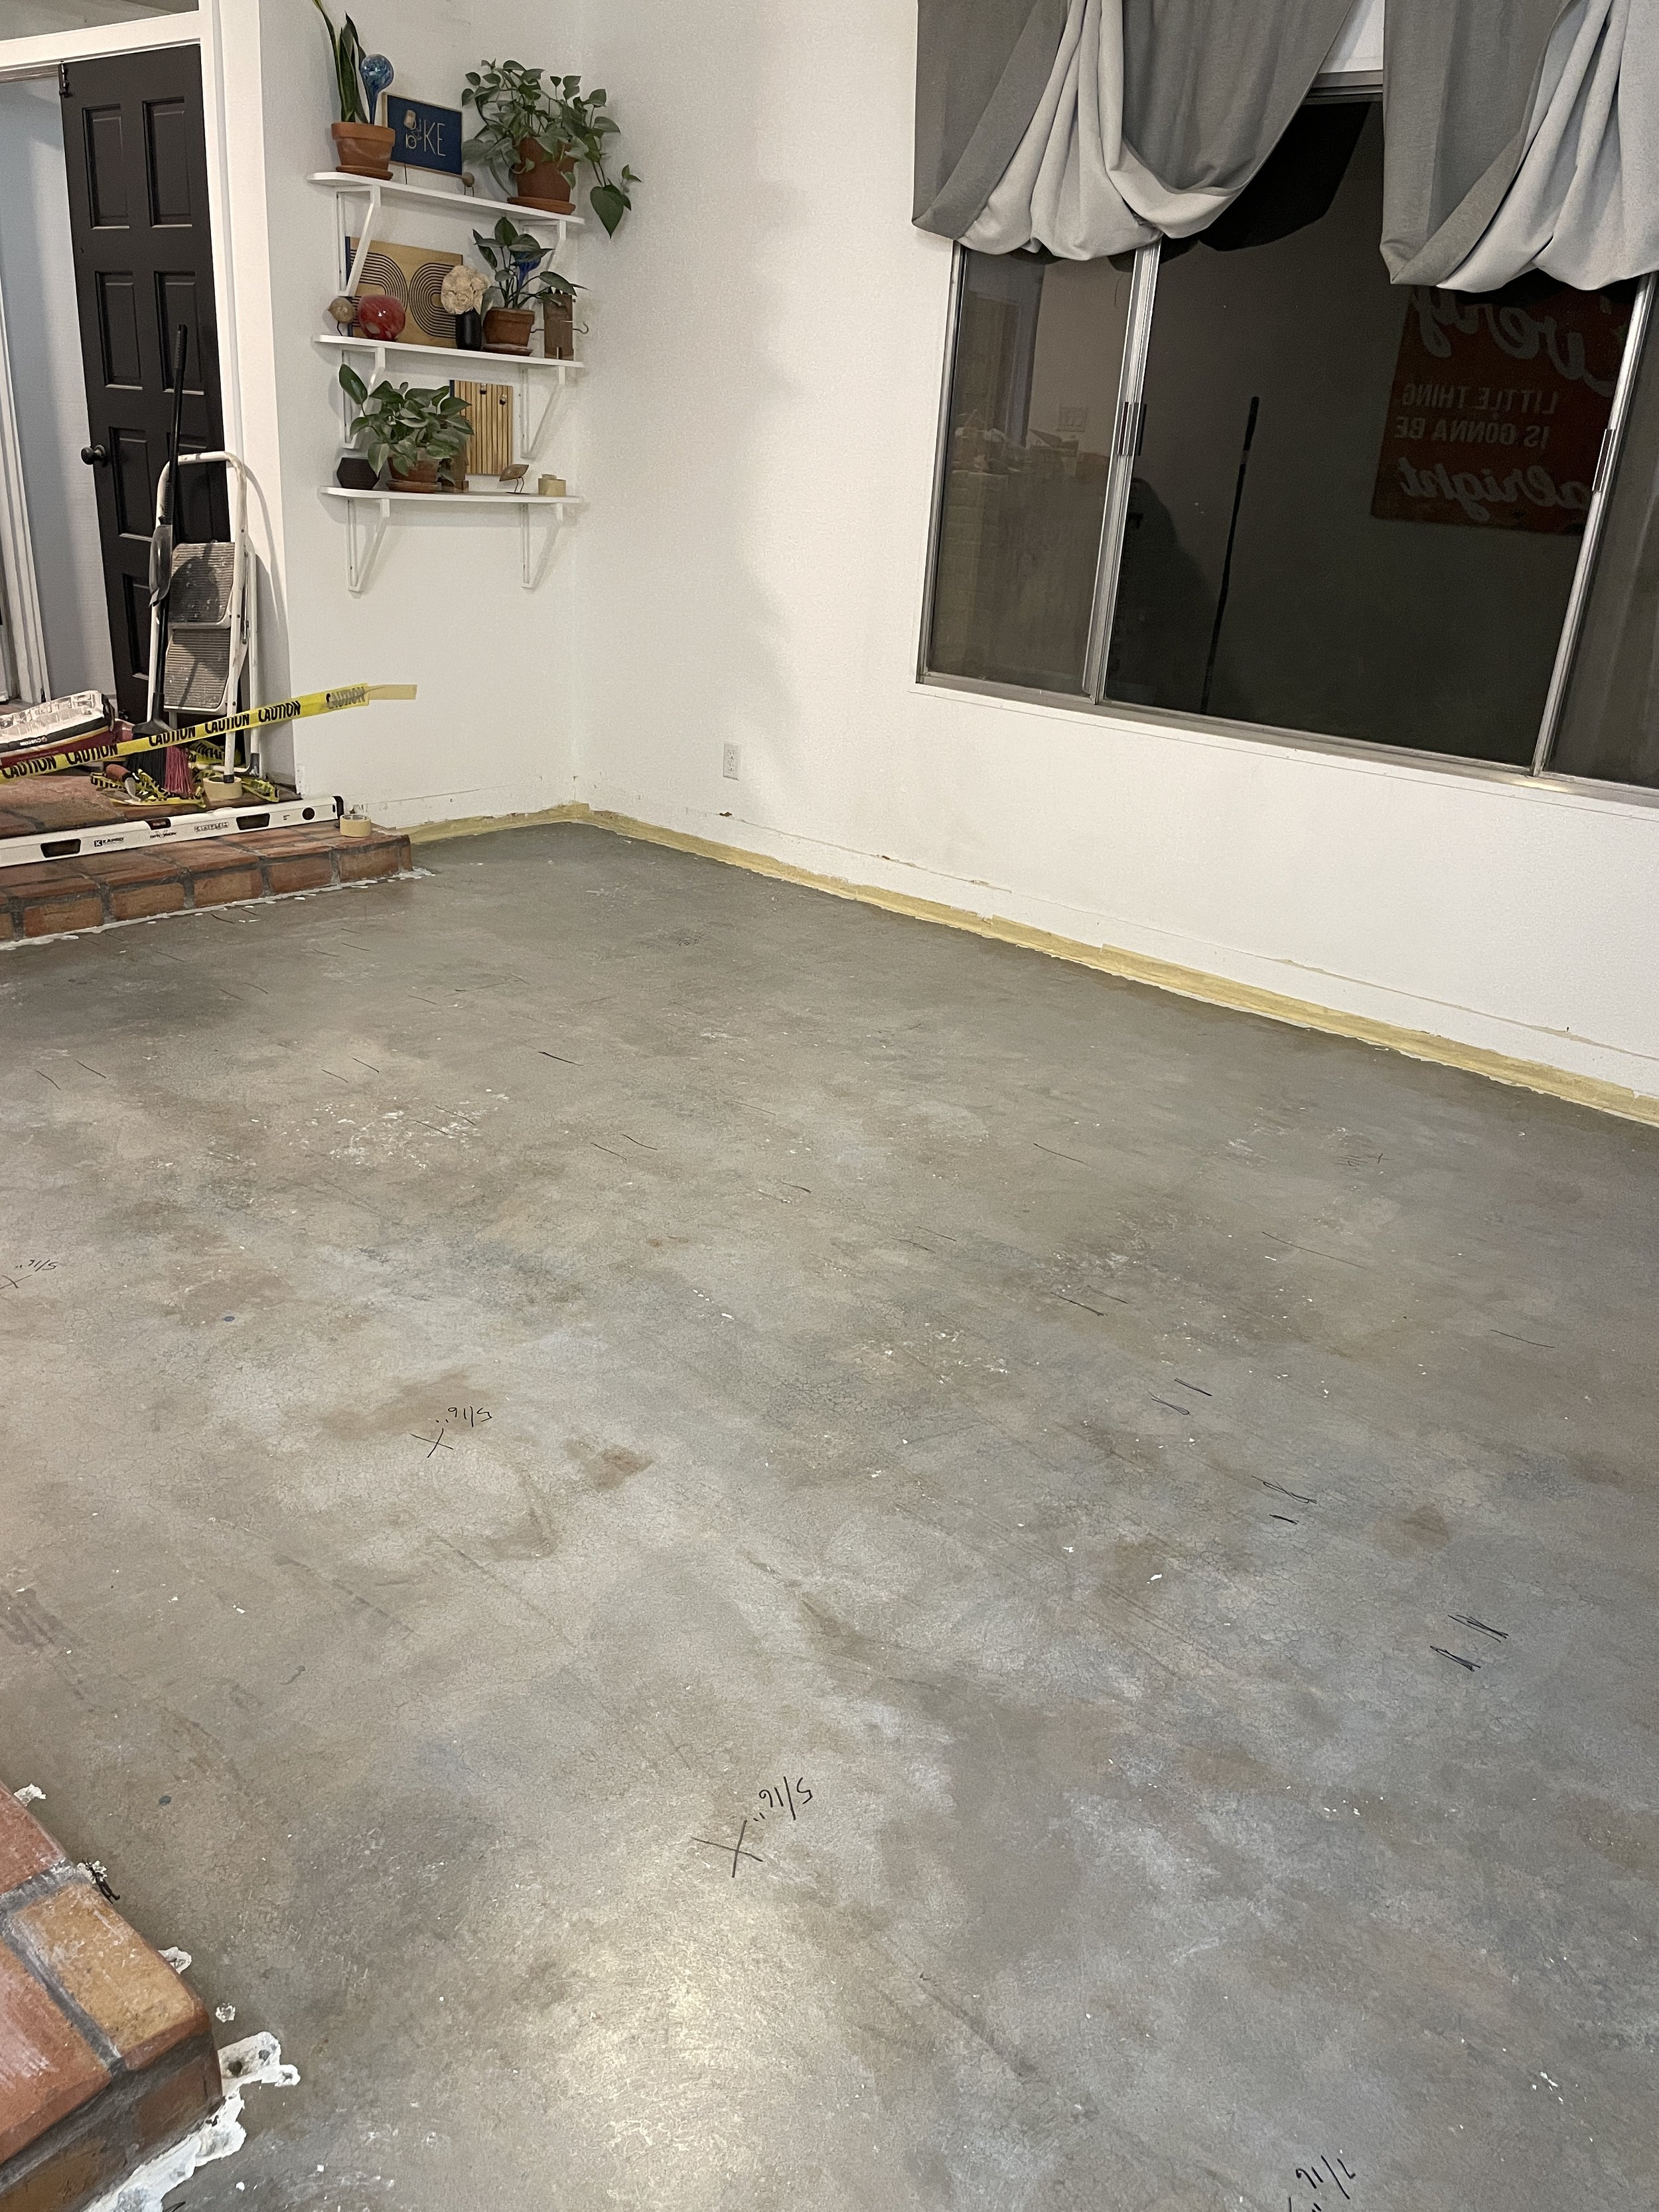
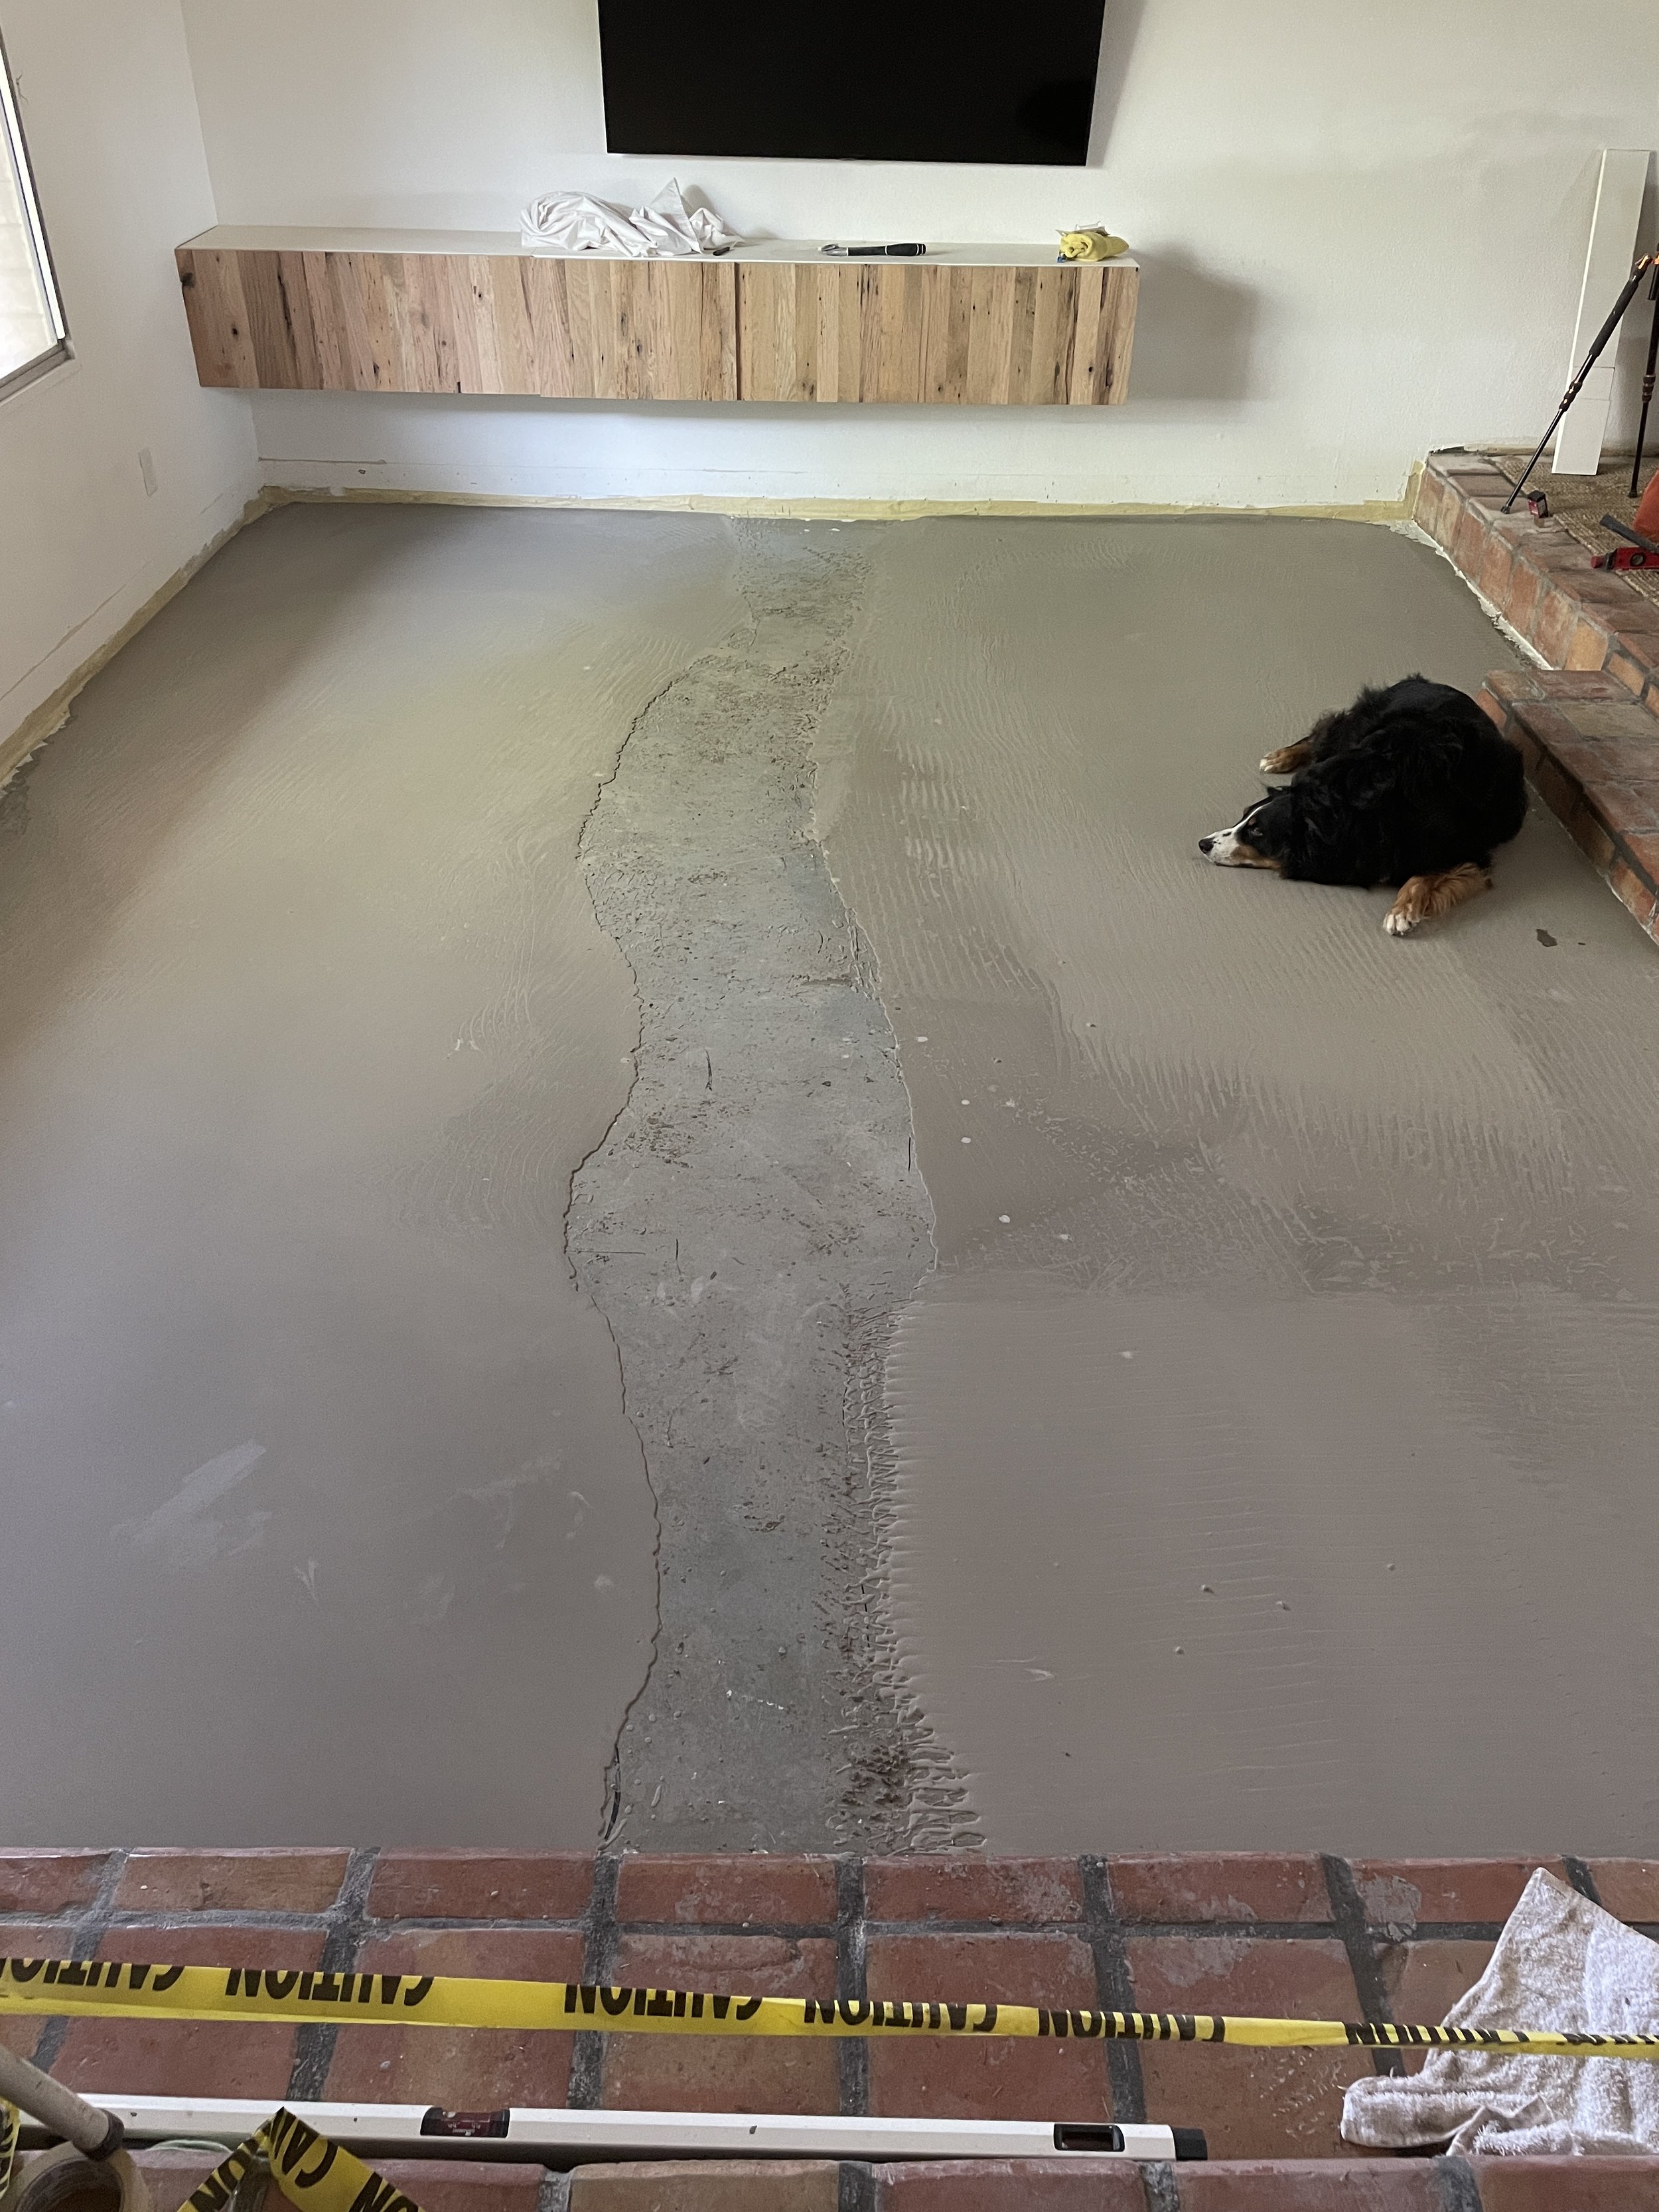
But before I was able to get to installing the laminate floors, I had to ensure that my subfloor was level within 1/8”. And well, mine was way out of whack! Like wavy! So, I needed to level in first with self-leveling concrete. I am not going to share a tutorial here right now because it was our first time doing this process. We learned so much and are confident that we could do it so much better with the proper tools and experience, so when we install these floors in our bedroom and need to level that floor I will be sure to share tutorial then.

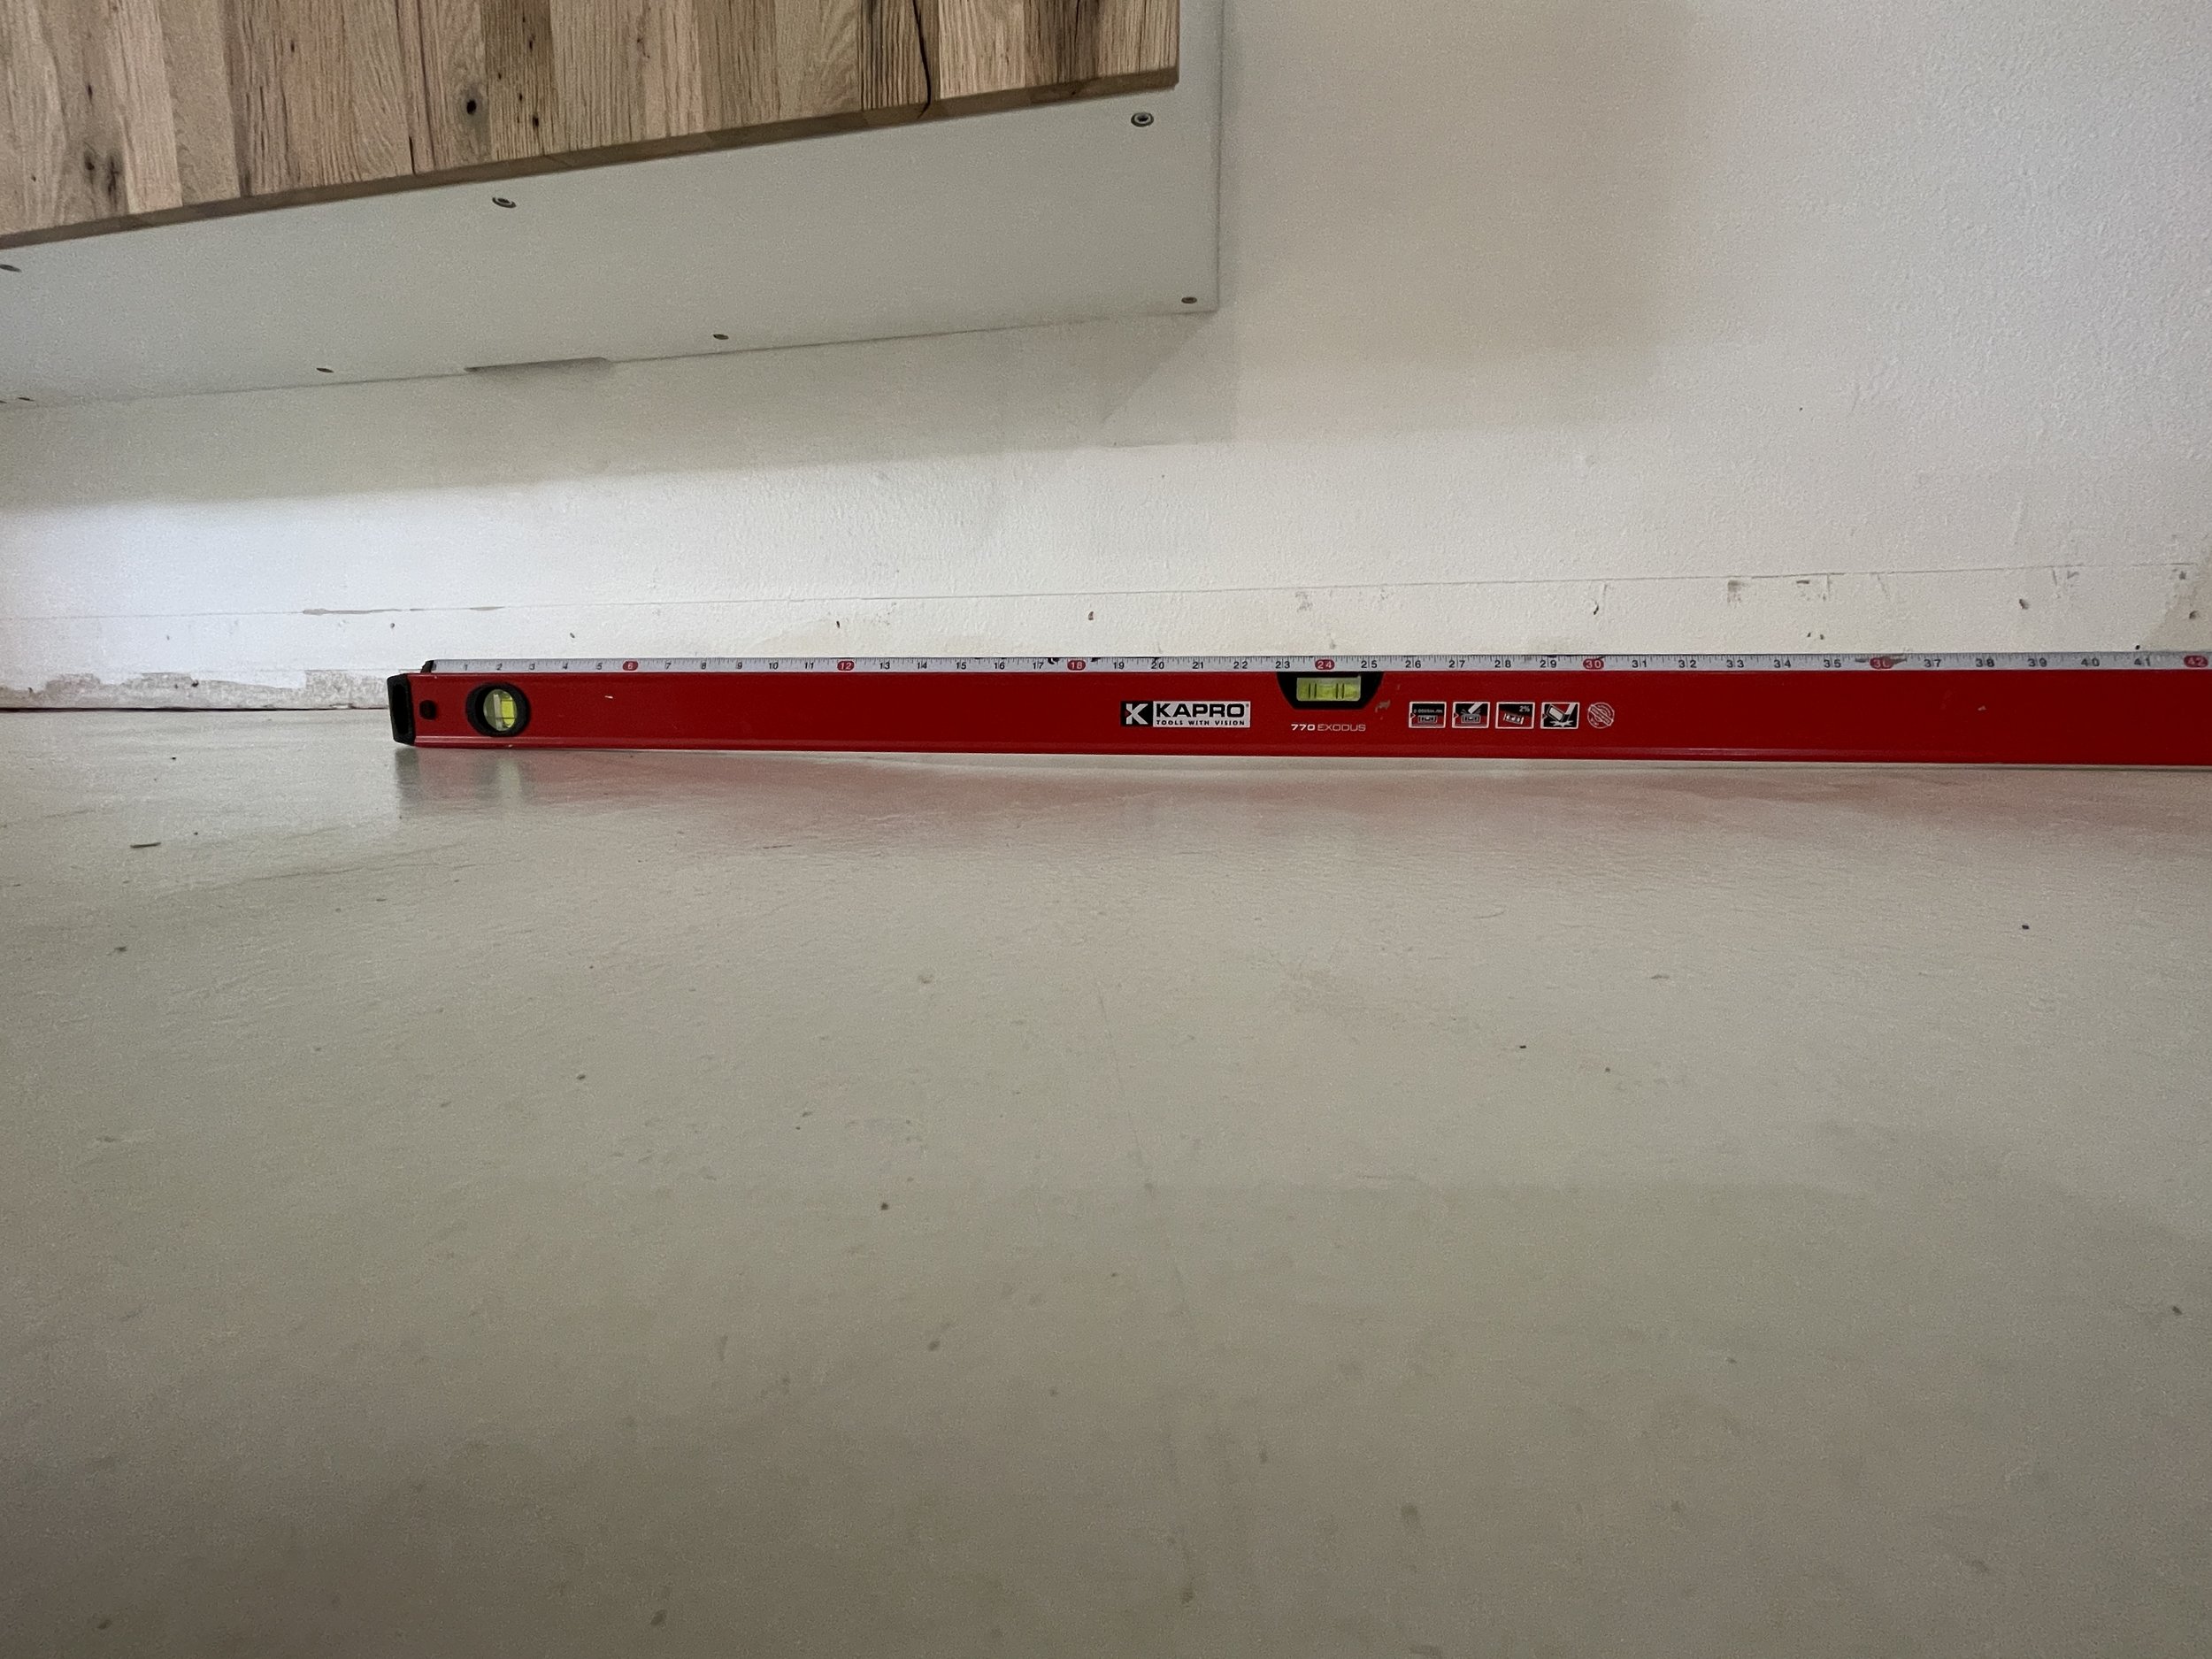
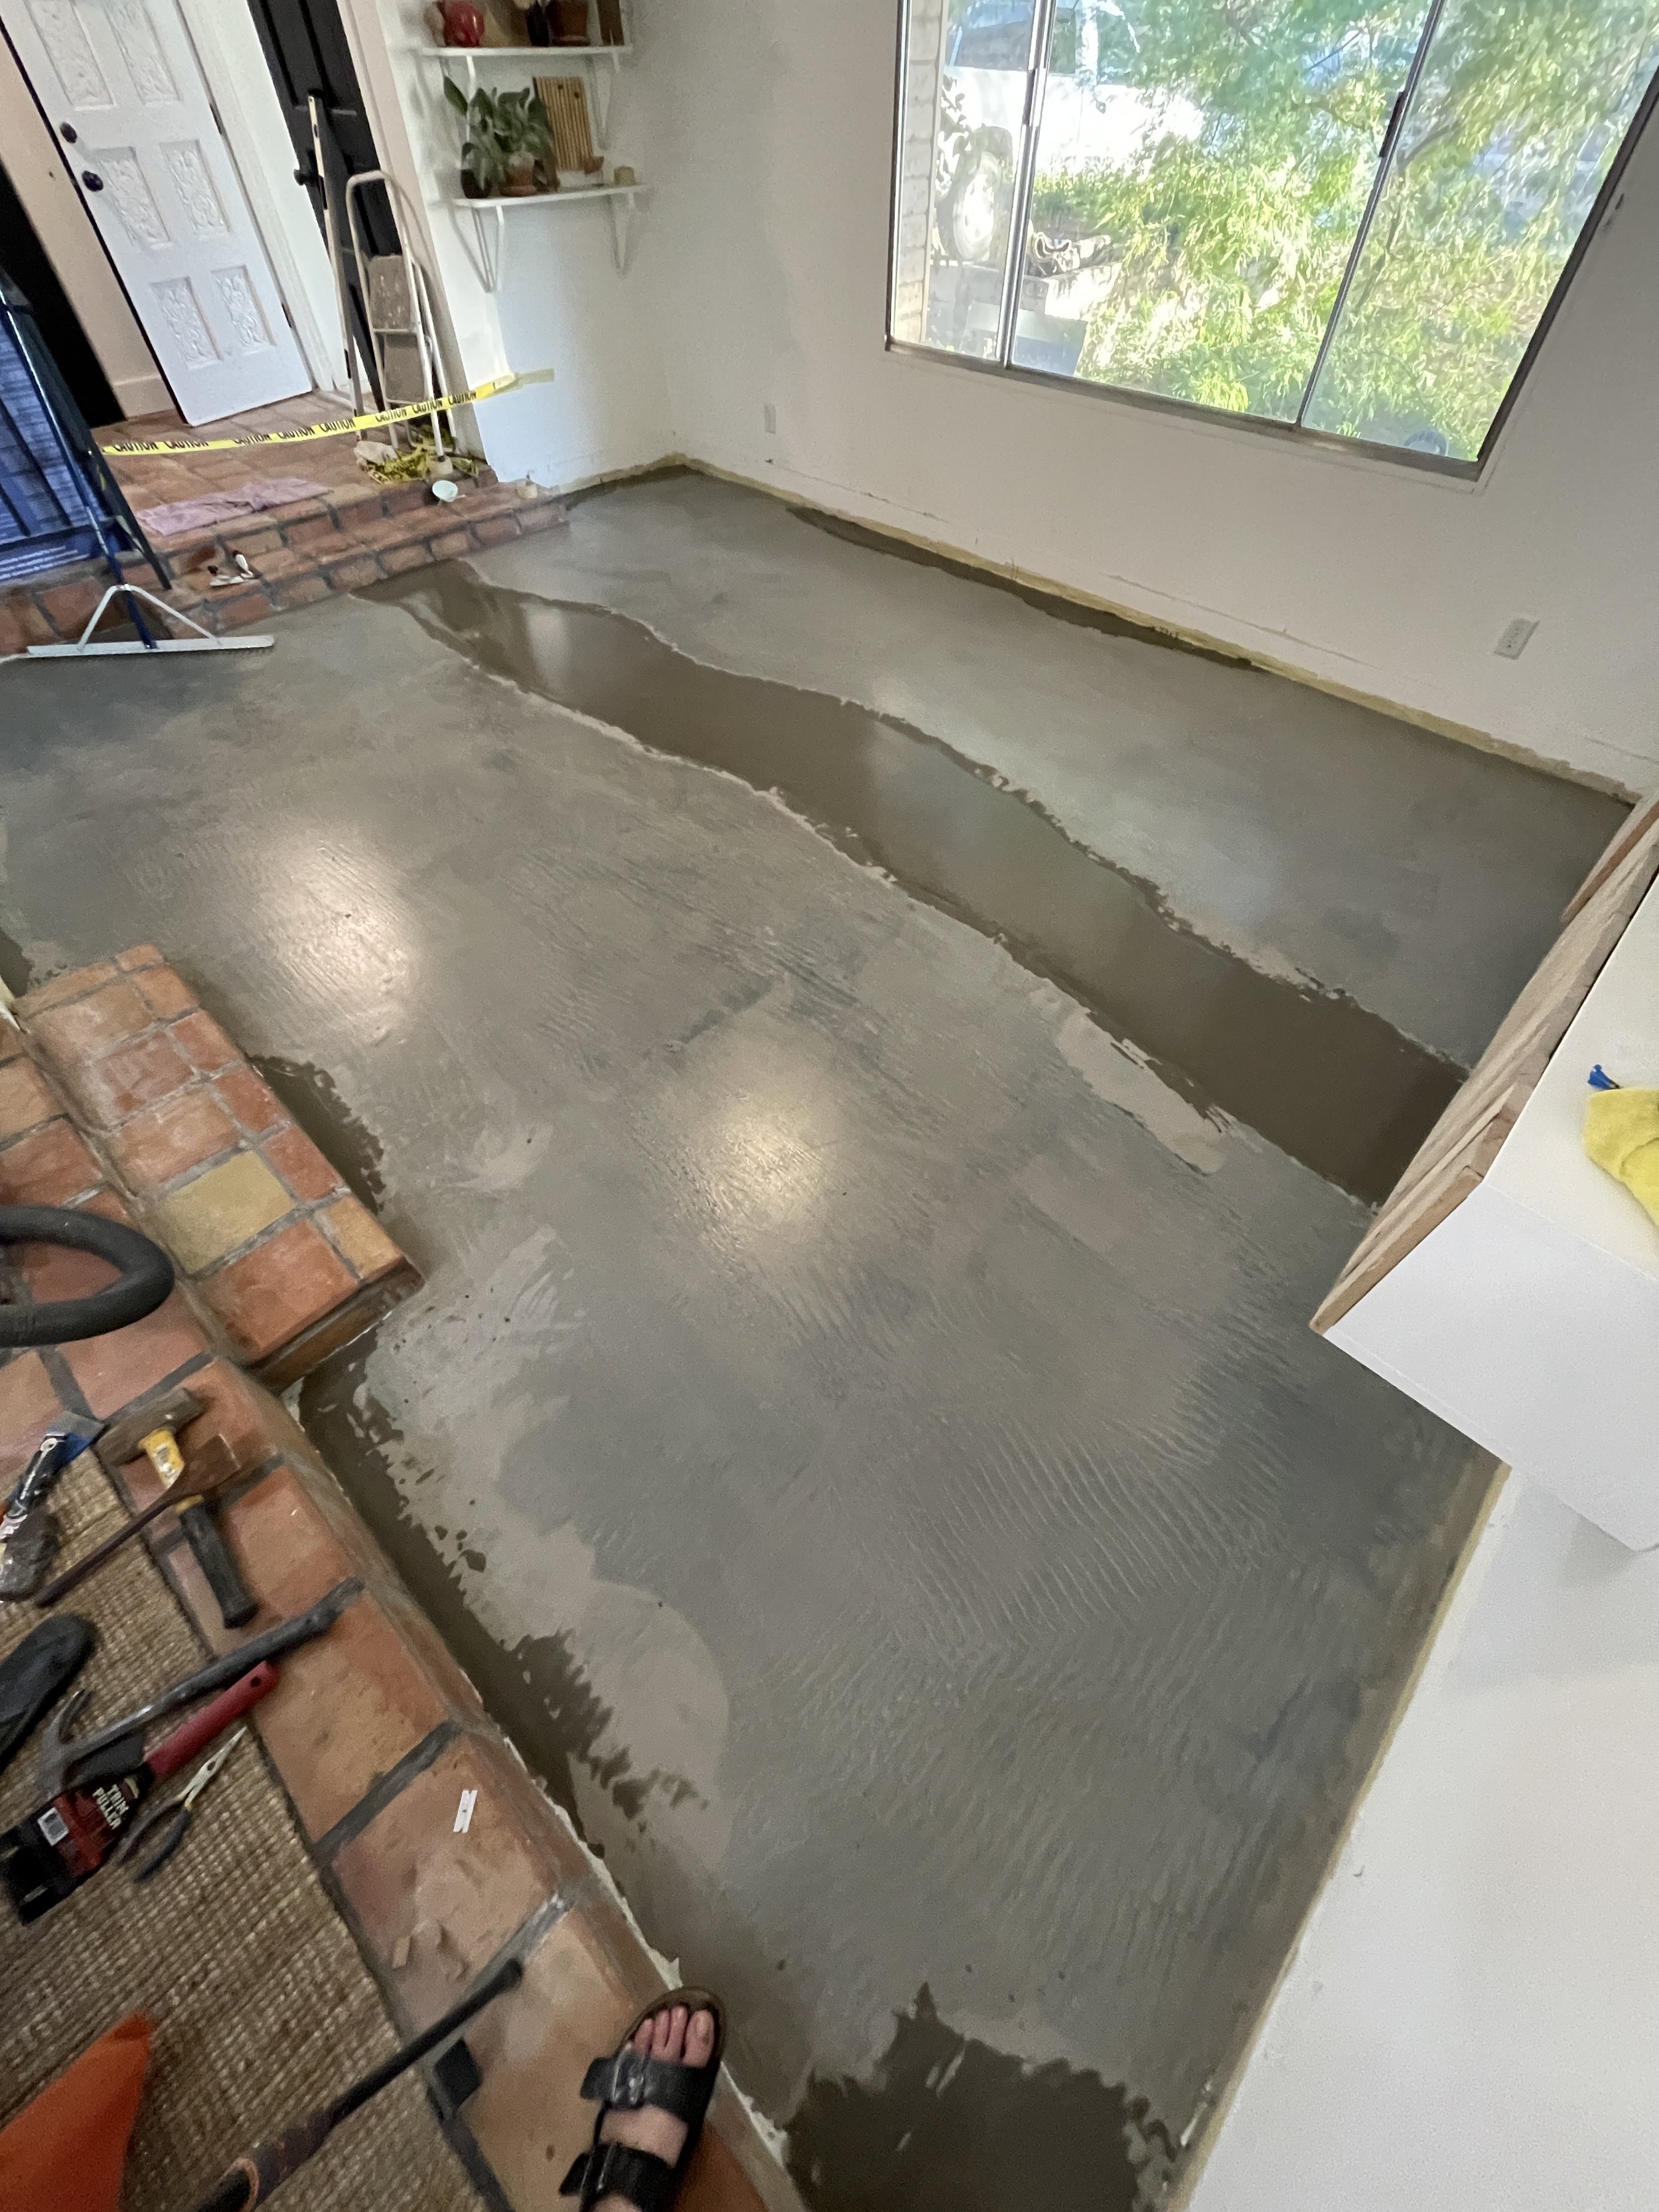
Having a level subfloor is important because if you don’t you could have hollow spots and a noisy floor. But worse it could also start to separate or break over time. So, don’t skip that step. If your floors are level with 1/8”, installing these floors will be a breeze! Let me show you how!
Tools Required:
Installation Kit - This isn’t the exact one I used, but has all the same tools.
Rubber Mallet
Spacer Blocks
Pull Bar
Tapping Block
Saw - Preferably a jigsaw. I used a jigsaw and miter saw.
Knee Pad (s) - I used a pad because I hate wearing knee pads
Pencil
Step 1: Deciding on Orientation
There are three rules for deciding which direction to lay your floors:
Lay the floors parallel to the light coming into the room.
Lay the floors parallel to the longest wall.
Lay them however you like, it’s your house!
I decided to go with rule #1, parallel to the light coming in. I liked how it created flow within my space and layout of the room.
Audacity Flooring’s website has a great visualizer tool that helped me decide on the direction I wanted to lay my floors!

Parallel to the longest wall.

Parallel to the light coming into the room.
Step 2: Add A Moisture Barrier, or Not
If you are laying laminate flooring directly over concrete you need to put down a moisture barrier to protect the laminate from moisture seeping up through the porous concrete. This is an easy process, you just layout 6 mil plastic sheeting over your entire floors. Be sure to tape any seams with an underlayment tape.
If you have a wood subfloor you can skip this step!

The moisture barrier I used. Basically 6 mil plastic with tape.

Prep is over, let’s get these new laminate floors installed.
Step 3: Begin Layout
Here are a few tips:
You want to start in the left-hand corner of the wall.
Do the math to make sure your row will end with a plank 12” or larger.
For your 2nd row, you can use the cut-off of the first row if it is longer than 12”
You want your seams to be at least 8” apart, so more of a brick pattern.
You also want to account for 1/2” gap on all walls for expansion and contraction.

Spacer around the room allow for expansion and contraction.
Step 4: Install Your Floor
Inspect each board to ensure that there is no damage to the locking pieces. Install the long side into the previous row, slide it flush to the short side and tap it in to ensure on nice tight fit. Then repeat.

Inspect each plank before installing it.
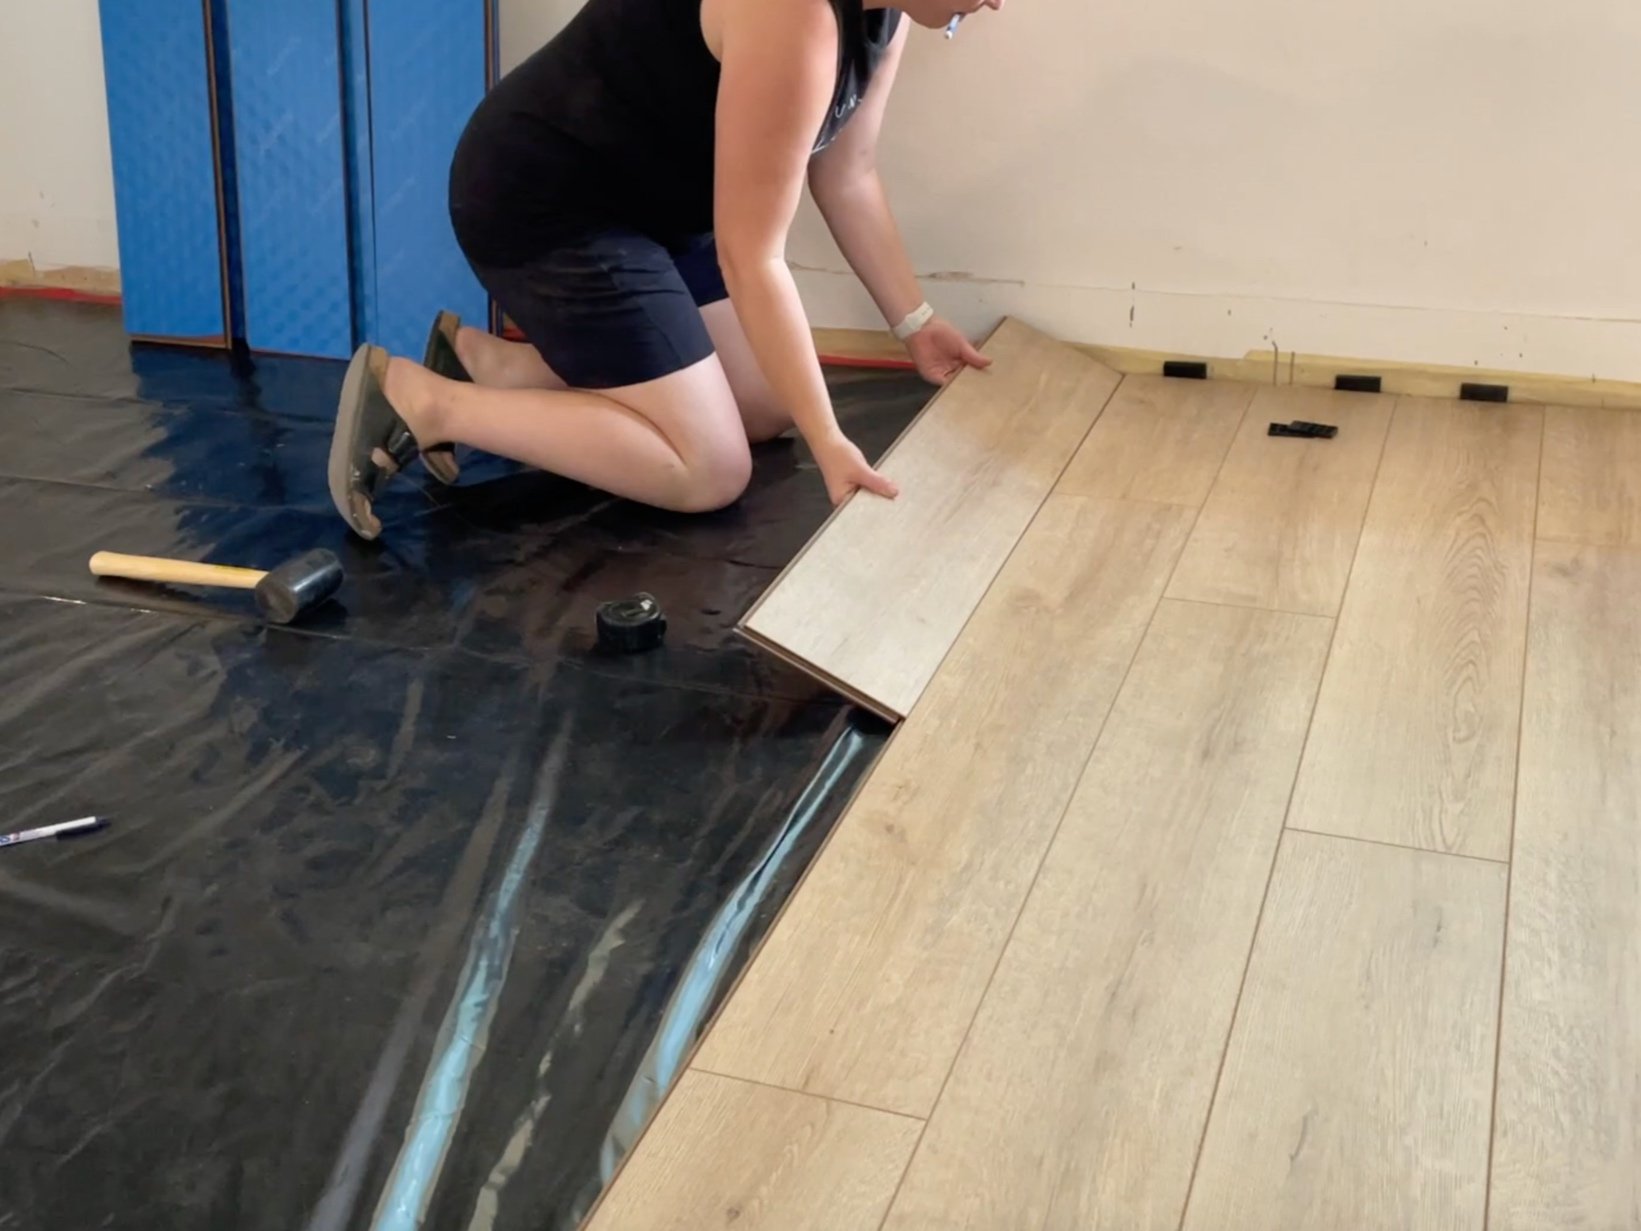
Install long side first and then short side.
Things to note:
If any boards are not level and won’t tap together you will need to disassemble them. In order not to break the locking parts you need to lift up on the long sides and then careful slide the shorts away from each other.
The first two rows are the hardest. Don’t worry about them being flush (or 1/2”) from the starting wall until you have about two to three rows assembled. Once they are assembled then you can push they into the proper place with the spacer. I added full boxes to these rows to hold everything in place as I tapped in the next rows.
Open several boxes of planks at a time and randomly pick boards to so that you don’t get any repeating planks.
When cutting with a jig saw, turn the planks upside down so not to get chip out on the fronts of the planks.
Once you get to the sides or the other side of the room you will need to use the pull bar instead of tapping block to ensure you have a nice tight fit on each plank.

Got my workout in! Pick planks from several boxes to ensure random pattern.
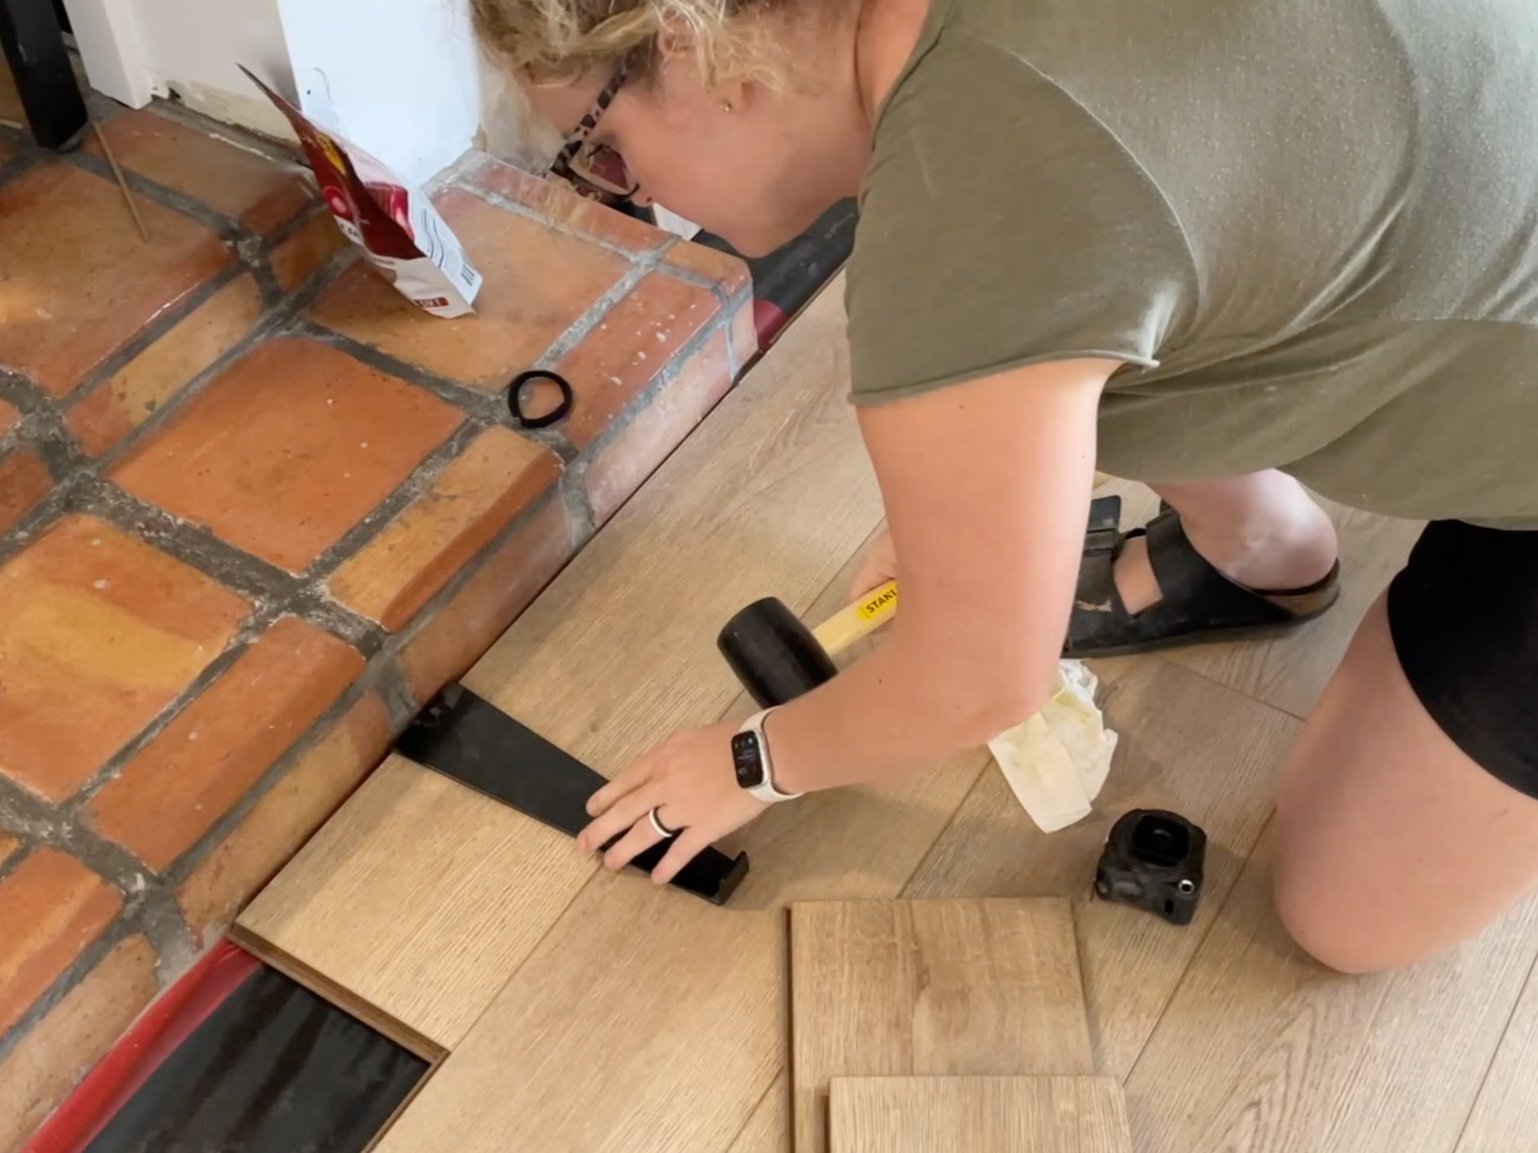
You will need to use pull bar on opposite of the room to ensure you close the gap on installation.
For more tips and to watch me install my new floors, check out my YouTube Video.
Step 5: Install or Re-Install Baseboards
Installing a 3/4” thick baseboard around the room will cover the 1/2” expansion gaps you left around the room.

Proud that I was able to figure this crazy piece of baseboards out.
Then all you need to do is sit back and enjoy your new floors. Oh and pat yourself and the back for a job well done. Installing laminate flooring is a simple task, but it is also a laborious one!
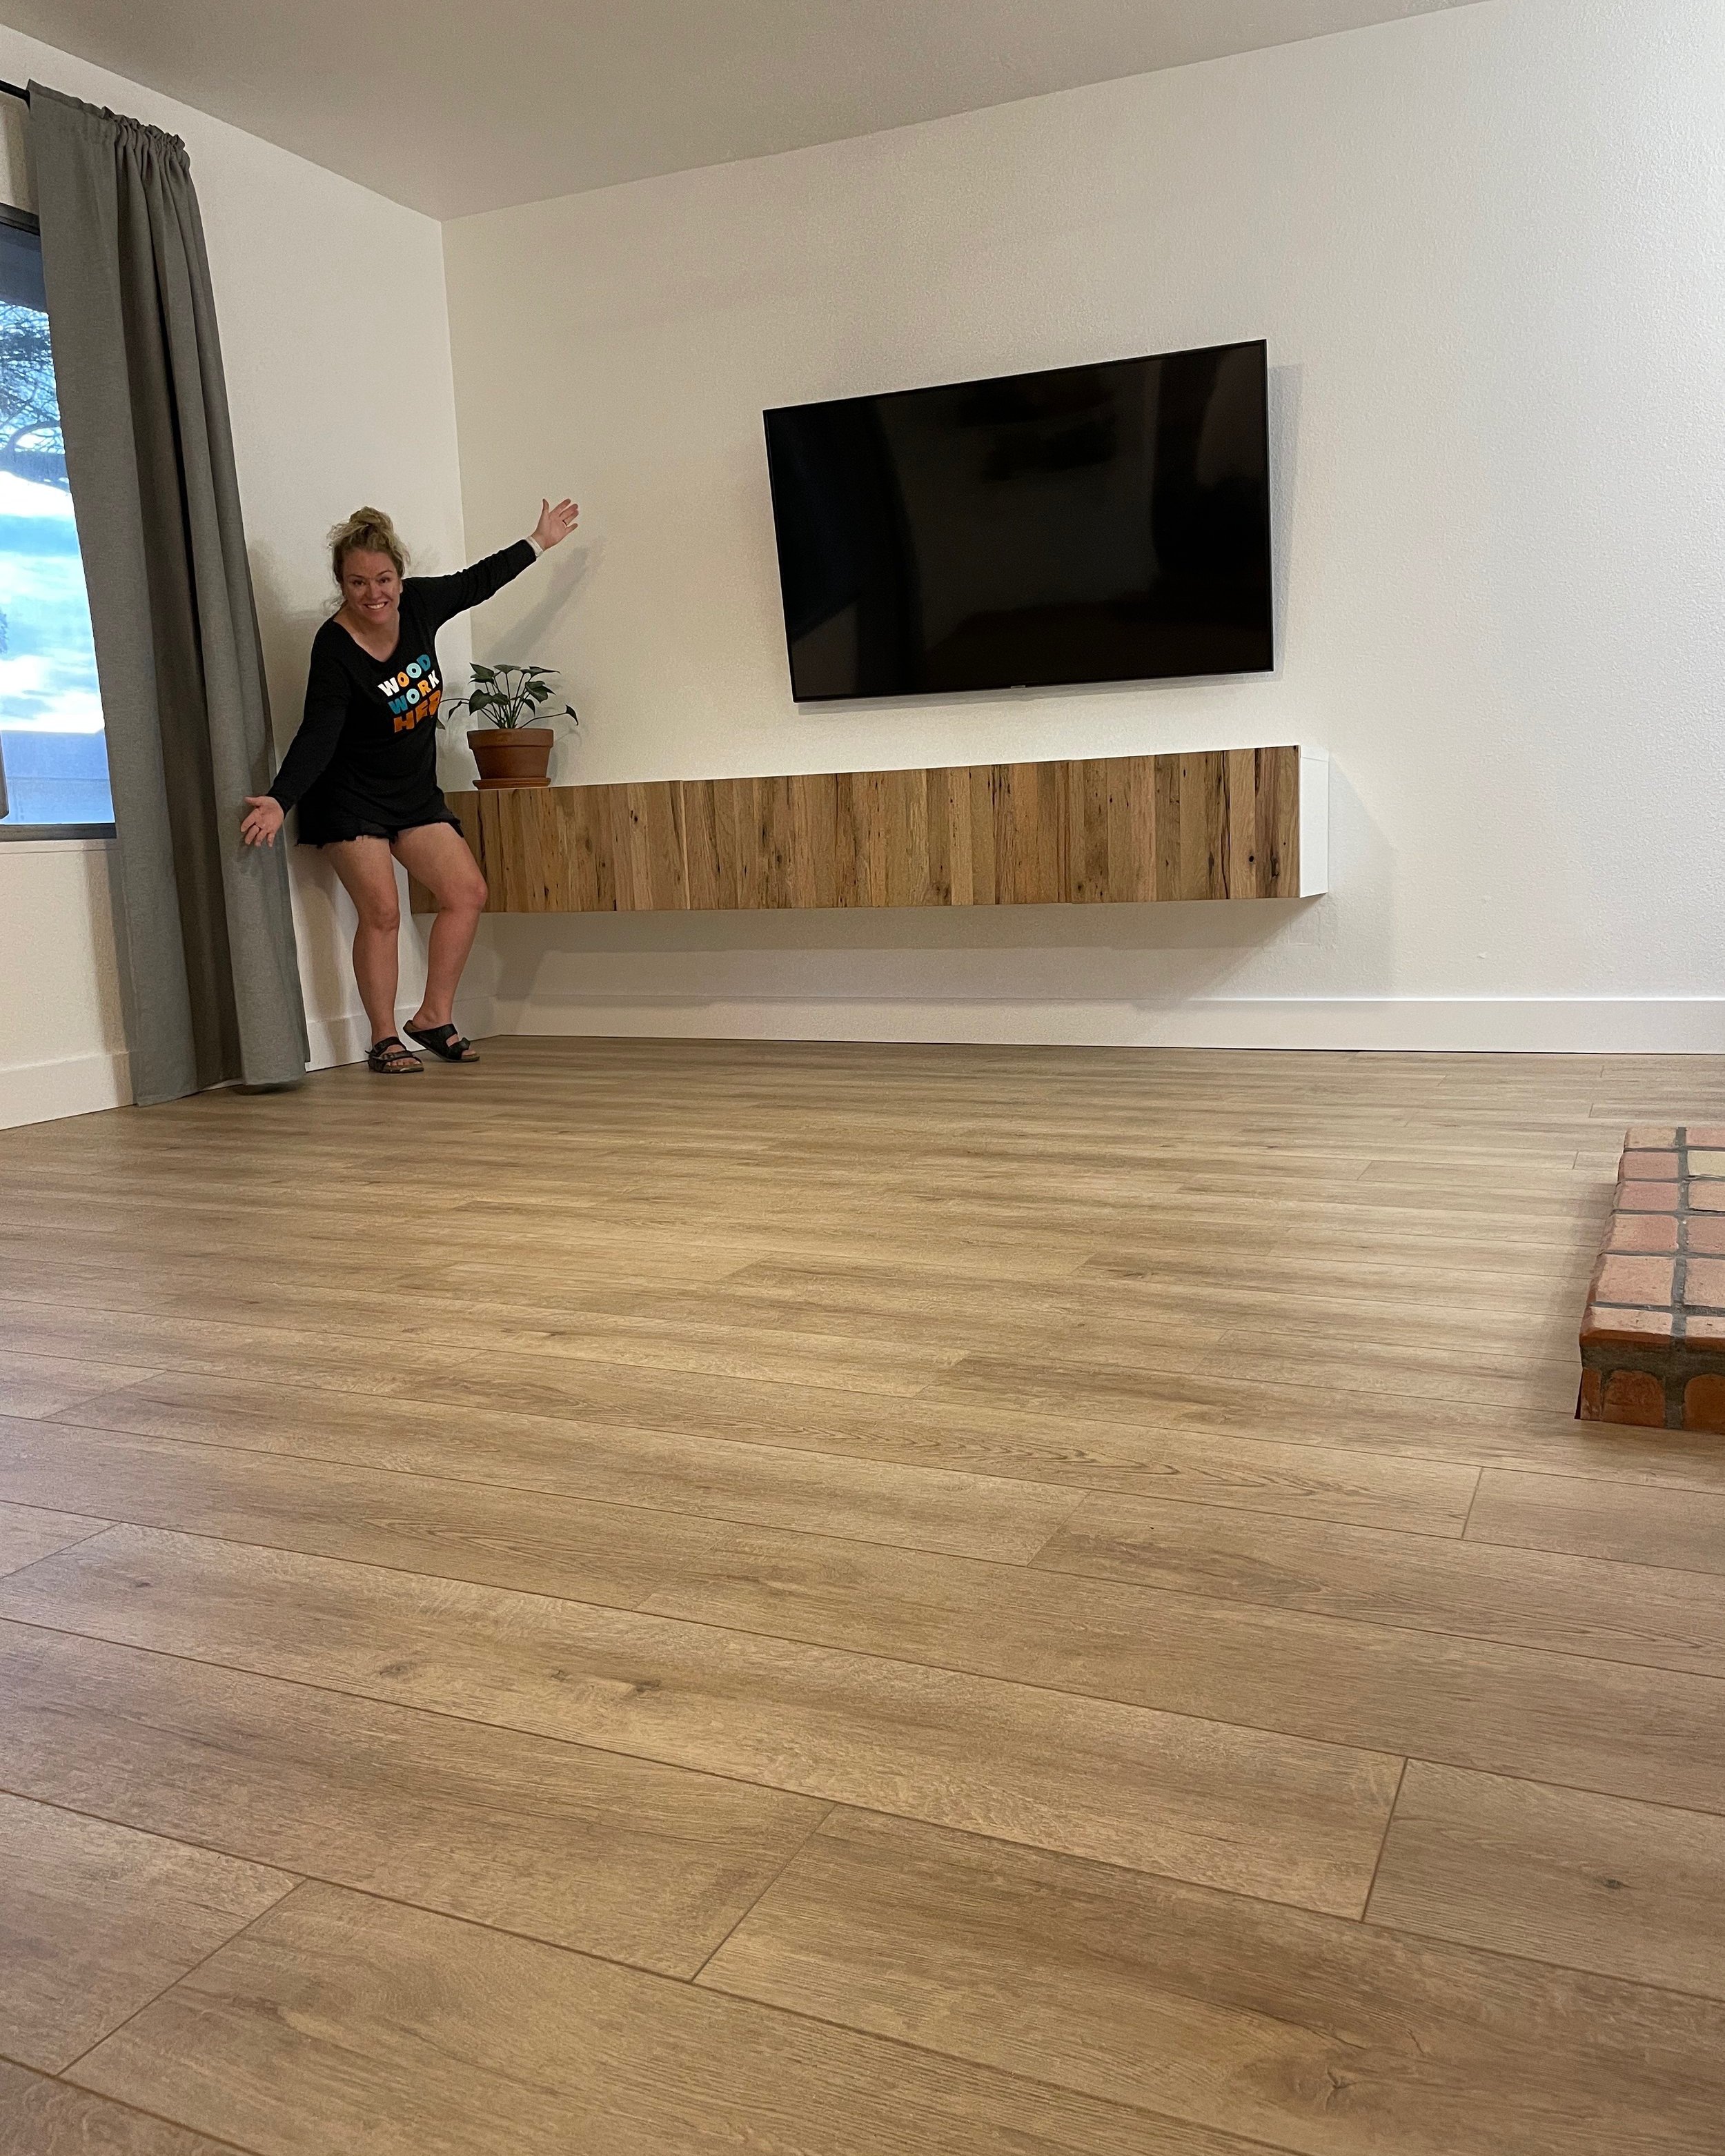
I love my new floors! What do you think?
I hope this tutorial give you the confidence to tackle your next flooring project. Thank you for following my building journey. Remember Build LOUD, Build WILD and have an AWESOME day!
Sadie