5 Easy DIY's To Transform Your Kitchen
Does your kitchen feel a little outdated and in need a refresh? Well, I have 5 Easy DIY’s to Transform Your Kitchen… starting today!

My kitchen BEFORE 5 Easy DIY’s.
This post IS sponsored by The Home Depot. All opinions are my own. This post DOES contain affiliate links. For more on the affiliate programs I participate in, see my DISCLOSURES page.
Number 1 - Clean, Clean, Toss, Organize
This one is a little obvious and the least fun of the five, so I’ll get it out of the way first. Clean your cabinets… wipe them down, vacuum them out, toss or donate items you don’t use and organize what is left. We renovated our kitchen when we first moved in about 5 years ago and I don’t think I have done this, except for major spills, since then! Yuck!
For the cabinets I wiped them down with a mixture of hot water, powdered tide and bleach. I learned this from a cleaning account on Instagram called Go Clean Co. They have amazing cleaning tips and I purchased my favorite vacuum and a horse hair brush with their recommendation. And boy when you have the right tools, cleaning isn’t so bad.

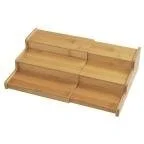
And here are a few of my favorite drawer organizers.

This bamboo tray organizer is adjustable to fit your drawer perfectly!

I like these dividers for my bigger drawers to hold bigger utensils.
I don’t have this one yet, but need to add it to organize my spices.
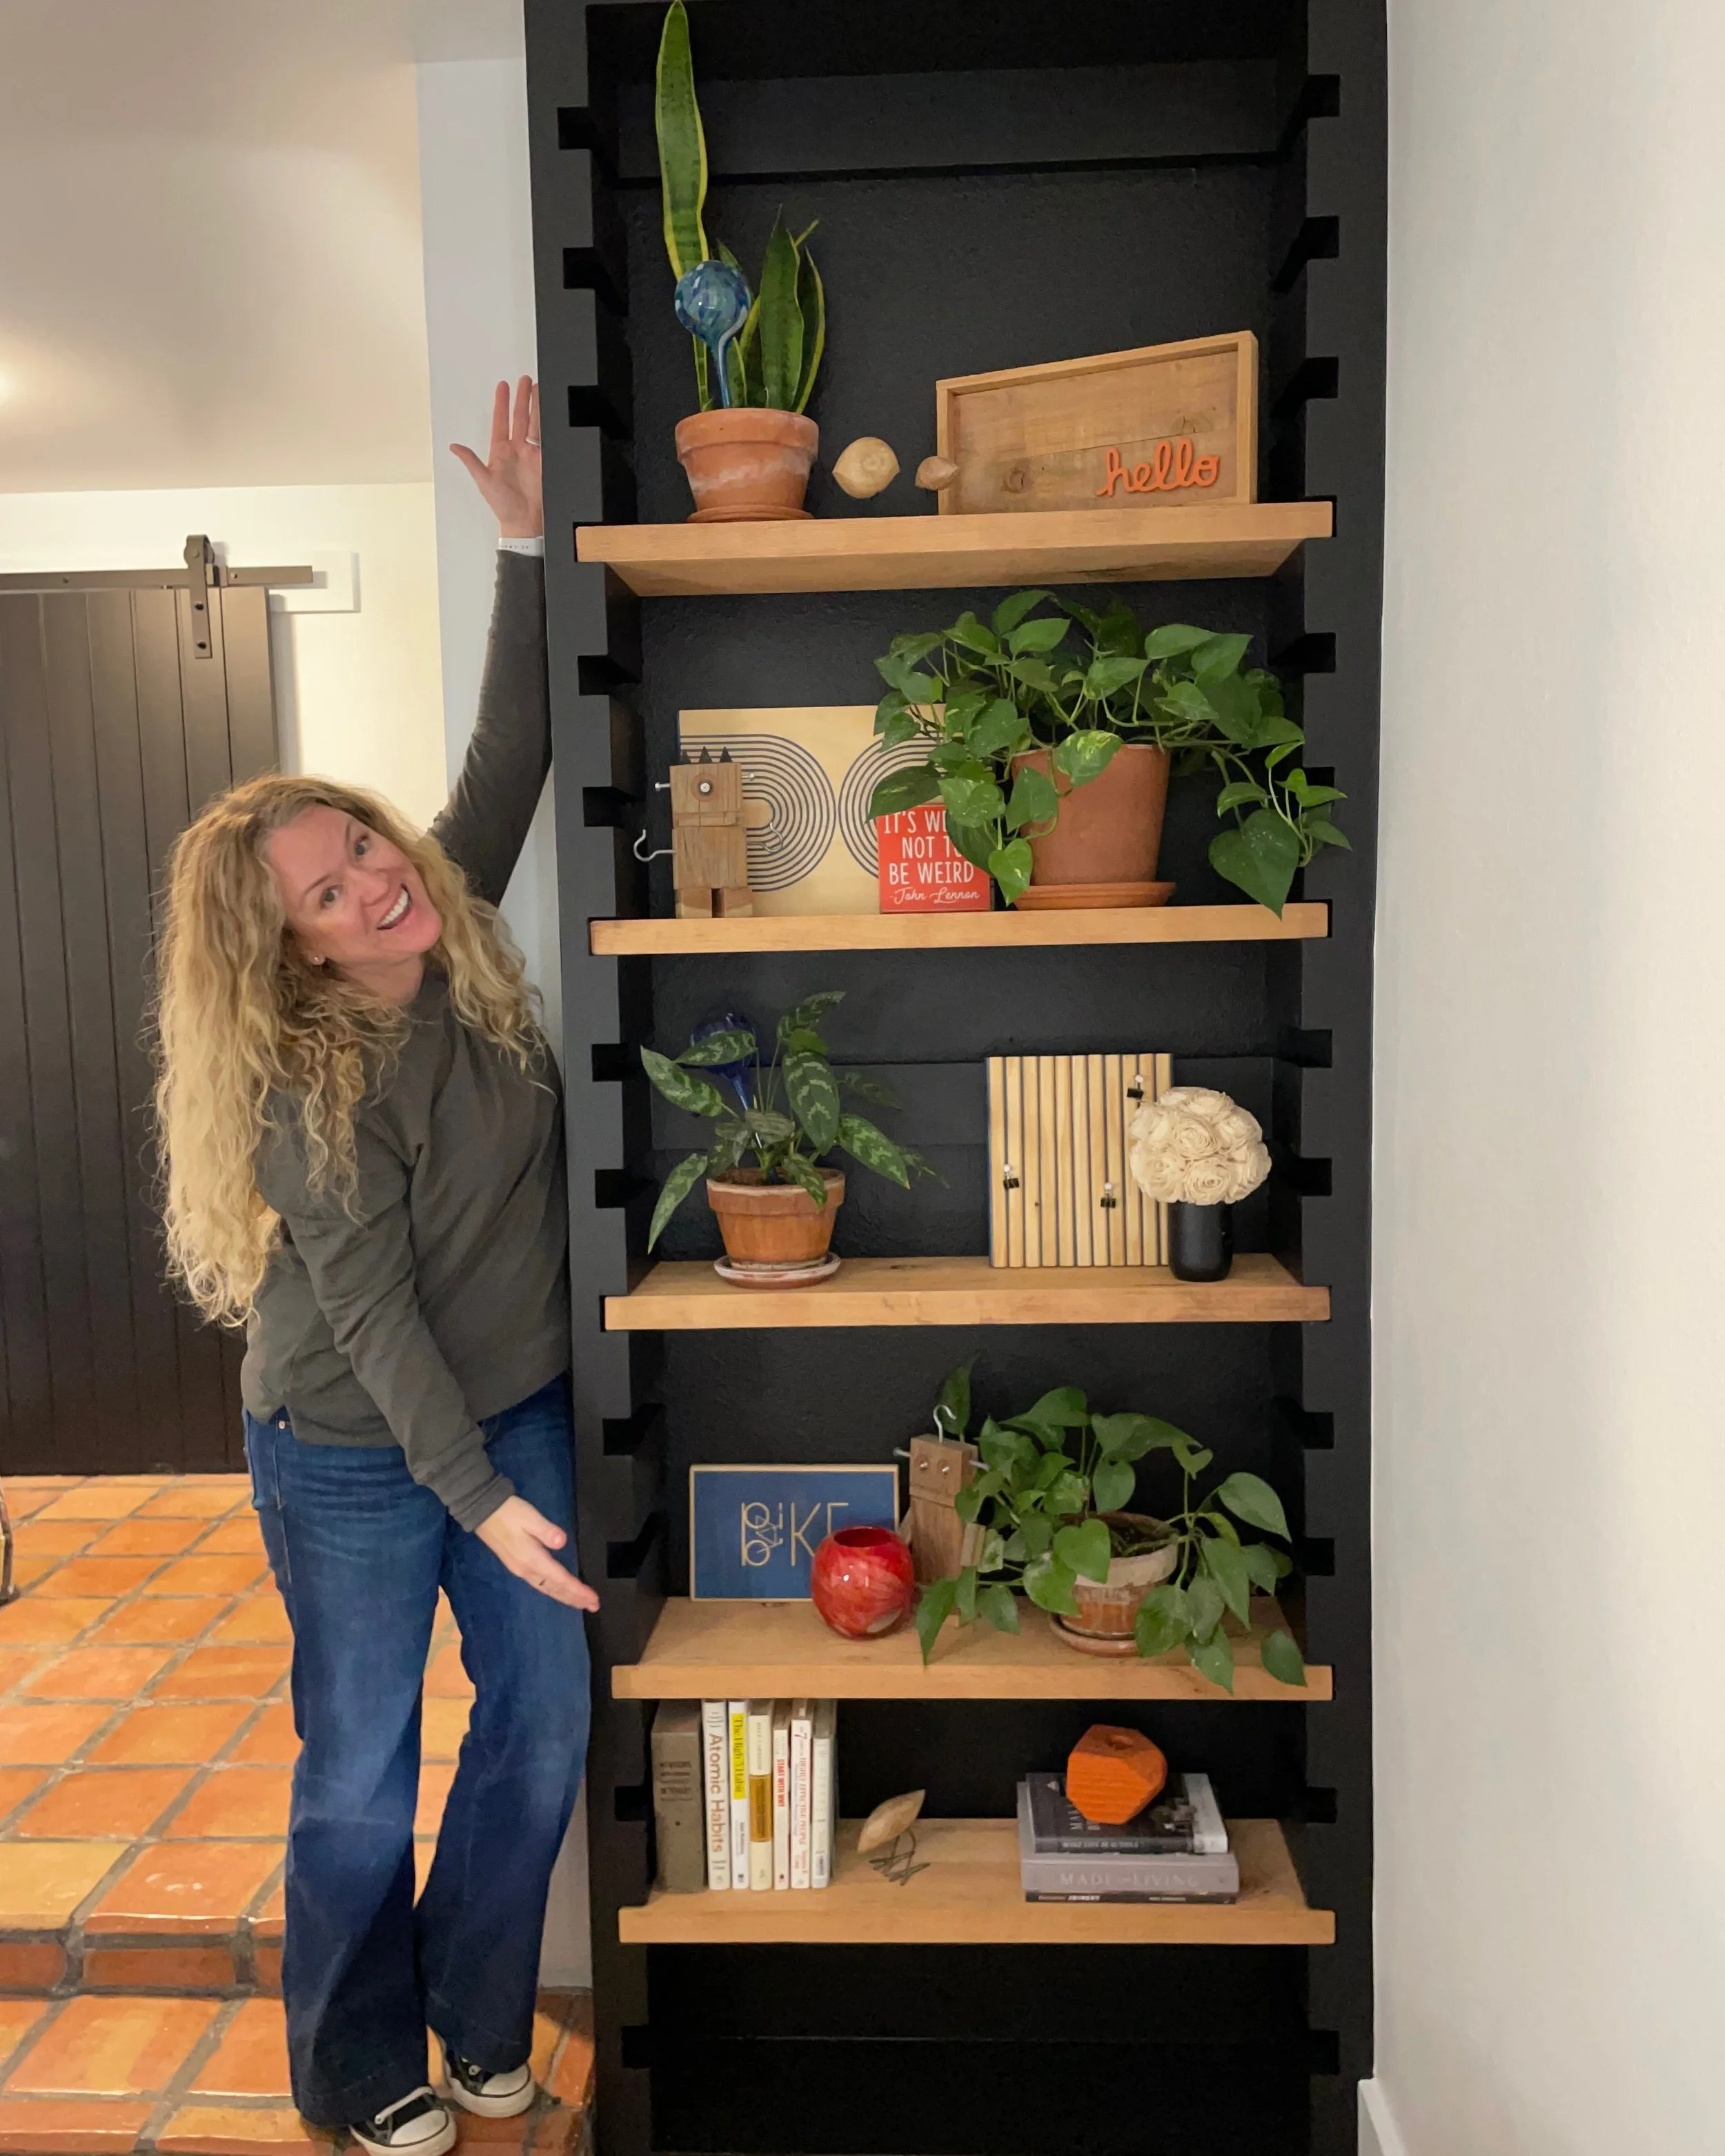
Number 2 - Add Floating Shelves
Now with that out of the way, let’s get to the good stuff like adding some floating shelves. I had an open spot that shelves would go perfectly in. If you don’t, sometimes you might have an awkward cabinet off by itself that you could remove, touch up the holes and paint and then put the shelves there. Everybody’s kitchens are different, but I just know having some open shelving really opens up a space and can give you a spot to store all your pretty dishes. I use my as a functional spot, because storage is limited in my kitchen but it does also have a few decor items on it that make me happy.


For the floating shelves I used these awesome black metal brackets I found at my local Home Depot. They fit the width of standard lumber so you only have to cut the length of your boards and sand, stain and seal them. A super easy and starter DIY project. When hanging the brackets you need to make sure that they are going into studs or use drywall anchors. These screw in ones are my favorite. Oh and for a super finished look, be sure to paint your screws black to match or color them in with a sharpie!

I used wood that was the same width as a 2x10. The brackets were only $13.65 each.

2x10 Construction Grade Lumber works great for shelves.

These anchors are so easy to use, just screw them in!

I love my shelves and use the dishes on here everyday!
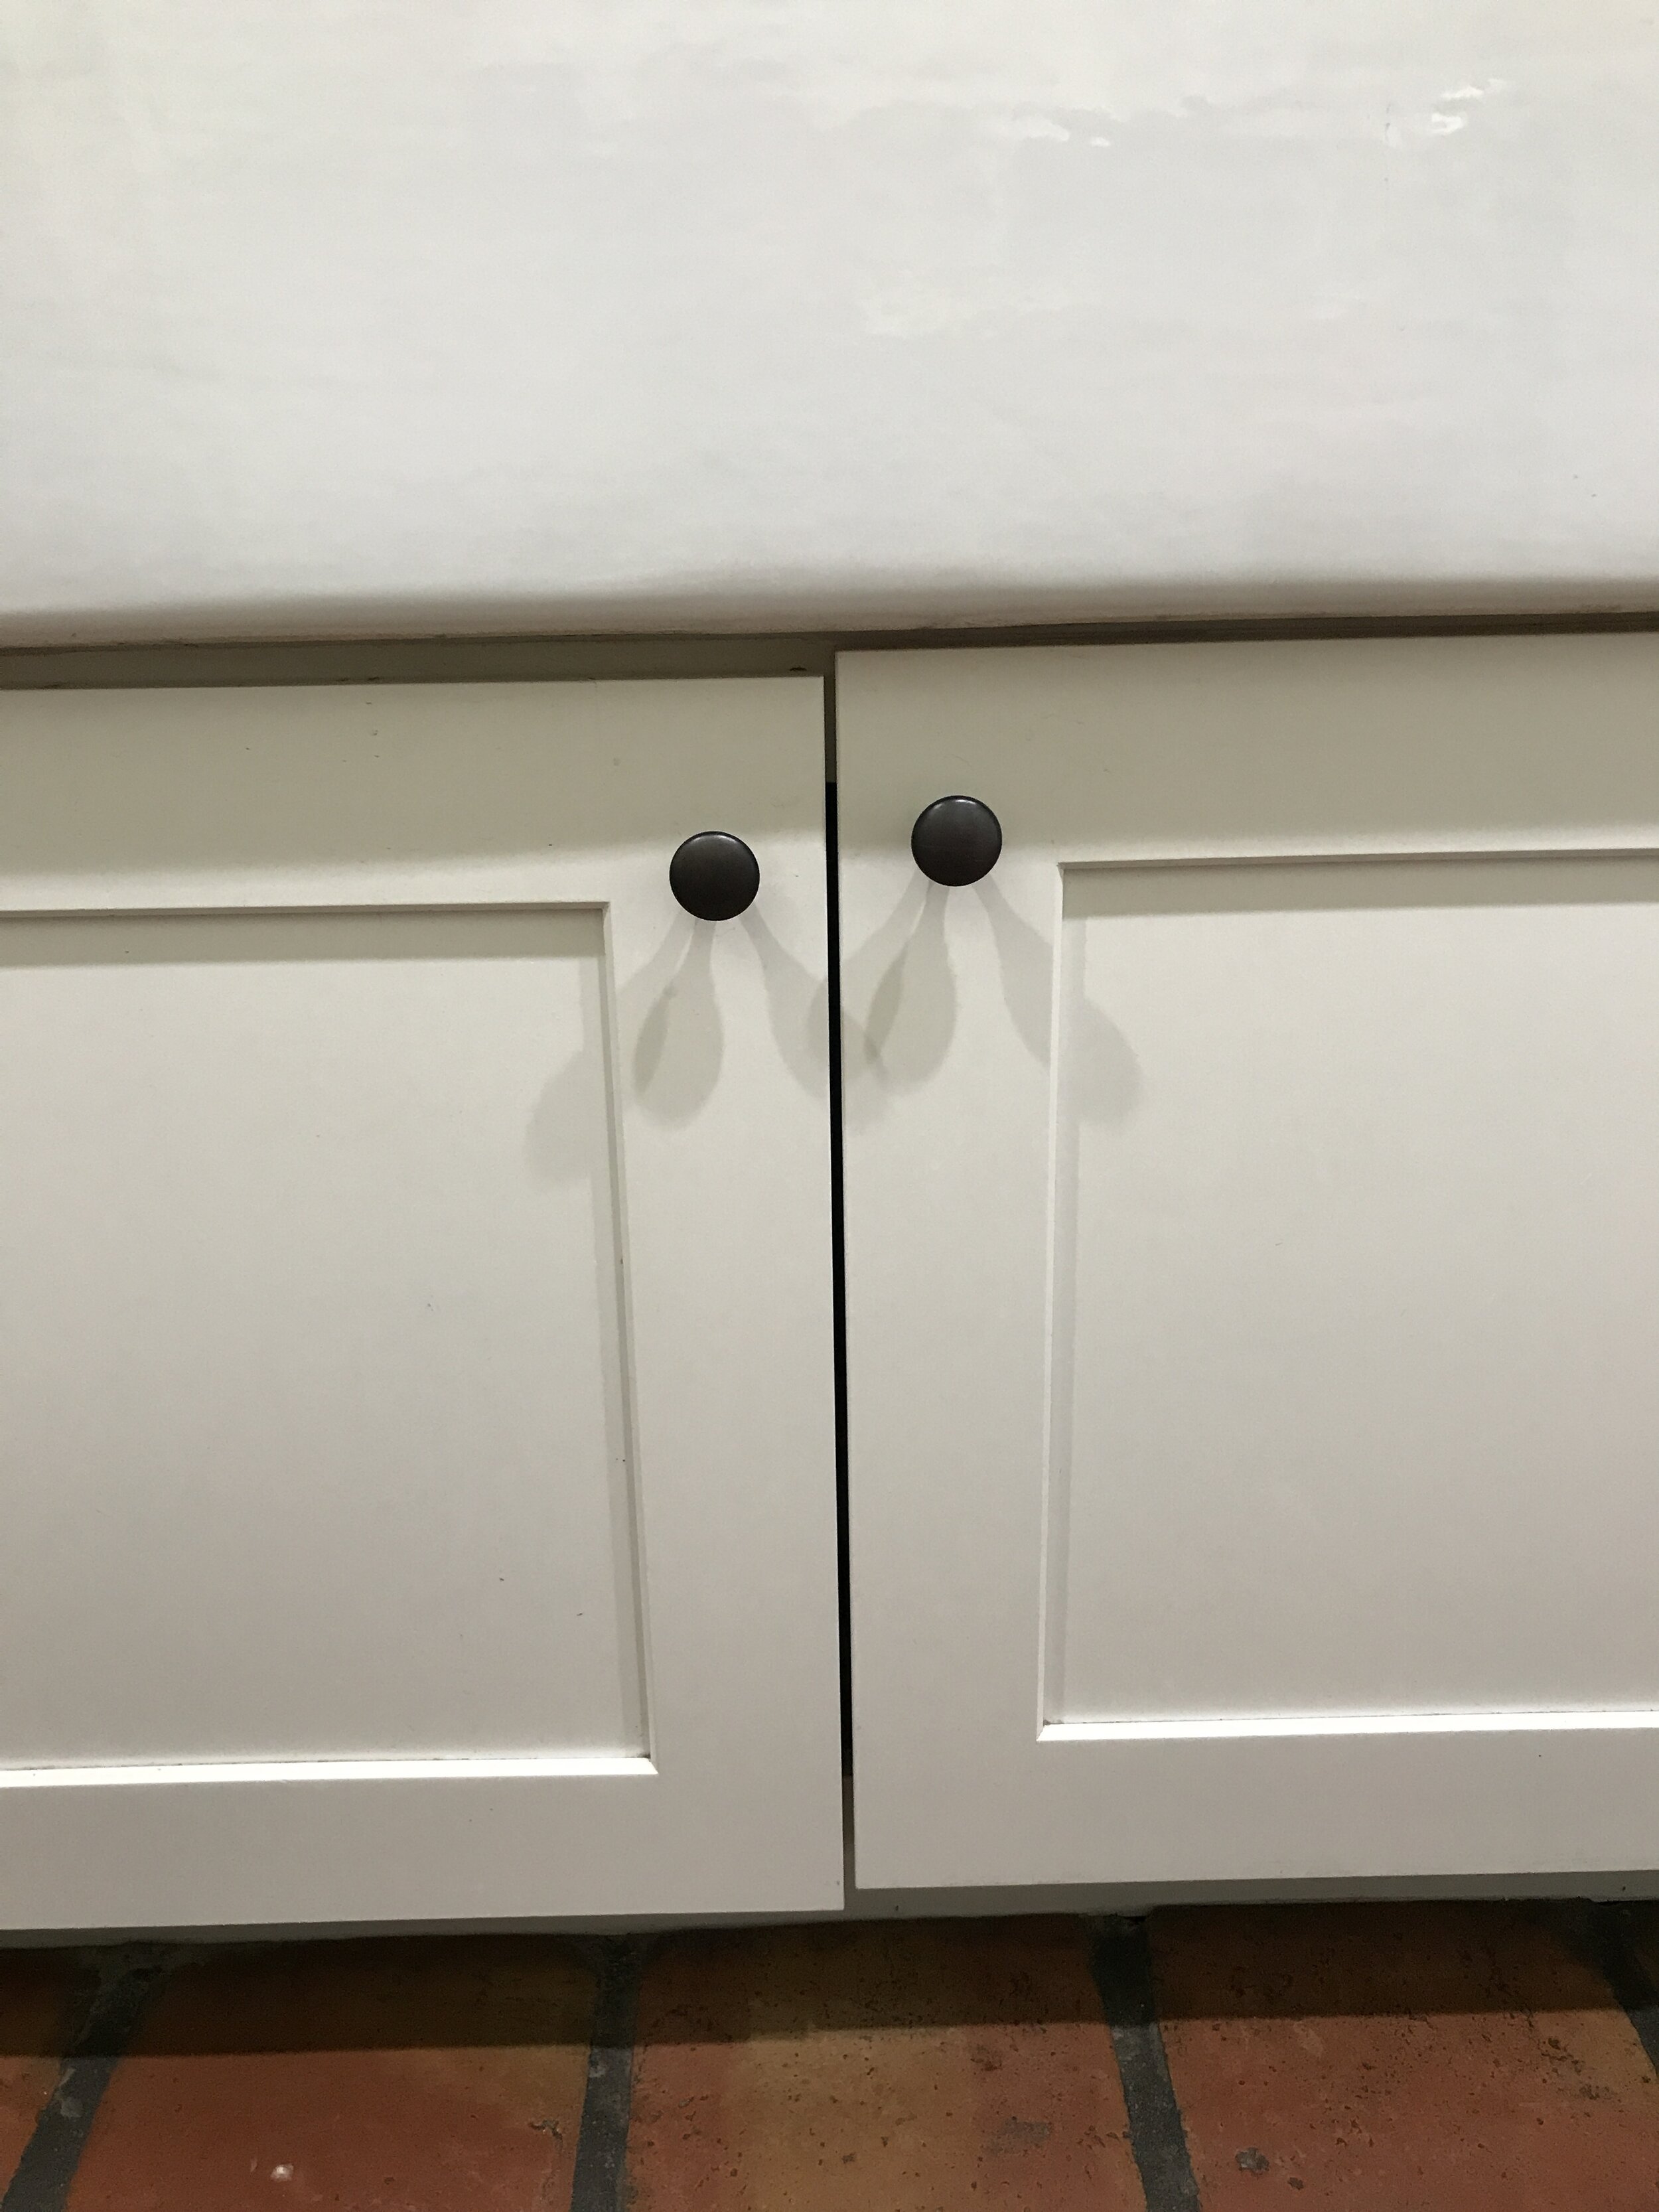
Number 3 - Replace Existing Hardware
This is the #1 DIY way to transform your kitchen, in my opinion. Your cabinets might be in great shape and the easiest way to give them a facelift is to replace the hardware. Mine had the hardware on them that came with the cabinets. It wasn’t horrible, but it wasn’t my first choice either. It had a brushed bronze finish and lacked personality.

Hardware BEFORE. Okay, but not my style. They look darker than they actually are in this picture.

New - Top, Old - Bottom

After - New Hardware
I think black ones would go with my space so much better and go with my more modern mid-century vibe. I ended up picking these from The Hardware Hut.

Kinney Knob 1 1/4” Flat Black - $7.65 Each

Kinney Pull 3 3/4” Flat Black - $7.88 Each
If you get hardware that has the same screw pattern as your old ones, this is a super simple DIY… I feel like I keep saying that. Haha… but it’s true. All you will need is a screw driver. I used this Husky one and it made it even easier. It has ratcheting action, so it was easy to hold the new hardware with one hand and screw it in with the other hand even with it being tight inside the cabinet drawers. This is a tool that I think should be in everyone’s home tool box, because it has 12 different screwdriver heads on it. So instead of having 12 screwdrivers in a drawer for little fixes around the house… you only need one! #winning

Easy one handed use with the ratcheting action.

12 different bits store safely inside ready for whatever project.

You can turn on and off the ratcheting action or reverse it easily.
Also, while you have you screw driver out now is a good time to adjust any cabinet doors that have come out of alignment. Most doors will have adjusting hardware that will make this super easy with just a couple turns of the screws.
Before adjustment

Typical hinges that adjust.

After adjustment
Number 4 - Add a Wall Treatment to Your Island
Texture is totally in, so why not add some to your kitchen island. I feel like adding texture to your island and painting it can really ground your space or give you a focal point. I added some simple modern vertical shiplap to mine. It is actually faux shiplap… or bender board. It comes in 3 3/4” x 1/4” thick by 8 feet long strips. I like using it because it is already ripped down to size and since it is mdf it is smooth and easy to paint. You do need to use primer when painting mdf or else it will take a ton of coats to get the right coverage. To install them I just cut them down to size and attached them to wall using 1” 18 ga brad nails. You can use contact adhesive, but I wasn’t sure this was going to be hear long term so I decided the nails would be good enough.

Before

During

After, but before paint!
Then fill the nail holes, prime and paint. Super simple DIY wall treatment.
But if that look isn’t your style you can always trim out different patterns on your island using moulding or 1x materials. The possibilities are endless. Or if don’t want to have fun with power tools, even a fresh coat of bold paint can change the look of your space.

AFTER! I love the texture and how the dark paint grounds the space. I painted the island SW Tricorn Black.
Number 5 - New Barstools
And lastly, update the look of your kitchen with some fresh new barstools. When picking out your barstools keep in mind if you want them to be more of a hidden feature or a focal point. Like do you want them to stick above the counters or not. And then from there you have endless possibilities of designs to choose from. I picked up mine here. And I like them because the colors go good with my space, I like the metal legs, that they don’t stick over the counter so the counter looks wide open and then lastly the price was right!

OLD

NEW - Only $65 each!
And here is my kitchen after a few DIY updates! We have done a ton more to this space, but I feel like these 5 DIY’s are things anybody could do to make their kitchen feel more like them. After-all we spend so much time in them, we might as well make them a place that we enjoy being.

I hope you enjoyed these tips. If you have any tips you would like to add to the list, leave them in the comments below. And if you do end up doing any or all of these to your kitchen, please tag me because I would love to see your results.
Thanks for following my building journey… remember Build LOUD, Build Wild and have an AWESOME day!
Sadie Mae
Can’t complete these now? PIN this project and save for later!