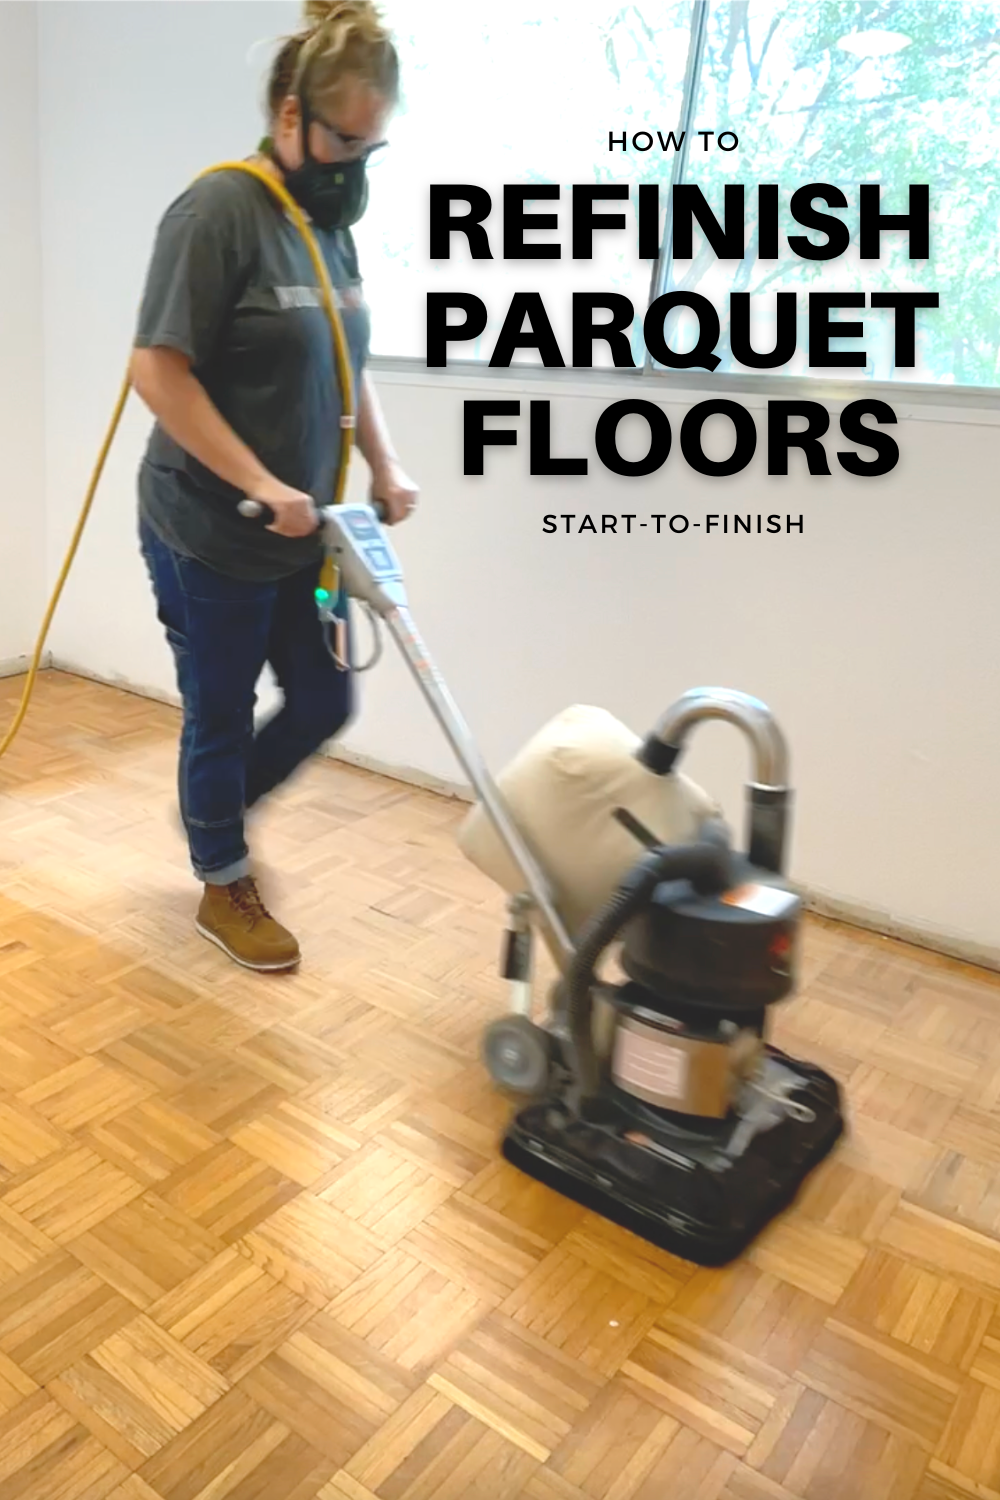
Refinishing Parquet Floors: Start-to-Finish
I am so excited, because I am getting my office back! But there is a lot of work to do to get it just right.

Before

Before

Before
This post DOES contain affiliate links. See DISCLOSURES for more information about affiliate programs.
When we first moved into this house 7 years ago this was my office and my husbands part time office, so I created the double desk top and that was pretty much all we did in here. Then when Covid hit, my husband moved in here full time and I was out…. haha! But he has since rented an office space and I get to make this space all mine. So to start I am going to to demo the desk top, paint and then refinish the old worn orange oak parquet floors. Let me show you how I did it!
SANDING:
Since the floors were parquet the wood grain was going in two different directions, so with my experience of sanding table tops I figured a orbital sander would be better than a belt sander. So I rented this sander from Home Depot. It is a rectangle shape, but it orbits. It was about $60 a day for the rental and I ended up having it for two days.
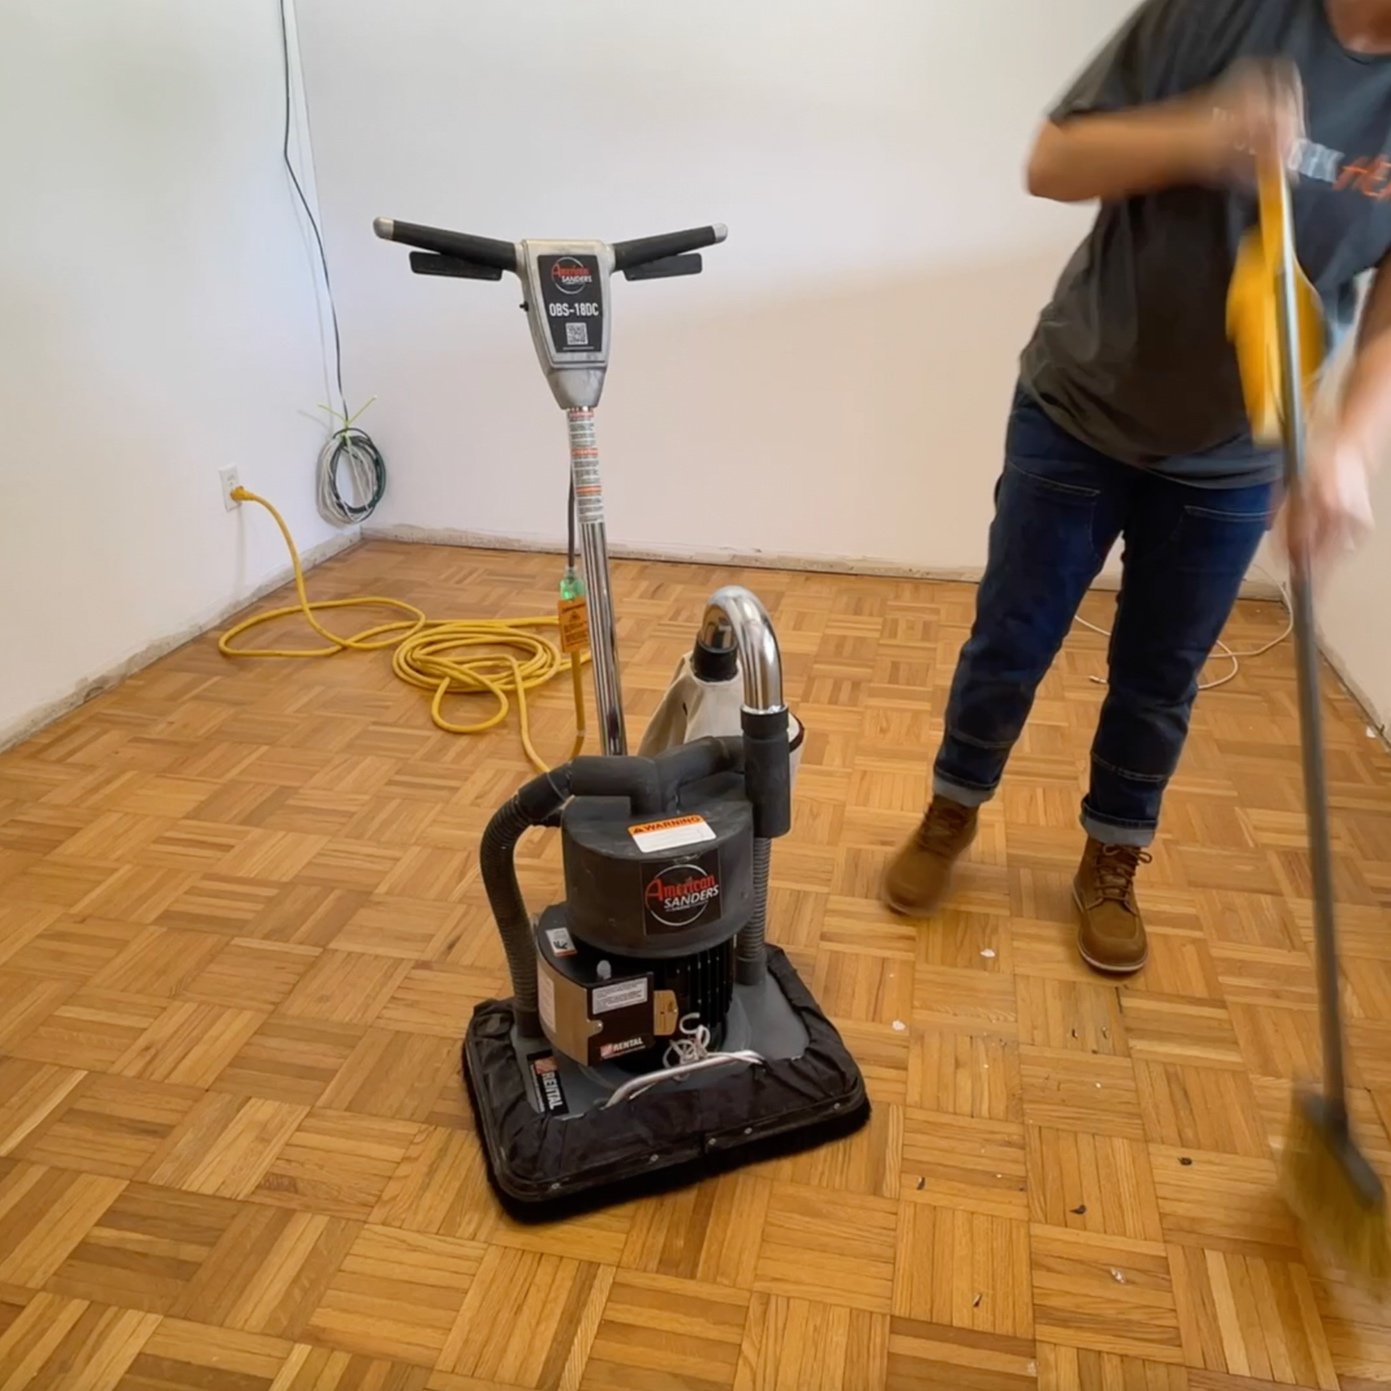
Rectangle Orbital Floor Sander I rented from Home Dept.
I also had to buy a red pad thing that attaches to the sander and holds the sandpaper… something else I had to buy. And I did end up having to go to several different Home Depot’s to get all the grits and quantities of sandpaper that I needed. The room is about 10’ x 14’ and I ended up using:
3 - 36 Grit
3 - 60 GRIT
2 - 80 GRIT
2 - 120 GRIT
These were all roughly $8 a piece or about $90 in total.

Attachement pad, 36 Grit, 60 Grit, 80 Grit, 120 Grit Sandpaper.
I tried starting with the 60 Grit paper first to see if that would remove the finish and it didn’t work, so I then went down to the 36 Grit and that worked better. But it was a slower process than I thought it would be. I slowly walked back and forth on the floor letting the sander do it work. I would say that I approximately went over the floor 2-3 times. I did alternate directions and overlapped each pass. Needless to say… I got my steps in for the day.

Should have started with 36 Grit because sander isn’t super aggressive.
For the edges, I used my 6” random orbital sander after each grit.

I used my 6” Random Orbital Sander to reach the edges.
Once I felt like I got most of the finish off. I applied wood filler. See that section below for details.
Then the next day, I sanded the excess wood filler off using 60 Grit on the large rectangle sander, then 60 grit on the edges, vacuumed and repeated the process with 80 Grit and 120 Grit.

Sanding the wood filler off of the floor with 60 Grit Sandpaper.

Then 80 Grit and 120 Grit.
WOOD FILLER:
After I got most of the wood finish off, it was time to wood fill the gaps. And there was a lot of them. These floors were here when we moved in and they were installed directly on top of the concrete subfloor so they have moved over time and needed some love.

Lots of gaps on this parquet floor from being installed directly on the concrete subfloor.
I used Timbermate’s water-based wood filler in the color white oak. I’ve used this a lot before on furniture and really like it, but this is a first on the floor for me. Since I am covering a large area and the filler is on the thick side I went ahead and thinned it slightly with water. And then using a plastic spatula thing I filled the gaps. And by filled the gaps, I spread the wood filler over the entire floor as to not miss a spot!

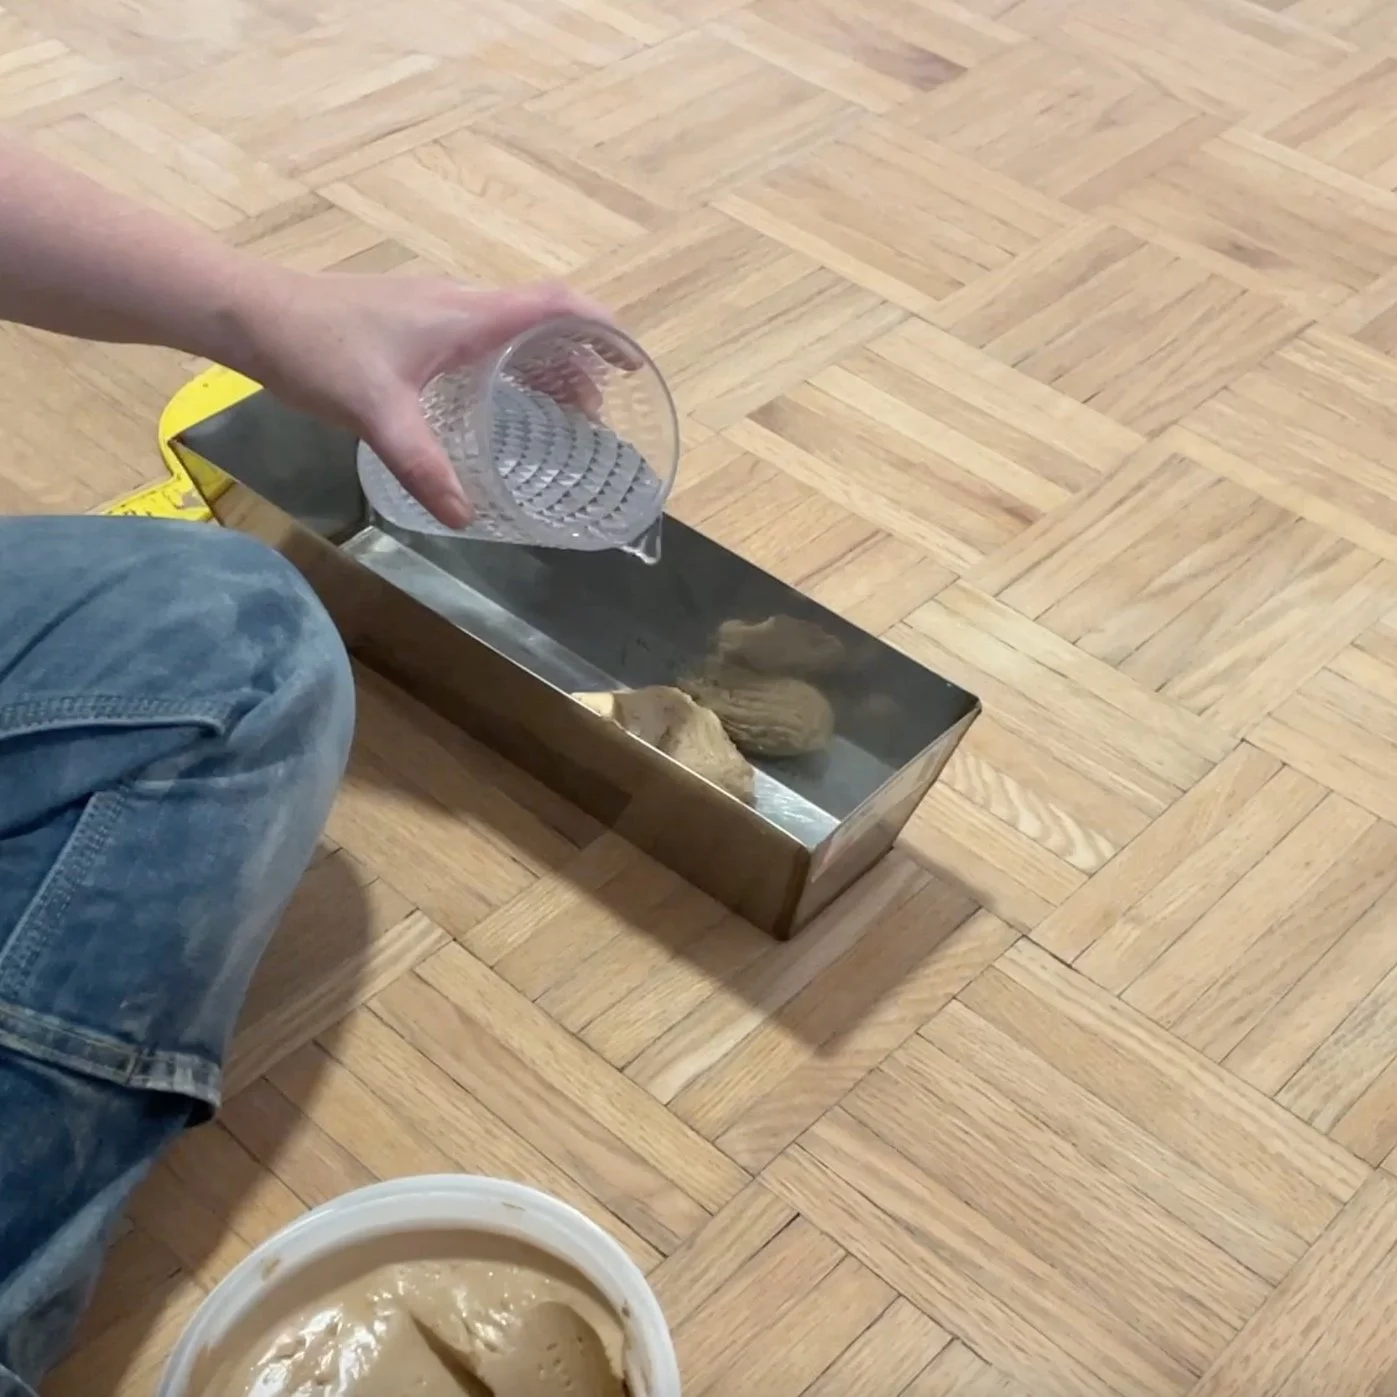
Added a little water to thin it out and make it easier to spread.
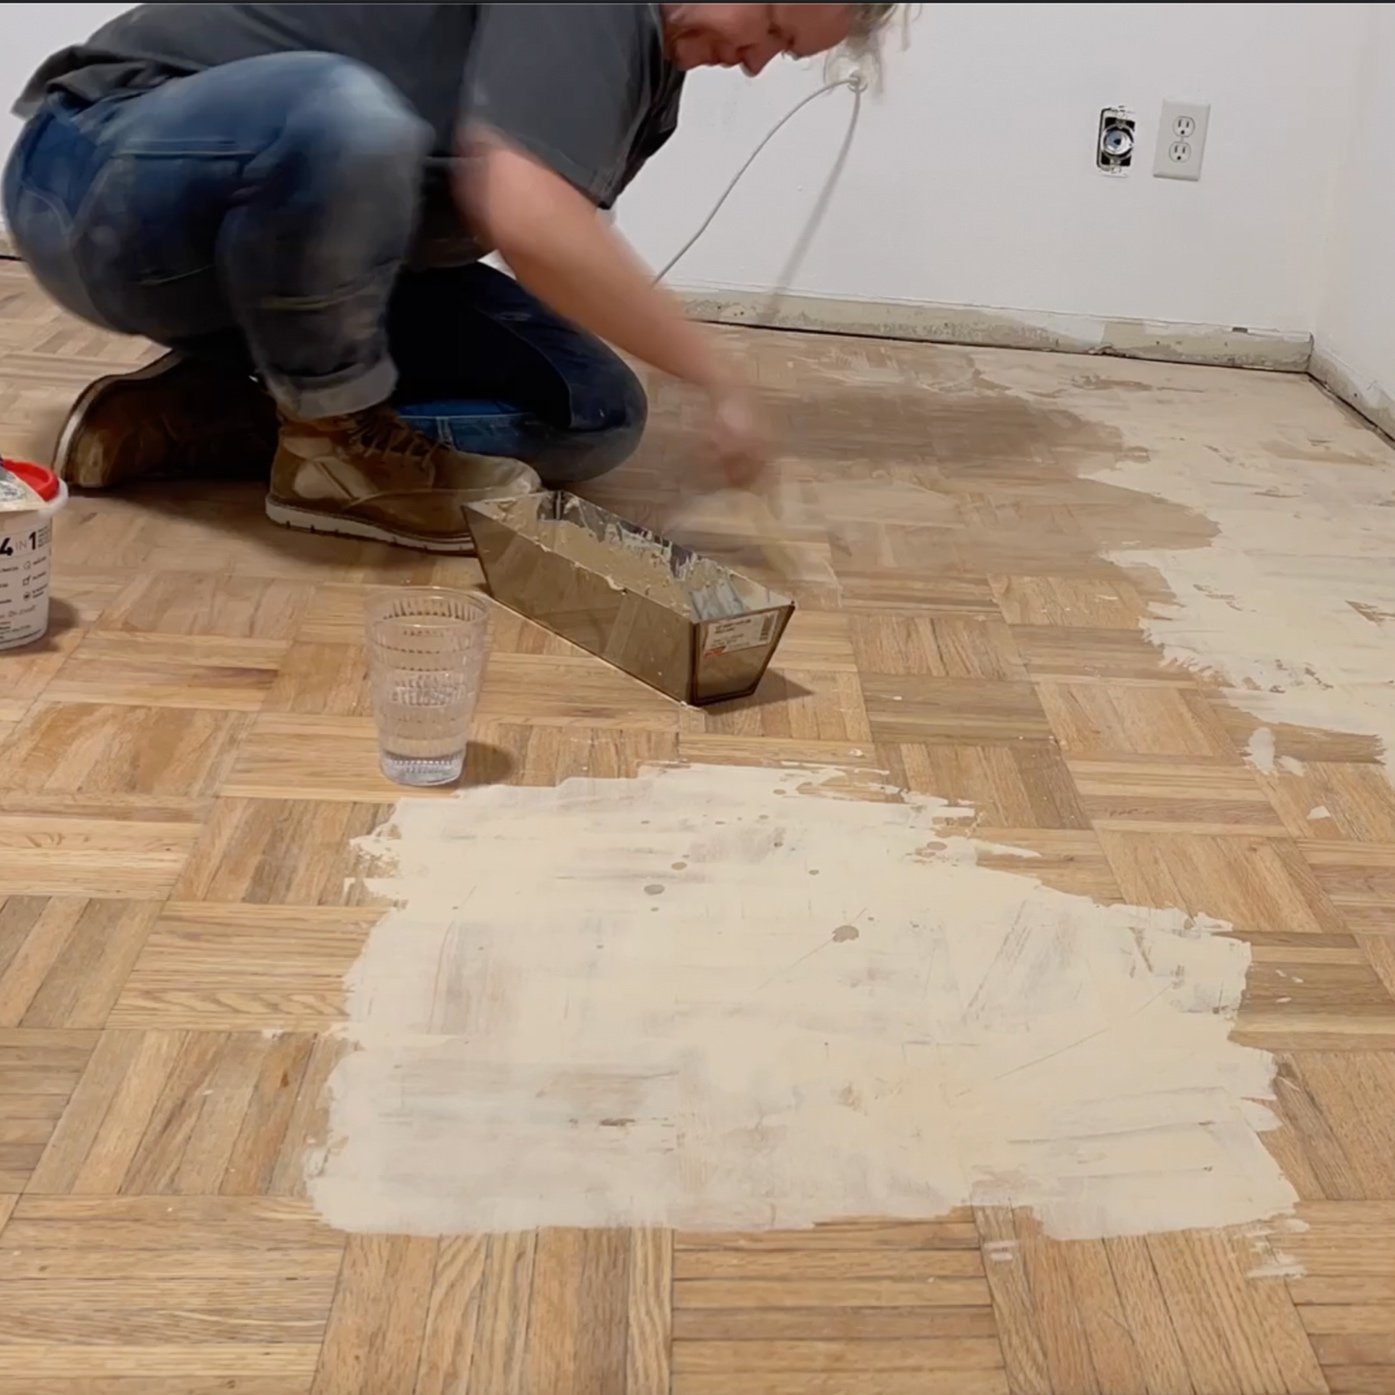
I applied a thin coat over the entire floor as not to miss a spot.
Was this necessary? I think yes, because there were a lot of gaps and I think it saved time overall. Plus, I have seen some professional flooring people to this before…. so it must be the right way!
CLEANING:
The process creates a lot of dust, so make sure to seal off any areas that you don’t want to get dusty and be sure to wear a dust mask. I really like this one.
Also, be sure to vacuum after each grit. You don’t want excess dust or piece of the sandpaper grit that might have come loose to get stuck under the sander and cause swirl marks in the wood.

Lots of vacuuming after get sanding grit.
And the last step before sealing the wood is to wipe it down with mineral spirits. Even after vacuuming there will be some dust on the floor and the mineral spirits with cling to that and wipe right up without raising the grain of the wood like water would.

Mineral spirits to clean the last of the dust.

Almost finish time!
FINISHING:
Now on to finishing! I used Rubio Monocoat finish in the color white 5%. I chose this color because I wanted to keep the floor looking natural, but take out some of the yellow and orange tones. I like Rubio because it is a one step stain and seal process. It is an oil waxed based finish that bonds with the wood, so you don’t get lap marks that you can risk getting with traditional stain. And it is easy to apply.

Rubio Monocoat in 5% white is definitely my favorite on oak…. it leaves it natural but takes some of the yellow away.
You mix the two parts together and spread it on the floor in sections using a plastic spreader. Then rub it in using a white scotch pad. The white pad won’t scratch the floor and ensures that you get the finish everywhere. Then let it sit for a few mixtures and rub any excess of with a blue paper towel. Then move onto the next section until the floor is complete. That simple!


And did I mention that the Rubio leaves the floor with a nice matte sheen and feels like real wood, unlike a polyurethane finish that can leave the floor feeling like plastic. I only needed one of their 350ML cans to covere the entire room. And it cost roughly $60.
Then lastly, then next day I installed baseboards and shoe molding and my new office was ready to move into!
I absolutely love how the floors turned out and all for about $300! Well… and a lot of labor! But it was worth it.

I love my new floors… but it was hard to photograph them with the true color depiction.
Here are some of my takeaways or things I would do differently.
SUMMARY:
I think I would use a belt sander if I had to do it all over again. I might risk getting sanding marks, but it would be so much quicker and I could touch up sanding marks with my orbital later.
I would have only sanded to 80 Grit. With sanding to 120 Grit it made the floors super slippery! Like don’t walk in there with socks only slippery… haha! I think this will improve over time as the floors get roughed up, but why sand an extra grit if you don’t have to.
Costs:
Sander Rental - $120
Sandpaper Supplies - $90
Rubio Finish - $60
Wood Filler - $30
Misc. Supplies - $0, I had them on hand.

Before

After

Before

After

Gorgeous, Awesome… I am in love. Now to move into my new office!
Let me know if I missed anything in the comments below. And as always, thank you for following my building/making/refinishing journey. Remember Build LOUD, Build WILD and have an AWESOME day!
Sadie Mae
SAVE THIS POST FOR LATER… PIN IT!