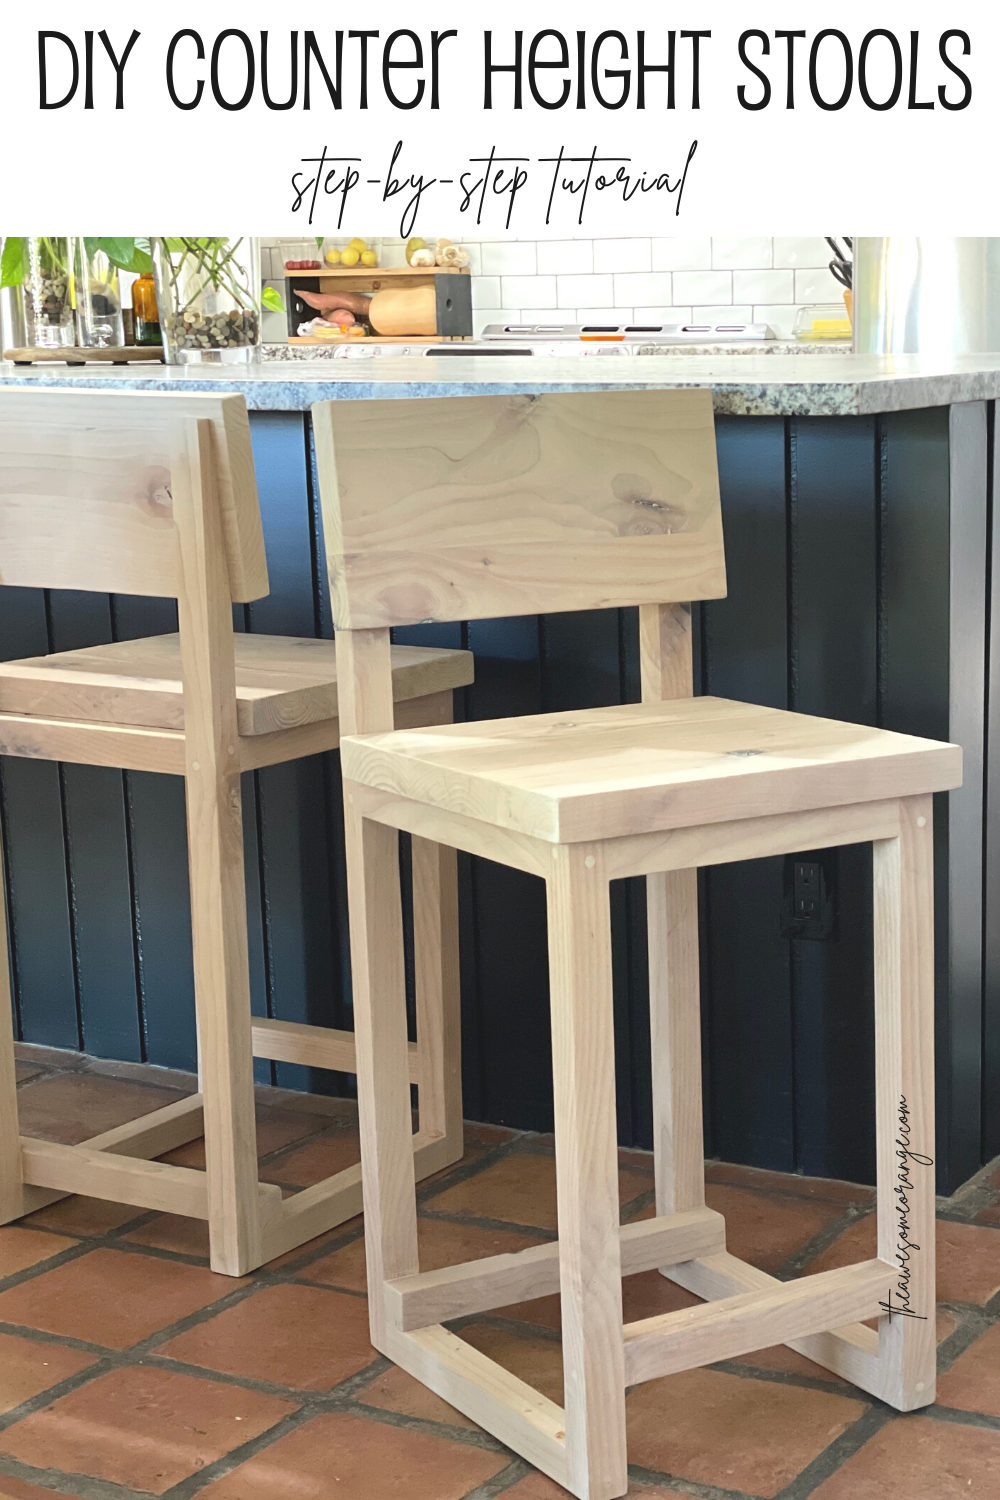
DIY Modern Counter Height Chairs
Today I am sharing how I made some AWESOME counter height chairs or bar stools! These are for a client and match a dining room table and benches I made for her. I can’t wait to see the complete set altogether.

Matching Benches!
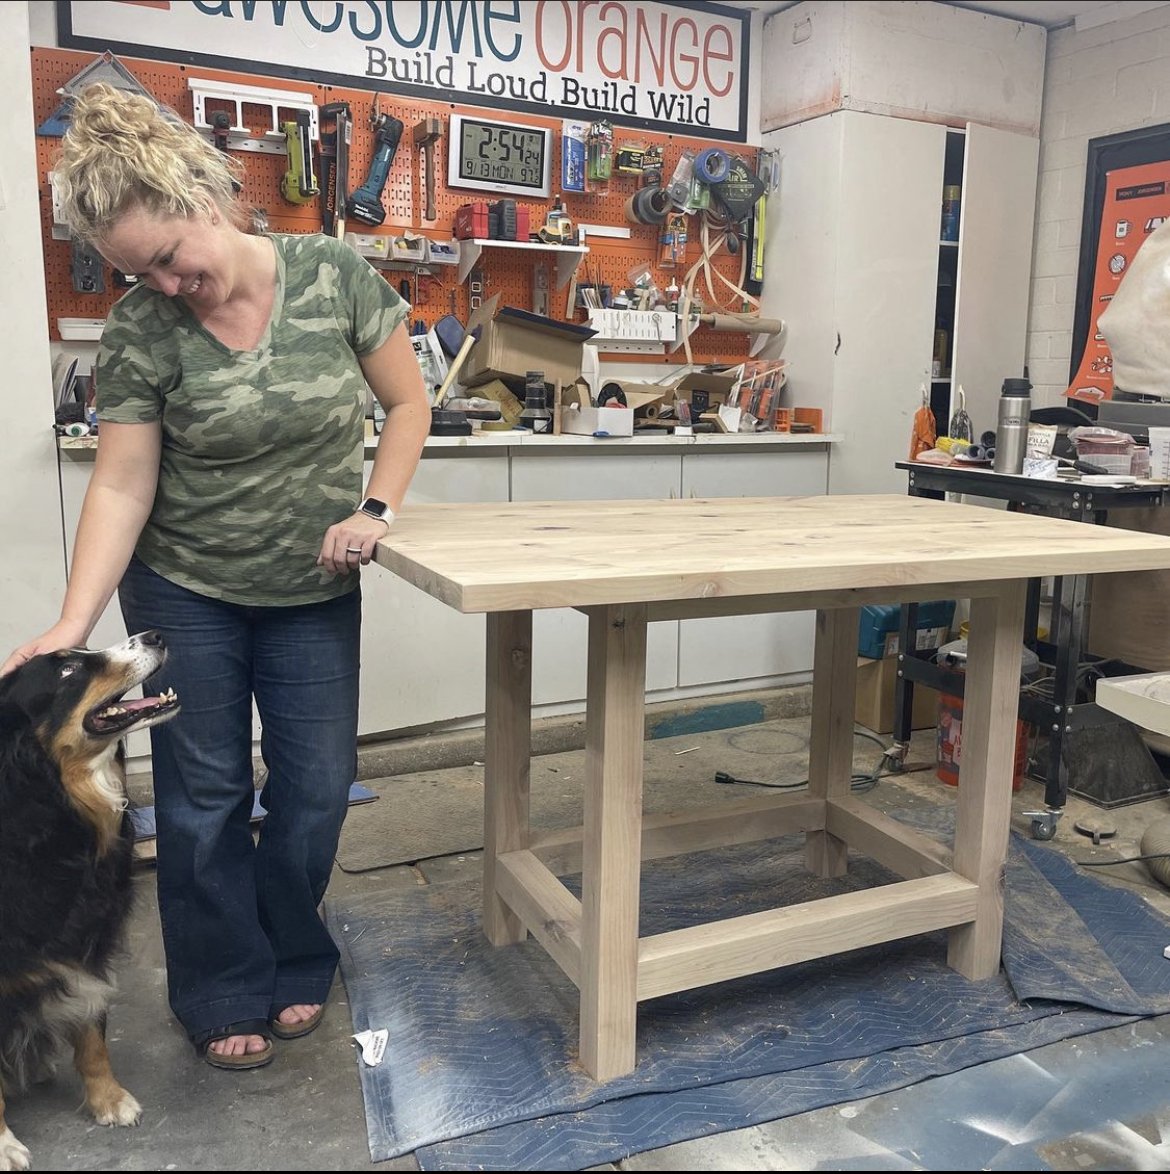
Matching Dining Table!
This design is a simple way to make chairs… the joinery is mostly butt joints with countersunk screws! So this is a great project if this is your first time making chairs… or stools… not sure what to call them!
This post IS sponsored by PONY | Jorgensen. All opinions are my own. This post DOES contain affiliate links. For more information on my affiliate programs, see my DISCLOSURES page.
Let me show you how I made them!
Step #1:
Like most projects step #1 involves milling up the wood so that it is square and ready for glue-ups.
If you don’t have a jointer, planer and table saw the dimensions of these chairs work with using dimensional lumber… 2x2’s and 2x6’s.
Step #2:
Glue up panels that make the seat bottoms and the seat backs. I love these PONY | Jorgensen Cabinet Master parallel clamps because they squeeze with equal pressure on both sides of the workpiece helping to prevent bowing. Plus, they create a nice solid work surface and can easily be used on the ground for large panels or you can stand them on end to clean the glue off both sides before it dries. And that means you can store them out of the way while the glue dries as well.

If you are wanting to build yourself some counter height chairs… I have complete build plans available. They include… Tools List, Materials List, Cut List and Step-by-Step Instructions with 2D diagrams!

All pieces are milled… now let’s cut them to length.
Step #3:
Once everything it cut to length, I then used my tapering jig on the table saw to cut a 7 degree taper on the back legs. This is tapering jig I used and well I don’t recommend it. It didn’t feel safe even with me adding tape to it. So, I did end up ordering this jig for any future tapers that I need to make. It has clamps and looks like everything will be secure when using it.
The tapers are to give the backrest a tilted angle and therefore be a little more comfortable.

Taper on the back legs so the back rest is at an angle.
Watch me build these chairs on my Youtube Channel!
Step #4:
For the seat apron… or the pieces that the seat bottom attaches to I used my biscuit joiner and created some slots. I will be using table top fasteners or z-clips to attach the seat bottom to the chair base. Attaching them this way allows for seasonal wood movement.
If you don’t have a biscuit joiner you can also create oversized holes in the base apron and then secure the seat bottom to the chairs base using screws and washers. This way will also allow for wood movement.
Step #5:
Assembly time! Once I had everything lined up, I used my PONY | Jorgensen aluminum bar clamps to hold the pieces together and then pre-drilled a countersunk hole. I pre-drilled the hole to avoid possibly splitting the wood and to create the countersunk hole. This is the drill bit I used.
Once the holes were drilled I took it apart, added wood glue and then secured the pieces with #10 - 2 1/2” wood screws. I didn’t add the wood glue first because it can make it harder to clamp the pieces perfectly together. It did take a little longer doing it this way, but it ensured that it joint went together flush.
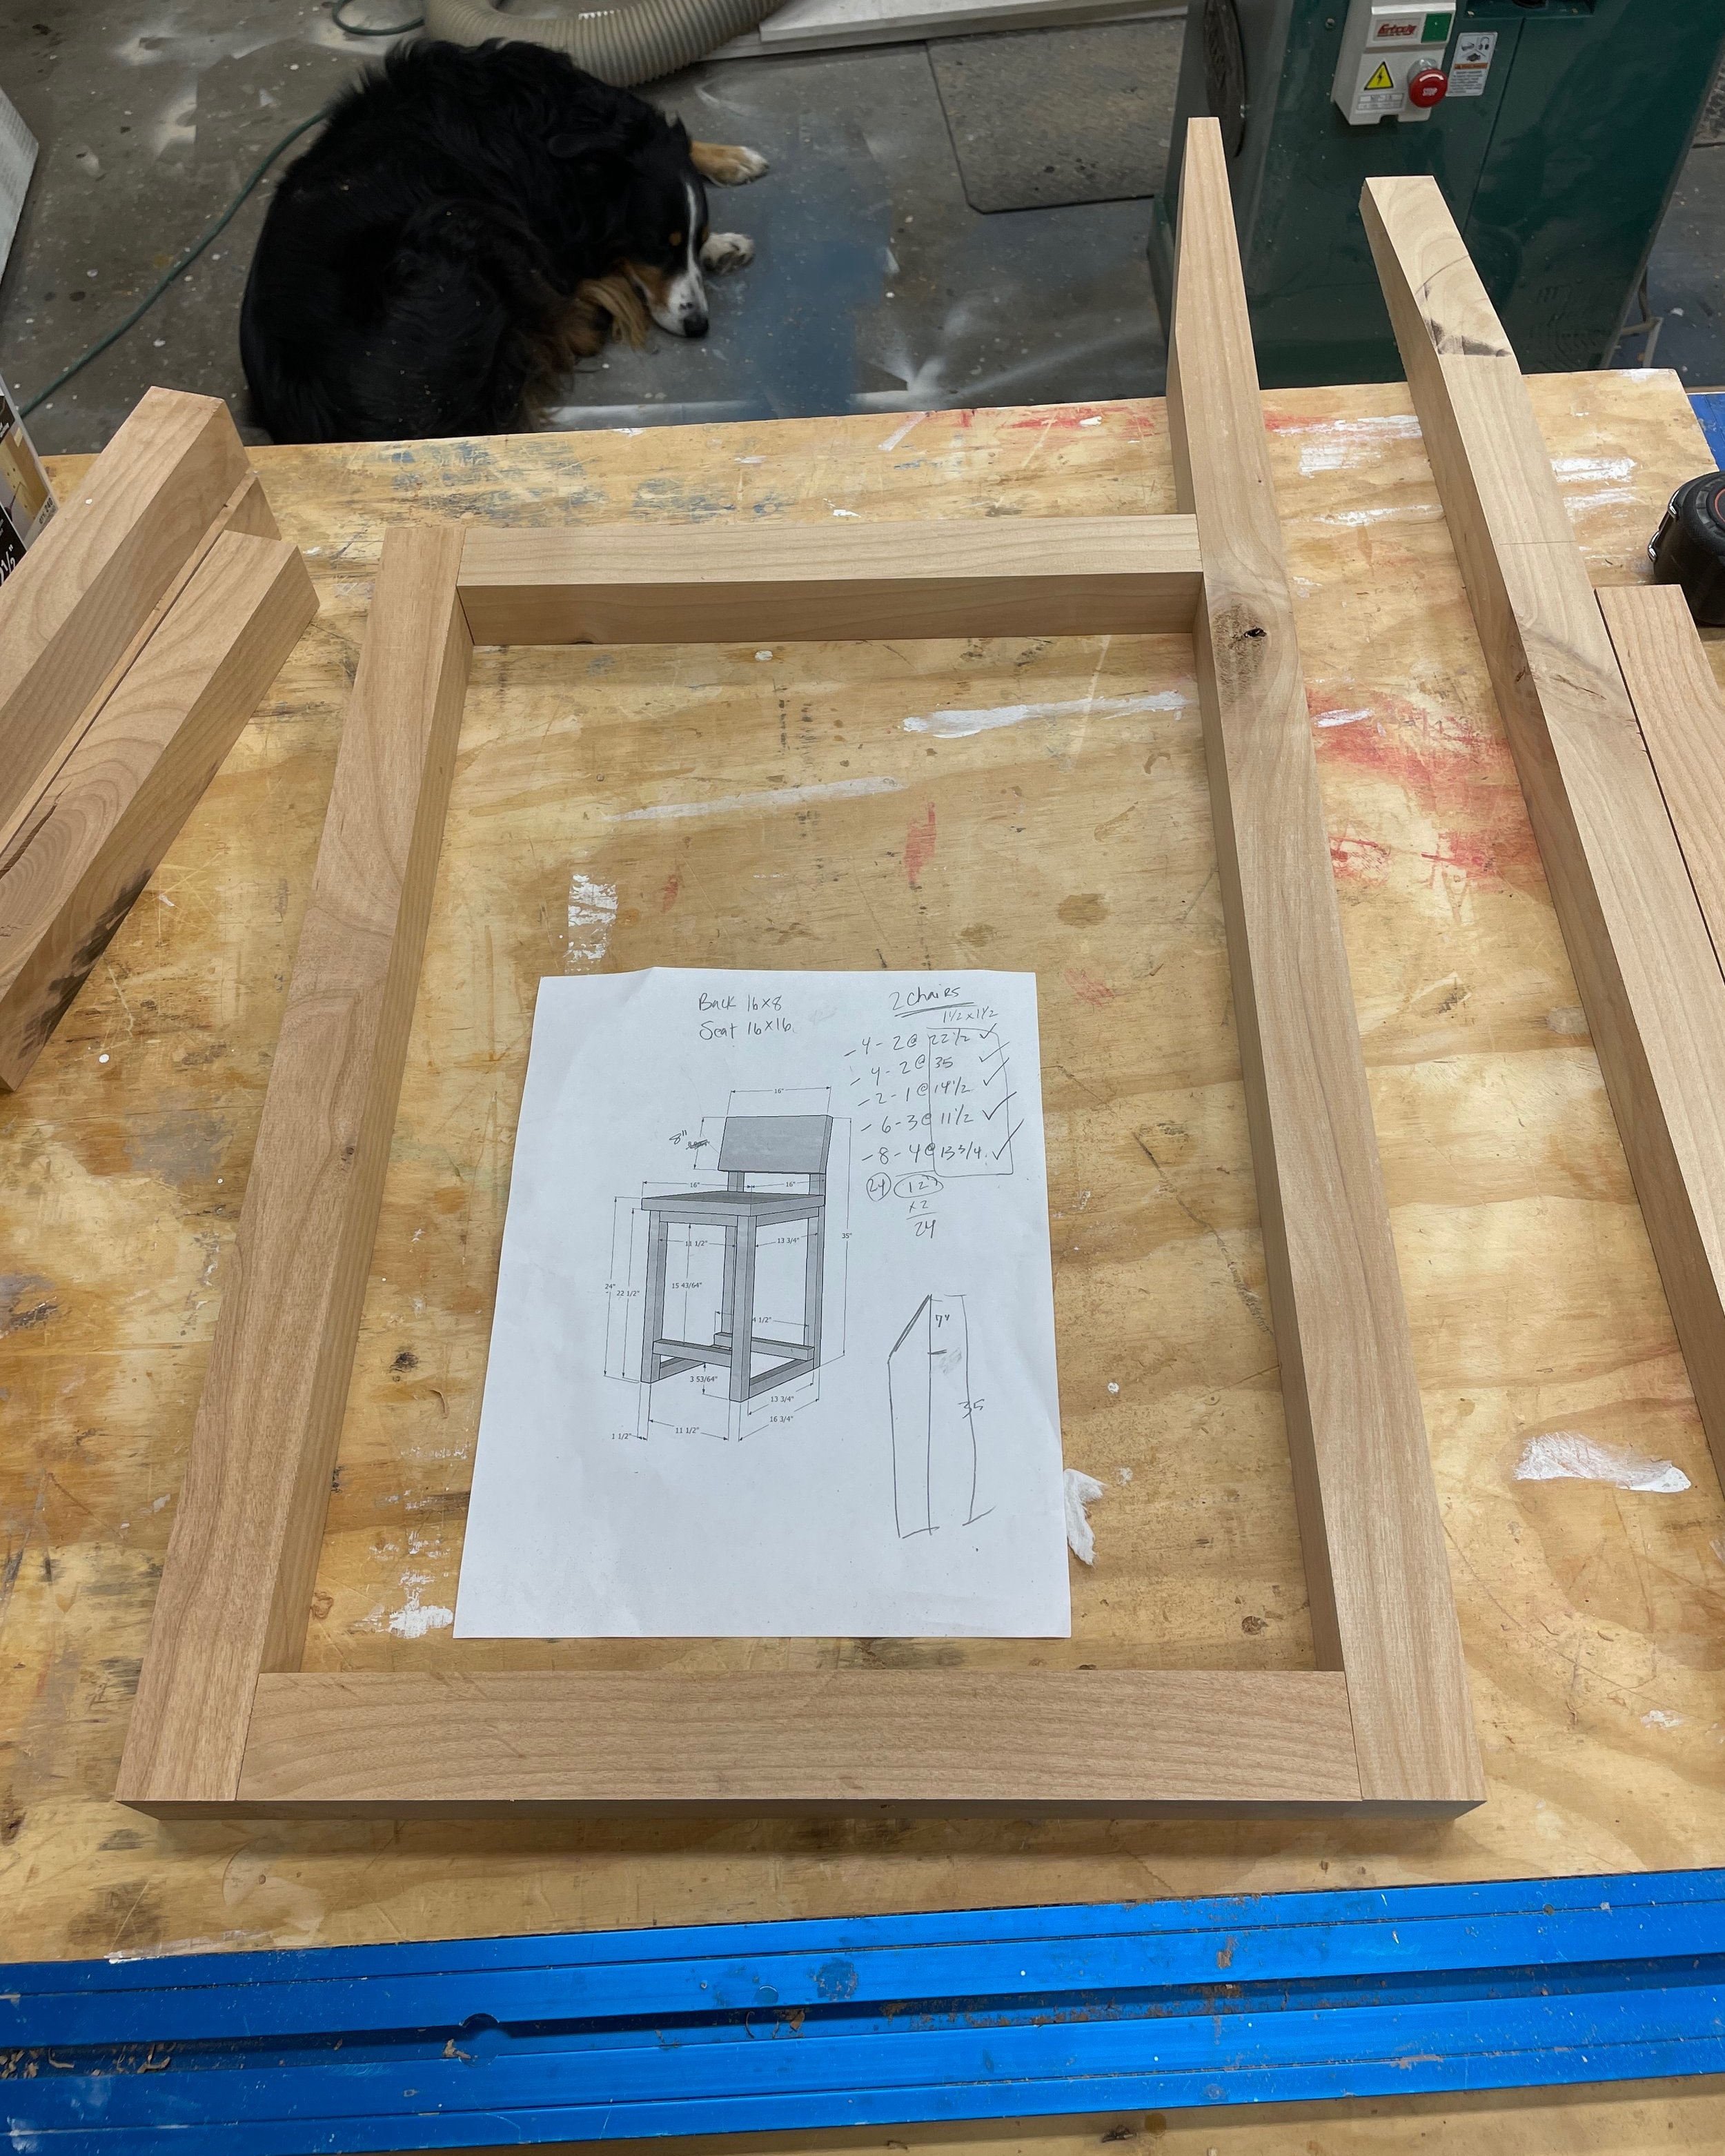
Assembly time… I created two sides and then secured them together with the cross supports.
NOTE: When pre-drilling the holes be sure to offset them because you will have cross sections on the base that two screws will be going through and you don’t want them to hit each other.

I love these PONY | Jorgensen aluminum bar clamps for assembly because they are light weight and easy to move around.

One side down…. three more to go!
Step #6:
Attache cross support pieces to join the two sides of the base. I did this the same way… clamp, pre-drill countersunk holes, unclamp, add wood glue, clamp and drive in wood screws.
For the front foot rest I used a 4” spacer block to ensure that the height/placement was the same on both sides.
For the back cross support I put this on top of the side pieces for a nice design element. And to hold it in place while I pre-drilled and countersunk the holes I used PONY | Jorgensen’s EZ-Hold Clamps. I think I use these clamps on every project. They are like an extra set of hands because they only take one hand in order to close them.

My 2nd favorite PONY | Jorgensen clamps. EZ-Hold clamps! I use this on every project!
TIP: With all the corners it can be hard to clean up the glue squeeze out… which you want to do before it dries because you don’t want it to affect your stain down the road. My tip is to get a straw and crease it so it slide in the corner and cleans the squeeze out. After each pass cut off the tip and continue using the straw.

TIP: Use a straw to clean up glue squeeze out in corners, cut tip of straw to continue using it.
Step #7:
Fill in countersunk holes with 3/8” wood dowels and wood glue. Trim close to flush with hand pull saw and then sand for a flush and AWESOME look.

I plugged the countersunk screw holes with 3/8” pine dowels and wood glue. Before sanding
Step #8:
Attach seat back. After lining it up, I clamp it in place with PONY | Jorgensen’s EZ-Hold clamps and then pre-drill the countersunk holes. NOTE: The top hole and screws are NOT 2 1/2”, they are 1”. That way the don’t go through the front of your seat back.
Also, I didn’t use glue when attaching these because I figured it would be overkill and might restrict wood movement that could cause cracking or warping down the road.

PONY | Jorgensen EZ-Hold clamps acting as a second set of hands while attaching the seat backs.
Step #9:
Attach seat bottoms to base using table top fasteners or Z-clips.
Need more details on this build? Watch me build these on my YouTube Channel.
And while you are there make sure you subscribe to my channel so you don’ this my next AWESOME build.

Almost done… just need to touch up sand, apply finish, attached seats and feet levelers.
Step #10:
Sand and finish chairs…. I sanded mine to 120 grit and used Rubio Monocoat in Cotton White for the finish. I like this finish because it is a one coat finish… stain and sealer in one… and it leaves a matte finish.
I am stoked with how AWESOME these chairs turned out and for how easy they were to build! I hope you enjoyed this project. If you end up making yourself some, I’d love it if you shared a picture with me. You can get build plans here!
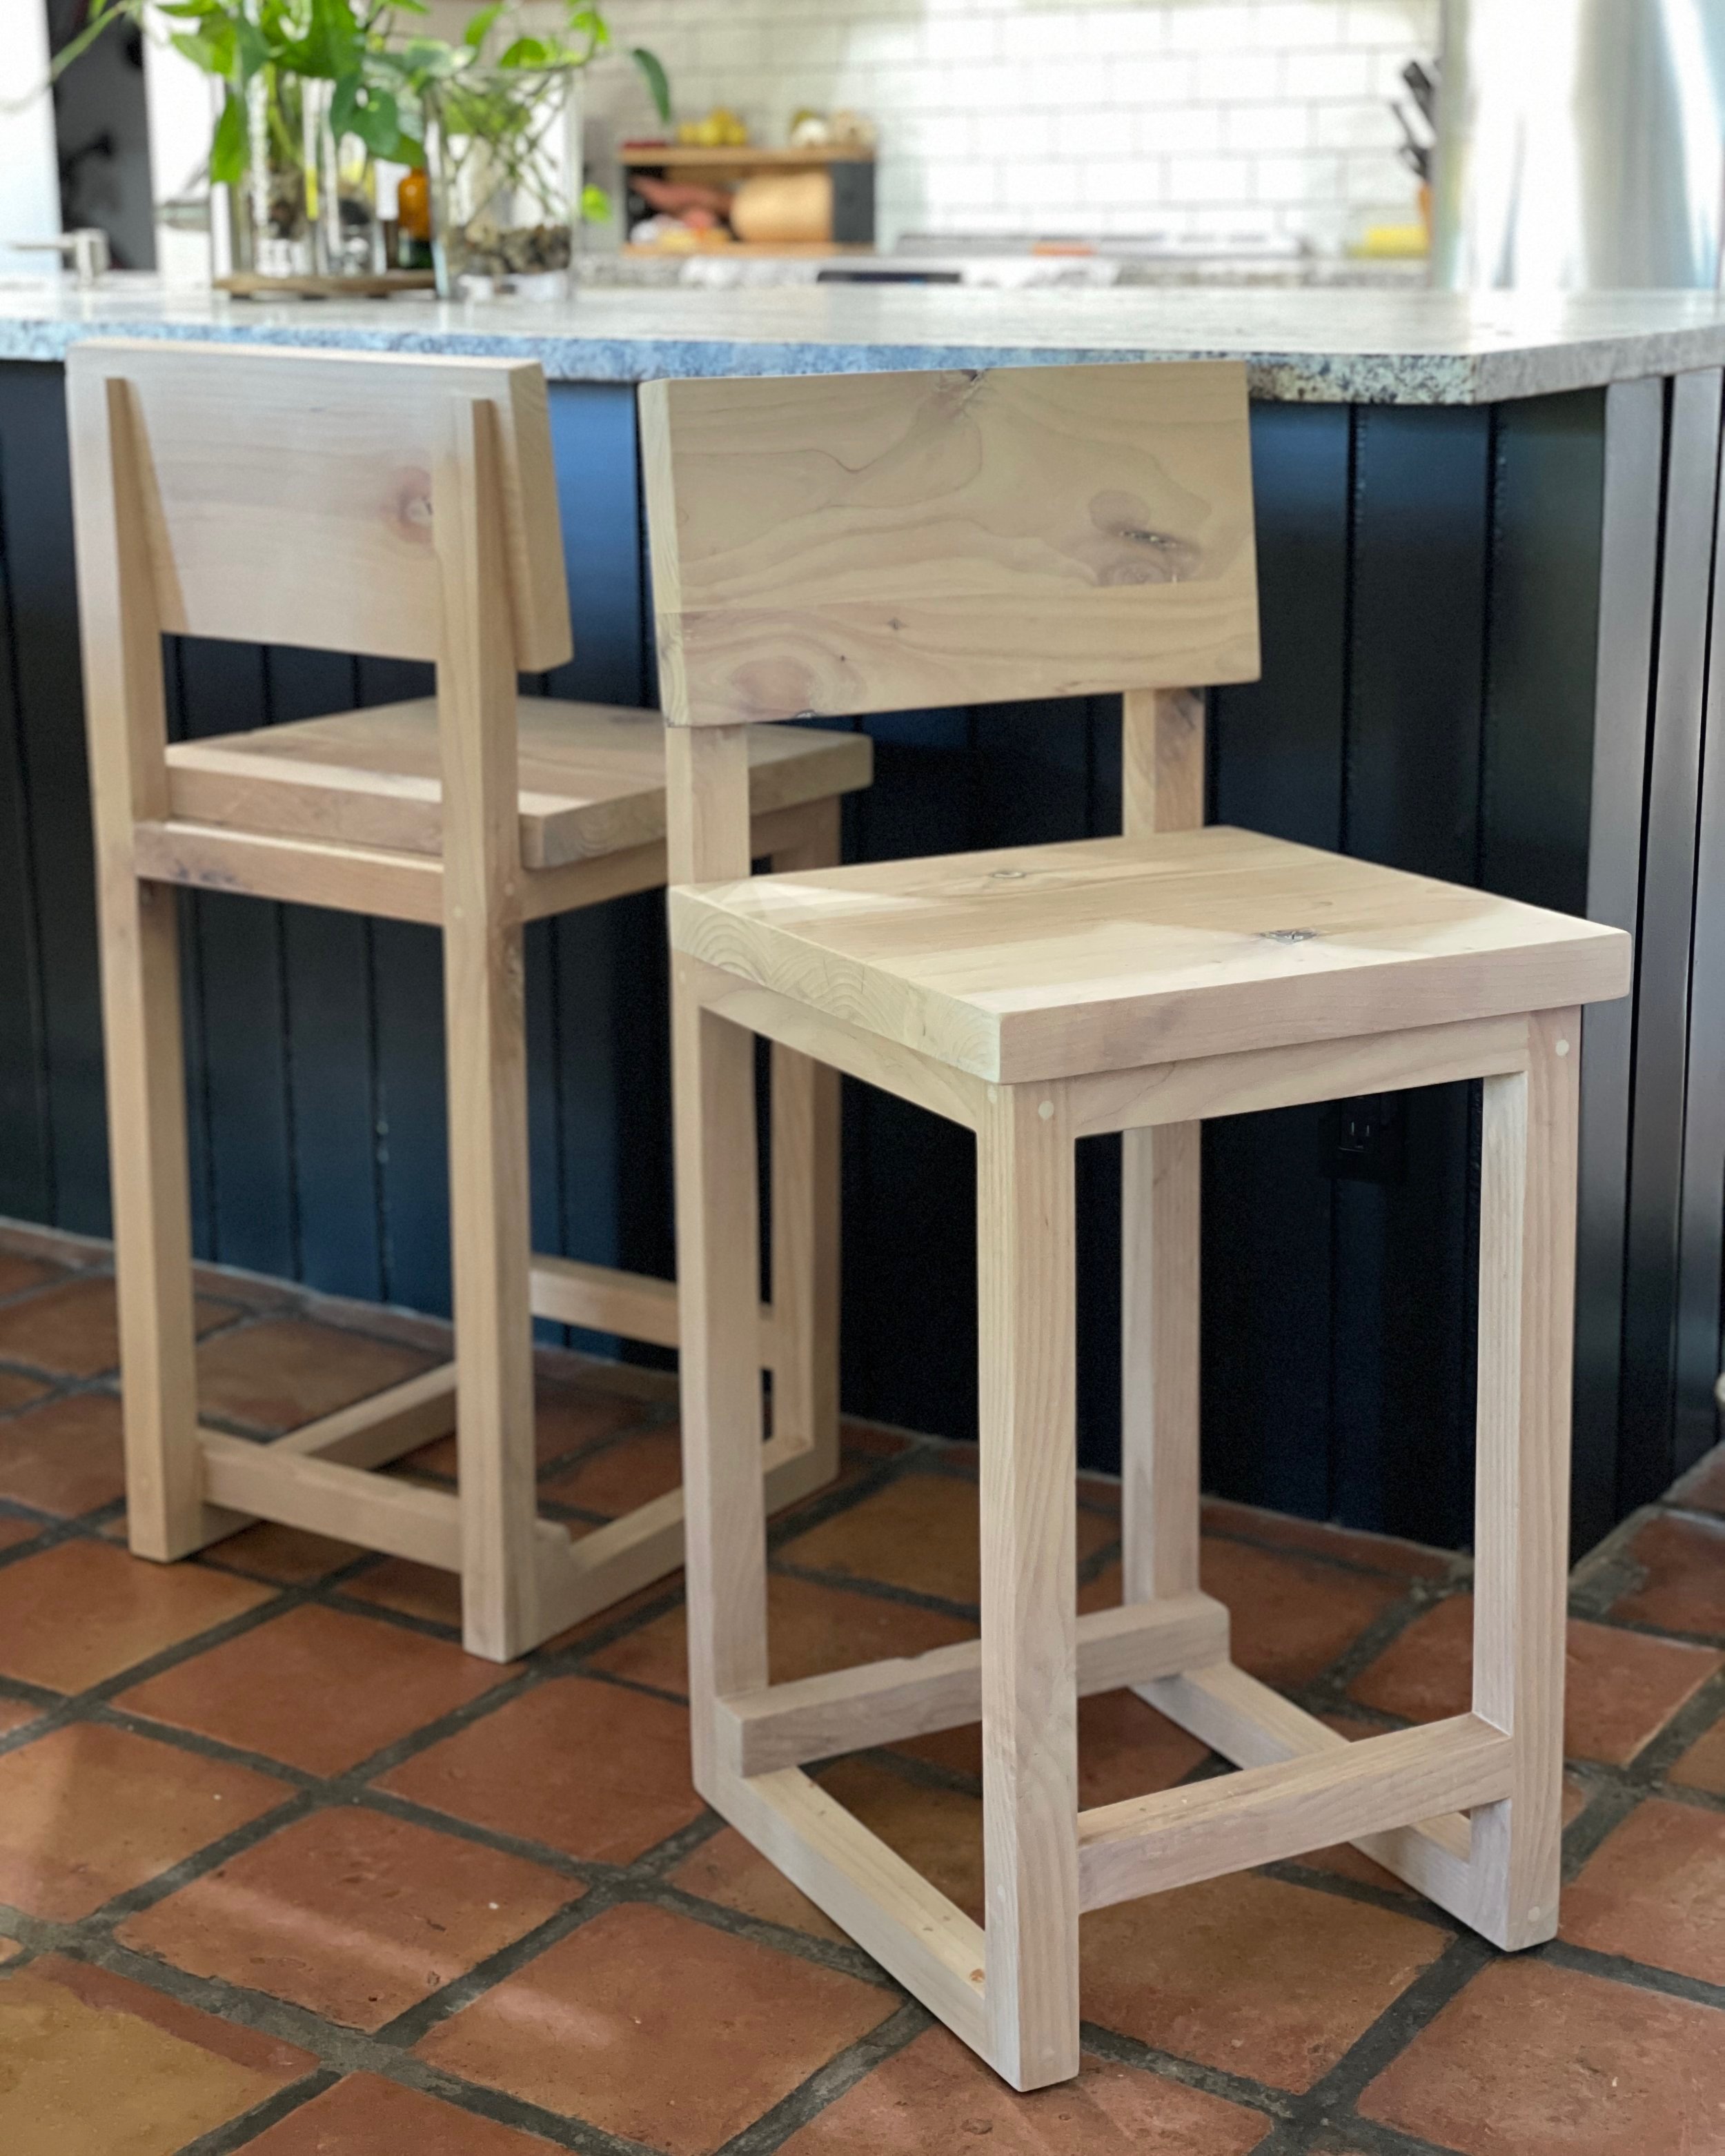
Wowza! These look great in my kitchen… too bad they aren’t staying here!
And as always, thank you for following my building journey. Remember Build LOUD, Build WILD and have an AWESOME day!
Sadie Mae
Can’t build these right now? PIN THIS AND SAVE FOR LATER!