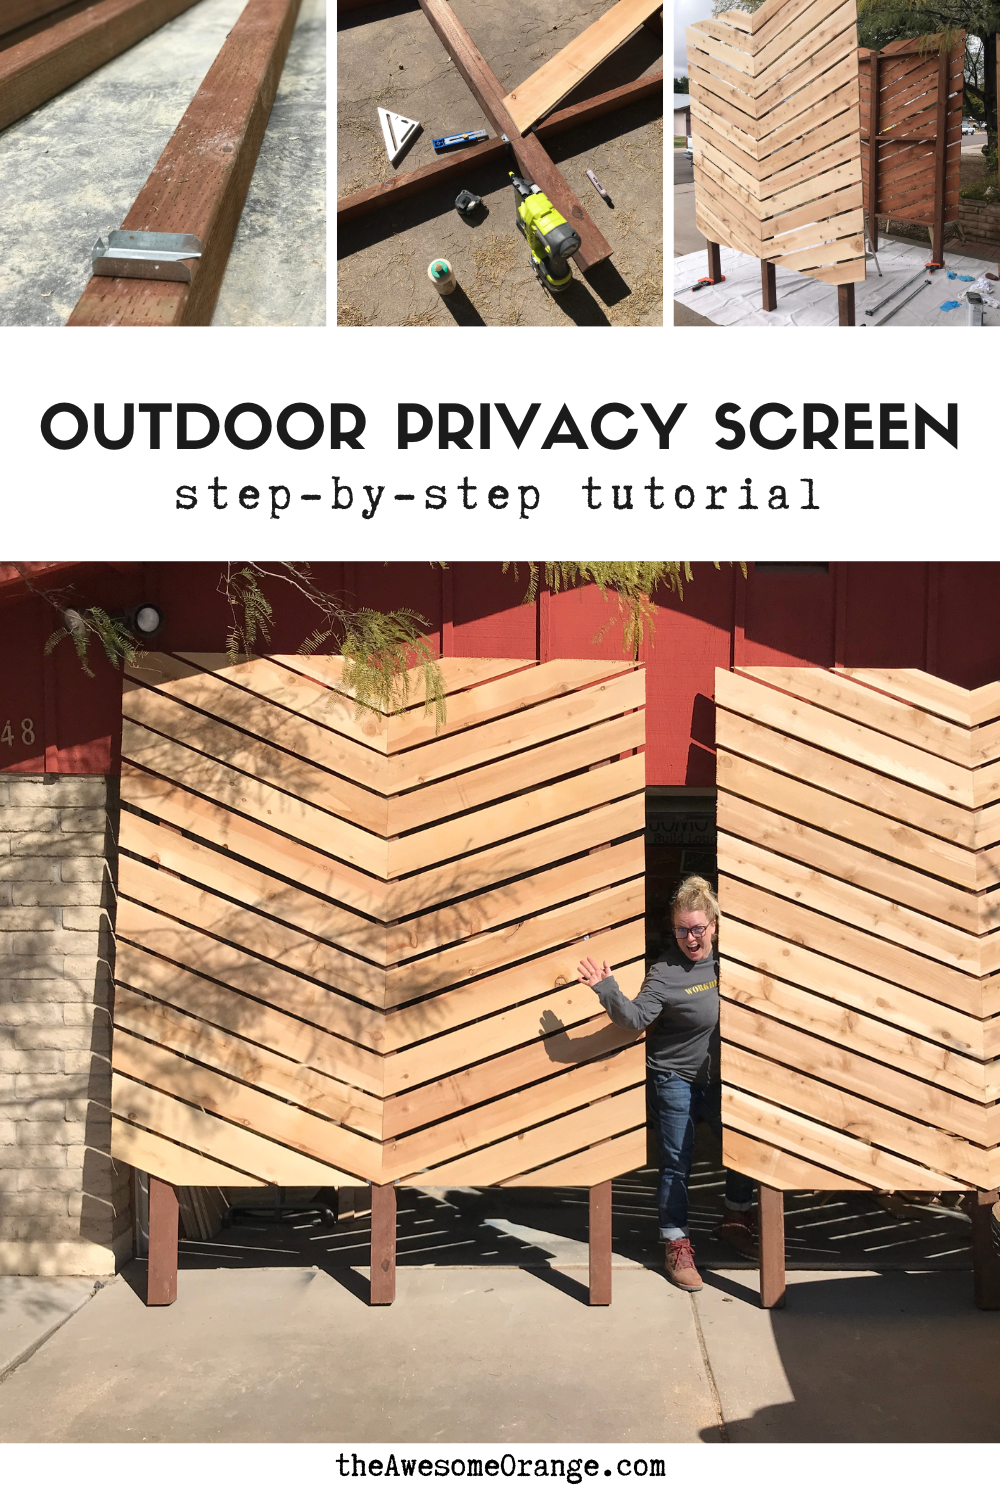
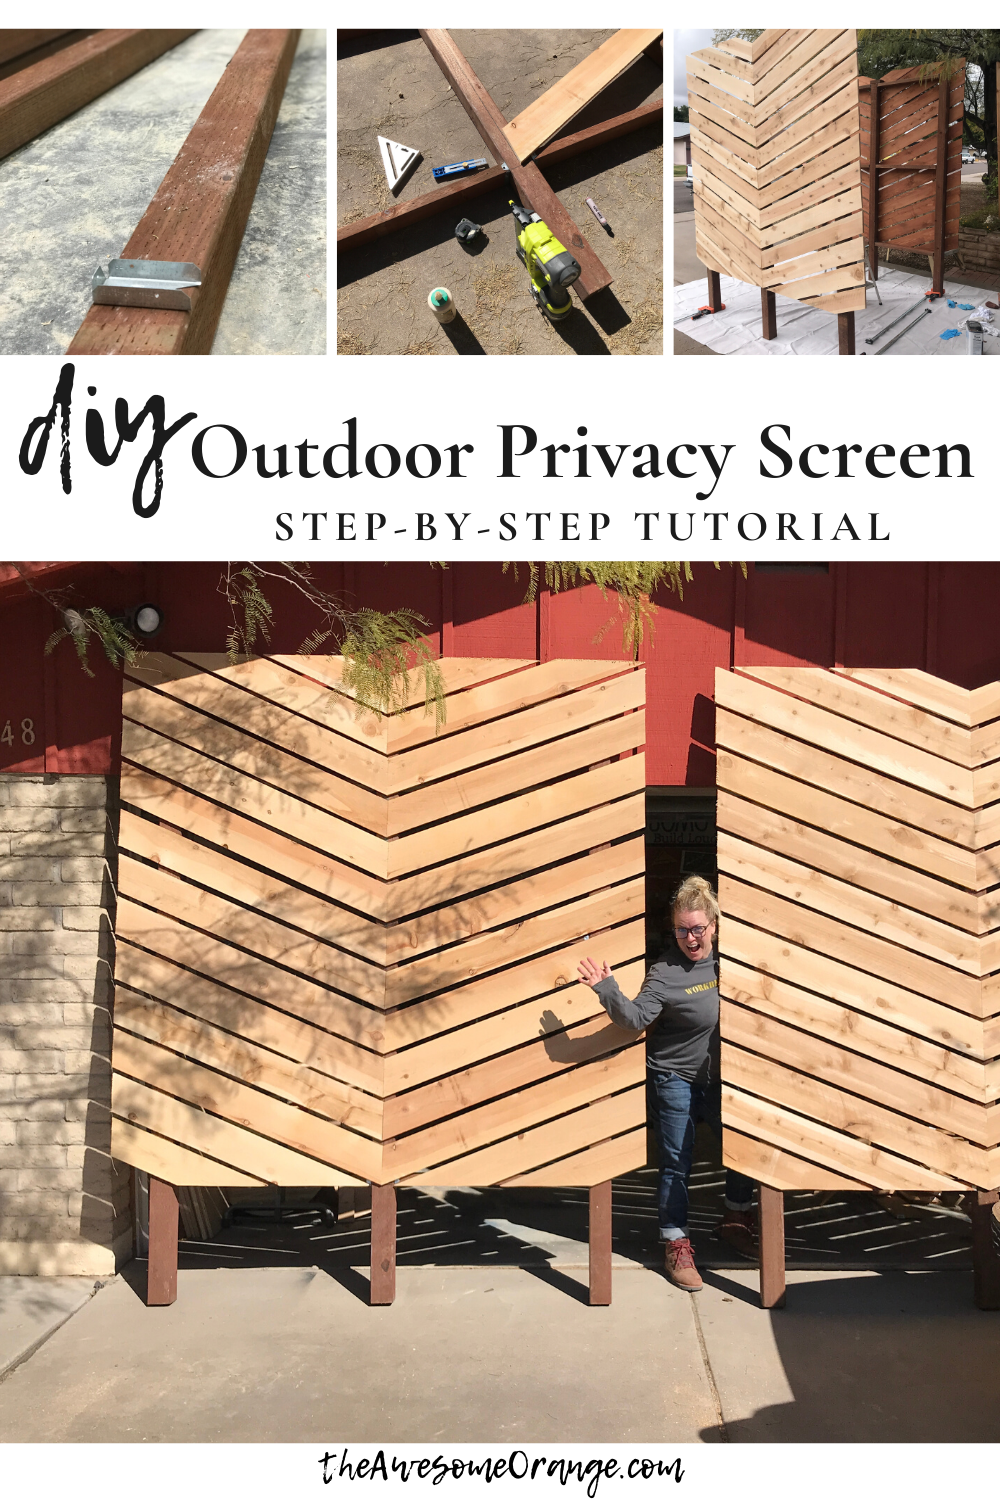
DIY Outdoor Privacy Screens
When a client came to me and asked if I could help build her some privacy screens I knew this would be a great opportunity to partner with my friends at Simpson Strong-Tie and showcase how easy it is to build a fence frame using some of their brackets.
This post is sponsored by Simpson Strong-Tie. All opinions are my own. This post contains affiliate links. For more information on my affiliate program, see my Disclosures page.
We live in Arizona, so I wanted to take all precautions when building these to ensure that they would have a good long life. So to start I created the frame of the privacy screens from 4x4 and 2x4 pressure-treated lumber. Pressure-treated wood has gone through a process that uses high pressure to force a solution of water and preservative agents deep into the lumber to help extend is lifespan by resisting termites, rot and fungal decay.

I have enough materials here to make two (2) privacy screens.
Then to connect those pieces I used Simpson Strong-Ties FB24Z fence brackets and #9 1 1/2” Strong-Drive SD Connector Screws. Both are galvanized, which basically means they have a protective coat to help withstand the elements.

Simpson Strong-Tie FB24Z fence bracket and connectors I used.
For the planking or the screen portion I used cedar fence pickets as cedar is naturally a good choice for outdoor applications.
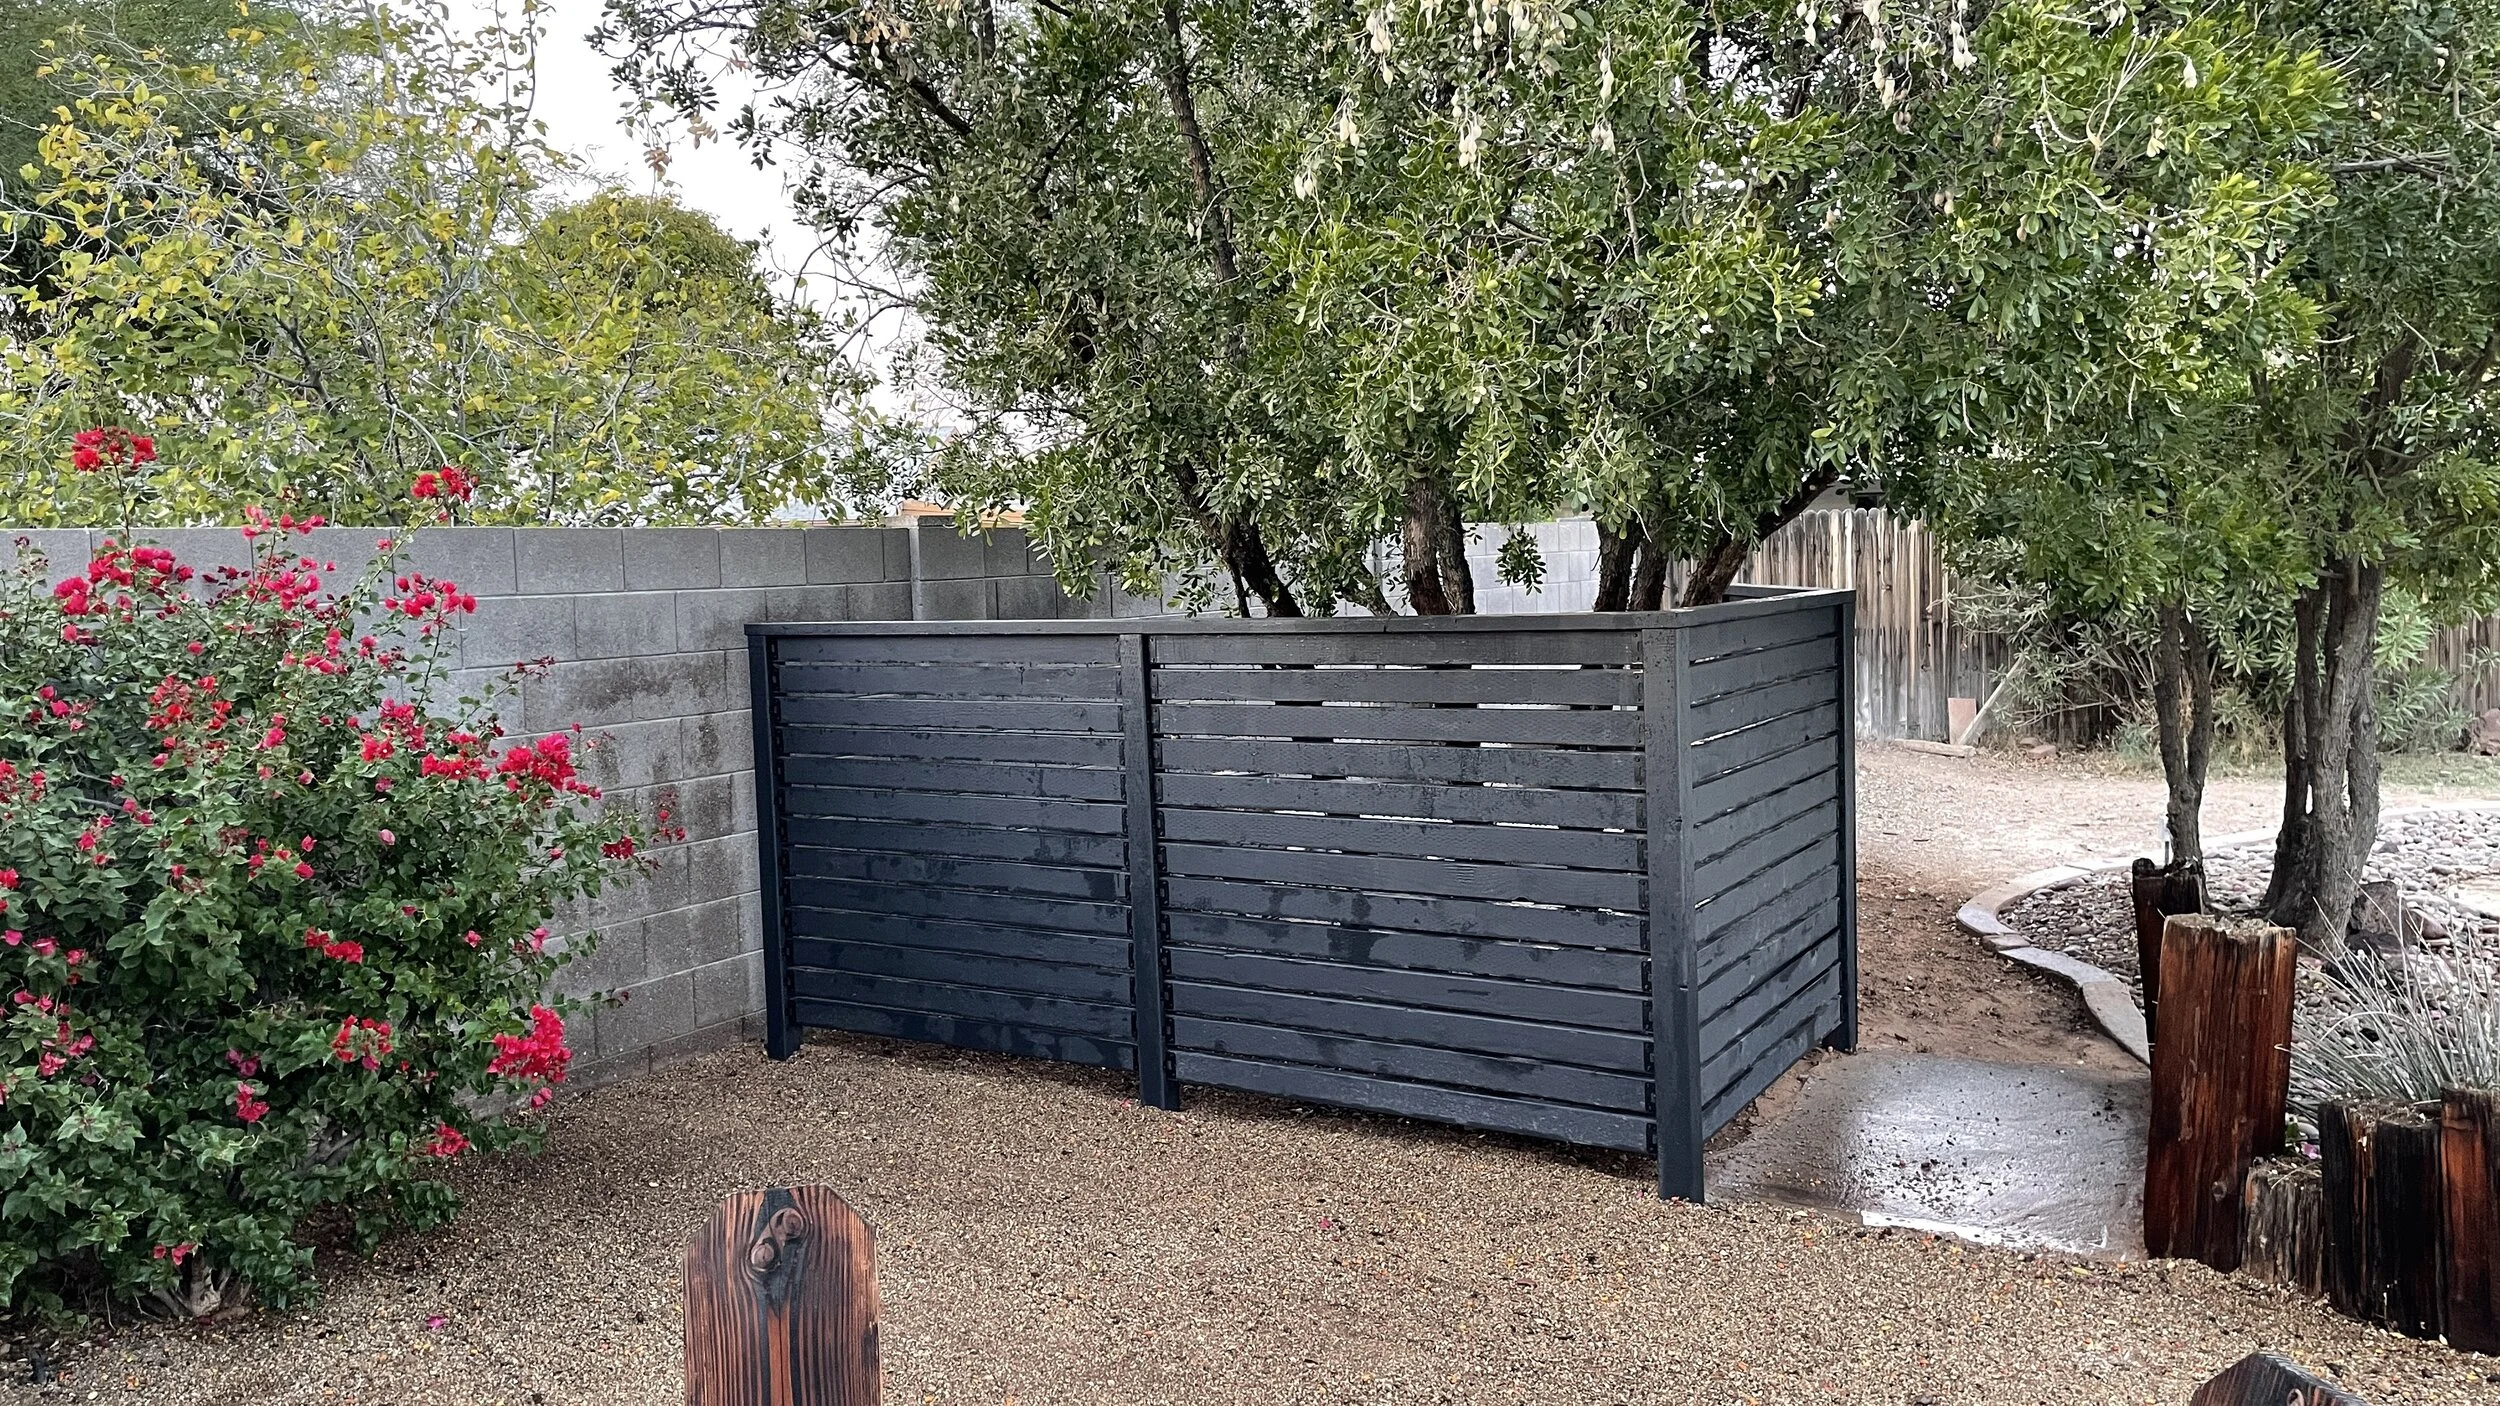
And lastly I stained the entire piece with Thompson’s Water Seal to enhance the color and add another layer of protection. Wood will naturally age or gray over time outdoors and by adding the stain it will help slow that process down and help it be more water resistant, but it is something that will need to be maintained over time.

Saw Jenny Komenda use this on her Evergreen project, so I knew if would work for me!
So now that we know about our materials, let’s start building:
Rather Watch Me Build, Check Out the Video Below!
Step 1:
Cut 2x4’s into 30” pieces. You need six (6) total for each screen you make.

Step 2:
On the 4x4’s measure down 38 1/4” from top and make a line using a speed square. Then measure down from top 76 1/2” and make another line. This is where the 2x4’s are going to be attached to the 4x4"‘s. Also, note that on the middle 4x4 you will need to mark both sides of the board.
Step 3:
Attach the Simpson Strong-Tie FB24Z fence brackets to the 4x4’s using the #9 1 1/2” Strong-Drive SD Connector Screws. Be sure to line them up flush with the same side of the board. I used my speed square to help keep the hardware square while attaching.

Step 4:
Attach 2x4 pieces to the 4x4 with Simpson Strong-Tie #9 1 1/2” Strong-Drive SD Connector Screws. I found attaching the screw on the end first and then sides helped get and keep everything lined up.
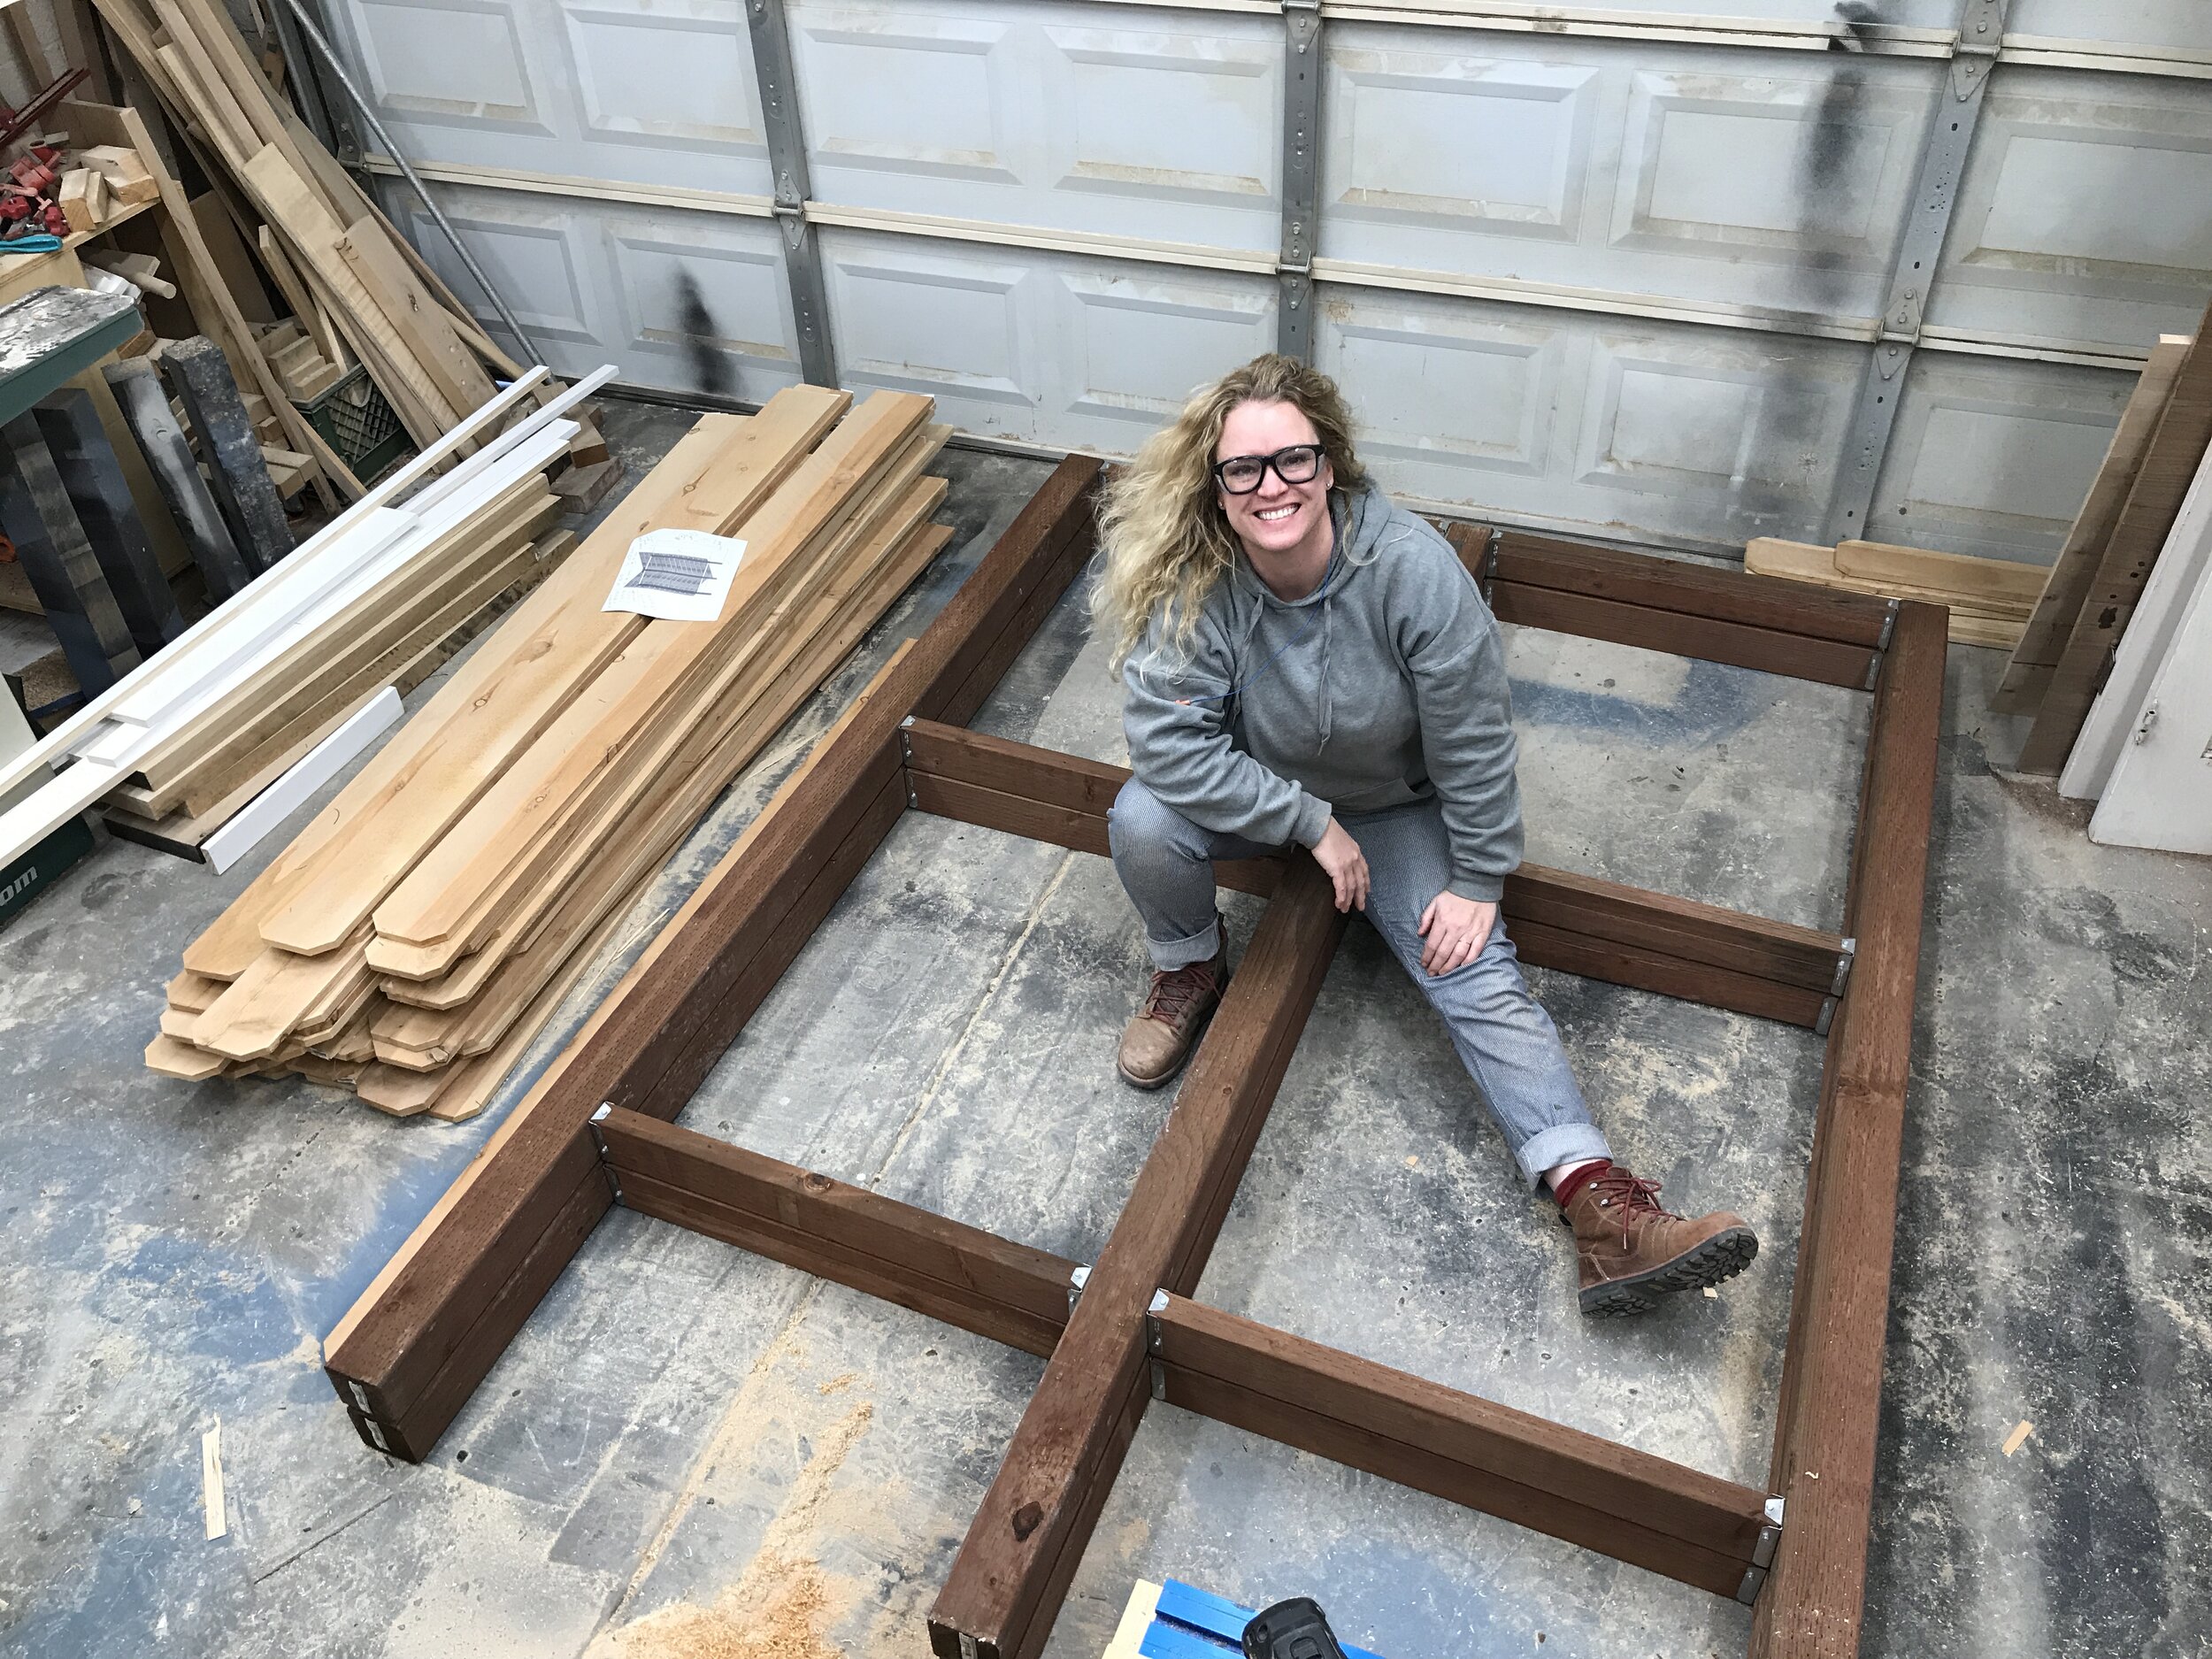
So happy here, but things get real heavy after this step.
Step 5:
Cut the ends off twenty two (22) of the 5 1/2”W cedar fence pickets at 22.5 degrees if you are doing a chevron pattern like I did. The rest of the pickets will be cut to fit on the bottom.

Cut the cedar pickets at 22.5 degrees.
Step 6:
Draw a line down the middle of the middle 4x4 and a line across the middle 4x4 where the bottom 2x4 intersects. I used my Kreg multi-mark to do this. Then attached the pickets to the frame where those two lines intersect. I attached mine used exterior rated wood glue and several 1 1/4” galvanized staples. You could also use outdoor rated screws if you don’t care about seeing them. I used 3/4” piece of scrap plywood as spacers in between each row and repeated the process all the way up the frame. Since the fence pickets aren’t 100% straight be sure to check and adjust the position of your boards as you go.

The first row is the most important to line up correctly.
Step 7:
For the bottom corners I laid down a piece of cedar fence picket and had it hang over the frame on both sides, then used a marker and drew a line on the bottom of the picket where it meets the frame. I then used this line as a guide and cut along it with my jig saw and then attached just like the other pickets.
Step 8:
Trim excess. Next step was to trim the excess overhang on both sides and the top. I had my pickets overhang approximately 5 1/2”. I used my Pony | Jorgensen Clamp It Edge Guide to help make the cut straight and even over all the boards. If you don’t have one you could also use a long straight piece of wood as a guide. I trimmed mine using my jigsaw, but a circular saw would work great for this as well.

Love this length of this edge guide, but it can be broken down into two pieces for storing.
Step 9:
Sand and stain. Like I said previously I used Thompson’s Water Seal for this step in the color Autumn Brown. When applying this stain always keep a wet edge and I recommend having a friend help. Oh, and I used a clamp trick to stand my screens up while staining to save my back.

Autumn Brown is the color we went with.
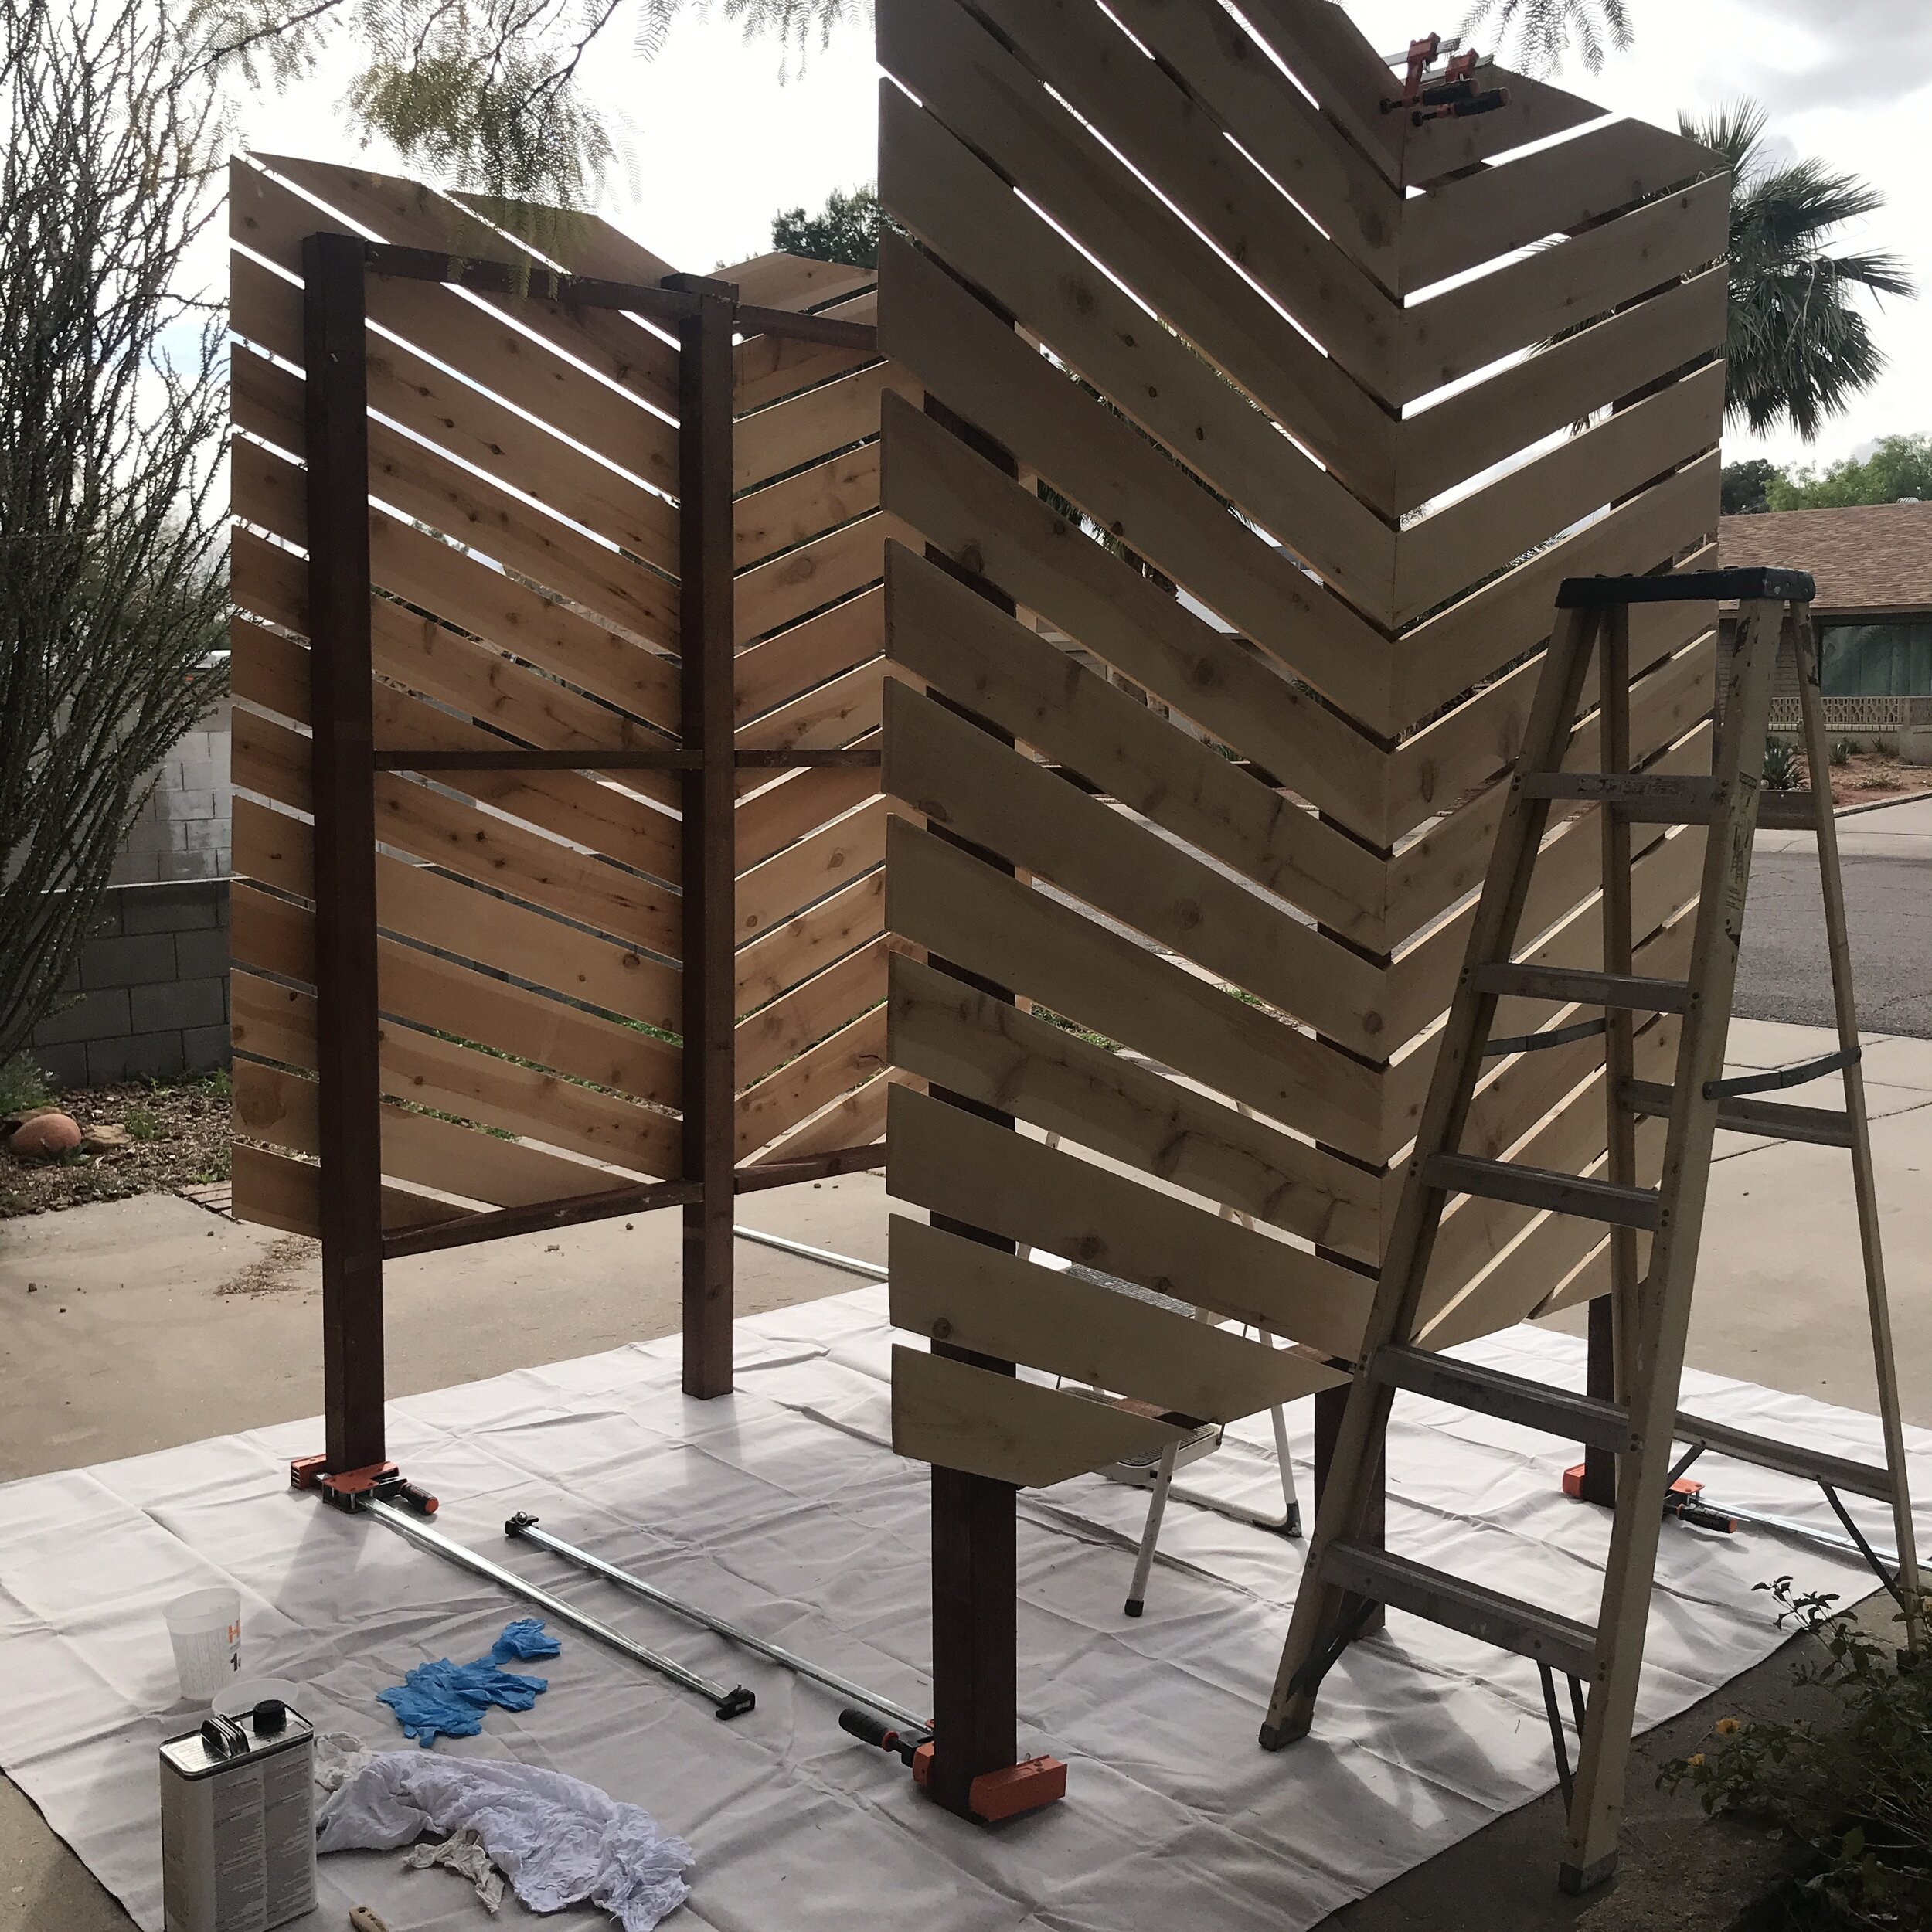
My Pony | Jorgensen clamps helping holds things up for staining.
And then the last last step is to install into the ground. As these were for a client I didn’t do that step.
These DIY Outdoor Privacy Screens are going to not only offer privacy for my clients from the neighbors that have a two story home behind her, but will also offer plenty of shade!
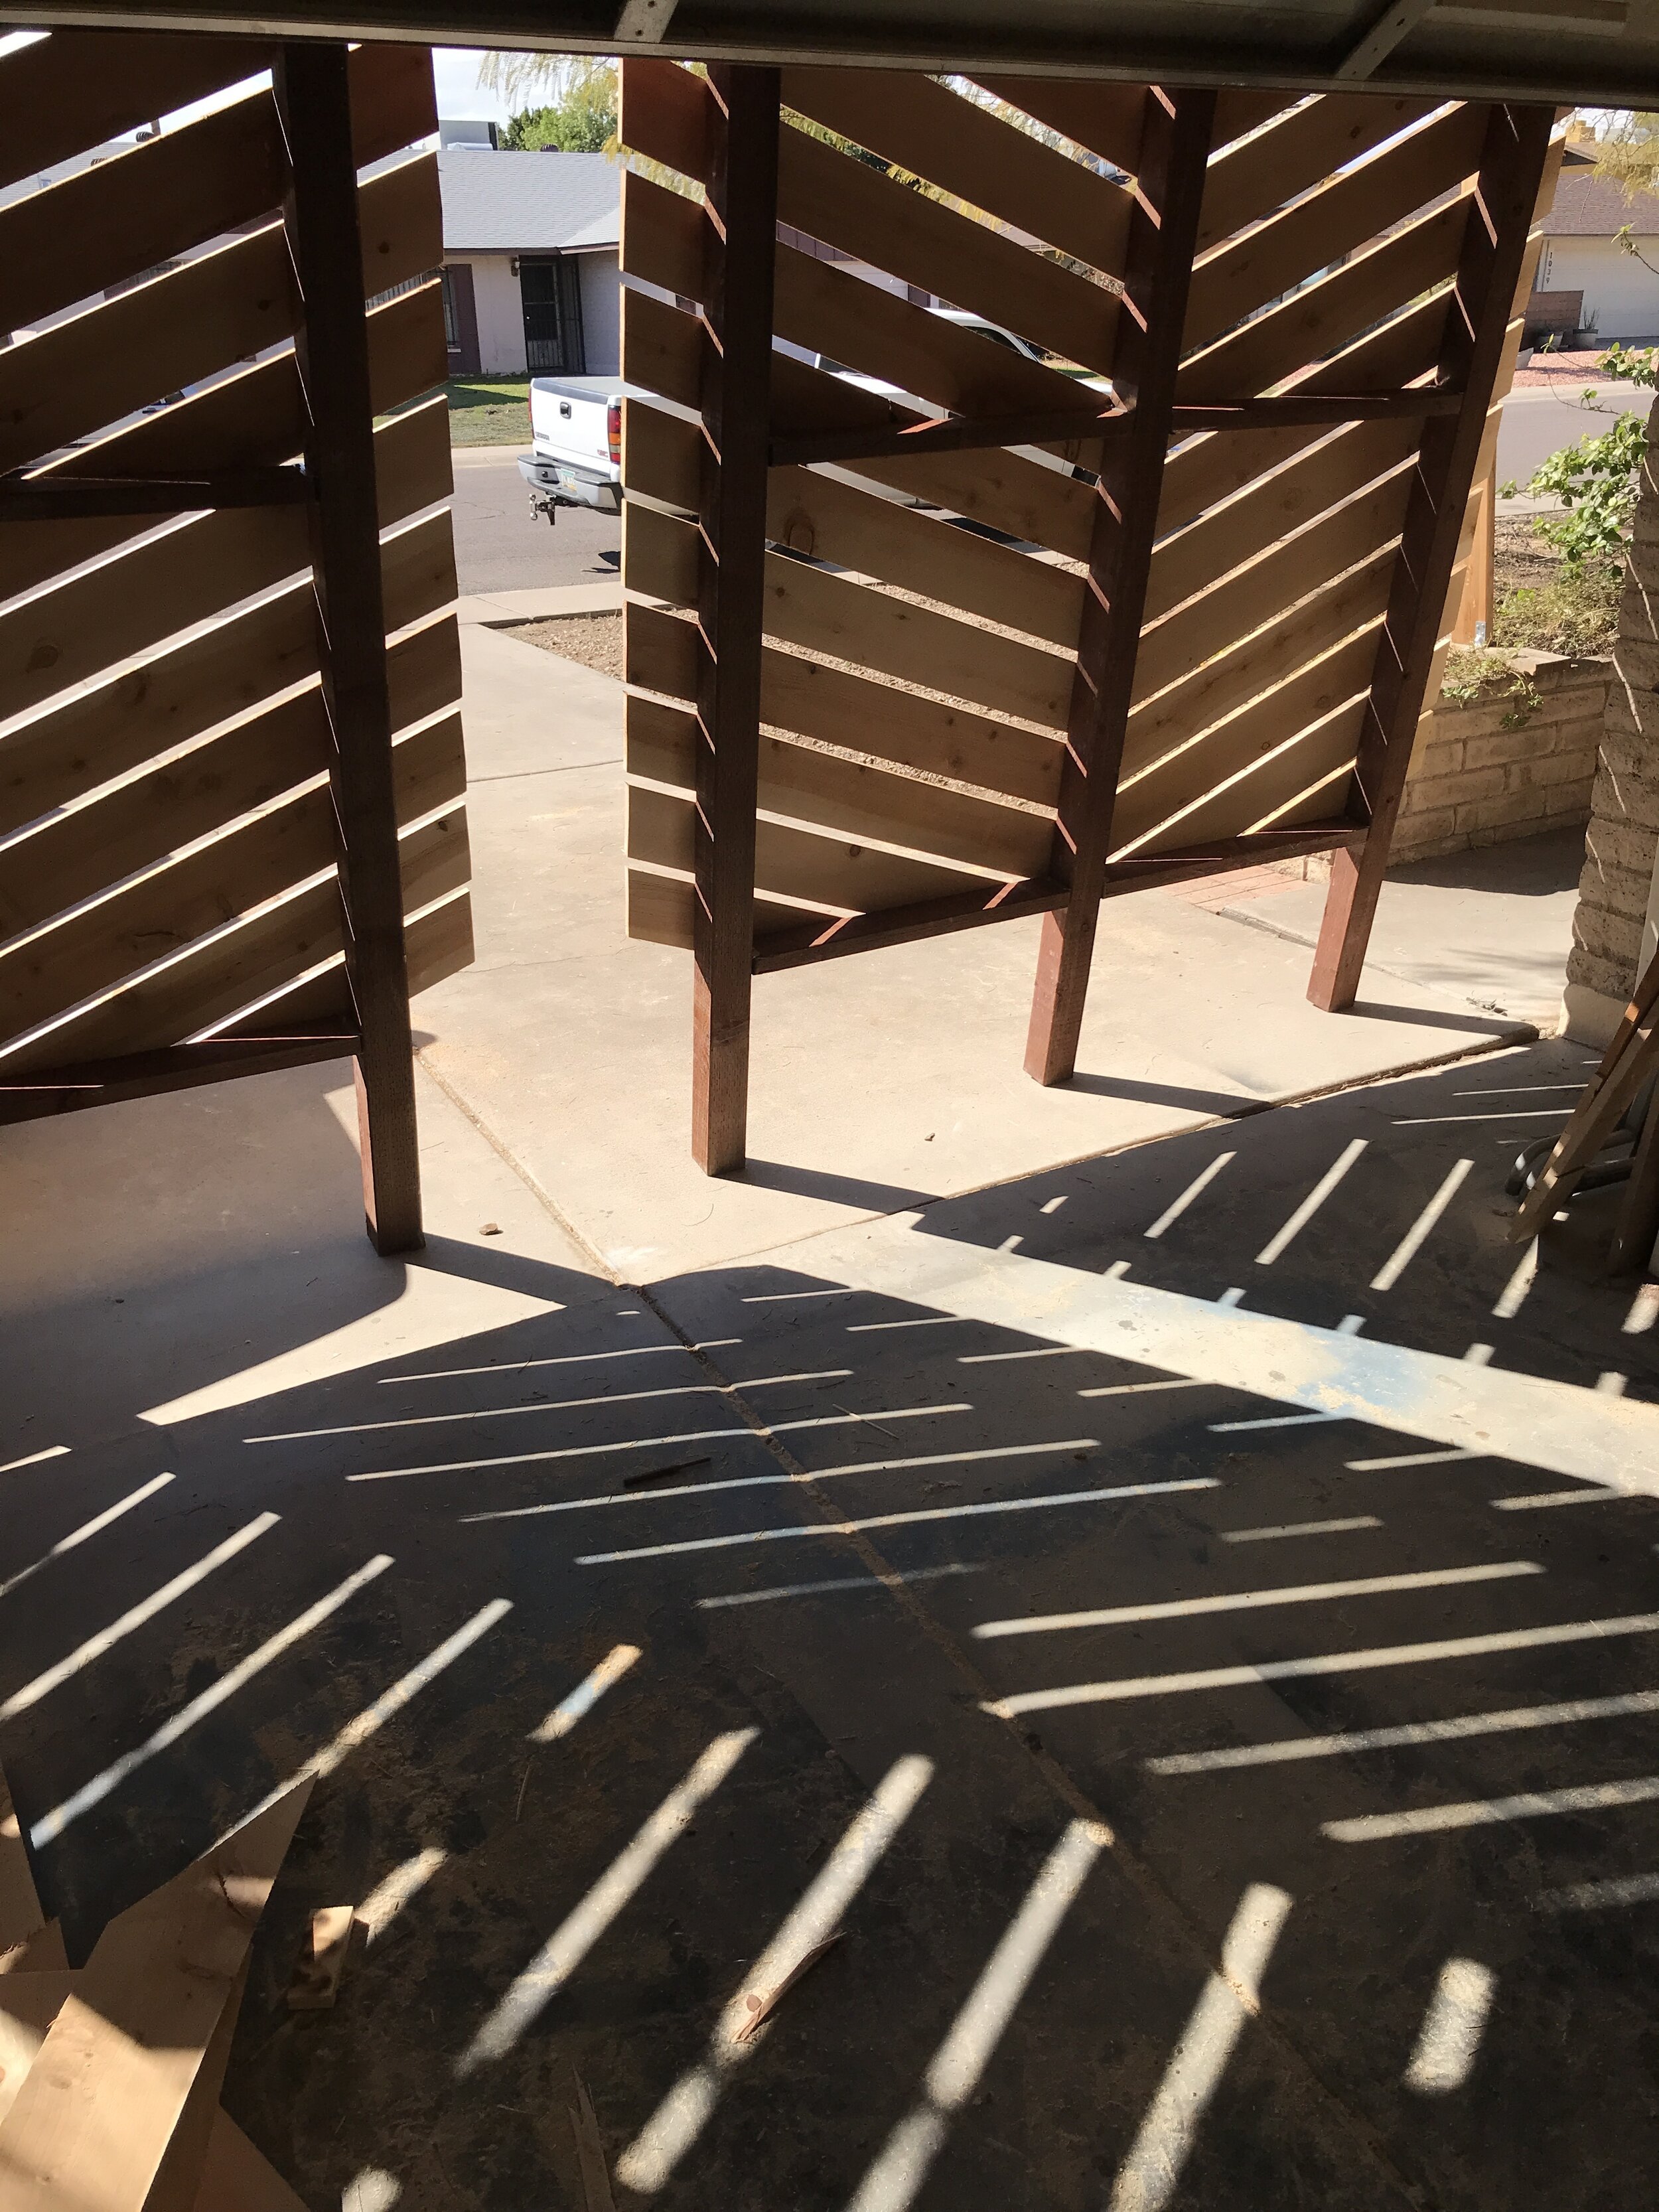
Can I just keep these here for summertime! Love the shade they offer.
I hope you like this project as much as I did and if you did, please leave me a comment below. And if you end up building one for yourself, I’d love to see it! Please share it and use the hashtag #BuildingAwesome.
Thanks for following my journey, happy building and have an AWESOME day!
Sadie Mae