Saburrtooth and I are back for Round 2 of the We Make Sawdust Challenge!
All in DIY Tutorials
Saburrtooth and I are back for Round 2 of the We Make Sawdust Challenge!
I have lived with painted concrete floors in my living room for 3 years! And before that I had some old musty carpet, so to say I love my new floors is an understatement. I went with a water resistant laminate flooring because I love the color and texture that they came in and that they are pet-friendly with extra stain and stretch resistance. Which you know I need living with Awesome Oscar!
I had this old bench I made back when farmhouse was cool. I made it out of some reclaimed beams and finished it with milk paint, distressed it and waxed. Well, it just wasn’t doing it for my anymore… so time for a furniture flip! Or let’s upcycle this bench into a more modern and textured piece!
Okay, this just might be my favorite build to date. It was a build that didn’t start with much of a plan and transitioned into something AWESOME!
I recently built myself a IKEA hack floating media console using some reclaimed white oak and since this coffee table is going in the same room I decided to make it out of the same material. So, that is where it started. My house has a little mid-century vibe to it and currently a lot of straight lines. I wanted to change that so I decided to make this table pill shaped!
Did you know wood moves? Well actually it expands and contracts depending on the humidity in the air. You see wood is hygroscopic… meaning it is a substance that can gain for loose water depending on the surrounding air’s humidity. So, again varying levels of moisture in the air surrounding the wood can cause it to shrink or expand.
I’m so excited to share this build with you. I have always wanted a concrete coffee table, but lifting all those heavy bags and creating a form and waiting for it to cure was just a little to daunting for me. So when I found this concrete feather finish I knew I wanted to give it a try.
I couldn’t put the old ugly numbers on my freshly painted house so I decided to get some new ones. These are the ones I used…. Modern Black House Numbers QT Home Decor. But when they arrived I couldn’t find a spot in the wood part of my house that I liked them, so I decided I would build a backer to put the numbers on so that I wouldn’t have to drill a ton of holes in my block wall.
At first I thought this was going to be a challenging project, but I quickly realized that this was going to be a super fun and satisfying project that you can complete with just a couple of tools… a drill and a jigsaw!
I recently got a bandsaw and I knew the first project I wanted to do to test it out… make spoons!!!
I only ever made one other spoon before… cut it out with a jig saw and then carved it using a carving tool. And while that spoon turned out AWESOME, it took forever to complete. So this time we are going to cut the rough shape out with the bandsaw and then test out several of my carving burrs and see which we like best for making spoons!
Who is ready for a pool party or spending more time in the backyard with friends and family? I know I am! And this week I am sharing the perfect build that will be the life of the party all centered around the drink cooler! Yup, I am building a DIY Cooler Deck Box. It is not only going to look AWESOME and give you an elevated place to keep your drinks cold and hidden, but it also has a cutting board! You know for those snacks or to cut up some limes for your favorite summer beverage. So let’s get started building!
Well, I don’t know why I waited so long for my first concrete project! Even though is didn’t turn out perfect… it was so easy to make and did turn out AWESOME! Plus, I learned a ton that I am going to share with you so your 1st concrete project turns out better than mine!
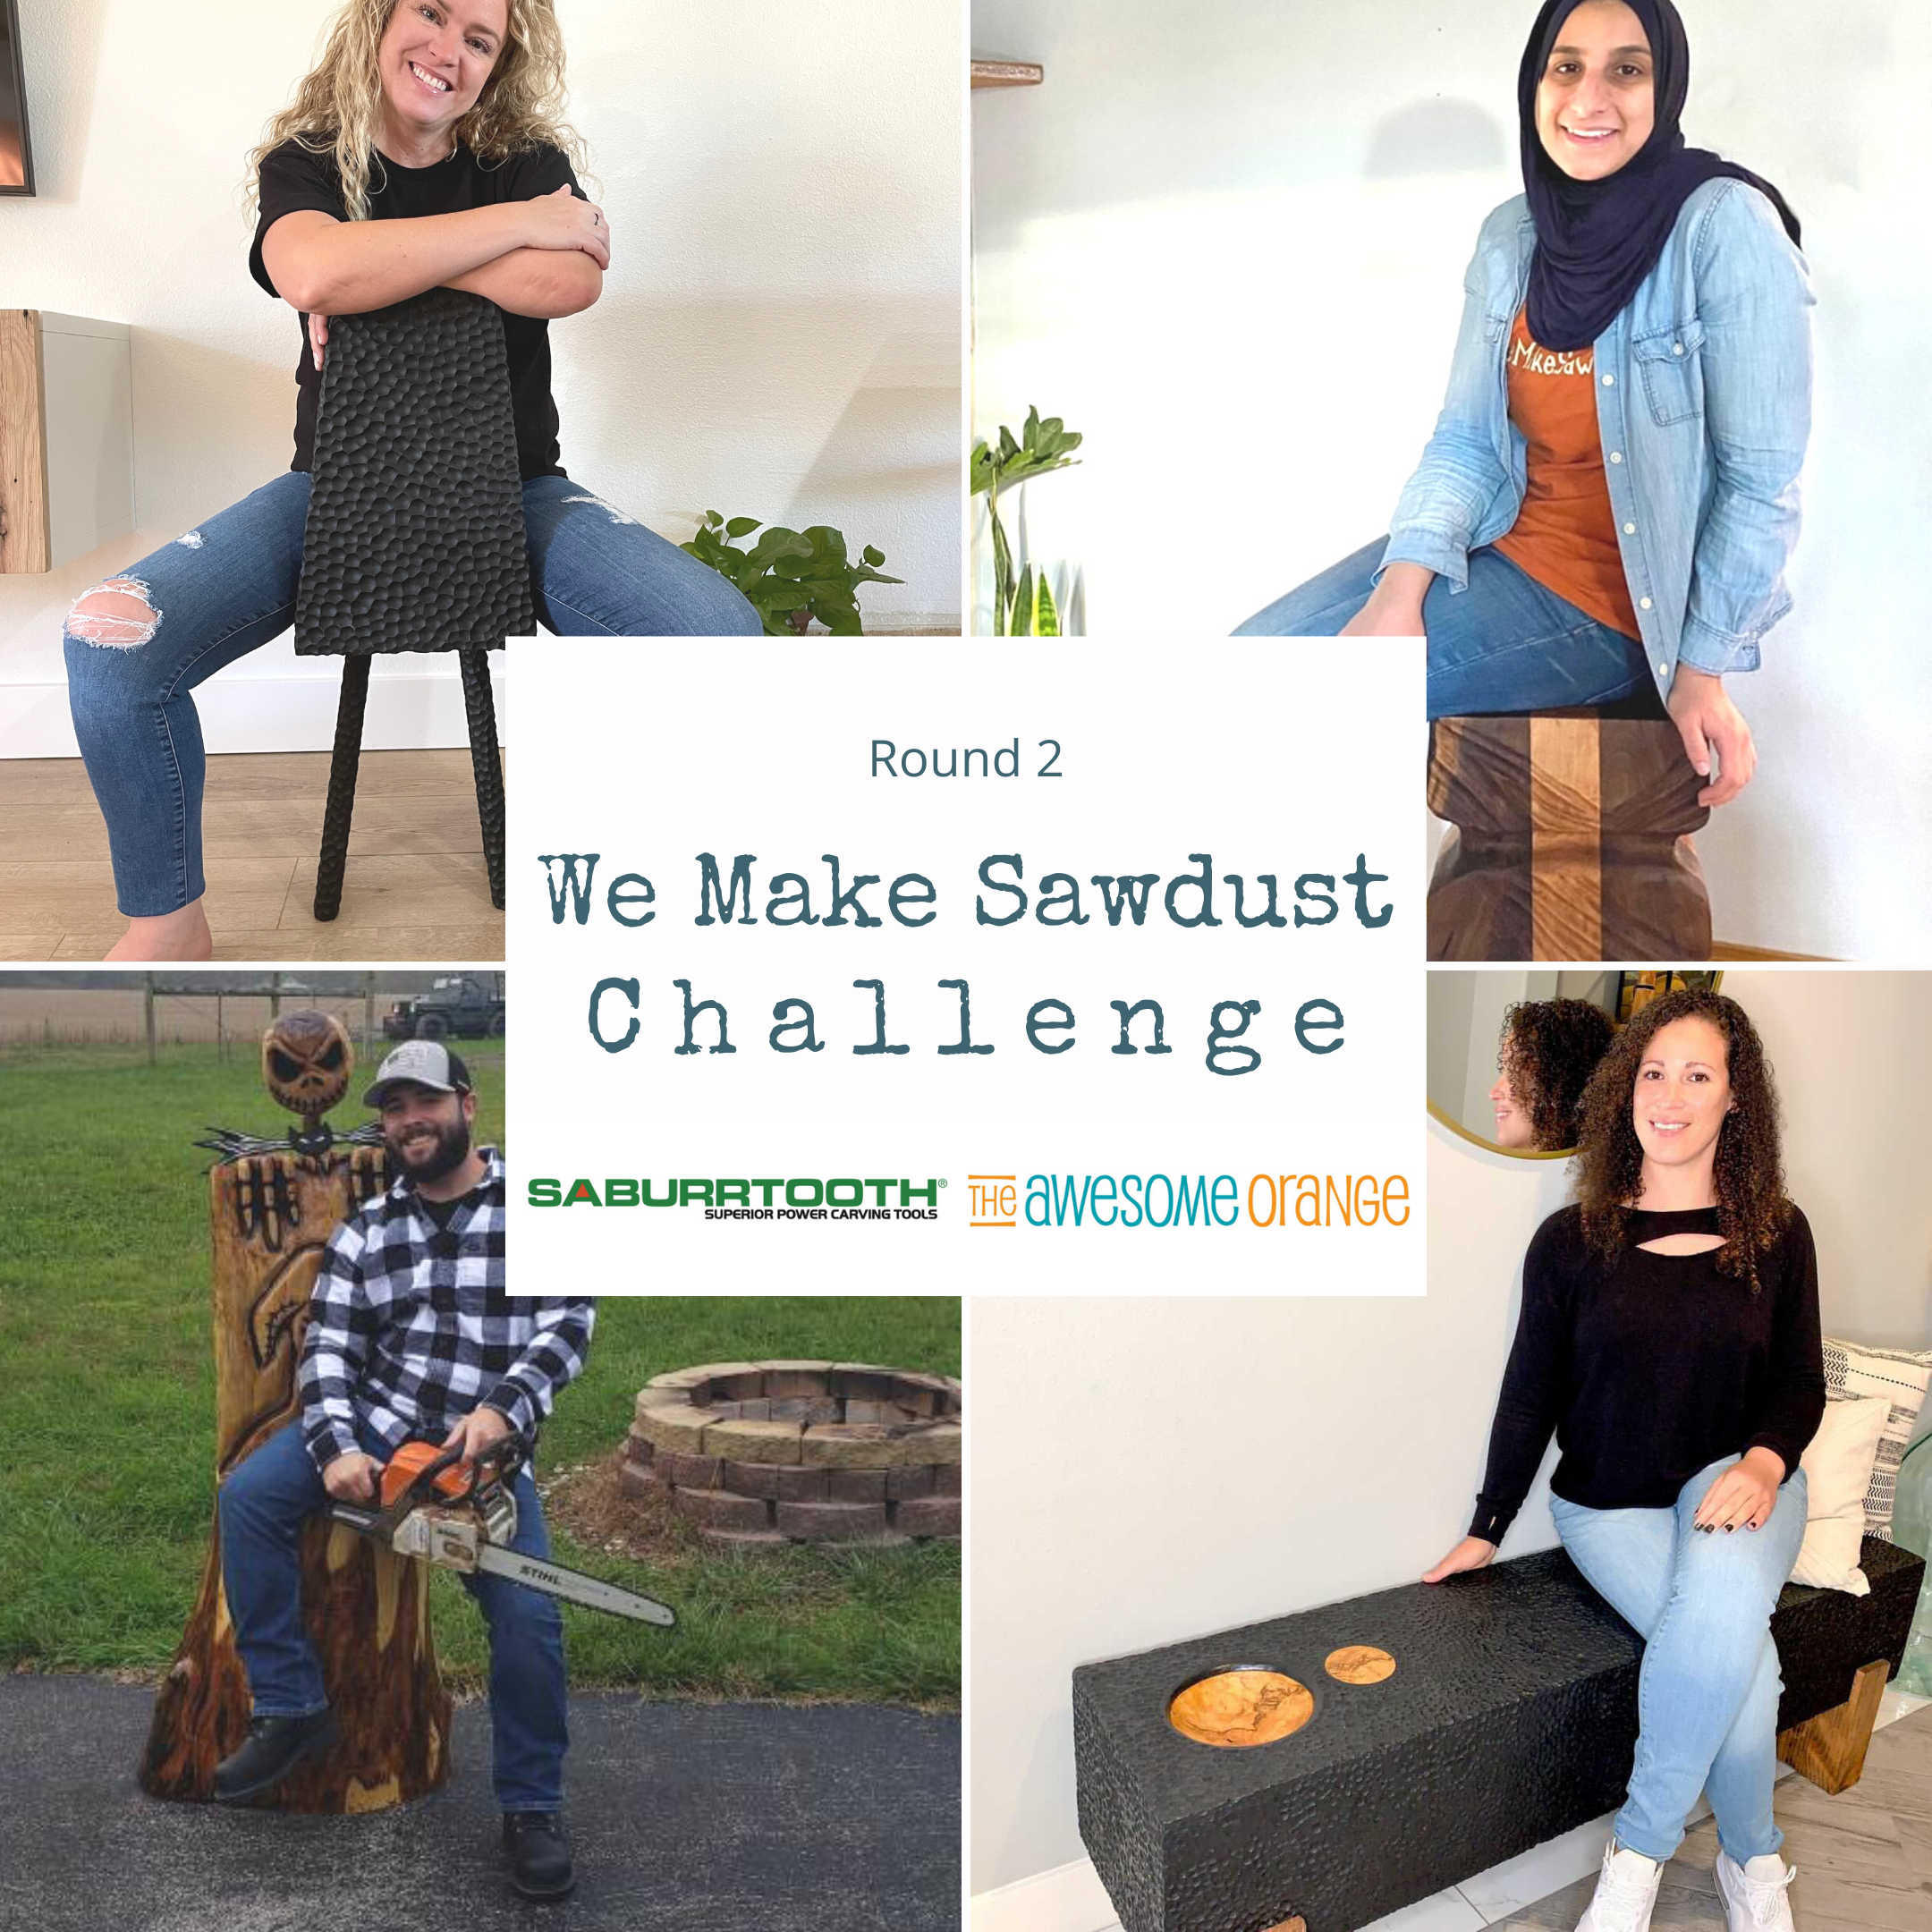
I have a super special project for you today… DIY Candle Holders. But not only that I teamed up with my friend over at Saburrtooth Power Carving Tools and created the “WE MAKE SAWDUST” Challenge. Where I invited three AWESOME makers to join me in making a candle holder using 3 Saburrtooth carving burrs.
4 Makers, 3 Carving Burrs, 2 Weeks and 1 Challenge = 4 AWESOME Creations!
I sure do love a good Ikea hack and boy do I have an AWESOME one for you today!
You see I had this long wall in my family room that had my Bubbly Bar Cabinet on it and nothing else. I had thought of putting a built-in bench and seating next to it because we have a pool table in that room, but ultimately we need more storage in our house. So, I said goodbye to the Bubbly Bar Cabinet and set out to make something more AWESOME!
Should you stain pine? Should you paint it? or do a combination?
Well I recently built a floating bar cabinet from some Ikea Ivar cabinets, added some beading to it and really didn’t want to mess up the finish. So I wanted to weigh all my options to make sure I got the perfect finish.
It’s that time of year again where I start thinking of all outdoors projects! You see spring is my favorite time of year and I like to spend as much time outside, so having that right bench to hang out on is very important. The bench not only has to look good, but be comfortable and durable to with stand the AZ sun and monsoon season. Well, I teamed up with my friends over at Simpson Strong-Tie and I think I came up with the perfect bench that is easy on the eyes, easy to build, comfortable and is gonna last a long time no matter where you live.
And I knew exactly what build I wanted to test it out on… some new floating nightstands. I have had this design on my list for forever and was so excited at the opportunity to bring it to life. I love this design because #1 it is floating… meaning I can actually easily clean up all of Oscar’s dog hair that will definitely find its way underneath it. But I also love this design because the shelf is open to the side of the bed, meaning that you have easy access to your stuff without having to let it clutter up the top of the piece. Oh and lastly it is AWESOME because it has a drawer to hide everything else!!!
I love gifts that keep on giving. That is why I love making special gift boxes to gift presents in that can be kept and used as a keepsake box. And whomever can keep all their special treasures in. And today I am going to be sharing two ways to build an AWESOME keepsake box… an easy way with butt joints and brads nails and one without any hardware with rabbets and dados… oh my!
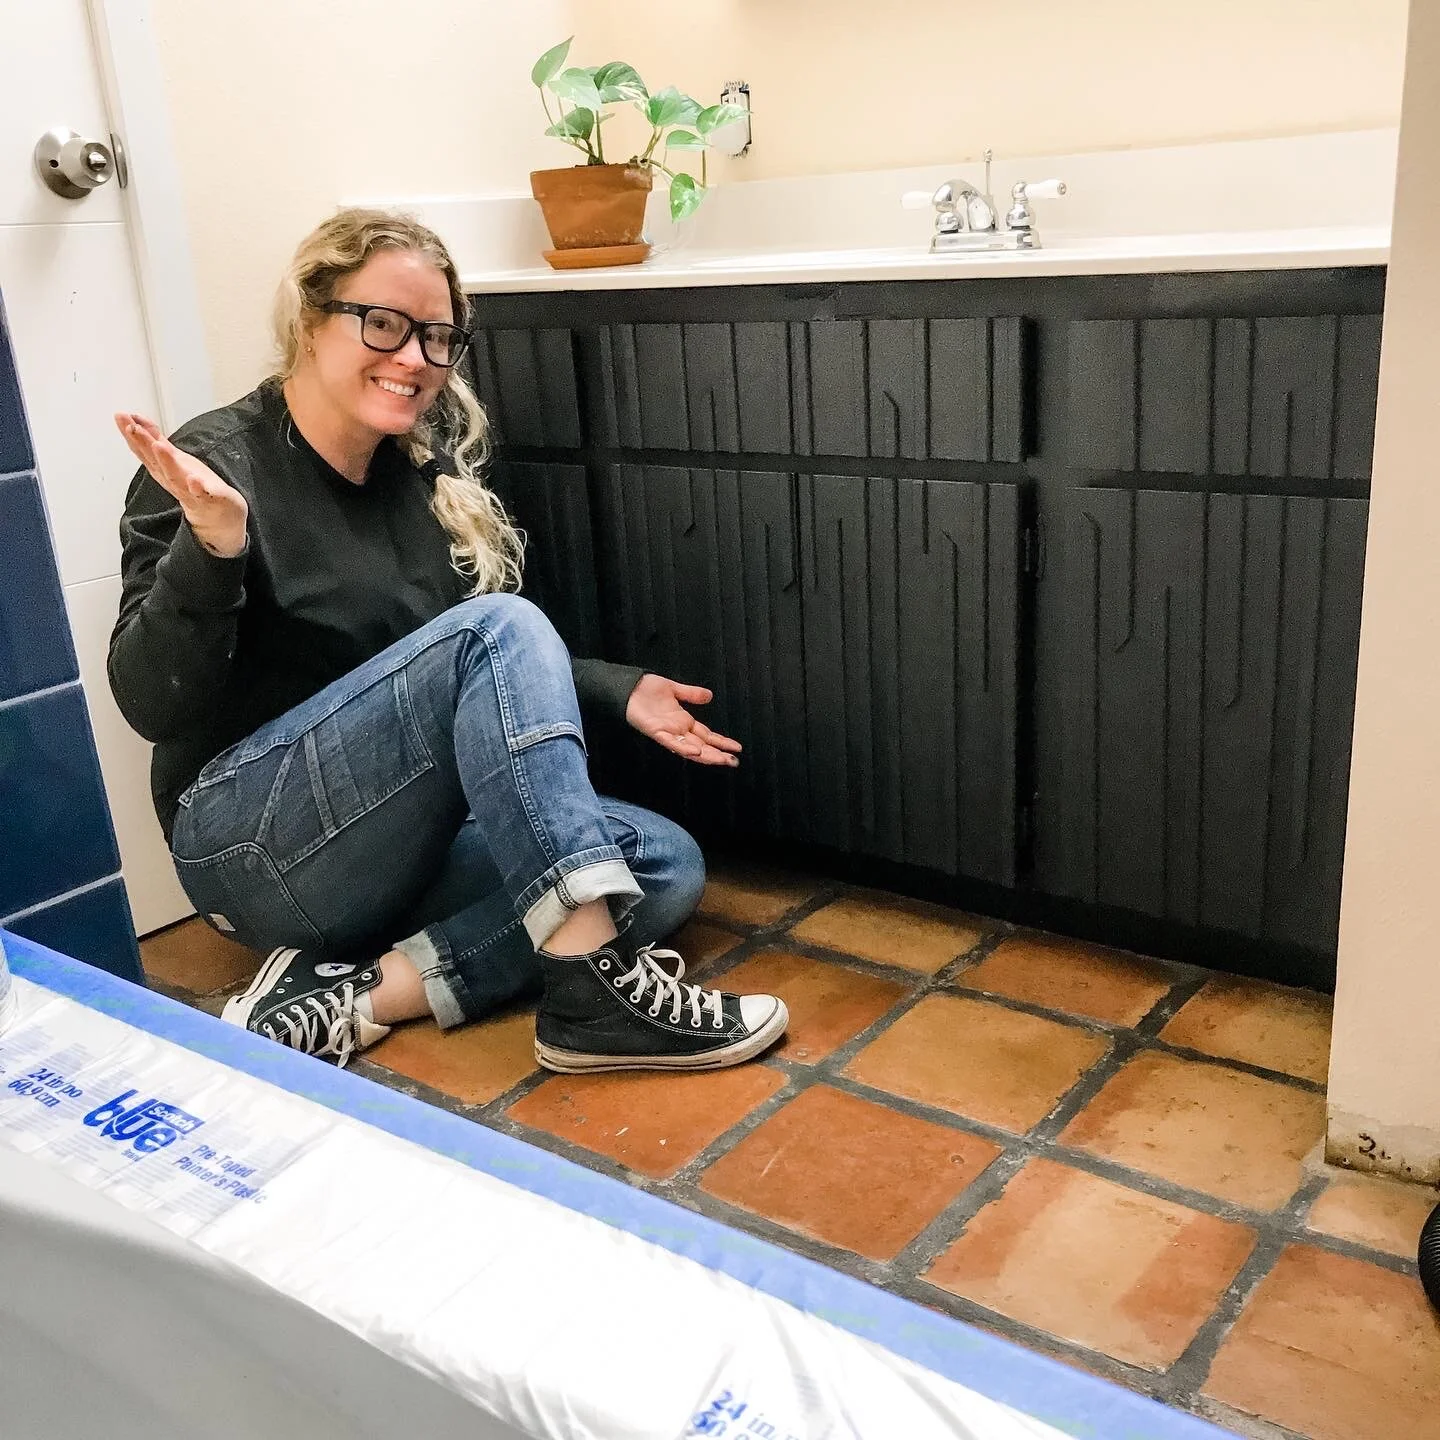
I think my vanity is 50 years old. It has layers and layers of old paint on it… purple, yellow red, peach, navy and who knows. Well, since I am not able to replace it yet… I totally want to build an AWESOME one… I decided what is one more layer of paint!?! Well another layer of paint and some scraps and I transformed this vanity into something that will last til I can build a new one.
My mom recently moved into a new place and was in need of some extra storage in her kitchen and asked if I could help her out. Of course I said yes! That is until she told me she wanted it to be red. Red! Red isn’t my favorite color…. orange is, of course! Haha… but after a little persuasion and time I agreed. But I told her I was gonna put my spin on it and add some power carved texture to make it AWESOME.
One mans junk is another man’s treasure. Recycle, reuse, repurpose…. or like I like to call it Upcycle! When I was first starting out making stuff I did a lot of upcycles. I thought of them as cheap learning experiences. You can usually find cheap pieces on the street, a garage sale, Facebook marketplace or Goodwill. And since they are cheap, if you totally mess them up it isn’t that big of a deal.