

All in Design

Budget Bathroom Makeover - Before & After
We have lived in this house for 5 1/2 years and I haven’t touch anything in this bathroom. I have really big plans to make it over, but I never seem to have the time and/or the money to do it. And I was tried of waiting, so I decided to give myself 1 week and a really small budget and turn this bathroom from awful to AWESOME! Let me show you how I did it.
Budget Bathroom Vanity Makeover
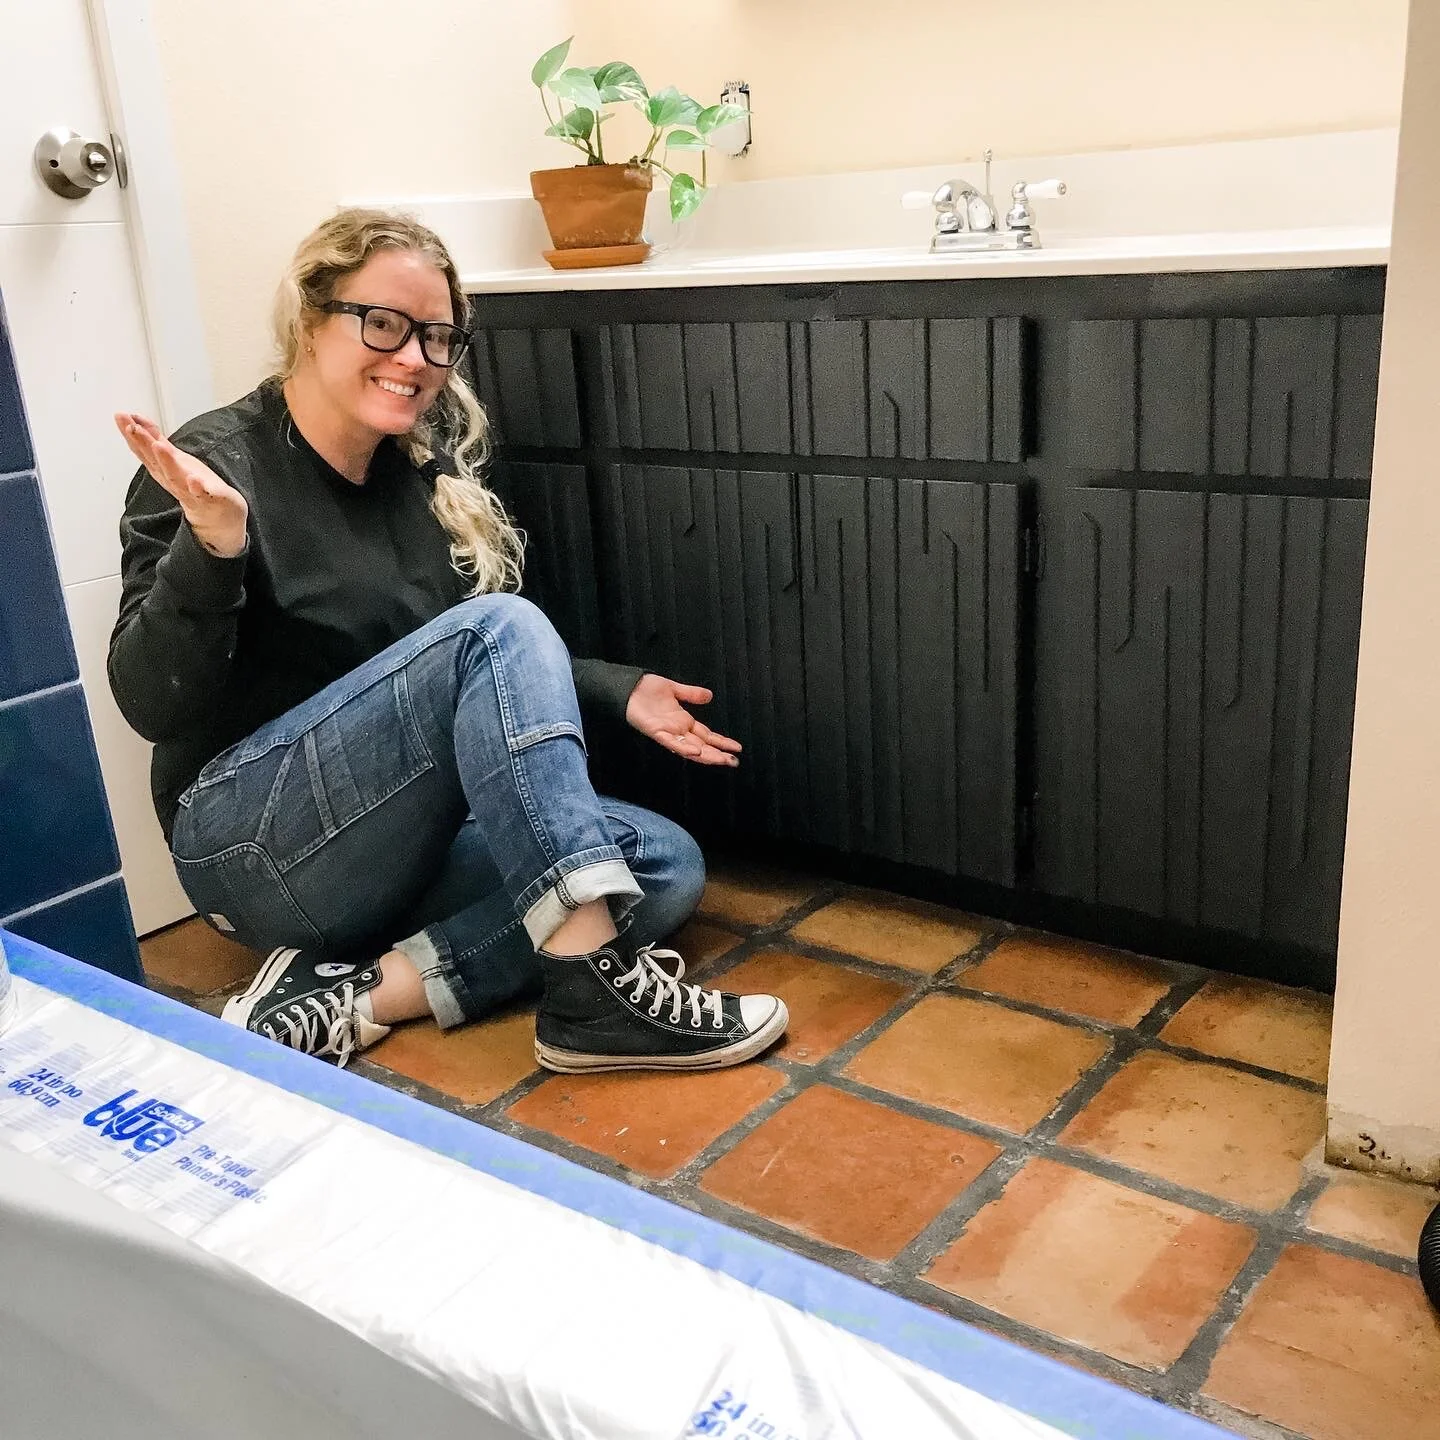
I think my vanity is 50 years old. It has layers and layers of old paint on it… purple, yellow red, peach, navy and who knows. Well, since I am not able to replace it yet… I totally want to build an AWESOME one… I decided what is one more layer of paint!?! Well another layer of paint and some scraps and I transformed this vanity into something that will last til I can build a new one.

Painting A Tile Tub Surround - Do's & Don'ts
I recently did a complete mini budget friendly makeover in my guest bathroom and the biggest impact had to be painting the tub surround! Yup… I said paint! Well… actually it is an epoxy acrylic, but it goes on pretty much like paint. Today I am going to share everything I used with you and give you all the do’s and don’ts I learned doing this project, so that your tub surround comes out even better then mine!!!

Building A Deck For The First Time
So we started with Simpson Strong-Tie’s Deck Planner Software. It is a free program available to everyone on their website. You create a log-in and then start designing and it is super easy to use. It prompts you for the shape, size, if its going to be freestanding or not, type of material you are going to use, style of railing, do you want/need stairs etc.

Building A Covered Patio With a 30ft Span!
So let’s start from the beginning with the design. My husband wanted the biggest deepest patio we could get with unobstructed views. Our current patio was 30’ long and that length was good so that we didn’t cover the windows to two of our bedrooms. Our house is already on the darker side and we wanted to keep as much natural light inside as possible. So we knew 30’ long, but how were we going to that big of a span without posts in the middle? I didn’t think it was possible, but my husband wouldn’t give up on it. So I went and talked to an architect friend and he said it would be possible with an 18” glulam.

How To Decorate An Odd Corner Space
So I have a very odd shaped living room… long and narrow with two openings and a big picture window. It has been a challenge to figure out how to arrange the furniture in the space, especially because my husband will not give up his giant speakers and giant tv! But I have settled on a layout that works for us and have lots of plans to completely makeover the space. I want all sorts of built-ins to hide speakers and get stuff up off the floor so it is easier to clean up all of Oscar’s hair and dirt. But until the time comes to do all that I wanted to something that would spice up the room, its totally boring right now, and give me something pretty to look at. Plus, I have been acquiring lots of plants lately in hopes of becoming a “crazy plant lady” , so I decided to makeover this odd corner space because it gets good light for my plants.

Guest Bedroom Makeover - Before & After
Let me paint you a picture of the before…. We moved into our current house about 3 1/2 years ago. We downsized from a 2500 square foot home to a 1800 square foot home. I kept a lot of the decor and furniture from that home not knowing if it would work in our new place. But I also knew I wasn’t doing to have a ton of money to decorate the new place considering my husband and I were starting brand new career fields. So it all got put into the guest bedroom or like I called it the spare bedroom, because it housed all the spare stuff that didn't quite have a home. Also, since my new job (building) involved taking over the entire garage space all our camping and backpacking gear was in this room as well. Oh, plus a queen sized bed. So to say the least, no guests were sleeping in there.